How to Take Professional Photos with Phone: An Introduction
Imagine capturing breathtaking photos with just your phone. No fancy camera needed, just some smart tips and tricks. Whether you’re taking pictures of sunsets, family gatherings, or your favorite pet, knowing how to take professional photos with phone can make all the difference. Your phone has the power to take stunning photos, and we’re here to show you how.
In this article, we will dive into everything you need to transform your mobile photography skills. You’ll learn how to master your smartphone camera, use natural light to your advantage, and compose your shots like a pro. We’ll also cover essential settings, editing tips, and how to avoid common pitfalls. Plus, you’ll get advanced techniques, must-have accessories, and answers to the most common questions.
Table of Contents
Understanding the Phone Camera
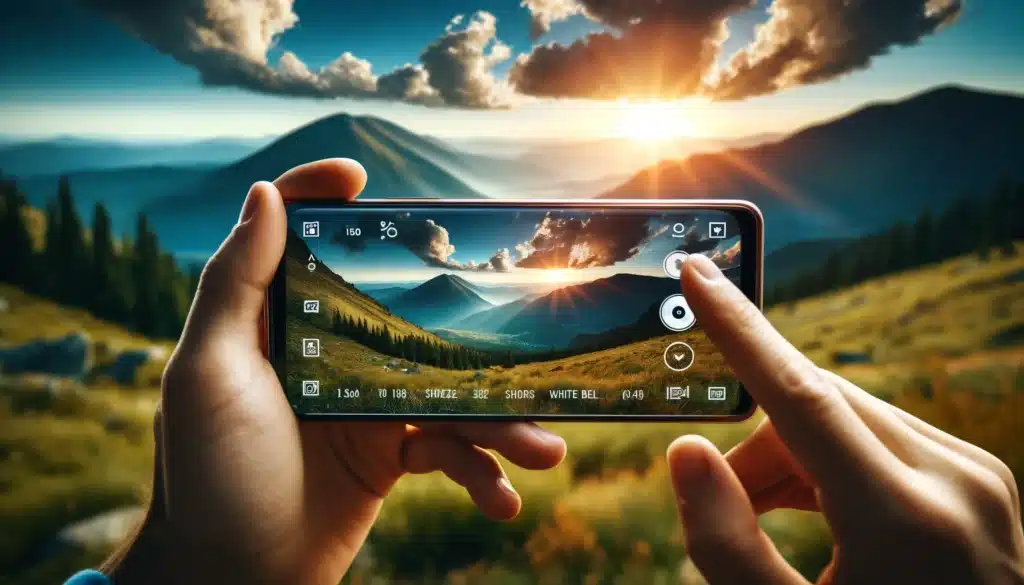
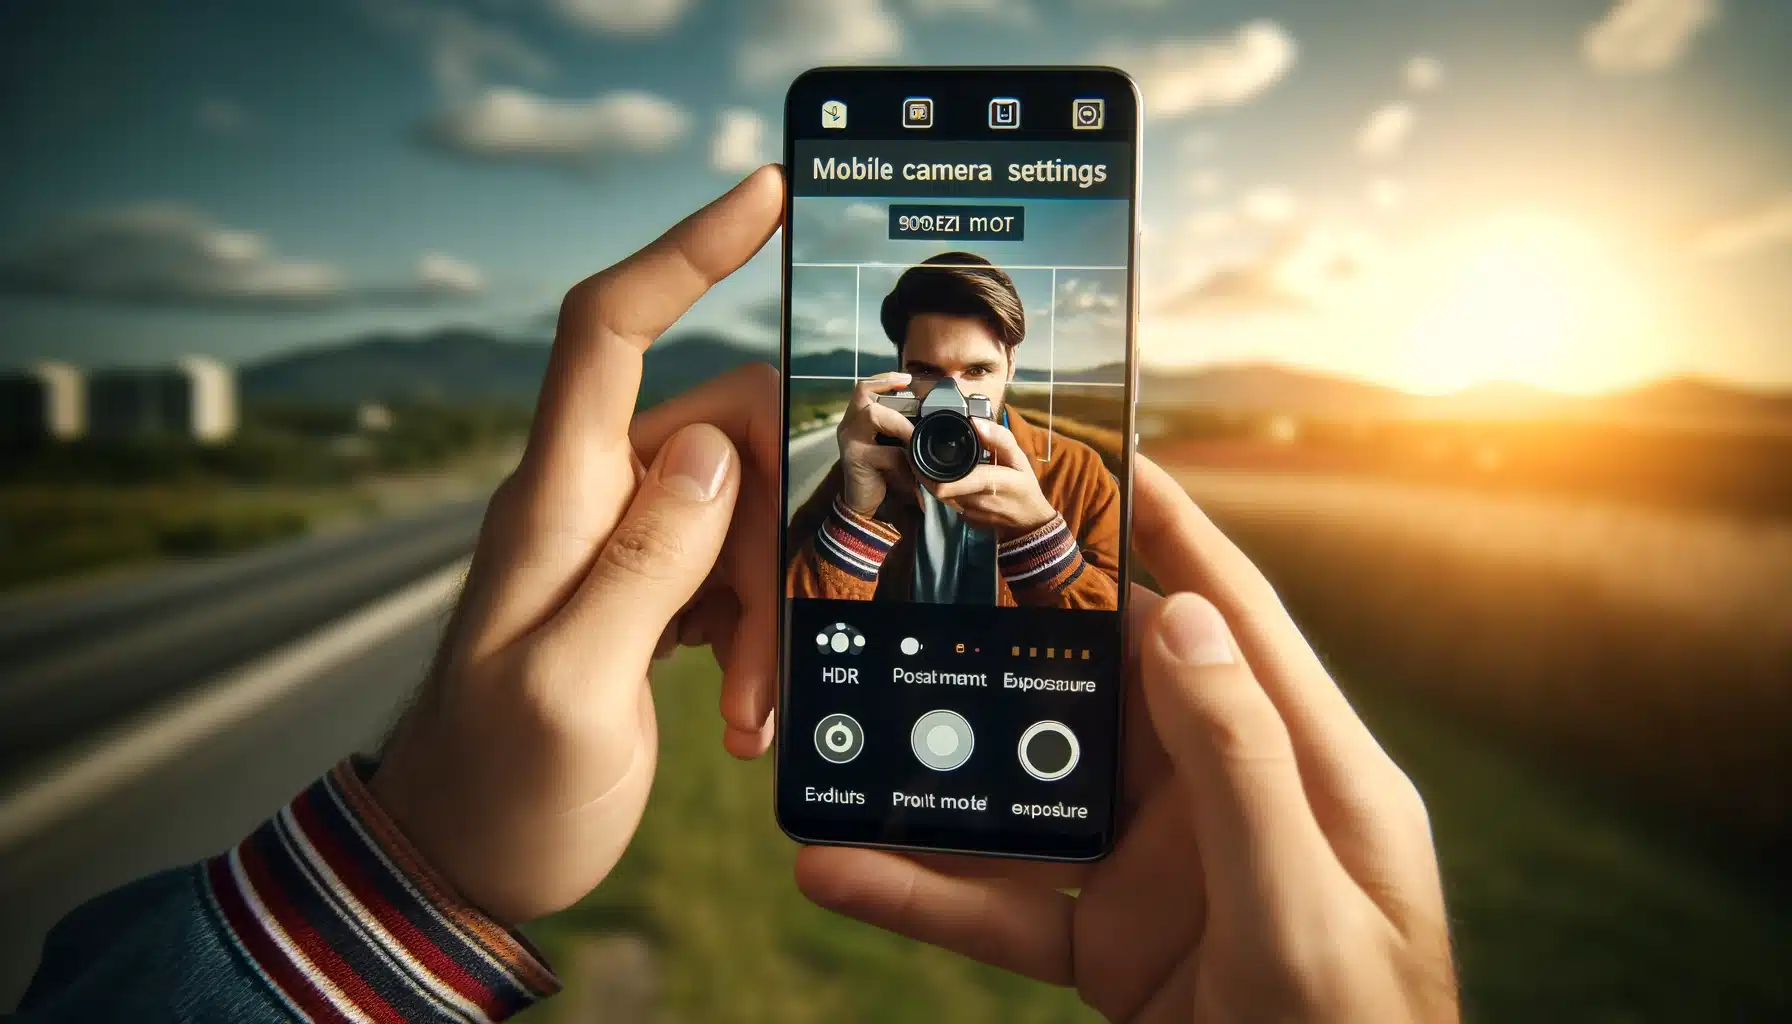
To capture amazing photographs with a mobile, it’s important to understand the camera and its features. Each camera has unique capabilities. Knowing what your camera can do helps you learn how to take professional photos with phone.
Camera Modes and Settings
Most phone cameras offer various modes like portrait, landscape, and night. Portrait is ideal for taking pictures of people. It blurs the background while keeping the person sharp. Landscape works well for wide scenes, such as beaches or mountains. Night assists in low-light situations. Experiment to find what works best in different scenarios.
Megapixels and Resolution
Many people think more megapixels mean better pictures, but this isn’t always true. Megapixels determine size of the photos, but not the details. A 12-megapixel camera can take excellent photographs if it has efficient processing.
Resolution is also important. Higher resolution provides more detail. This is useful for printing large photographs or cropping. For everyday use, lower resolution can be sufficient if composition is strong. Practice with different resolutions to see the differences.
Focus and Exposure
Proper focusing and brightness are key. Tap the screen to set focus on the main element, ensuring it is sharp. For moving scenes, use burst to take multiple pictures quickly, increasing chances of a clear image.
Exposure determines how light or dark the photo is. Most mobiles let you adjust brightness by sliding your finger up or down on the screen. Ensure the photo isn’t too bright or dark. Correct brightness helps capture details in all areas.
How to Take Professional Photos with Phone by Utilizing Natural Light
Sunlight can greatly improve the standard of pictures taken with a mobile. It often looks more refined than artificial light because it makes images appear more natural and vibrant.
Best Timing
The optimal time to capture outdoor pictures is during the golden hour. This period is the first hour after sunrise and the last hour before sunset. During these times, the light is soft and warm, shadows are long and gentle, which enhances the beauty of everything. Overcast days are also good for shooting because the clouds act like a giant diffuser, spreading the light evenly.
Positioning the Light
The position of the light source can change the look of a photo. For portraits, having the light source behind the photographer, shining on the subject, helps to illuminate the face without harsh shadows. This technique, known as front lighting, makes the subject look clear and vibrant.
Backlighting, where the shine comes from behind the subject, can create a lovely halo effect. However, it may cause the face to look dark. Adjusting the exposure by tapping on the screen can brighten the face.
How to Take Professional Photos with Phone Using Natural Reflectors
Natural reflectors can assist bounce light onto the subject and reduce shadows. A natural reflector can be anything that reflects light, like a white wall, a sandy beach, or even a piece of white paper. For instance, when taking a portrait, positioning the person next to a white wall can reflect shine onto their face, reducing shadows and enhancing the photo. If a natural reflector is not available, create one using a white sheet or a large piece of white cardboard.
How to Take Professional Photos with Phone By Mastering Composition Techniques
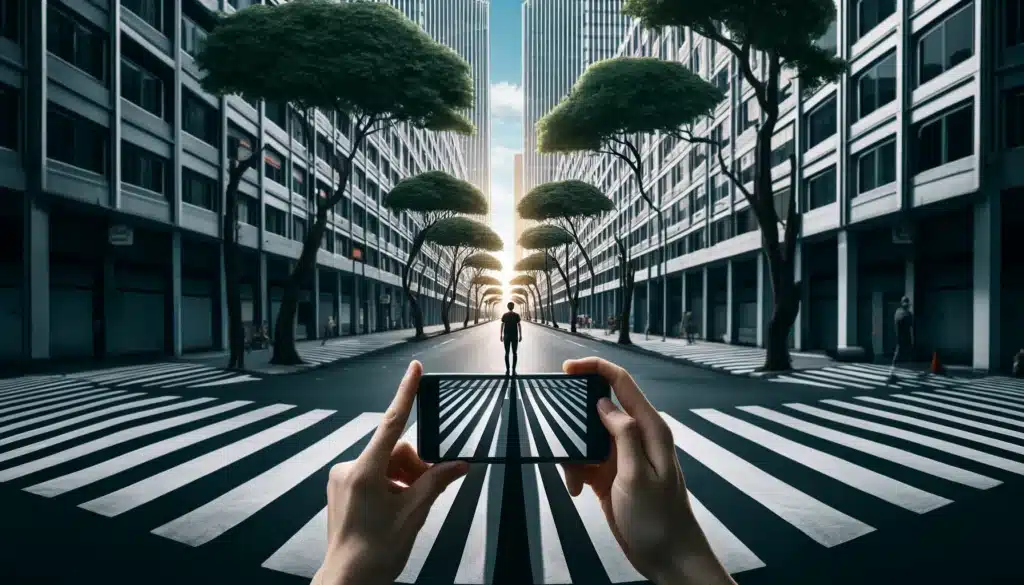
Understanding composition is key to capturing pro-level photos on a phone. Composition refers to how elements are arranged in a photo. Good composition makes a photo more interesting and pleasing to the eye.
Rule of Thirds
The rule of thirds is a simple way to make photographs more balanced. Imagine the photo divided into nine equal parts by two horizontal and two vertical lines. Place the main element along these lines or at their intersections. For example, when photographing a person, position their eyes where the lines cross. Many mobile cameras have a grid option to help with this.
Leading Lines
Leading lines guide the viewer’s eyes through the image. These lines can be anything from roads to fences to rivers. They draw attention to the main element. For instance, a picture of a person standing on a path can use the path as a leading line to draw attention to the individual.
Framing
Framing involves using objects to create a frame around the main element. This technique adds depth and context to a picture. Trees, windows, and archways can serve as frames. For example, taking a picture of a person through a window can provide an interesting frame around them. Framing helps highlight the main element and gives the image a sense of place.
Taking High-quality Photos with a Smartphone by Keeping Symmetry and Pattern
Symmetry and patterns catch the eye and produce visually appealing pictures. Symmetry means that one half of the image mirrors the other half. Patterns are repeating elements in the photo. For example, a row of identical trees or a building with repeating windows.
Background and Foreground
Pay attention to what is in the background and foreground of the image. A cluttered background can distract from the main element. Keep the background simple to make the main element stand out. Including something interesting in the foreground can add depth.
How to Take Professional Photos with Phone by Leveraging Camera Settings
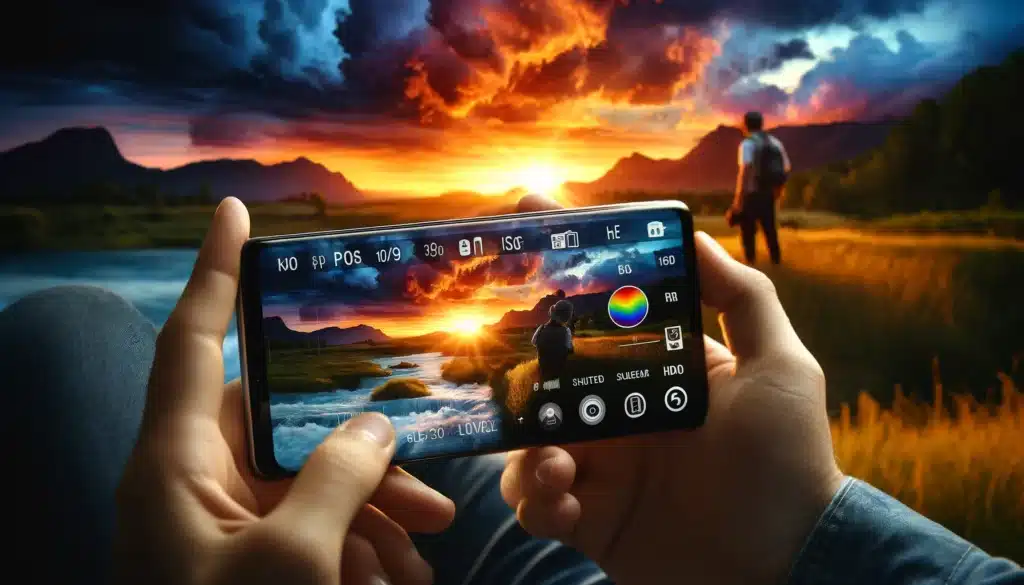
Adjusting camera features during mobile photography can greatly enhance photos. By mastering these adjustments, one can capture excellent pictures in various situations. Here are important settings to understand and learning how to take stunning photos with your phone.
Capturing Pro-level Photos on a Phone by Fixing ISO Sensitivity
ISO controls how much illumination the camera sensor needs. Lower sensitivity is ideal for bright conditions. It keeps the image clear and free of noise. In low light, a higher sensitivity can brighten the photo. However, too high of an ISO can make the photo grainy. For example, in a dim room, try increasing the ISO to 800 or 1600, but avoid going too high.
Shutter Speed
Shutter speed affects how motion appears in a photo. A fast shutter speed can freeze action, ideal for sports or moving subjects. A slower shutter speed creates a blur effect, useful for artistic shots like flowing water. For example, to capture a running dog sharply, use a fast shutter speed like 1/1000 second. To photograph a waterfall with a smooth, flowing look, use a slower shutter speed like 1/15 second.
Color Balance
Color balance adjusts the colors to look more natural. Different environments can give photos a color tint. Adjusting the color balance can remove this tint. For instance, indoor setups often give a yellow tint. Changing the color balance to the “Incandescent” or “Tungsten” setting can correct this. Experiment with different adjustments to find the suitable one for each condition.
Focus
Most phones allow tapping the screen to select a specific area. This ensures the main element is sharp. For close-up photographs, use this feature to focus precisely. For example, when photographing a flower, tap on the flower to make it clear and detailed.
HDR
High Dynamic Range (HDR) in mobile photography helps capture more detail in both dark and bright areas of a photo. This feature is useful for scenes with a lot of contrast, like landscapes with both sky and land. For example, when photographing a sunset, using HDR can balance the bright sky and the darker ground, resulting in a well-exposed photo.
Essential Accessories for Mobile Photography
Using the right tools can significantly enhance the pictures taken with a mobile phone. These tools and accessories improve stability, lighting, and overall image standard. Below is a detailed table comparing accessories essential for mobile photography.
| Accessory | Purpose | Benefit | Key Features |
|---|---|---|---|
| Tripod | Stabilizes the device | Reduces blur, steady pictures | Flexible legs, lightweight |
| External Lens | Expands camera capabilities | Wide-angle, macro, zoom options | Reliable glass, easy attach |
| Illumination | Improves lighting conditions | Enhances brightness, clearer pictures | Adjustable brightness, portable |
| Remote Shutter | Captures pictures without touching | Reduces shake, hands-free operation | Bluetooth connectivity, compact |
| Phone Mount | Secures phone to various surfaces | Versatile angles, stable hold | Adjustable grip, sturdy design |
| Microphone | Enhances audio quality | Clearer sound for recordings | Noise reduction, easy plug-in |
Editing Photographs on a Mobile
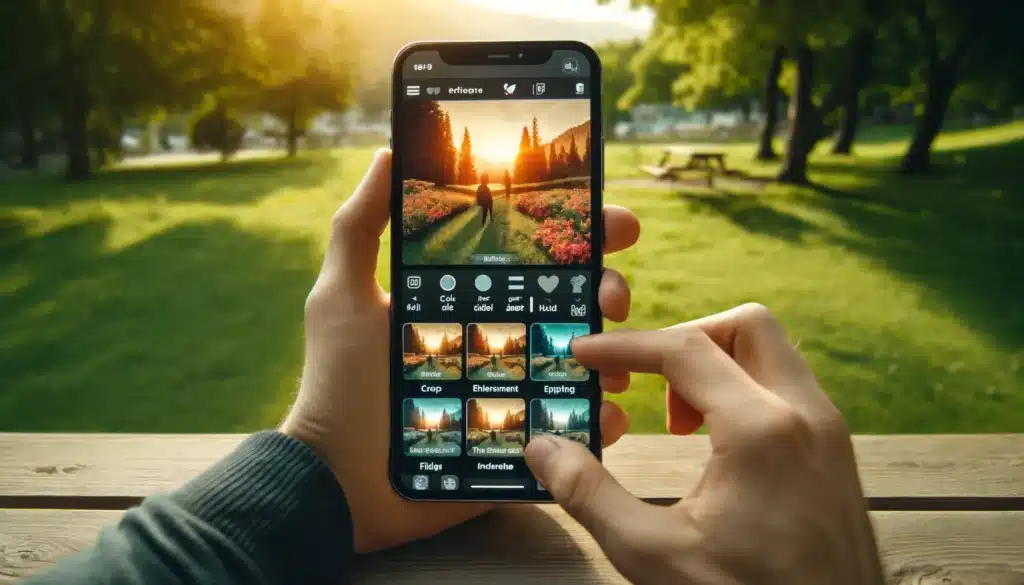
Editing pictures on a phone can greatly improve their standard. Whether you use the powerful Adobe Photoshop or Lightroom app, simple adjustments can make a big difference.
Enhancing Colors
First, enhance the colors in the image. Most mobile photo editing apps have tools to adjust saturation and vibrance. Saturation makes colors more intense, while vibrance increases the intensity of only the dull colors. For example, a photo of a sunset can look more dramatic with higher saturation. Be careful not to overdo it, as too much color can look unnatural. Finding the right balance is key.
Cropping and Straightening
Cropping enables you to improve the composition by removing unwanted parts of the image. It also allows focusing on the main element. For instance, cropping out distractions from the background can make the subject stand out more. Straightening the image ensures that horizons and other lines are level. This makes the image look more professional and well-composed.
Using Filters
Filters can quickly change the look and feel of an image during mobile photography. They can add warmth, make colors pop, or give a vintage feel. Many apps like Instagram and VSCO offer a variety of filters. For example, a filter can make a beach scene look more vibrant and sunny. Experiment with different filters to see which one enhances the image best.
Removing Blemishes
Most editing apps have tools to remove blemishes or unwanted objects. This can be useful for cleaning up the image. For example, removing a stray hair from a portrait or a trash can from a landscape shot. This makes the image look cleaner and more polished.
Tips for Different Types of Mobile Photography
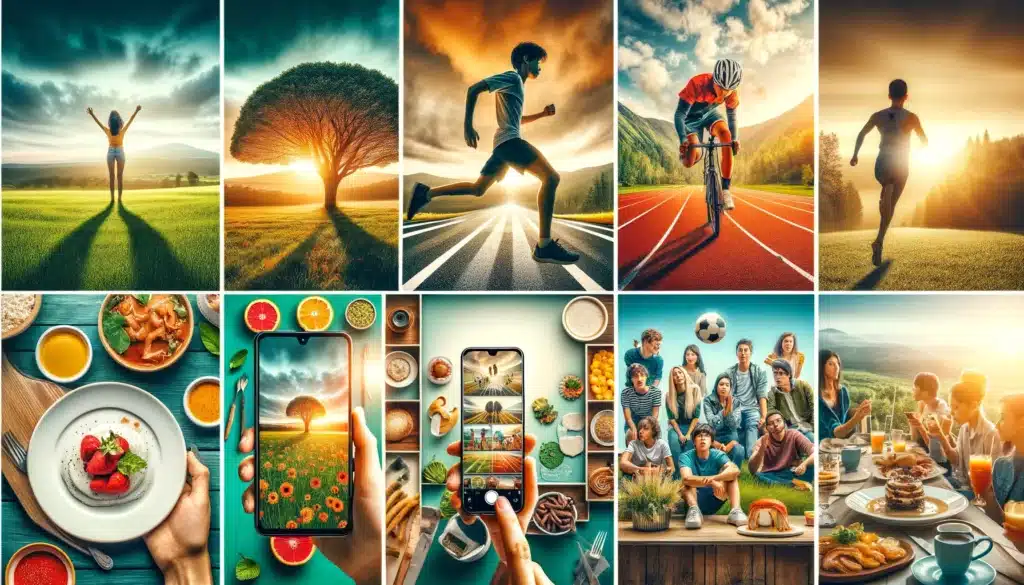
Different types of photography require unique techniques to improve your skills and results. These tips will help you learn how to take professional photographs with a phone, regardless of the subject.
Landscape Scenes
For landscape images, find a focal point. This can be a tree, mountain, or building. A strong focal point makes the picture more interesting. Use the rule of thirds to place the focal point off-center. This creates balance and draws the viewer’s eye through the photograph. Experiment with angles and perspectives to add depth to the scene.
Action Photos
Capturing action requires quick reflexes. Use a fast shutter speed to freeze motion. This is ideal for sports or moving subjects like running dogs or children playing. For example, setting the shutter speed to 1/1000 of a second can capture a soccer player in mid-kick without blur. Burst mode can also capture multiple frames in quick succession, increasing the chances of getting the perfect shot.
Portraits and Product Photography
Capturing a product or person involves focusing on the key details. For portraits, eyes should be sharp and clear. Use soft illumination to avoid harsh shadows on the face. Place the person slightly off-center using the rule of thirds. This composition technique adds interest to the image. When capturing images for business purposes, ensure the product or service is the highlight.
Group Shots
For group photographs, make sure everyone is in focus. Use a small aperture to increase the depth of field. This keeps everyone in the frame sharp, even those in the background. Arrange people so that everyone can be seen. Make sure the surrounding is well-lit.
Food Photography
Photographing food requires good lighting and interesting angles. Natural light is best for food as it shows true colors. Get close to the dish to capture details. For example, photographing a plate of pasta with light from a nearby window can highlight the textures and colors, making the food look appetizing.
Comparing Phone Camera Features
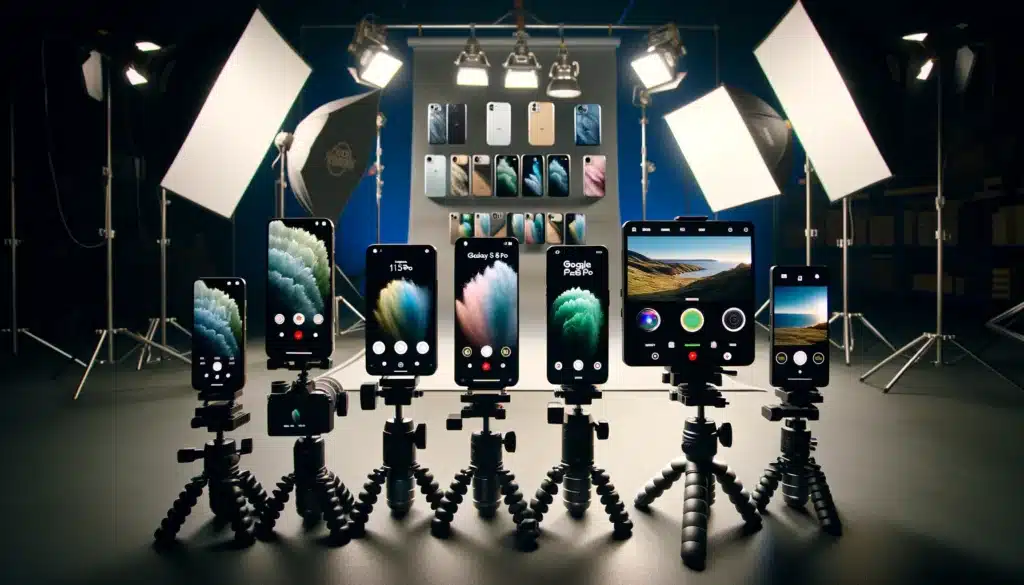
Once you know how to take professional photos with phone, its time to think about which mobile to use. Different mobiles have different camera features that assist in various scenarios. Below is a table comparing some popular Android and iPhone cameras for mobile photography.
| Feature | iPhone 13 Pro | Samsung Galaxy S21 Ultra | Google Pixel 6 Pro | OnePlus 9 Pro |
|---|---|---|---|---|
| Megapixels | 12 MP (Wide) | 108 MP (Wide) | 50 MP (Wide) | 48 MP (Wide) |
| Aperture | f/1.5 (Wide) | f/1.8 (Wide) | f/1.9 (Wide) | f/1.8 (Wide) |
| Zoom | 3x Optical, 15x Digital | 10x Optical, 100x Digital | 4x Optical, 20x Digital | 3.3x Optical, 30x Digital |
| Night Mode | Yes | Yes | Yes | Yes |
| Video Quality | 4K at 60fps | 8K at 24fps | 4K at 60fps | 8K at 30fps |
| Stabilization | Optical and Digital | Optical and Digital | Optical and Digital | Optical and Digital |
| HDR | Smart HDR 4 | HDR10+ | HDR+ | HDR10+ |
How to Take Professional Photos with Phone Using Advanced Techniques
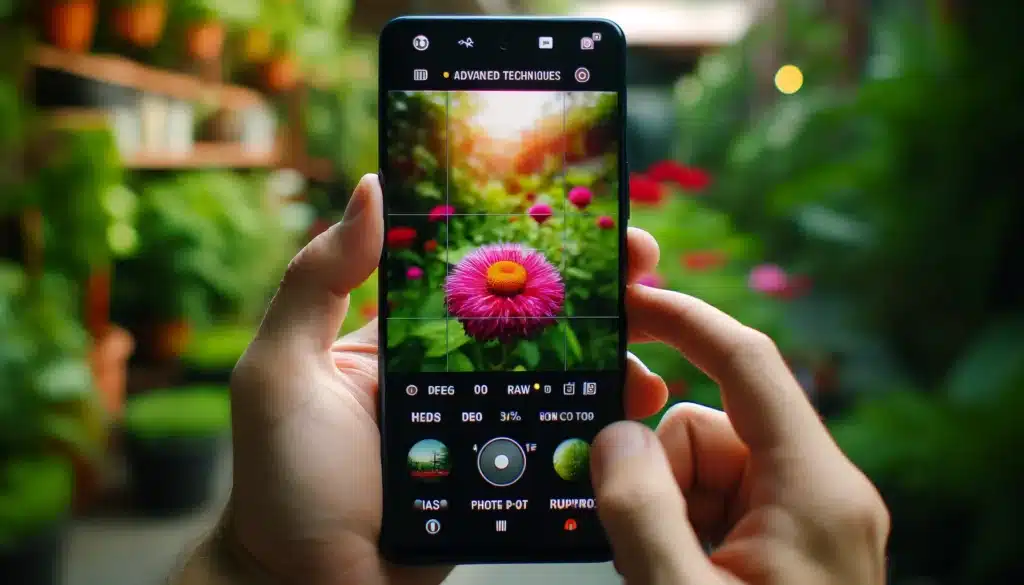
Learning advanced techniques can take mobile photography to the next level. Here are some methods to aid you master how to take professional photos with phone.
HDR Photography
High Dynamic Range (HDR) in mobile photography captures details in both bright and dark areas. This is useful for scenes with a lot of contrast, like landscapes with bright skies and dark shadows. Most phones have an HDR setting. For instance, taking a sunset picture with HDR can balance the bright sky and darker ground, resulting in a well-exposed image. Using HDR ensures no details are lost in extreme lighting conditions.
Bokeh Effect
The bokeh effect creates a blurred background, making the subject stand out. This is often used in macro photography or close-up shots. Many phones have a feature that allows adjusting the depth of field to achieve this effect. For instance, focusing on a flower while the background remains blurred enhances the subject’s details. The bokeh effect adds a professional touch to close-up pictures.
Using External Lenses
External lenses can expand a phone’s capabilities. Wide-angle lenses capture more of the scene, while macro lenses are great for close-ups. For example, attaching a macro lens to photograph tiny subjects like insects or textures in great detail. External lenses provide flexibility in capturing different types of photographs. They enhance the mobile’s camera, making it more versatile.
RAW Format
Shooting in RAW format captures more data than JPEG. This allows greater flexibility in editing. Apps like Adobe Lightroom enable you to shoot and edit in RAW on mobile devices. For instance, adjusting exposure and color balance with more precision. RAW format preserves image standard, providing advanced results during post-processing.
FAQs about How to take professional photos with phone
How to take professional photos with phone is a common question. Here are some answers to frequently asked questions to make you understand mobile photography better:
Can I do professional photography with my phone?
Yes, you can do professional photography with your phone. Modern mobiles have powerful cameras. They offer high resolution, good color accuracy, and advanced features. With the right techniques, you can capture stunning pictures on your phone.
How do you take professional pictures of yourself with your phone?
Making mobile pictures look professional is straightforward. Start by using proper lighting, preferably natural light. Adjust the focus and maintain clarity. Pay attention to composition, using techniques like the rule of thirds. After capturing the picture, use editing tools to adjust brightness, contrast, and colors. Crop and straighten the image to improve composition.
How to take a photo like a pro using a phone?
To take a perfect picture with a phone, follow these steps. First, clean the lens to ensure clear photographs. Shoot during the golden hour, just after the sunrise or before the sunset. Tap on the screen to focus on the element. Hold the mobile steady or use a tripod to avoid blur. Adjust the settings for the best exposure and use the rule of thirds for balanced composition. Finally, edit the image using Photoshop or Lightroom Photo Editor to enhance its visual appeal.
How do I make my photos look like professional photos?
To make images look like professional pictures, use a clean lens. Use natural light for proper illumination. Focus correctly on the subject and use proper composition techniques. Hold the mobile steady to capture clear pictures. Use advanced settings like HDR for better detail in bright and dark areas. Edit the images and experiment with filters to add a professional touch.
Conclusion
Taking high-quality photos with a smartphone has changed the way I capture moments. I remember a trip to the mountains where I only had my mobile device. By using sunlight and focusing on the beautiful landscapes, I took stunning pictures that looked like they were shot with a professional camera. Editing these scenes later made them even better. Learning how to take professional photos with phone has made photography more accessible and fun for me.
If you want to improve your mobile photography skills further, check out our courses. Our Photoshop Course and Lightroom Course offer in-depth lessons on editing and enhancing your photographs. Join us and take your photography to the next level!
Have a nice photoshoot!
Learn more about
Course
Light Effect Photoshop
Lightroom Course 2025
Adobe Photoshop Course 2025
Photo Editing Course


Download Your Free Guide Now!
Discover the secrets of photography with our printable guide! Master essential techniques like aperture, shutter speed, and ISO to create stunning images. Get your free printable PDF now and start turning your snapshots into masterpieces!


