Introduction To The Photo Focus
Photo focus is vital in creating impactful photographs, dictating clarity and depth. It’s the difference between a flat image and one that pops. Photo Stacking and “Focus point” also plays an important role in photo focus.
This concept allows photographers to direct viewer attention precisely, highlighting the main subject while softly blurring the background or vice versa. Learning this technique can transform your images from average to extraordinary, making each shot intentional and expressive.
As an example: When you take a picture of a butterfly on a colorful flower, make sure to focus on both the butterfly and the flower. This way, you can see all the tiny details clearly. The blurry background makes the butterfly and flower stand out, so your eyes go straight to them.
Table of Contents
What Are the Basics of Camera Focus?
Navigating through camera focus basics can turn your snapshots into stunning visuals. It’s not just about sharpness. It’s about guiding the viewer’s eye to what matters most in your scene.
Auto vs. Manual Photo Focus
Auto Focus (AF) is typically utilized in scenarios demanding quick action, like sports or wildlife imaging. This mode uses the camera’s sensors to swiftly adjust the lens. This ensures that the moving subjects remain in clear, crisp focus, which is essential for capturing the dynamism and energy of fast-paced scenes.
On the contrary, Manual Focus (MF) offers precise control for still compositions like macro or portrait photography. It allows photographers to adjust focus with precision, highlighting specific details such as flower texture or eye depth. This method is crucial for achieving a strong photo focus, especially when integrating photo stacking techniques like layering or depth stacking to enhance the image’s detail and depth.
Pro Tip: Learn how to edit portraits in Lightroom as well for an even better workflow.
Example: In a bustling street scene, using AF might capture a sharp photo focus of people moving. Conversely, using MF could help isolate a stationary subject from the crowd, blurring the background and focusing only on the desired detail.
Focus Points
Focus Points in photography refer to specific areas within the frame that the photographic device and photographer prioritize for sharpness and clarity. They are crucial for guiding viewer attention. Moreover, they ensure that the main subject stands out, particularly in compositions where the subject is not centrally located.
As an example: Imagine photographing a child at a park. By using a focus point on the child’s face, you ensure they are in sharp detail against a softer background. This will make the moment and emotion stand out.
Pro Tip: Focus points are important in all sorts of photography which is why they are necessary even when editing astrophotography.

Depth of Field
Depth of Field (DoF) controls how much of your image is in focus. A shallow DoF blurs the background, focusing on the subject. A deep DoF keeps everything from near to far in enhanced view. Adjust DoF by changing the aperture: small apertures (like f/22) deepen it, while large apertures (like f/1.8) shallow it. It’s crucial for adding dimension and directing attention in your photographs.
Focus Modes
Focus modes determine how your camera autofocus behaves. Single-shot AF locks focus on a still subject. Continuous AF adjusts focus for moving subjects, tracking them as they move. Automatic AF switches between single and continuous depending on the subject’s movement. These modes enhance your photo’s clarity and composition by adapting to different shooting conditions.
| Focus Mode | Ideal Use Case | Pros | Cons |
|---|---|---|---|
| Auto | Fast-moving subjects | Quick focusing | Less control |
| Manual | Detailed close-ups | Precise control | Requires time and skill |
| Continuous | Moving subjects | Keeps subject in focus | Can drain battery faster |
| Single-Shot | Still subjects | High precision | Not suitable for motion |

Techniques for Achieving Sharp Photo Focus
Achieving sharp clarity in snapshotting is critical, whether you’re working with a high-end DSLR or exploring other advanced photographic equipment. Here are a few techniques for achieving the sharp photo focus:
- Stable Support for Unwavering Clarity: Secure your cam on tripods or monopods to prevent unwanted movement. This step is crucial in maintaining the sharpness of your images. This is particularly useful when working in low-light conditions or aiming for long-exposure shots.
- Selective Focus Point for Detailed Precision: Hone your skills in choosing the right focus point within the frame. This technique is important for drawing attention to your main subject, especially in complex scenes. By pinpointing your focus, you create a soft background while keeping the subject crisply defined, showcasing the wild beauty or intricate details that might otherwise be lost. For more information, check out this selective focus guide.
- Manual Focus for Ultimate Control: Engage manual sharpness to gain full control over your snapshotting. This method is indispensable for close-up shots, like in macro or portrait photography, where precision is paramount.
- Depth Control for Artistic Effect: Experiment with different apertures to find the ideal depth of field for your shot. A wider aperture (e.g., f/2.8) will produce a soft, blurred background (beige tones). It emphasizes your subject against a soft backdrop.
Implement these techniques, alongside methods like image blending and focus merging. This will significantly enhance the sharpness and clarity of your photos, making every detail stand out. Check out that how you can avoid from rolling shutter effect.
Common Focus Issues and How to Resolve Them
Achieving sharp clarity is essential for captivating photography, but sometimes, issues arise that hinder this goal. Here are some common issues you might encounter and effective ways to resolve them:
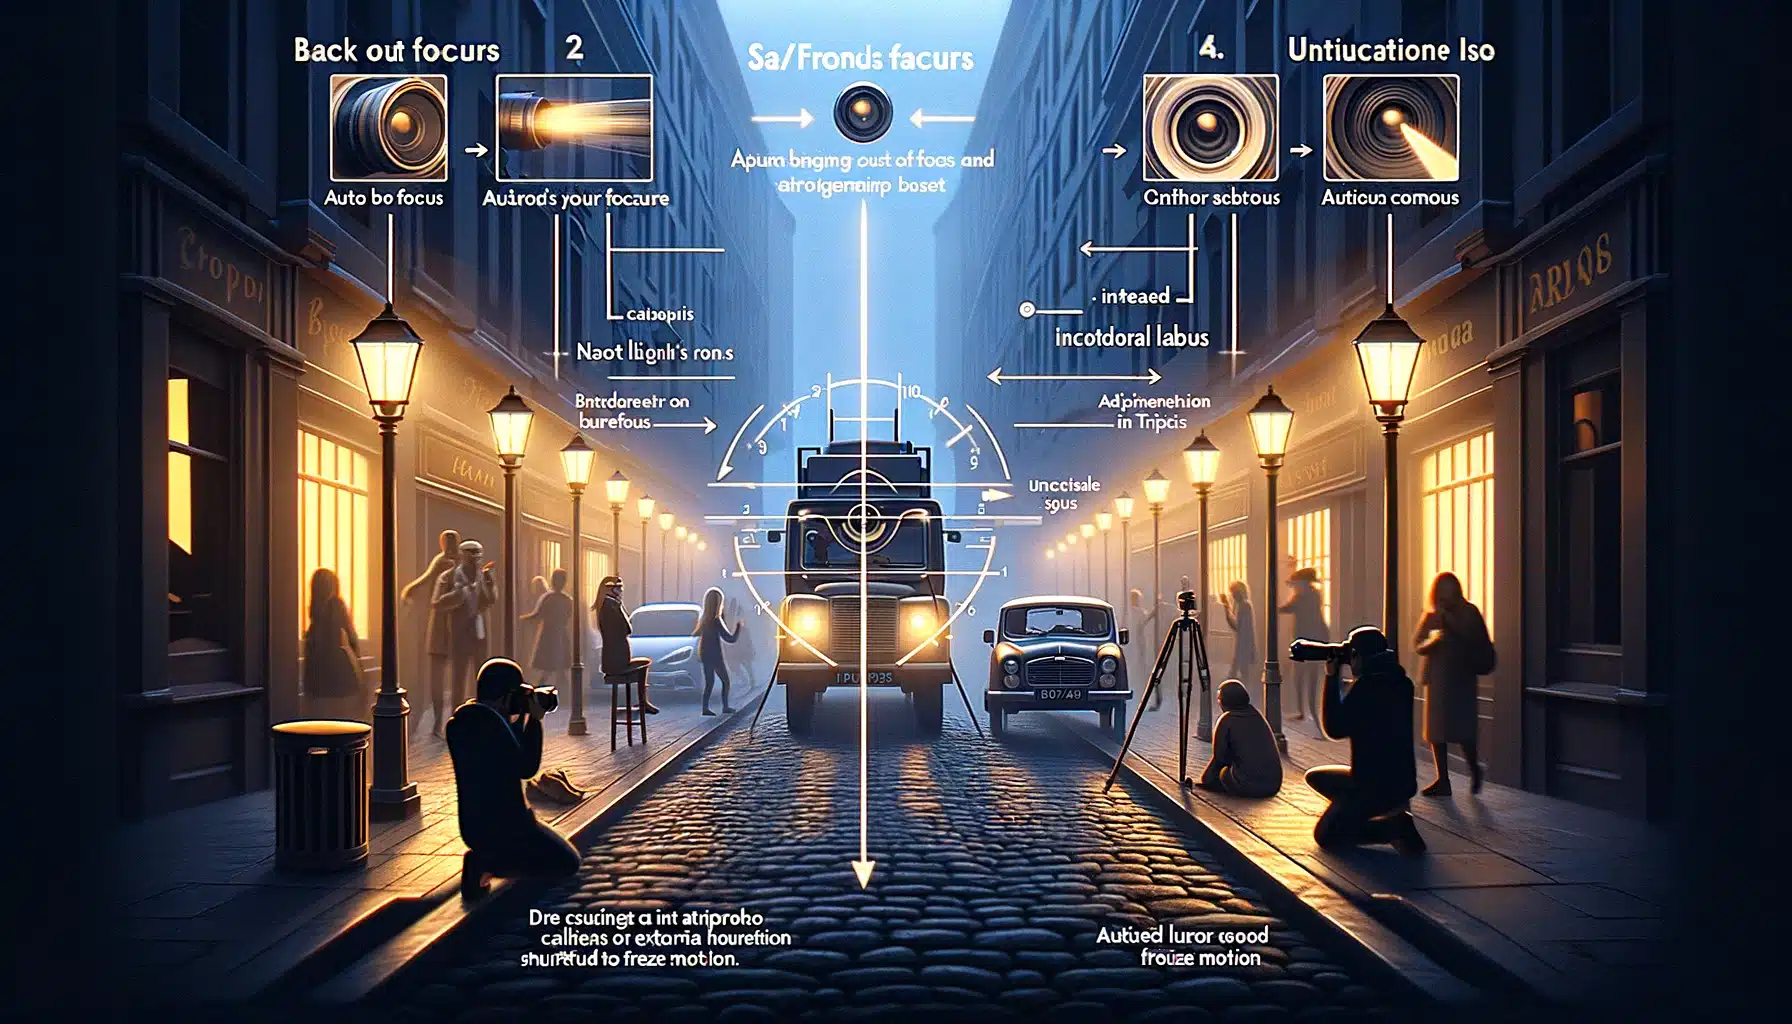
Back/Front Focusing
This occurs when your photographic device focuses slightly in front of or behind your intended subject, resulting in blurred pictures. To resolve this, perform a lens calibration, adjusting the autofocus settings to ensure accurate focus on your subject.
Missed Photo Focus in Low Light
In low-light conditions, autofocus can struggle to accurately lock onto your subject, leading to missed focus. To overcome this, increase your camera’s ISO to boost sensitivity. Use a wider aperture to allow more light into the lens, or employ external lighting sources to illuminate the scene and assist autofocus. Additionally, consider using techniques like focus stacking to enhance focus and detail in challenging lighting conditions.
Unintended Blurry Subjects
Sometimes, your subjects may appear unintentionally blurry in your photos, even when using autofocus. This can be caused by camera shake or subject movement during the exposure. To remedy this, stabilize your imaging equipment by using a tripod. You can also increase your shutter speed to freeze motion and capture sharper pictures.
By addressing these common picture clarity issues with practical solutions, you can enhance your photography skills and ensure that your images consistently exhibit sharp focus and clarity.
Tips for Correcting Out-of-Focus Pictures Online
Correcting out-of-focus pictures online can salvage otherwise unusable pictures, enhancing their clarity and quality. Here are some effective tips for restoring concentration to your photos:
Use Sharpening Tools
Sharpening tools are essential features in picture editing software. That you can use to enhance the clarity and crispness of images by increasing the contrast along edges.
These work by amplifying the brightness differences between adjacent pixels. This makes edges appear sharper and more defined.
When using sharpening elements, it’s important to understand their parameters:
● The strength parameter determines the intensity of the sharpening effect. Higher values produce more pronounced sharpening. However, excessive sharpening can lead to unnatural-looking artifacts.
● Radius controls the size of the area around edges that will be affected by the sharpening. Larger radius values affect broader areas, while smaller values target finer details.
● Threshold specifies the minimum contrast required for sharpening to be applied. Pixels with contrast below the threshold are not sharpened, helping to reduce noise in smooth areas of the picture.
Opt For Selective Sharpening
Selective sharpening is a technique used to enhance specific areas of an image while preserving the natural appearance of the surroundings. This method is for the sharpening effect only on the main subject or key elements and allows photographers to maintain a balanced and realistic look in their photos.
Photo Stacking
Employ photo stacking techniques to combine multiple images taken at different focus distances into a single, sharply focused composite picture. Photo Stacking method is particularly effective for macro photography or scenes with significant depth.
Example: In a macro photograph of a flower, capture multiple images focusing on different parts of the flower, such as the petals, stamen, and pistil. Combine these snapshots using photo stacking software to create a final image where every detail is sharp and clear. Photo Stacking makes this more appealing.

Common Causes Of Camera Blurring Issues And How To Fix Them
Addressing camera blurring issues is crucial for obtaining sharp and enhanced photographs. Here’s a comprehensive guide to troubleshooting and resolving common focus-related problems:
Lens Calibration
Calibrating your lens is essential for precise focusing. Utilize your imaging equipment’s built-in features like AF fine-tune or AF Micro Adjust to fine-tune the focusing accuracy. Alternatively, consider using off-camera solutions such as LensAlign or FoCal for more precise calibration.
Cleaning AF Sensors
Maintaining clean AF sensors is vital to prevent dust and debris from interfering with autofocus performance. Regularly utilize your camera’s Sensor Cleaning Mode along with manual blowers to remove any particles from the AF sensor area. By keeping the sensors clean, you can ensure consistent and accurate focusing.
Correct AF Mode Selection
Choose the appropriate AF mode for your shooting scenario to achieve optimal focus. For moving subjects, such as wildlife or sports, utilize AF-C (Continuous Servo AF) to track motion and maintain sharpness.
Clean Lens Contacts
Regularly cleaning the contacts between your lens and imaging equipment is essential for maintaining clear communication and ensuring accurate autofocus. Dirty contacts can impair autofocus accuracy and result in inconsistent focusing.
Combat Heat Refraction
Be aware of heat refraction on hot and sunny days, which can disrupt autofocus performance, particularly for telephoto lenses. Seek cooler shooting locations to minimize this issue and maintain concentration accuracy.

FAQs: Common Questions on Photo Focus and Focus Point
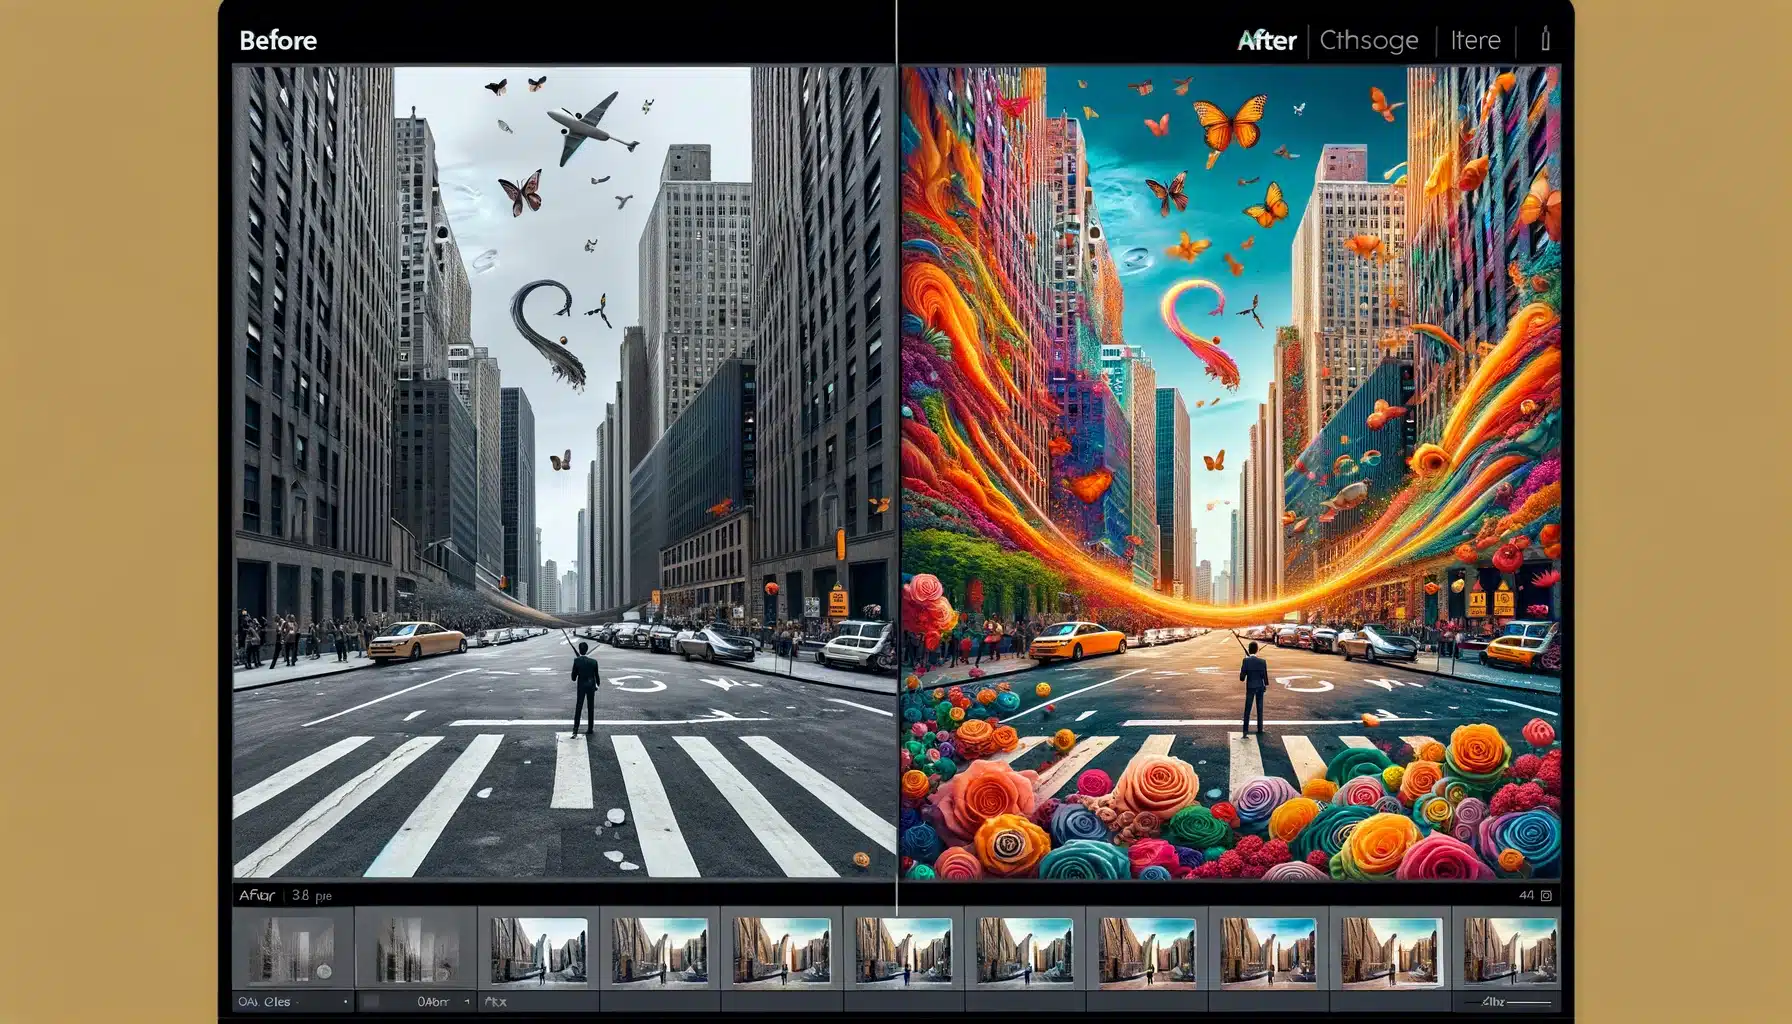
When looking to enhance the foundation and color of your photos, consider using an app like Adobe Lightroom. These apps offer comprehensive editing tools that can improve your photo’s base appearance, apply a matte or vibrant finish, and fine-tune the color balance. Remember to learn how to use the app’s features effectively for the best results.
Yes, online reviews can be a great resource when searching for the best image editing app. Look for reviews from reputable sources or professional photographers who provide detailed insights into the app’s features, color adjustments, corrections, and various effects. However, always cross-reference multiple reviews and try out the app yourself if possible. You can also try some free apps online.
To enhance the concentration of dark pictures, you can adjust brightness and contrast to make details more visible and crop out unnecessary parts to focus on the main subject. You can also use blurring techniques to separate the subject from the background. This will ensure that they stand out as clearly as a well-defined feature against a soft powder-like backdrop. Additionally, apply saturation to enhance colors without overdoing it.
The Conclusion of Photo focus and Focus Point
Exploring photo focus techniques has truly transformed my snapshotting. For instance, focusing on a single flower in my garden while keeping the surroundings blurred made the pictures more engaging. It drew attention directly to the subject.
For those keen to improve their photography and editing skills, I highly recommend educational courses. You can deepen your understanding and enhance your skills significantly. We have gathered some of the essential tools in Lightroom.
Interested in learning more? Start with the Photoshop course to dive into photo editing. Or, explore the Lightroom course for better image management and enhancement. These courses are excellent resources for any photographer looking to take their work to the next level.
Have a nice photoshoot!


