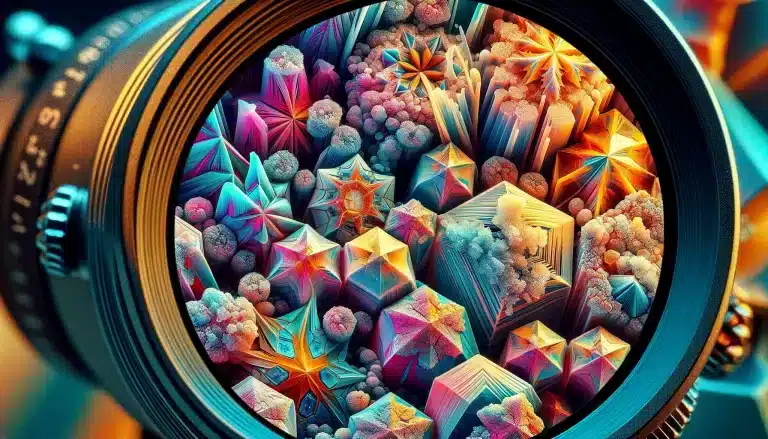
Introduction to Macro Photography
Diving into macro photography or High-magnification photography opens up a world. In this world the small and often overlooked corners of our environment become the stars of the show. This genre of photography transforms the ordinary into the extraordinary. Close-up shots allow us to appreciate the beauty and complexity of things we might otherwise ignore.
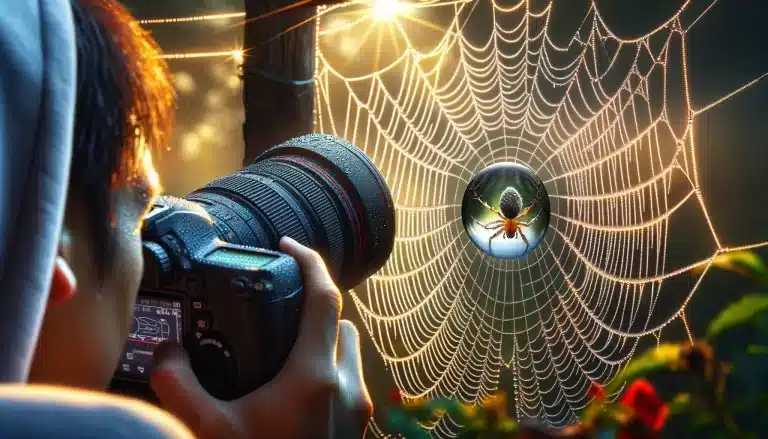
Consider a simple morning scene in a backyard garden, a place you’ve glanced over countless times without a second thought. Through the macro lens, however, this familiar setting transforms. The garden, once just a backdrop to daily life, becomes a stage for intricate dramas. A spider weaving its web with precision, each thread glistening with morning dew, turns into a study of patience and engineering. A close-up of a bee landing on a flower, its legs dusted with pollen, offers a glimpse into the vital process of pollination. It sustains the beauty and biodiversity of our world.
Table of Contents
Understanding Macro Photography: Basics and Beyond
Macro photography brings us into the intimate details of our surroundings, magnifying the minute into something grand and revealing the beauty in the details we often overlook. Here’s a closer look at the foundational elements and advanced considerations that elevate close up photography from simple close-ups to artful explorations.
Pro Tip: Study the glossary of photography to learn any and all new terms you might need when working with various image file types.
The Technical Foundation
Magnification Ratio
Depth of Field
With photo macrography, the depth of field becomes shallower. The purpose is to achieve sharp focus on the substance while artfully blurring the background requires skill and practice. It’s a delicate balance that can dramatically affect the image’s impact.
Lighting Considerations
Proper lighting is crucial for close-up shots. Natural light can be unpredictable, so many macro photographers use ring flashes or LED lights to illuminate their subjects evenly, reducing harsh shadows.
Beyond the Basics
Advanced Techniques
Techniques like focus stacking, where multiple images at different focal distances are combined in post-processing, can help overcome the limitations of a shallow depth of field, ensuring that the entire subject is in sharp focus.
Creative Composition
Beyond the technical, the composition plays a significant role. The rule of thirds, leading lines, and framing can all contribute to a more engaging macro photograph. Experimentation with angles and perspectives can turn a simple thing into a captivating image.
Macro Vs Micro Vs Standard Photography
Understanding the distinctions between macro, micro, and standard photography can greatly enhance your photographic journey. It is more useful as you explore various subjects and techniques. Each style has its own set of characteristics, techniques, and equipment requirements. And they offer unique ways to capture the beauty and detail of the world around you.
Macro Photography
Macro or close-up photography is renowned for its ability to capture extreme close-up shots of small subjects. It includes flowers and everyday objects, with a focus on detail, texture, and color. It often involves a magnification ratio of 1:1. Itmeans the object is projected onto the camera sensor at its actual size. This requires specialized macro lenses or accessories to achieve the desired effect. It furhter allows you to explore the intricacies of your subject in stunning detail.
Pro Tip: Phones can also be used for macrophotography. Take a look at this iPhone 16 camera review to find out how.
Micro Photography
Micro photography takes magnification a step further, delving into the realm of the microscopic. This technique is used to photograph subjects that are too small to be seen with the naked eye, such as cells or the structure of minerals. Micro photography typically requires a microscope with a camera attachment, as the magnification levels exceed what is possible with standard macro lenses, reaching magnifications of 20:1 or even higher.
Standard Photography
Standard photography encompasses a broad range of photographic styles and subjects, from portraits and landscapes to street and architectural photography. You can learn photo editing techniques from our article How to Edit Landscape Photos. It does not require the specialized equipment needed for macro or micro photography, relying instead on standard lenses to capture objects as they appear to the naked eye. The focus is on composition, lighting, and perspective to convey a scene in a visually appealing and engaging way.
Comparative Table
| Aspect | Macro Photography | Micro Photography | Standard Photography |
|---|---|---|---|
| Magnification | 1:1 or close | 20:1 and beyond | Natural eye level |
| Focus | Close-up shots | Microscopic details | General scene or subject |
| Equipment | Macro lenses, extension tubes | Microscope with camera attachment | Standard lenses |
| Subject Matter | Insects, flowers, small objects | Cells, mineral structures | Landscapes, portraits, street scenes |
| Technique | Deep focus on detail and texture | Requires scientific equipment | Emphasis on composition and lighting |
The Essential Equipment for Macro Photography - Camera, Lens, and Tools
Delving into the world of photo macrography requires not just skill and patience but also the right equipment. You can get all this equipment from Amazon. Each piece of gear plays a crucial role in capturing those stunning close-ups that reveal the intricate details of your subject. Let’s break down the essentials.
Cameras for Macro Photography
DSLR and Mirrorless Cameras
These are the most versatile options for close-up shots. DSLRs and mirrorless cameras offer high image quality, manual control over settings, and the ability to change lenses, which is crucial for macro work.
Compact Cameras
Some compact cameras come with a macro mode suitable for casual macro photography. While they might not offer the same level of control or detail as DSLRs or mirrorless cameras, they can be a good starting point for beginners. We have written a detailed article on Different Types of Lenses I’m sure you would love to read more about it.
Lenses for Detailed Photography
Dedicated Macro Lenses
These lenses are specifically designed for macro photography, capable of achieving a 1:1 magnification ratio. It means they can photograph subjects at life-size on the camera sensor. They are vailable in various focal lengths. This choice depends on your substance and how close you can get to it without disturbance.
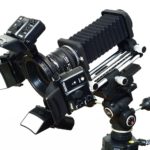
Extension Tubes
Reversing rings enable a lens to be mounted backward on the camera body. This setup alters the optical path, allowing for greater magnification of the subject. It’s a budget-friendly way to achieve macro-like photographs without a macro lens.
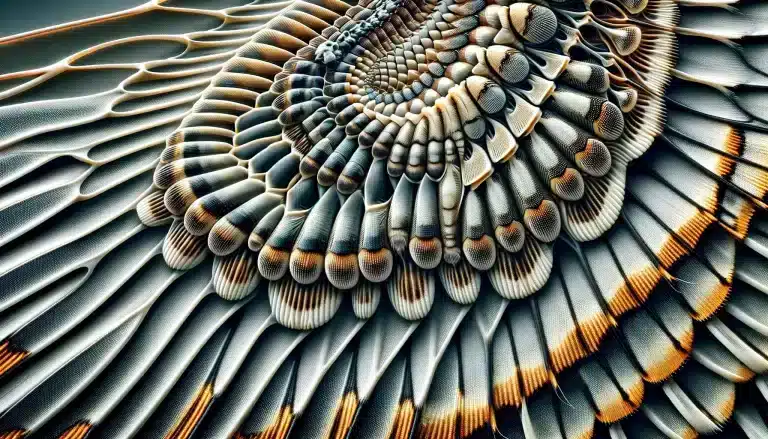
If you’re intrigued by the intricate patterns on a butterfly’s wing, using a reversing ring can transform a standard 50mm lens into a macro lens. This setup can unveil the microscopic scales that create the wing’s coloration. And turns a simple wing into a canvas of detailed artistry.
Read More: Useful Tip for Abstract Photography
Reversing Rings
Extension tubes increase the distance between the lens and the camera sensor, which decreases the minimum focusing distance and allows you to get closer to the subject. These extreme close-ups result in higher magnification of the son the sensor.
Imagine wanting to capture the texture of a leaf, where every vein and droplet of water is magnified. By attaching these tubes to your standard lens, you can get closer than the lens normally allows, revealing details that would otherwise be impossible to capture.

Lighting for Macro Photography
Ring Flashes and LED Lights
Proper lighting is crucial in detailed photography to illuminate the object evenly and reduce shadows that can obscure details. Ring flashes and LED lights attach to the front of the lens, providing consistent light directly on the subject.
Capturing the delicate details of a flower’s stamen and pistil can be challenging in natural light, which may cast shadows or be too harsh. A ring flash can evenly light the flower, enhancing colors and details without the harsh shadows, making each texture and color pop
Support Equipment
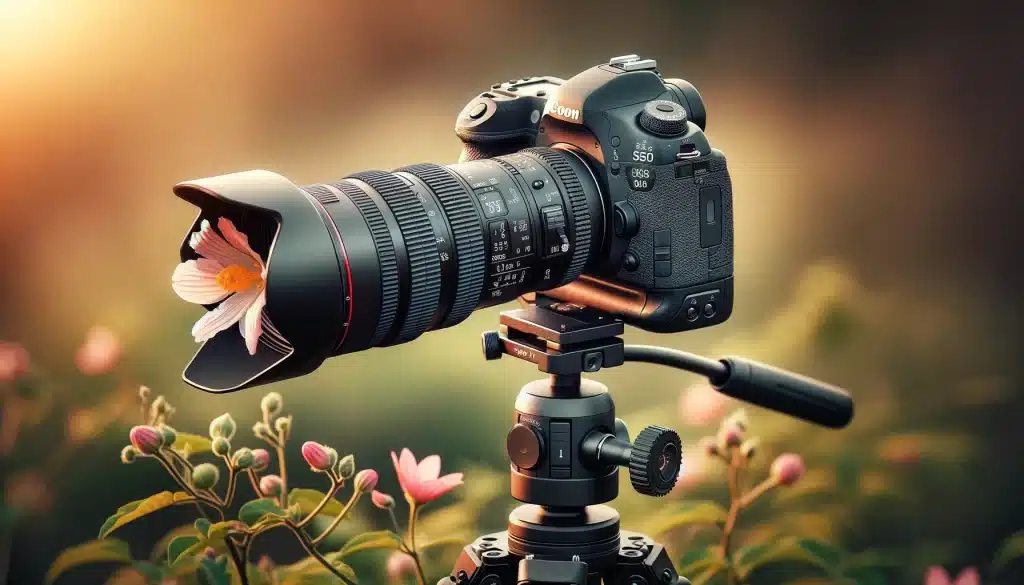
Tripods and Focusing Rails
A sturdy tripod is essential to eliminate camera shake at the high magnifications used in close-up shots. This rail allows for fine adjustments in the camera’s position, helping to achieve perfect focus on the subject.
For a macro photographer aiming to capture the moment a drop of water falls from a petal, a tripod ensures the camera remains still, avoiding blur. A focusing rail would then allow for minute adjustments. The purpose is to keep the falling drop within the razor-thin focus plane. And hence it helps capturing the action with crisp clarity.
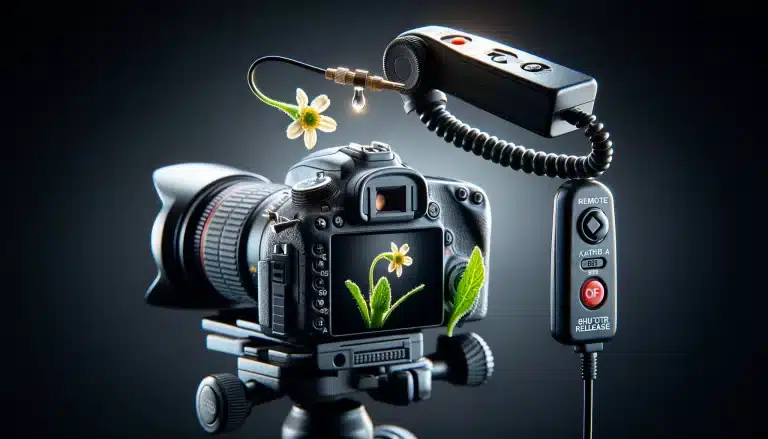
Remote Shutter Release
Even the slightest movement can blur close-up shots. A remote shutter release allows you to take a photo without touching the camera, reducing the risk of camera shake.
When photographing a spider weaving its web, the slightest disturbance could ruin the shot. By using a remote shutter release, you can trigger the camera from a distance the moment the spider aligns perfectly within its web, ensuring the image remains sharp and clear.
Essential Macro Photography Equipment
| Equipment Type | Purpose | Notes |
|---|---|---|
| DSLR/Mirrorless Camera | High-quality images, manual settings | Interchangeable lenses |
| Compact Camera | Casual macro photography | Integrated macro mode |
| Macro Lens | True macro photography | 1:1 magnification ratio |
| Extension Tubes | Increase lens magnification | Cost-effective, no optical element |
| Reversing Rings | High magnification with standard lens | Inexpensive, manual focus |
| Ring Flash/LED Light | Even, diffused lighting | Minimizes shadows |
| Tripod | Stability | Essential for sharp images |
| Focusing Rails | Fine aiming adjustments lens | Precise positioning |
| Remote Shutter Release | Prevents camera shake | Essential for clarity |
Manual Focusing in Macro Photography
Manual focusing is a critical skill in close-up shots, where precision is paramount to capturing the intricate details of tiny subjects. Let’s delve into why manual aiming is preferred and how it can be mastered for stunning macro shots.
Precision Control
In close-up shots, the depth of field is extremely shallow. Manual focusing allows you to pinpoint the exact part of your subject that you want in sharp focus, such as the eye of a bug or the dewdrop on a petal.

Enhancing Creative Expression
Using manual focus allows for creative effects such as selective focus, where only a specific part of the subject is in focus while the rest fades into a soft blur. This technique can highlight fascinating details and create a more dramatic impact.
Techniques for Improved Manual Focusing
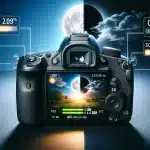
- Using Live View and Zoom: Many cameras offer a live view mode that can be used in tandem with manual focusing. Zooming in on the live view screen provides a closer look at the focus area, allowing for more precise adjustments.
- Focus Stacking for Greater Depth: For objects that require sharpness across a broader area, focus stacking involves taking multiple shots at different focus points and combining them in post-processing to create an image with greater depth of field than a single shot could achieve.
- Stabilization is Key: To ensure the sharpness of your manually focused shots, use a tripod or other stabilization methods to prevent camera shake. This is especially important in macro photography, where even the slightest movement can blur your carefully focused image.
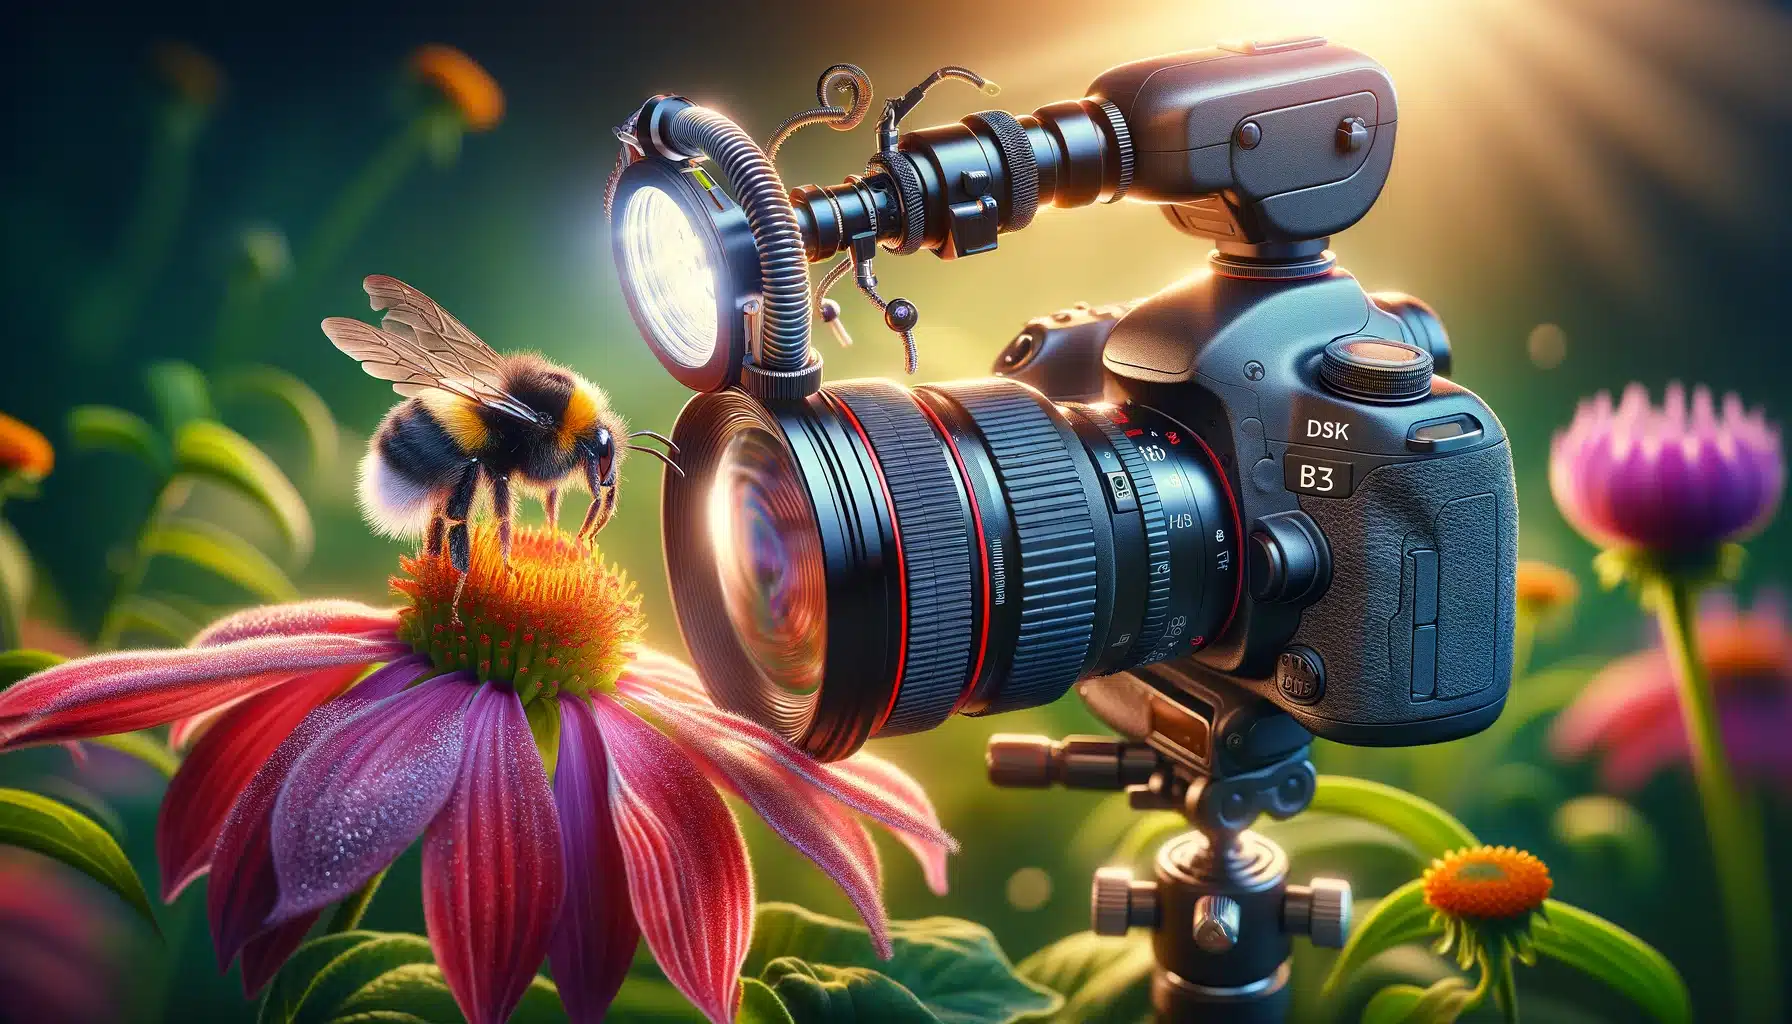
Real-Life Application
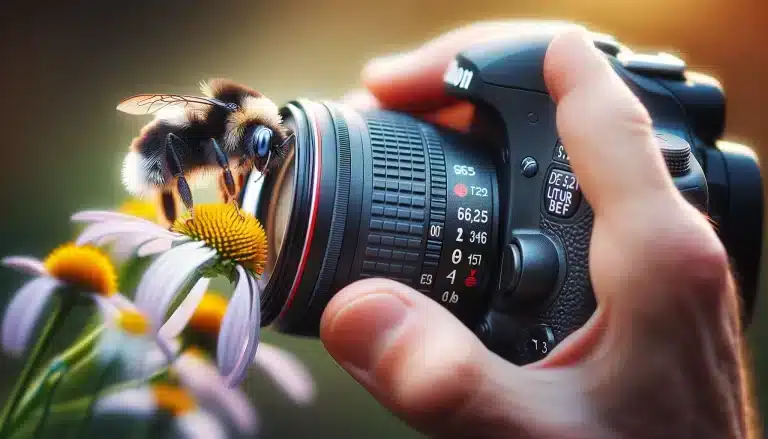
Consider photographing a bumblebee on a flower. The autofocus might lock onto the flower instead of the bee. It might struggle to find focal point at all due to the complex, detailed nature of the scene. By switching to manual focus, you can ensure that the bee’s eyes, are in sharp focus.
The Magnification Ratio Explained
Understanding the magnification ratio is crucial for delving into the world of close-up shots. It is important especially when your substances are as minute and detailed as bugs. Magnification ratio is the relationship between the real size of the subject and its size on the sensor.
Real-World Application:
- Achieving a 1:1 magnification ratio means the insect will appear on your DSLR's sensor at its actual size. This level of detail can reveal the texture of an insect's wings or the patterns in its eyes. These are often invisible to the naked eye.
- To capture these details, you might need to add extension tubes to your Canon lens. It effectively decrease the minimum aiming distance and allows you to get closer to your subject. The image quality stays the same.
Adjusting Camera Settings:
Adjusting your DSLR settings is essential to keep the focus sharp and the substance well-lit. Using a glare can help illuminate the intricate details of bugs, adding clarity and depth to the image. However, it’s important to change the flash settings. This is because of avoiding overpowering the natural beauty of the subject with harsh light.
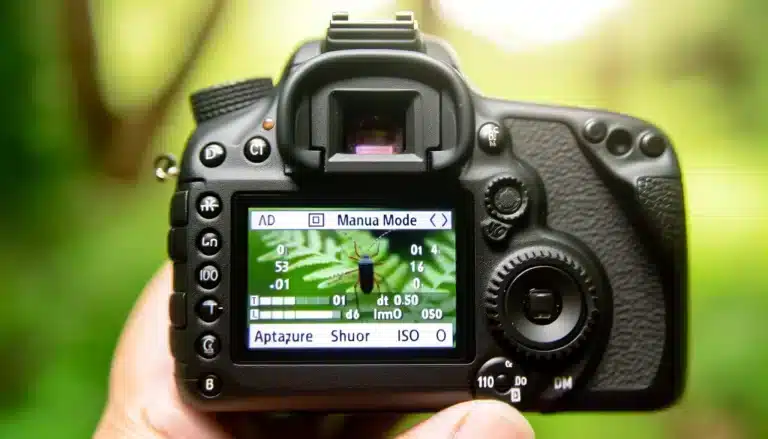
To ensure the insects are captured in their natural habitat with the utmost clarity, photographers often keep their Canon DSLRs on manual mode. This allows them to change settings like aperture, shutter speed, and ISO according to the lighting conditions and the behavior of the bugs. Learn more about How to use manual mode.
Technical Considerations:
When working with a DSLR, especially models from Canon known for their macro capabilities, it’s vital to understand how lens choice and camera settings affect the magnification ratio. Adding specialized macro lenses or using accessories can significantly enhance the quality of your close-up shots.
The key is to work with your equipment, experimenting with different settings and accessories to find the perfect balance. Whether you’re adjusting your Canon camera’s settings or deciding how to position your flash, each decision impacts the final image.
Macro Photography: As a Work of Art
Mastering the magnification ratio opens up a new dimension of creativity and technical skill. By understanding how to manipulate your DSLR equipment, you can transform ordinary substances into extraordinary works of art. It is revealing the unseen world that exists all around us.

Macro Photography Tips and Tricks
Understand Your Subject
- Anticipate Movement: For shooting insects, knowing when they are most active will help you capture dynamic photos. Photographers who understand a butterfly's activity patterns can capture it in flight, showcasing its beauty.
Use the Right Equipment
- Choose the Best Aperture: A macro lens with a wide aperture allows for detailed close-up shots with a shallow depth of field. Using an aperture of f/2.8 will blur the background and make a spider on a leaf the focal point of your photo.
Lighting is Key
- Natural Light Over Flash: Whenever possible, utilize natural light to illuminate your substance softly. Shooting a dewdrop on a flower at dawn can capture the delicate glow without harsh shadows.
- Diffuse Your Flash: If using a flash, diffusing it will soften the light for more even exposure. A diffused glare can prevent the harsh glare often seen on shiny acarids, preserving the natural colors.
Focus on Composition
- Apply the Rule of Thirds: Positioning your subject off-center makes the photo more engaging. Placing a ladybug at the intersection of thirds in your frame creates a balanced and compelling image.
- Simplify the Background: Choose backgrounds that won't distract from your subject. A plain, green backdrop can make a colorful flower stand out even more in your photos.
Master Your Camera Settings
- Manual Mode Mastery: Controlling your settings manually can yield the best results. Adjusting your DSLR manually to a slower shutter speed can capture the entire scene in focal point when shooting stationary subjects.
- Experiment with Aperture Priority: This mode lets you concentrate on aperture adjustments while the camera handles shutter speed. Setting your aperture priority to f/11 will ensure the intricate details of a butterfly's wings are in sharp focus.
Post-Processing
- Enhance Details Subtly: Use software to make minor adjustments that highlight your subject's textures. Slightly increasing the sharpness in post-processing can make the fine hairs on a bee more visible.
Practice and Patience
- Patience in Shooting: Waiting for the perfect moment can make all the difference. Photographers who patiently wait for a raindrop to fall from a leaf can capture a moment. It feels both dynamic and serene.
- Continuous Experimentation: Trying new techniques and settings can lead to unique photos. Experimenting with different shooting angles might reveal a fascinating pattern in the eyes of a fly that wouldn't be visible from a direct front shot.
Utilizing these tips and incorporating the keywords effectively will improve your high-magnification photography skills. Moreover, it also enrich the variety and quality of your photos, capturing the essence of the miniature world with clarity and creativity.
Conclusion
For enthusiasts looking to delve deeper and refine their macro photography skills, professional guidance can significantly enhance your artistic journey. Consider exploring comprehensive courses tailored to equip you with advanced knowledge and techniques. The Photoshop and Lightroom courses offered at Lightroom-Photoshop-Tutorials provide invaluable insights into editing, photo management, and enhancement, catering to photographers at all skill levels.
Take your close-up shots to the next level by discovering courses designed to transform your captures into visual masterpieces. Explore the Photoshop course and Lightroom course, and embark on a journey to elevate your photography skills today.