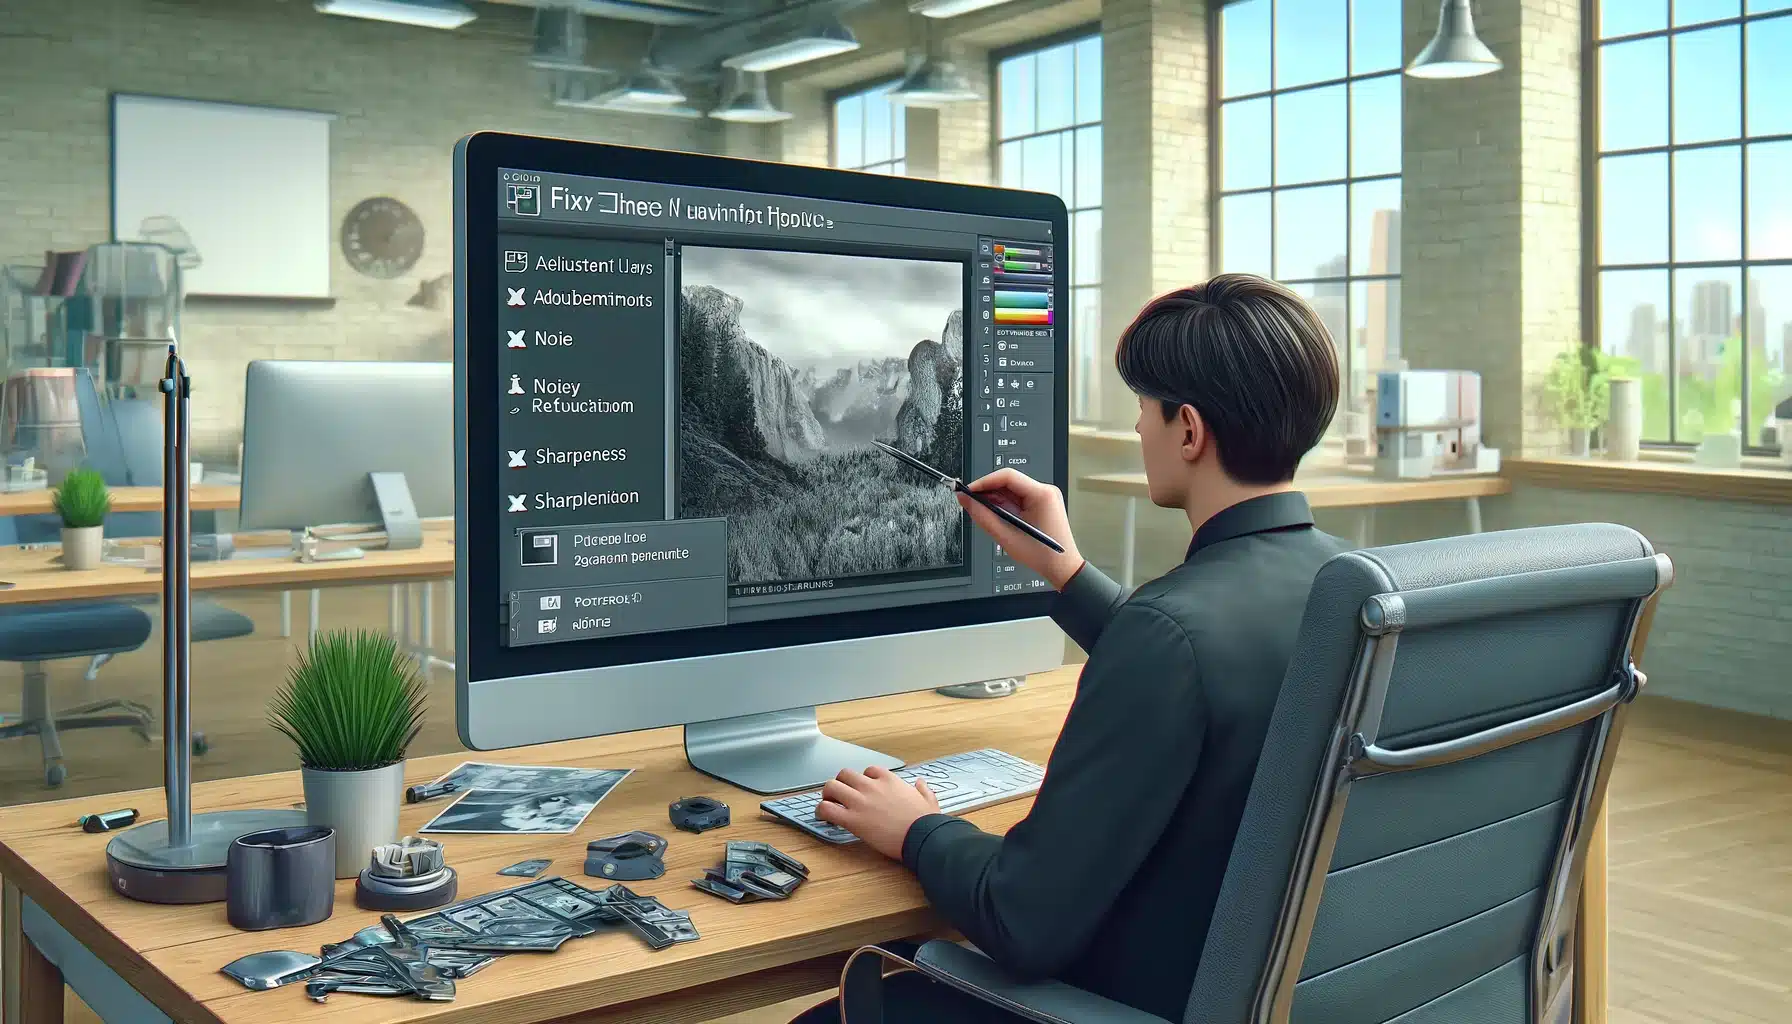
Introduction to How to Fix Grainy Photos in Photoshop
Do you know how to fix grainy photos in Photoshop. Grainy photos are a common frustration for both amateur and professional photographers. This issue often arises when shooting in poor light conditions, leading to unwanted noise, whether pre-existing or added noise, that detracts from the overall clarity of the image. For instance, imagine capturing a beautiful sunset scene only to find that the resulting photo is marred by a noticeable graininess, diminishing the vibrancy and detail of the moment.
What Are the Best Softwares for Fixing Grain?
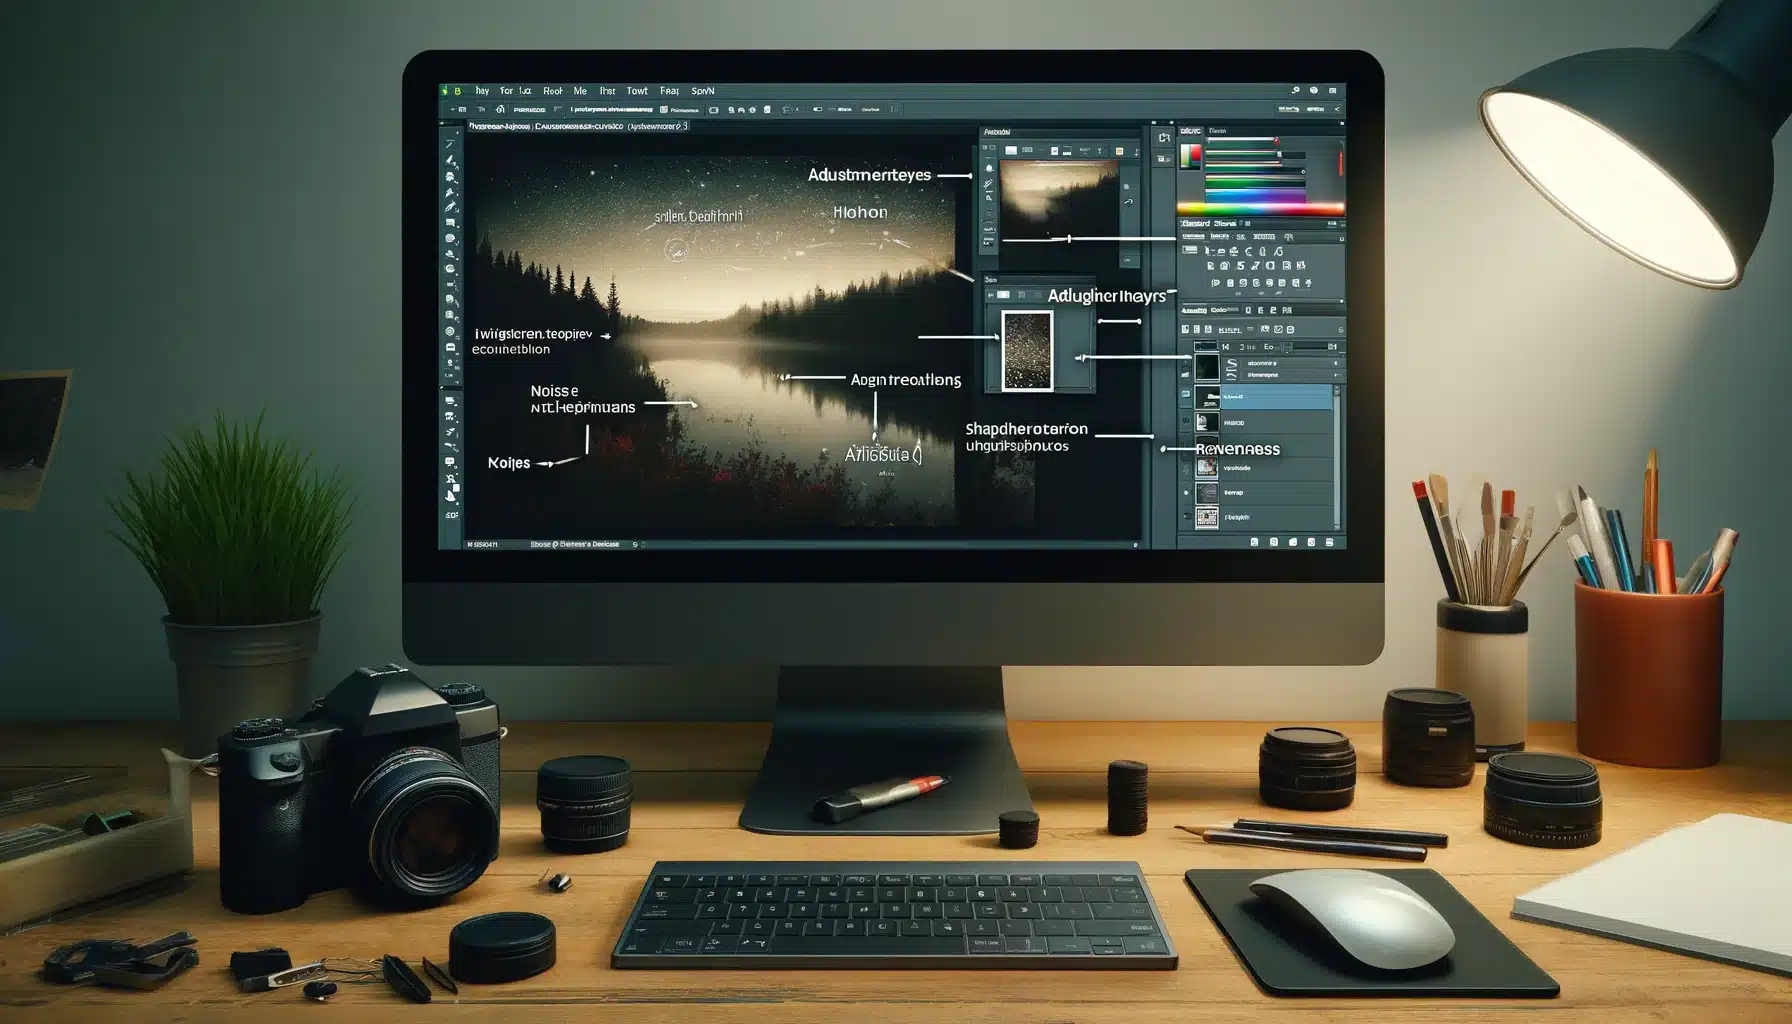
Photoshop offers robust utilities to fix grainy photos, transforming them into crisp, clear images. Through a series of adjustments and filters, users can significantly minimize noise and enhance the photo’s resolution.
When dealing with grainy photos in Photoshop, the recovery process involves careful adjustments to diminish noise and restore image clarity. Data extraction from grainy images requires specialized techniques to salvage details while minimizing distortion.
Repairing grainy files often involves utilizing filters and tools within PS to enhance sharpness and smooth out the overall texture of the image.
Another great option for quickly fixing noisy images is Winxvideo AI.
This AI-powered tool allows you to enhance low-resolution images, restore old, noisy, or blurry photos, and even upscale them to 4K/8K/10K. It’s a fast, automated solution that complements Photoshop’s manual tools.
In the quest to repair grainy photos, meticulous attention is given to recovering lost details, extracting essential data, and utilizing tools for effective file repair.
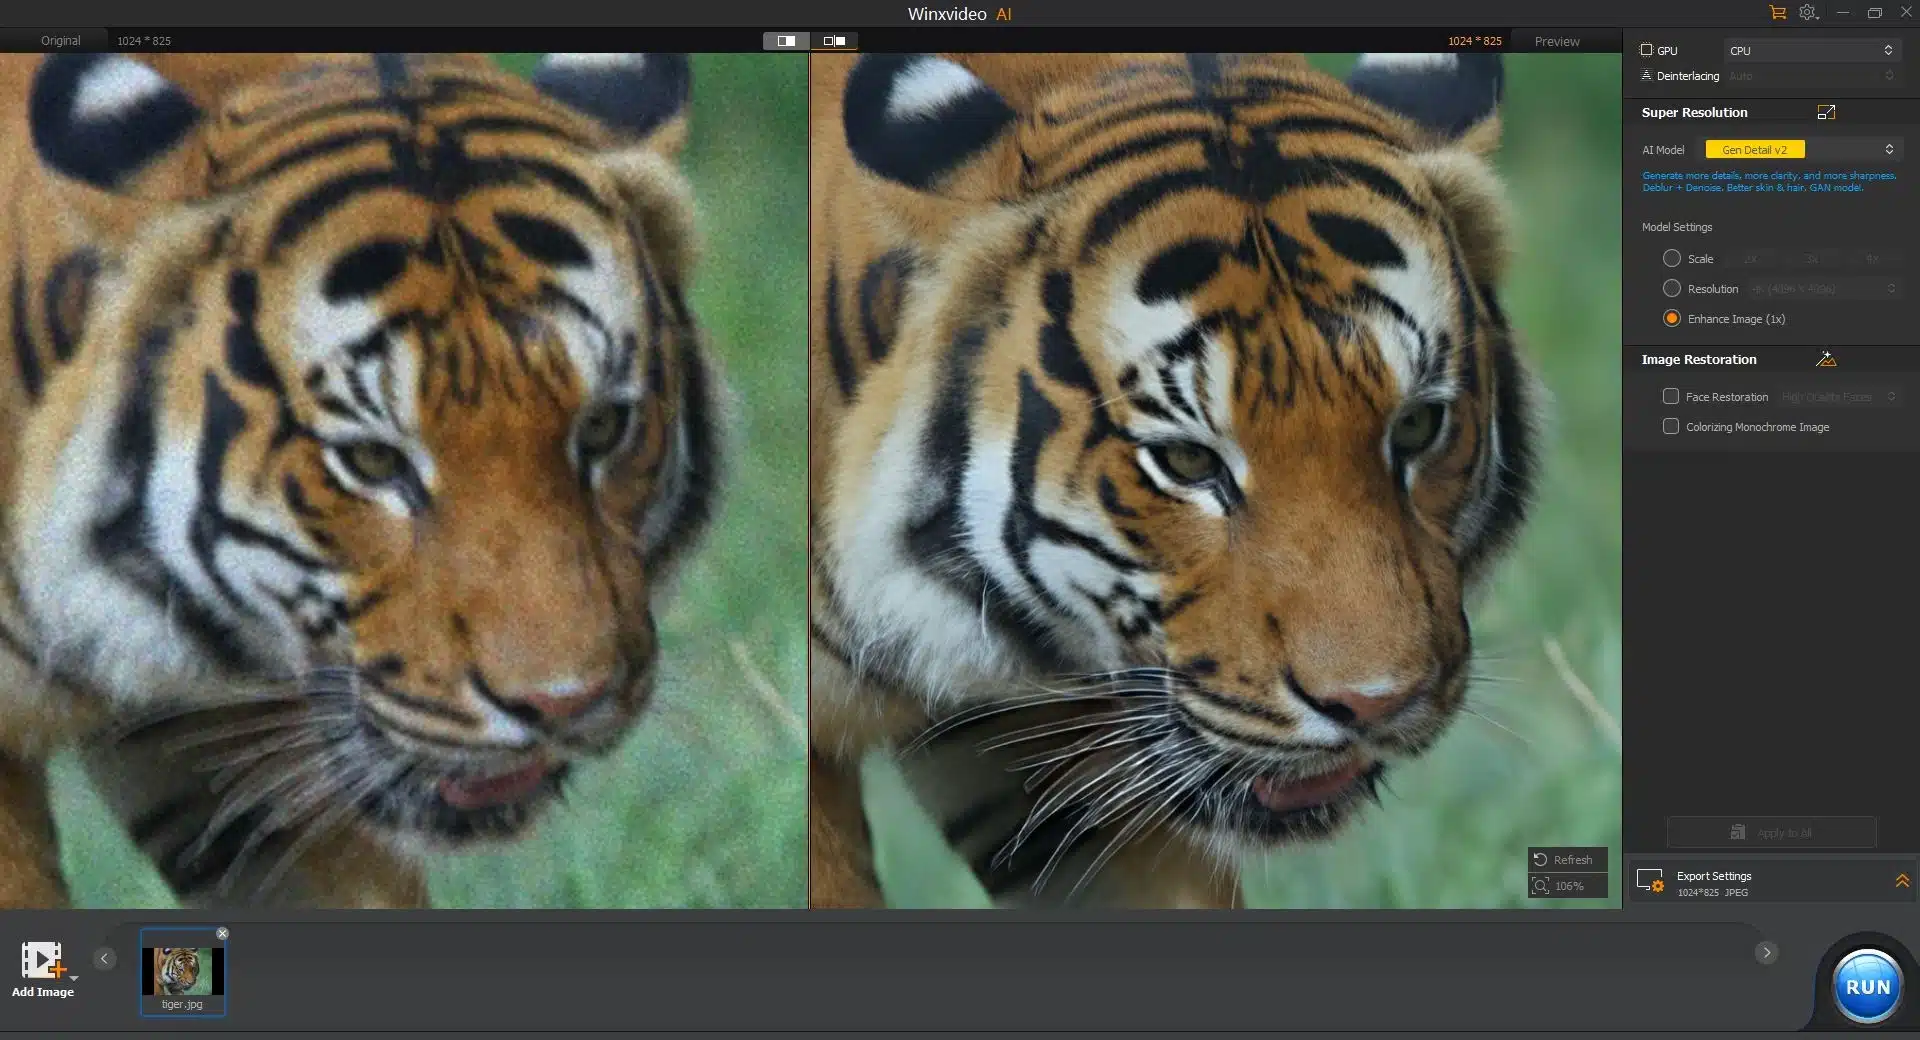
Table of Contents
Understanding Graininess and How to Fix Grainy Photos in Photoshop
Graininess in digital photos refers to the appearance of tiny specks or dots that can make an image look rough and less sharp. This usually happens when there’s not enough glare for the camera sensor, leading to a high ISO setting. An elevated ISO makes the camera more sensitive to light but also adds noise or grain. Think of it as trying to see in the dark; you might make out shapes, but the features are lost and everything looks a bit fuzzy. In the world of photography, capturing images with less brightness often results in this grainy texture, especially noticeable in darker areas of a picture.
Here’s a simple table to illustrate common scenarios where graininess can occur, the cause, and the ISO setting typically involved:
| Scenario | Cause of Graininess | Typical ISO Setting |
|---|---|---|
| Indoor limited light | Insufficient natural lighting | Increased (ISO 3200+) |
| Evening outdoor events | Decreased ambient lighting | Medium to Higher (ISO 800-3200) |
| Fast action in dim areas | Need for fast shutter speed | More (ISO 1600+) |
Common Reasons for Grainy Photos

Low Resolution and High ISO
- Low-resolution images tend to become pixelated when enlarged. Ensure your camera configurations are for the highest possible resolution to avoid pixelation.
- Elevated ISO Options increase sensitivity to light, useful in poor light conditions but can cause graininess. Lower the ISO setting when possible to minimize noise. This step is essential before using Photoshop. It lays the groundwork for effectively applying the "how to fix grainy photos in Photoshop" techniques, ensuring better end results.
Improper Camera Settings
- Inadequate lighting forces the camera to compensate, often leading to grainy photos. Use proper lighting or adjust the camera options to suit the environment.
- Fast shutter speeds in dim lighting can result in grainy images. Slowing down the shutter speed allows more light in, reducing the need for increased ISO preferences. This adjustment makes the process of "how to fix grainy photos in Photoshop" more straightforward, preserving the image’s detail and standard.
Post-Processing Overexposure
- Over-editing images can lead to pixelation. When fixing grainy photos in Photoshop, use adjustments sparingly to maintain image quality.
- Aggressive noise shrinkage can blur elements and cause pixelation. Reduce image grain in Photoshop by Using noise shrinkage tools judiciously to maintain the balance between noise elimination and detail preservation.
Remove Noise in Photoshop by Using Noise Reduction Filters
Step 1: Open the Image and Duplicate the Layer
First, open your grainy photo in Adobe PS. Duplicate the layer to preserve the original image. This way, you can compare the edited version with the original and undo changes if necessary.
Step 2: Access Noise Reduction
Navigate to the menu and select Filter > Noise > Reduce Noise. This opens the noise decline configuration where you can control the amount of noise decline applied to the image.
Step 3: Adjust Noise Reduction Preferences
In the above dialog box, adjust the Strength, Preserve Details, decline Color Noise, and Sharpen sliders. Increase the Strength to decrease more noise, but be careful not to lose important things in the image. Use Preserve Details to maintain texture and sharpness.
Here’s a table summarizing the process:
| Step | Action | Tool/Menu | Purpose |
|---|---|---|---|
| 1 | Open and duplicate the image | Layer duplication | Preserve the original image |
| 2 | Access noise reduction | Filter > Noise > Decrease Noise | Open noise reduction settings |
| 3 | Adjust noise reduction Preferences | Decrease Noise Configuration | Control noise level and preserve elements |
| 4 | Preview and apply changes | Preview pane | Compare and apply the optimal noise reduction |
| 5 | Fine-tune with additional tools | Healing Brush, Clone Stamp | Spot corrections and detail enhancement |
Adjusting Exposure and Contrast to Enhance Photo Clarity in Photoshop
1: Evaluate the Image's Exposure Levels
Start by examining the exposure of your grainy picture in Photoshop. If the image is underexposed (too dark), it can accentuate the noise. Open the image in the software and consider the overall brightness and darkness. This evaluation is the first step in how to fix grainy pictures in Photoshop, as it sets the stage for the adjustments needed.
2: Adjust It to Improve Image Quality in Photoshop
To fix grainy pictures in Photoshop, navigate to the Image menu, then Adjustments, and select Exposure. In its dialog, adjust the Exposure slider to brighten or darken the image as needed. This part helps in correcting the brightness levels, which can minimize the appearance of grain.
3: Fine-Tune the Contrast
After adjusting the illumination, tweaking the contrast can further help in how to fix grainy photos in Photoshop. Go to Image > Adjustments > Brightness/Contrast. Increase the contrast slightly to deepen the shadows and enhance the highlights, making the image pop while keeping the grain less noticeable.
4: Use the Shadows/Highlights Adjustment
For more control over specific areas of your image, use the Shadows/Highlights tool found under Image > Adjustments. This tool allows for targeted adjustments in the shadow and highlight regions, which can be very effective for reducing noise in those areas specifically. This nuanced approach is integral to how to fix grainy photos in Photoshop, as it addresses the noise in the areas where it’s most prevalent.
Pro Tip: Learn how to fix grainy photos in Lightroom as well for an even better skillset.
5: Refine with Curves or Levels
Finally, to precisely control the tonal range and further decrease graininess, use the Curves or Levels adjustment (found in Image > Adjustments). These utilities allow for more detailed control over the image’s brightness and contrast, helping to decrease noise in PS while enhancing overall detail and texture.
Utilizing Sharpening Tools to Smooth Out Pixels in Photoshop

Step 1: Open Your Image in Photoshop
Begin by loading your grainy image into Photoshop. This is your canvas where you’ll refine the features and enhance photo clarity in Photoshop.
Step 2: Select the Sharpening Tool
Navigate to the Filter menu, choose Sharpen, and then select Smart Sharpen or Unsharp Mask. These resources are designed to enhance the elements without overly increasing the graininess.
Step 3: Adjust Sharpening Options
In the sharpening tool dialog, you’ll find Options like Amount, Radius, and Threshold. Experiment with these sliders to increase sharpness while monitoring the grain. The goal is to clarify the elements without making the grain more prominent.
| Tool/Feature | Ideal Usage Context | Strengths | Tips for Best Results |
|---|---|---|---|
| Smart Sharpen | Detailed work on portraits and landscapes | Precise control over sharpening areas | Use a little radius to avoid emphasizing grain |
| Unsharp Mask | General sharpening for various types of images | Enhances edge contrast | Increase threshold to prevent sharpening noise |
| Increased Pass | Subtle sharpening effect and enhancing textures | Great for textured surfaces | Overlay blending mode refines contrast |
| Edge Sharpening | Focusing on edges without affecting overall image | Targets only the edges of elements | Use with a layer mask to apply on specific areas |
| Camera Raw Filter | Comprehensive image editing and sharpening | Integrates noise reduction and sharpening | Adjust detail and masking sliders to fine-tune |
Exploring Color Noise Reduction: Preserving Color Accuracy

To explore colour noise decline in Photoshop and maintain colour accuracy, which is key for how to fix grainy photos in Photoshop, here’s a simplified approach:
- Open Your Image: Begin with opening your grainy photo in Photoshop. This is your starting point for enhancing the picture.
- Locate the Noise Reduction Tool: Find the Noise Reduction tool by navigating to Filter, then Noise, and selecting Reduce Noise. This tool is essential for addressing the chromatic speckles that affect your photo's colour integrity.
- Adjust the Color Noise Slider: In the dialog box, you'll see a slider for color noise. Moving this slider helps to eliminate the random color dots that contribute to the grainy appearance of your image. This part is a delicate balance in the process of how to fix grainy photos in Photoshop because it focuses on removing the color noise without affecting the overall colour balance.
In this process of how to fix grainy photos in Photoshop, focusing on color noise reduction helps preserve the photo’s natural colors, making the image appear cleaner and more pleasing to the eye.
Preventative Tips for Cleaner Images in Future Shots

Optimize Lighting Conditions
Shooting in areas with enough illumination can significantly minimize graininess. More light means you can use a lower ISO, which decreases noise. Aim to capture your photos during the day or in well-lit rooms.
Stabilize Your Camera
Using a tripod or placing your camera on a stable surface helps prevent blurriness and allows for longer radiance times. This means you can shoot with lower ISO values, reducing the risk of grainy images.
Select the Right ISO
Always start with the lowest ISO setting that provides a clear image. Higher ISO levels can introduce noise, so only increase the ISO when absolutely necessary to get a properly exposed shot.
Choose RAW Format
Shooting in RAW captures more information and gives you more flexibility when editing. This means you can adjust illumination and decrease noise and improve image standard.
Maintain Your Camera
Keep your camera clean, especially the lens and sensor, to prevent dust spots and other artifacts that can contribute to a grainy appearance in your photos. Regular maintenance ensures cleaner, clearer images.
FAQs: How to Fix Grainy Photos in Photoshop
How do you make grainy photos clear?
Use noise reduction filters and adjust settings such as contrast, and sharpness to improve image results and decrease image grain. Experiment with different tools and techniques until you achieve the desired result.
How to remove grains from photos in Photoshop?
To remove grain or noise from a photo in PS, you can use the ‘Reduce Noise’ filter. Go to Filter > Noise > Reduce Noise, and adjust the sliders to smooth out the grain while preserving details. Additionally, using the ‘Dust & Scratches’ by Filter > Noise will also help decrease visible noise without affecting sharpness.
How do I fix bad quality photos in Photoshop?
Fixing bad photos can involve several steps depending on the issues. Start by adjusting the sharpness using Filter > Sharpen > Smart Sharpen. You can also improve lighting and color balance by using the Image > Adjustments options such as Levels and Curves to bring more life to dull photos.
How to fix dark grainy pictures?
To fix dark grainy pictures in PS, first brighten the image using Image > Adjustments > Brightness/Contrast or Levels. After adjusting the brightness, decrease the grain by applying the Reduce Noise filter from Filter > Noise. These adjustments should help in clarifying the picture and reducing graininess.
Can I use Lightroom instead of Photoshop to fix grainy photos?
Can I fix grainy photos taken with an iPhone directly on the device?
Yes, you can fix grainy photos taken with an iPhone using various apps available in the App Store. Some apps might offer one-click solutions to diminish noise and improve the file grade directly on your iPhone.
Conclusion
Concluding our exploration of how to fix grainy photos in Photoshop, I recall an instance when I tackled noisy night shots. Utilizing the methods we’ve discussed, like tweaking exposures, employing noise reduction filters, and utilizing sharpening resources, I successfully enhanced my images. This process not only improved their look but also underscored the potent editing capabilities of Photoshop. Moreover, it helped to smooth out pixels in Photoshop.
For those eager to delve into photo editing and refine their skills, our courses are the perfect resource. They cover everything from basic adjustments to sophisticated editing techniques, ensuring you can produce top-notch images. To embark on your photo editing journey and learn to transform grainy photos into striking, top-quality visuals, check out our Adobe Photoshop course and Adobe Lightroom course. Start your path to becoming a skilled photo editor today!
Have a nice photoshoot!
Learn more about Photo Editing with Lightroom and Photoshop
- Digital Photo Enhancement
- Image Noise Reduction
- Photo Sharpening Techniques
- Photoshop Editing Tips
- Photoshop Grain Correction
Course
Light Effect Photoshop
Lightroom Course 2025
Adobe Photoshop Course 2025
Photo Editing Course
Get the latest version of Photoshop & Lightroom


Download Your Free Guide Now!
Discover the secrets of photography with our printable guide! Master essential techniques like aperture, shutter speed, and ISO to create stunning images. Get your free printable PDF now and start turning your snapshots into masterpieces!


