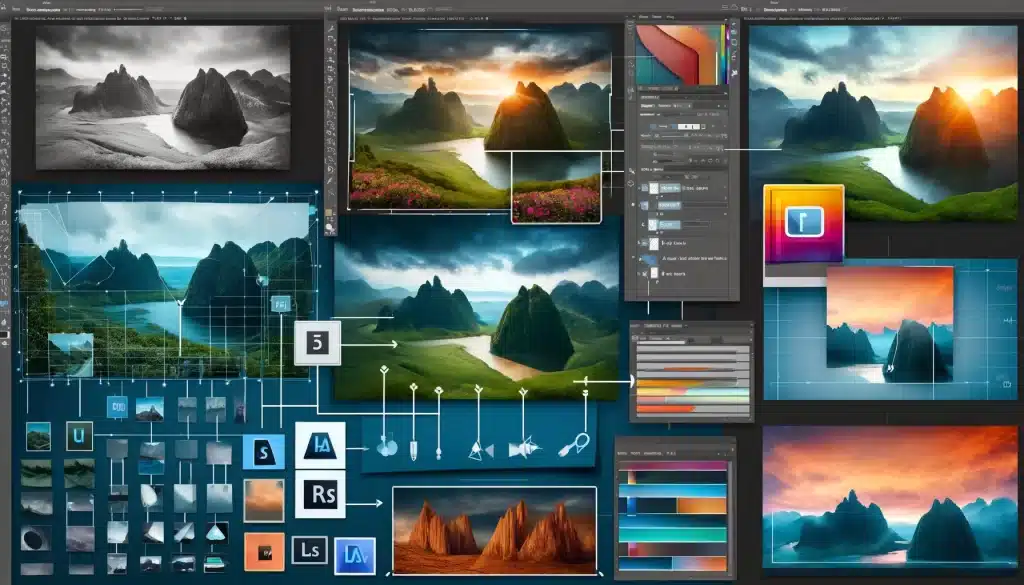
How to Edit Landscape Photos

It is said that the masterpieces are made in the editing rooms. Yet, it does not mean that you should depend entirely on it. An important thing to realize here is that editing is used to enhance what you have already created. So, if your initial image is already good, you will get better results with editing. Read along if you want to learn how to edit landscape photos like a pro.

Shoot in RAW

This is not exactly one of the post-processing tips but something to make your editing process better. An important thing to understand is that a RAW file saves thousands of more tones than a JPEG one. Therefore, shooting in RAW will allow you to have more control over the individual elements of the photo in the editing process. Moreover, try to edit in a RAW converter as well, it will help preserve the details that you get from shooting in RAW.

Lens Correction

No matter how much you spend on the lens, it will still have some minor flaws such as vignetting or some other kind of distortion. This mostly happens when you use a wide or an ultra-wide angled lens. Fortunately, RAW converters have default Profile Corrections for this. When you enable it, the software automatically detects the lens you used and applies corrections relative to the lens. It’s just as easy as it sounds.

Lens Flare - How to Edit Landscape Photos

Lens Flare is another thing that you need to be aware of while shooting. This happens when a light source is much brighter than the rest of the scene and it produces an uneven exposure. Try to take multiple photos of the same scene, one with the light source in the frame and another with the light source covered. What makes it one of the landscape photography editing tips is that you can blend the exposure in post-processing to get a good image.
How to edit landscape photos in Lightroom

Photo edited in Lightroom.

Use Dehaze Filter for Better Details

Dehaze Filter is another great addition to the RAW converter by Adobe. As the name suggests, it is designed especially for natural landscape photos to minimize the haze and bring out an insane amount of details. However, applying it globally can cause some undesirable changes in the contrast of the image. Therefore, apply it locally with the help of a Brush or even radial filter. 

Adjust White Balance - How to Edit Landscape Photos

For the most part, your camera can automatically adjust this if u select a preset such as Daylight, Cloudy, or any other. However, one of the best post-processing tips is that you can adjust it as much as you like in the editing process. Similarly, an advantage of shooting in RAW is that it allows you to adjust it without being destructive. You can use the presets for this purpose, but if you want more control, you should use Temperature and Tint sliders.

Watch the Color Tones and Saturation

This is among those landscape photography editing tips which can make or break your photo.

Firstly, you need to identify the primary and secondary colors in your image and then head into the HSL panel. It stands for Hue, Saturation, and Luminance. There, you need to adjust the Hue of individual colors. For instance, if you want to shift the tone of the sunset from yellow to reddish, you can do that as well.

Luminance can be used to darken or lighten some colors to make them pop. However, it may increase the saturation. Therefore, the next step is to lower the saturation a little bit.

Now, another thing that you can do to make the colors pop even more is to use the Vibrancy Slider. You may be tempted to increase the Saturation but that only acts on the primary colors. Vibrancy is best if you want better and even color tones.

Tweak Sharpening and Contrast - How to Edit Landscape Photos

You can do a lot with the sharpening of your landscapes. However, let us just keep it basic at this point. Most of the popular image editing software have sharpening presets that work fine most of the time. These presets come with sliders so that you get to adjust their value up to your preference. The other thing to remember while learning how to edit landscape photos is contrast. It can be done with the Burn and Dodge tool. Specifically, Burn will help you with the Shadow and Dodge with Highlights. However, you need not worry about these anymore. Remember the Dehaze Filter, well guess what, it produces the same effect as these tools.

Fine-Tune Aspect Ratio

Changing the aspect ratio of the image can also help with a better overall composition. Of course, you need to be very attentive while composing the image during the shoot. However, if there are minor flaws, you can use the Crop Tool to adjust the harmony of the image. An alternative post-processing tip to help with the composition is to use Warp Tool. You can find it in the Transform Tools and it allows you to drag the edges to adjust the image.

Learn from the Professional

Now you can become a true expert in all these tools with professional-level courses on Photoshop and Lightroom.

Conclusion - How to Edit Landscape Photos

The goal of this guide is to teach you how to edit landscape photos that amaze people, not make them think that they might be fake. So, a safe way is to not go overboard with the editing process and keep things natural. 

If the “How to Edit Landscape Photos” article has helped you, then Like and Share it with your friends!

Facebook
Twitter
LinkedIn
Pinterest

Have a nice photoshoot! 

Lightroom and Photoshop Tutorials

Photoshop Course
Lightroom Course
Lens Flare Effect
Lightroom & Photoshop Course