| Stage |
Stage Description |
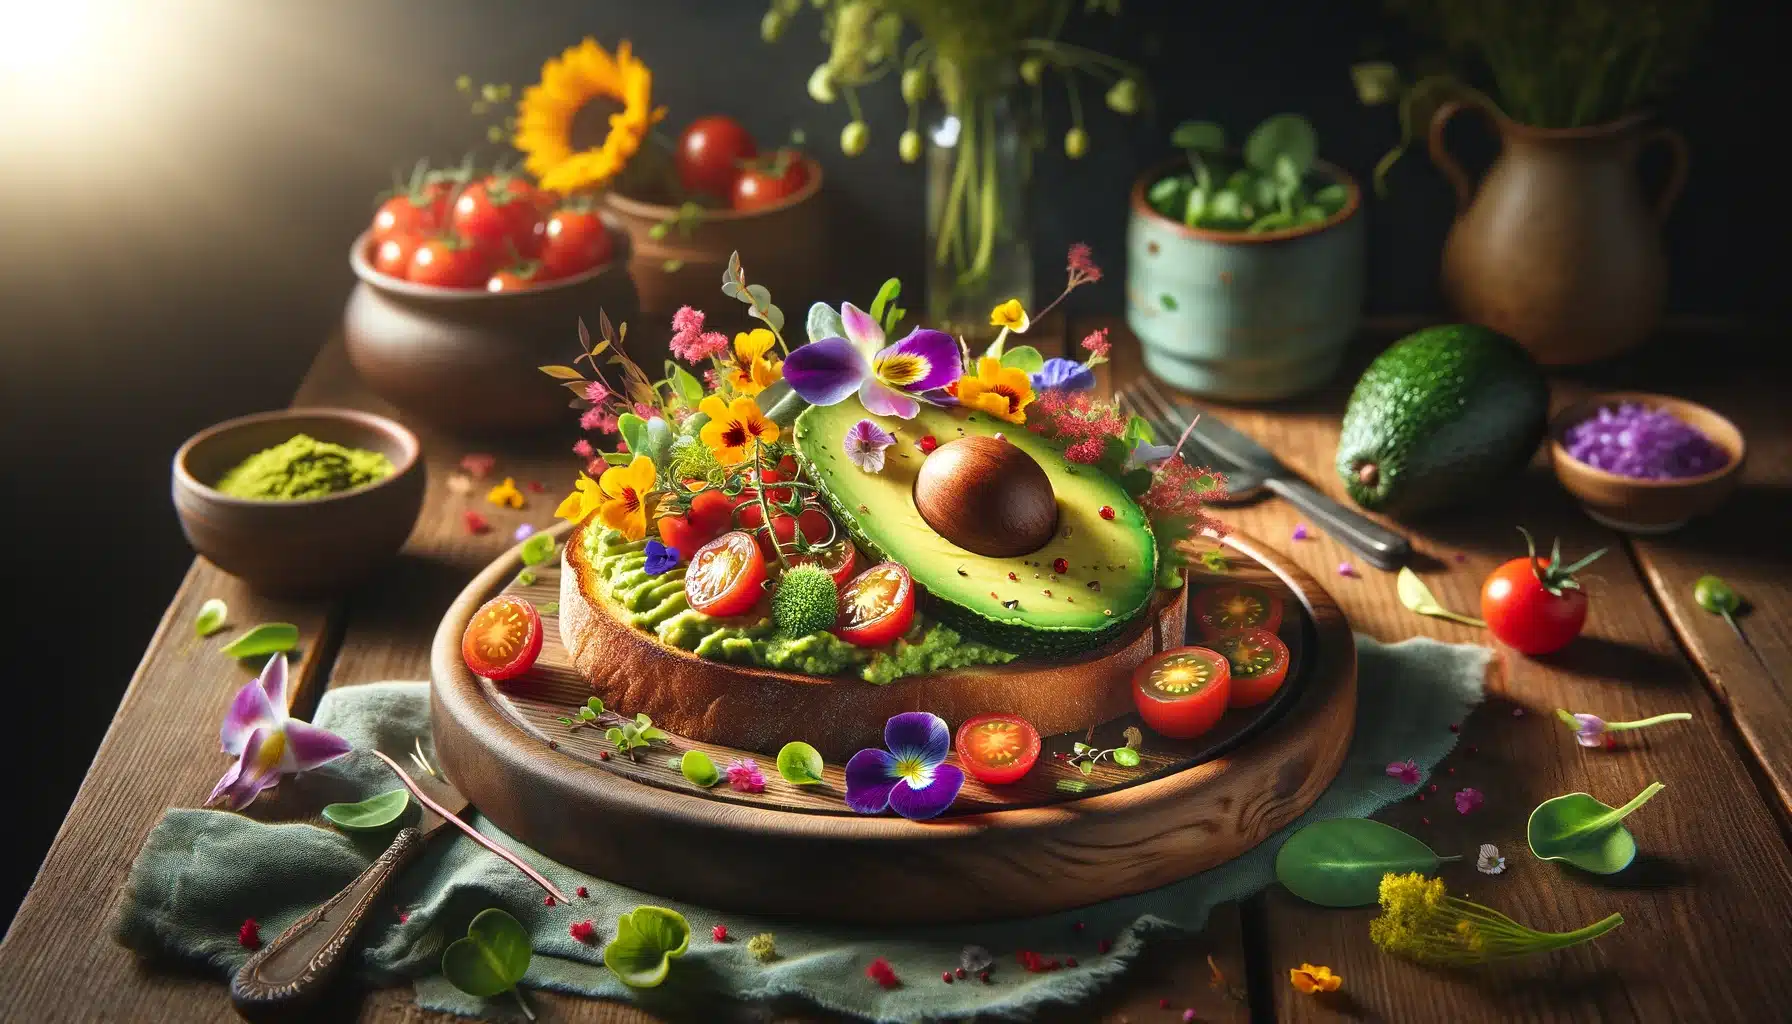
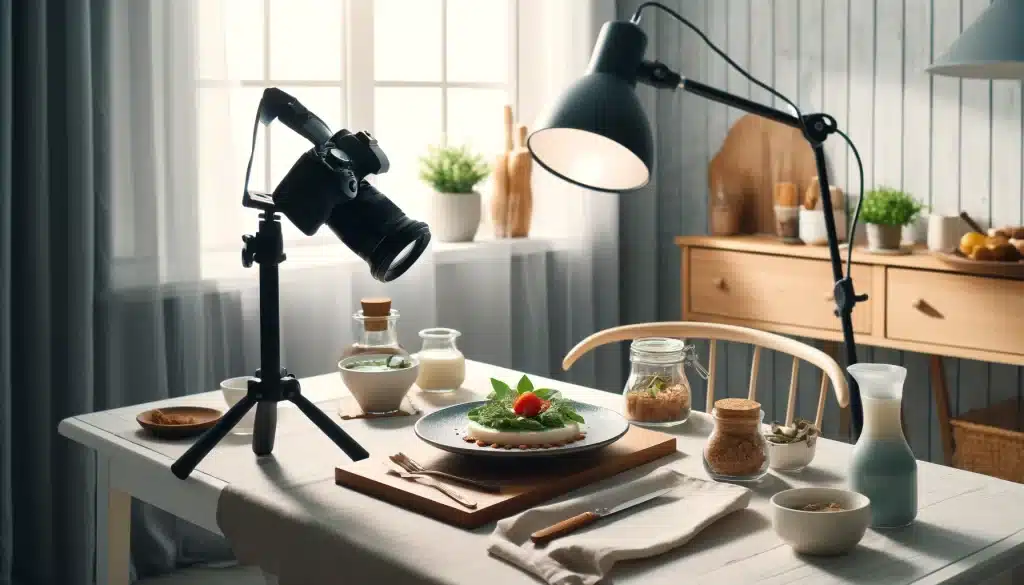
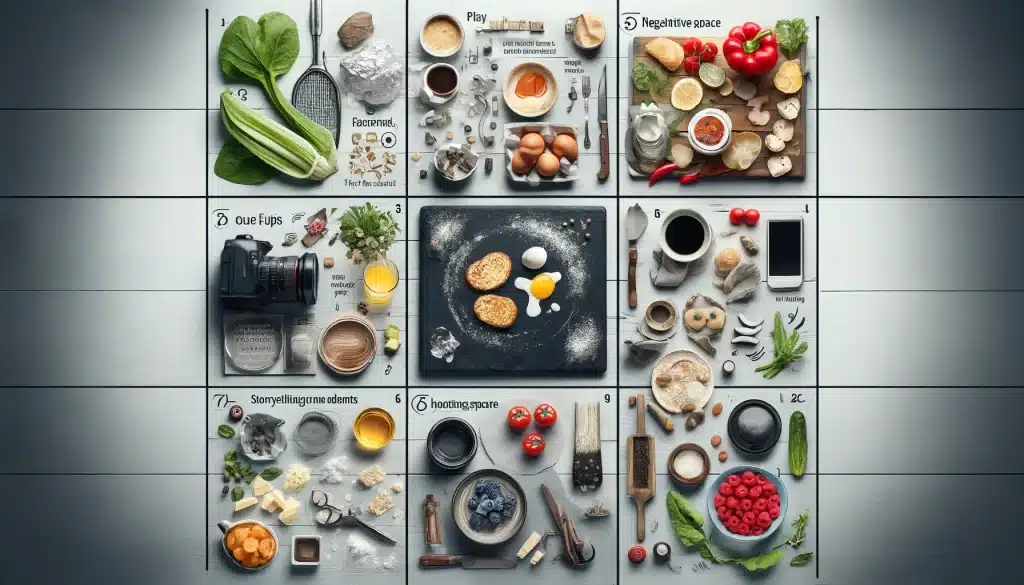
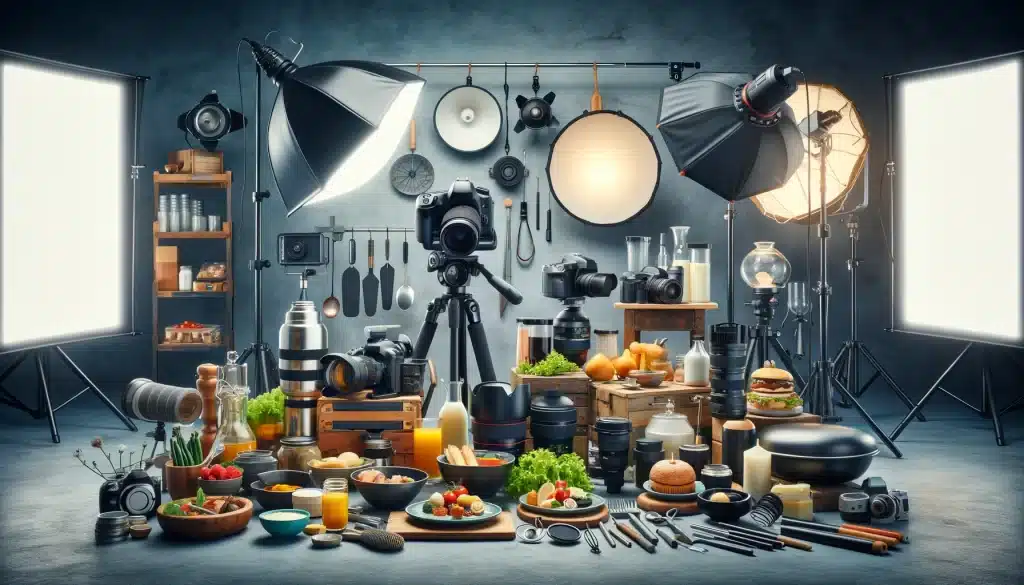
| Preparation |
Gathering ingredients, styling props, and setting up the scene for the perfect shot. |
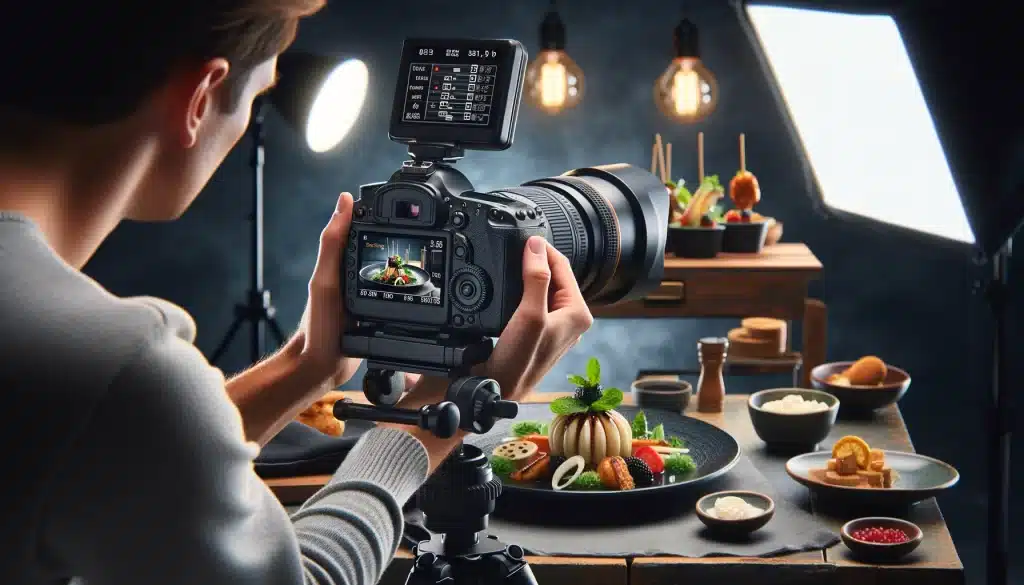
| Creativity |
Experimenting with angles, compositions, and lighting to capture unique and visually appealing images. |
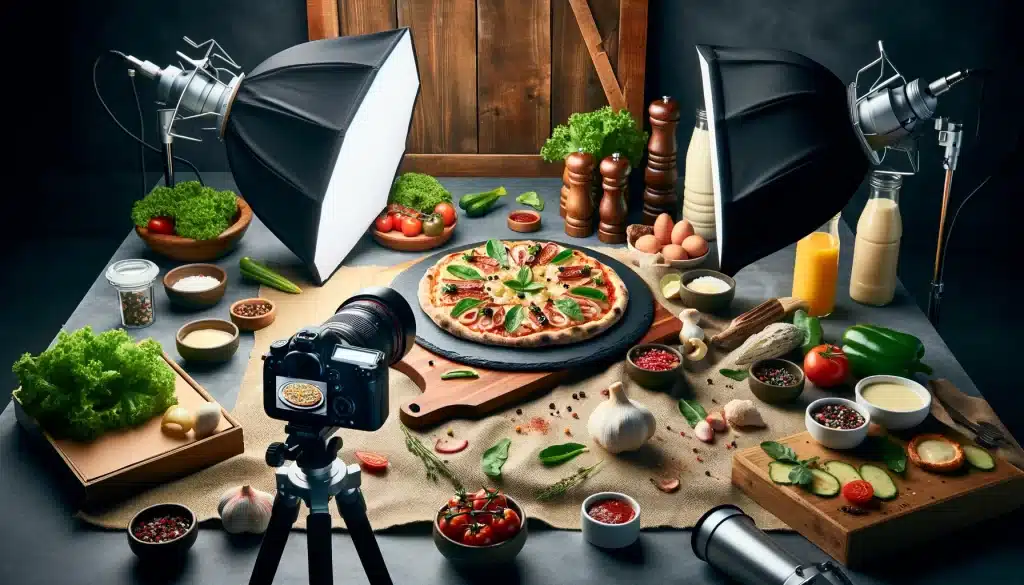
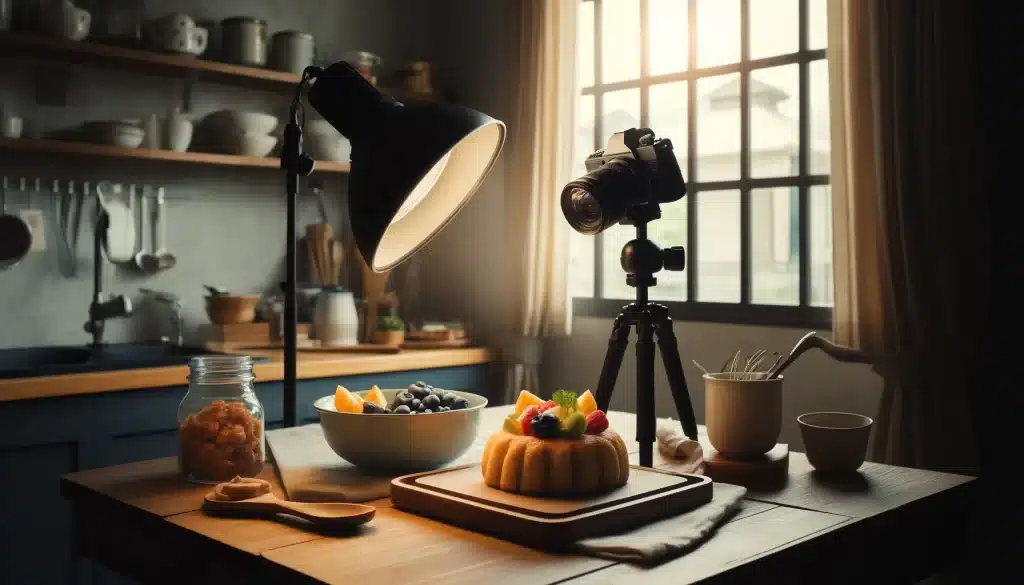
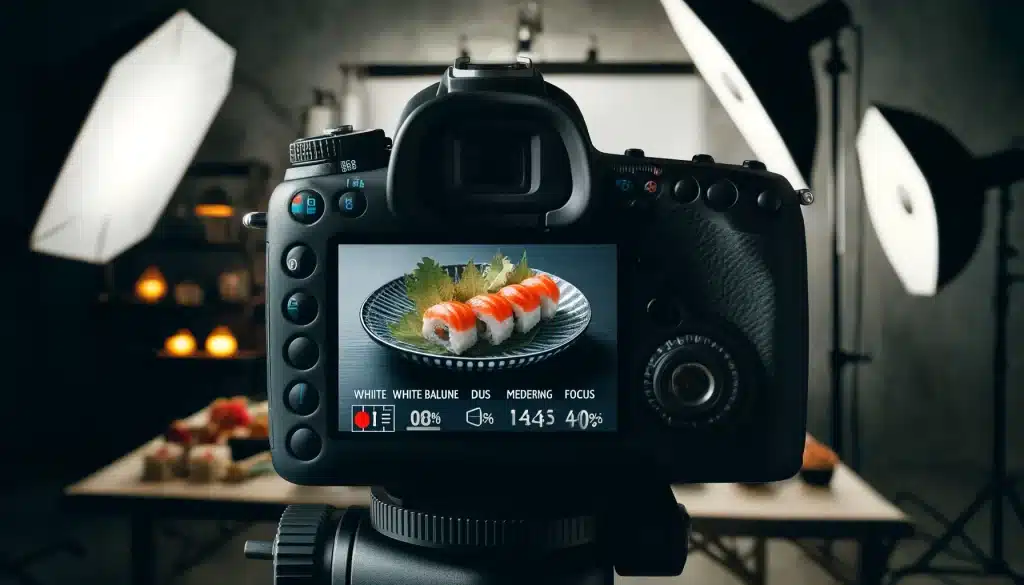
| Execution |
Using camera settings, techniques, and editing tools to bring out the best in food photos. |
| Presentation |
Showcasing the final images through online platforms, social media, and print media to engage and attract viewers. |
| Feedback |
Receiving feedback from viewers, clients, and peers to improve skills, refine techniques, and enhance future food photography projects. |
| Growth & Mastery |
Continuously learning, practicing, and evolving as a food photographer to achieve mastery and excellence in capturing culinary delights. |