Introduction to ISO Sensitivity
What is ISO Sensitivity in Photography?
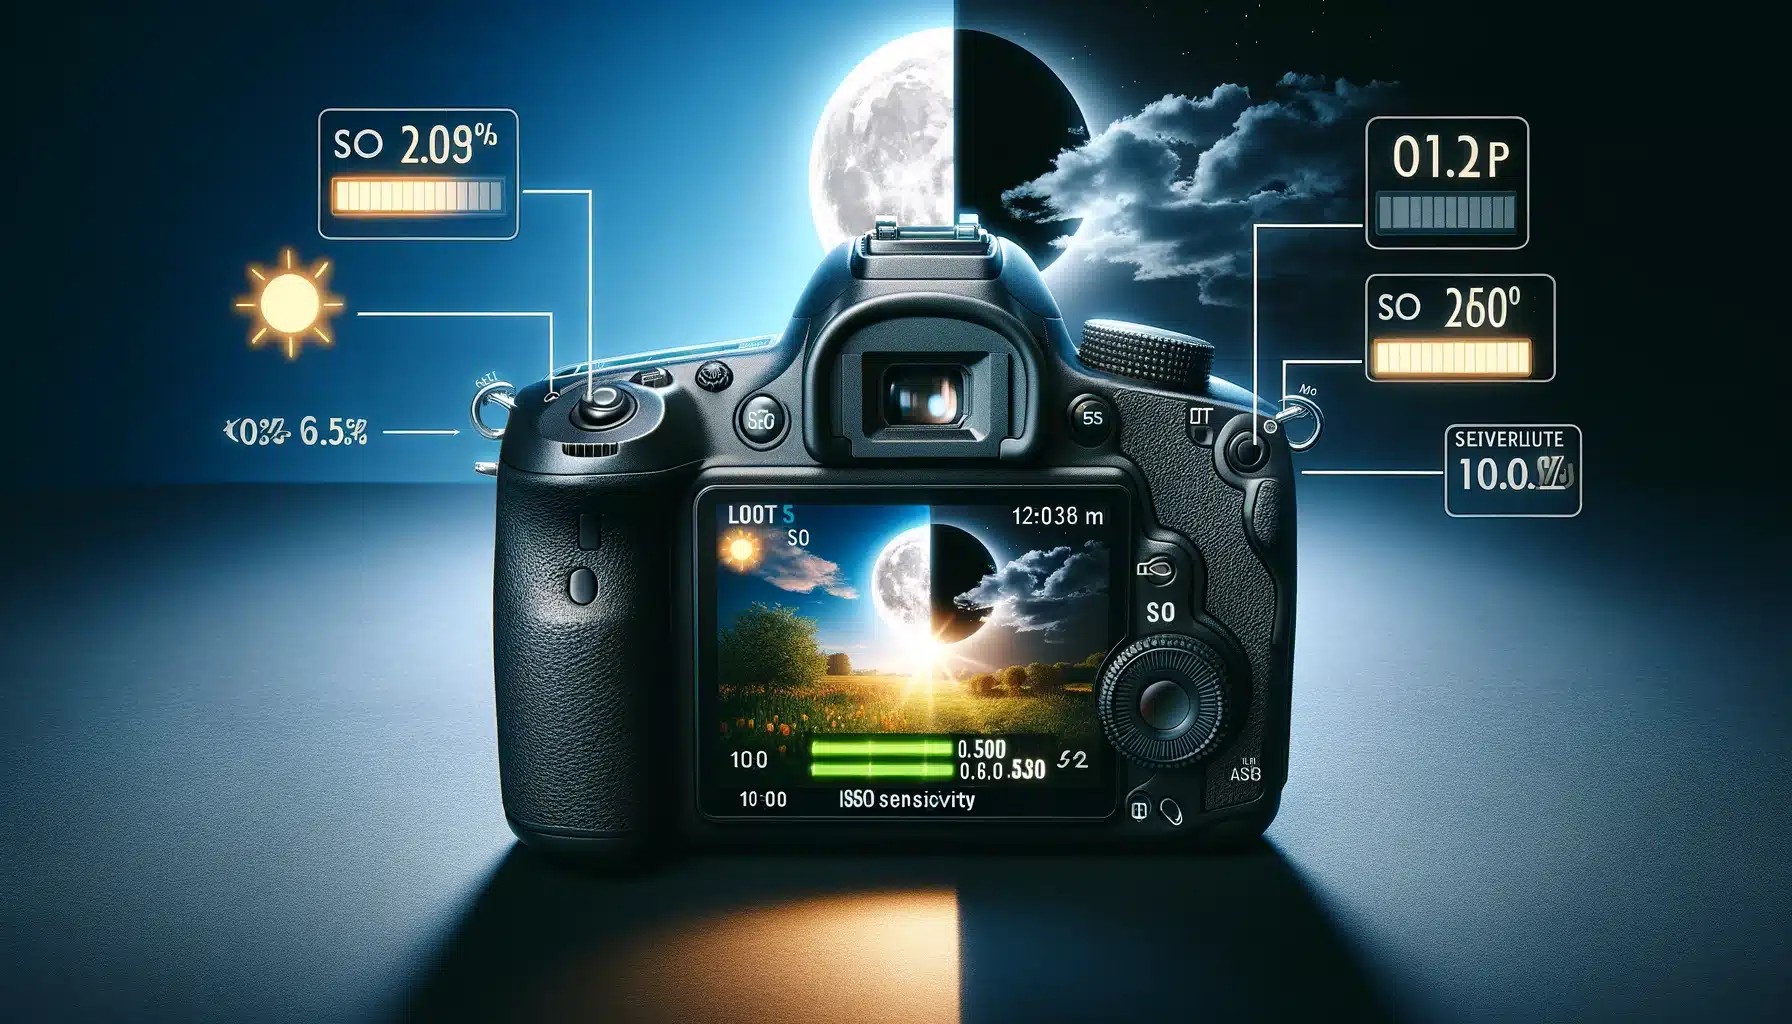
ISO sensitivity is a crucial concept in both digital and film photography that refers to the camera sensor’s sensitivity to light. Originally derived from the International Organization for Standardization, the ISO setting helps photographers control their camera’s exposure to light. Lower Camera ISO values (e.g., ISO 100) mean the sensor is less sensitive to light, ideal for bright conditions, whereas higher ISO values (e.g., ISO 3200) increase sensitivity, beneficial in darker settings. However, increasing ISO sensitivity can lead to more “noise” or graininess in the final image.
Example: In a bright outdoor setting, using a less ISO value like 100 will ensure your images are clear and free from unnecessary noise. Conversely, in a dimly lit indoor event, bumping the ISO up to 1600 or higher can help capture details without the need for additional lighting.
ISO digital sensitivity, shutter speed, and aperture together form the exposure triangle, a fundamental concept in photography. Understanding how these elements interact allows photographers to capture well-exposed photos under various lighting conditions. Shutter speed controls the duration of light exposure and aperture adjusts the lens’s opening size. Balancing these elements is key to achieving the desired photographic effect.
Table of Contents
How ISO Sensitivity Affects Your Photos
ISO sensitivity is a critical component in the art of photography, influencing various aspects of an image. To clearly understand its impact, let’s explore how different ISO settings can change the look and feel of your photos across several key dimensions.
| ISO Setting | Light Sensitivity | Image Brightness | Noise Level | Best Use Scenario |
|---|---|---|---|---|
| ISO 100 | Low | Darker | Minimal | Bright outdoor light |
| ISO 400 | Moderate | Moderately bright | Low | Indoor or cloudy days |
| ISO 800 | High | Bright | Moderate | Indoor, little light |
| ISO 1600+ | Very High | Very Bright | High | Dark conditions, night photography |
Impact on Image Quality
Low ISO (e.g., 100-400): Ideal for shooting in bright conditions where illumination is abundant. Photos produced with low ISO settings are crisp with more clarity and minimal noise. This setting preserves the finest details, making it perfect for landscape and portrait photography where picture quality is paramount.
Example: Capturing the vibrant colors and intricate patterns of a butterfly on a sunny day will yield the best results with ISO 100, ensuring that every detail is sharply defined without noise.
Moderate ISO (e.g., 400-800): Strikes a balance between light sensitivity and image quality. It’s suitable for indoor settings or overcast conditions where the illumination is sufficient but not overly bright. This range offers flexibility without significantly compromising on noise.
Example: Photographing a family gathering indoors with natural window illumination can be ideally achieved with an ISO setting of 400 to 800, ensuring the photos are bright enough while keeping noise at a manageable level.
High ISO (e.g., 1600 and above): Necessary for low-light environments or situations where a fast shutter speed is required to freeze motion. While higher ISO settings make it possible to capture images in challenging lighting conditions, they also introduce noise, which can detract from picture quality.
Example: Taking sharp photos of a nighttime street scene or a fast-moving indoor sports event often requires ISO settings of 1600 or higher. Although noise will be more evident, these settings allow for adequate exposure without blurring.
The Relationship Between ISO Sensitivity, Shutter Speed, and Aperture
ISO Sensitivity: The Foundation of Light:
Think of digital sensitivity as your camera’s ability to see in the dark. The lower the number, the less sensitive your camera is to light, perfect for those bright, sunny days. On the flip side, a higher ISO comes to the rescue in dimly lit scenarios, allowing your camera to capture more details even when the illumination is scarce. But remember, with great power comes great responsibility; higher ISO can lead to grainier photos, a trade-off that’s sometimes necessary.
Shutter Speed: The Controller of Time
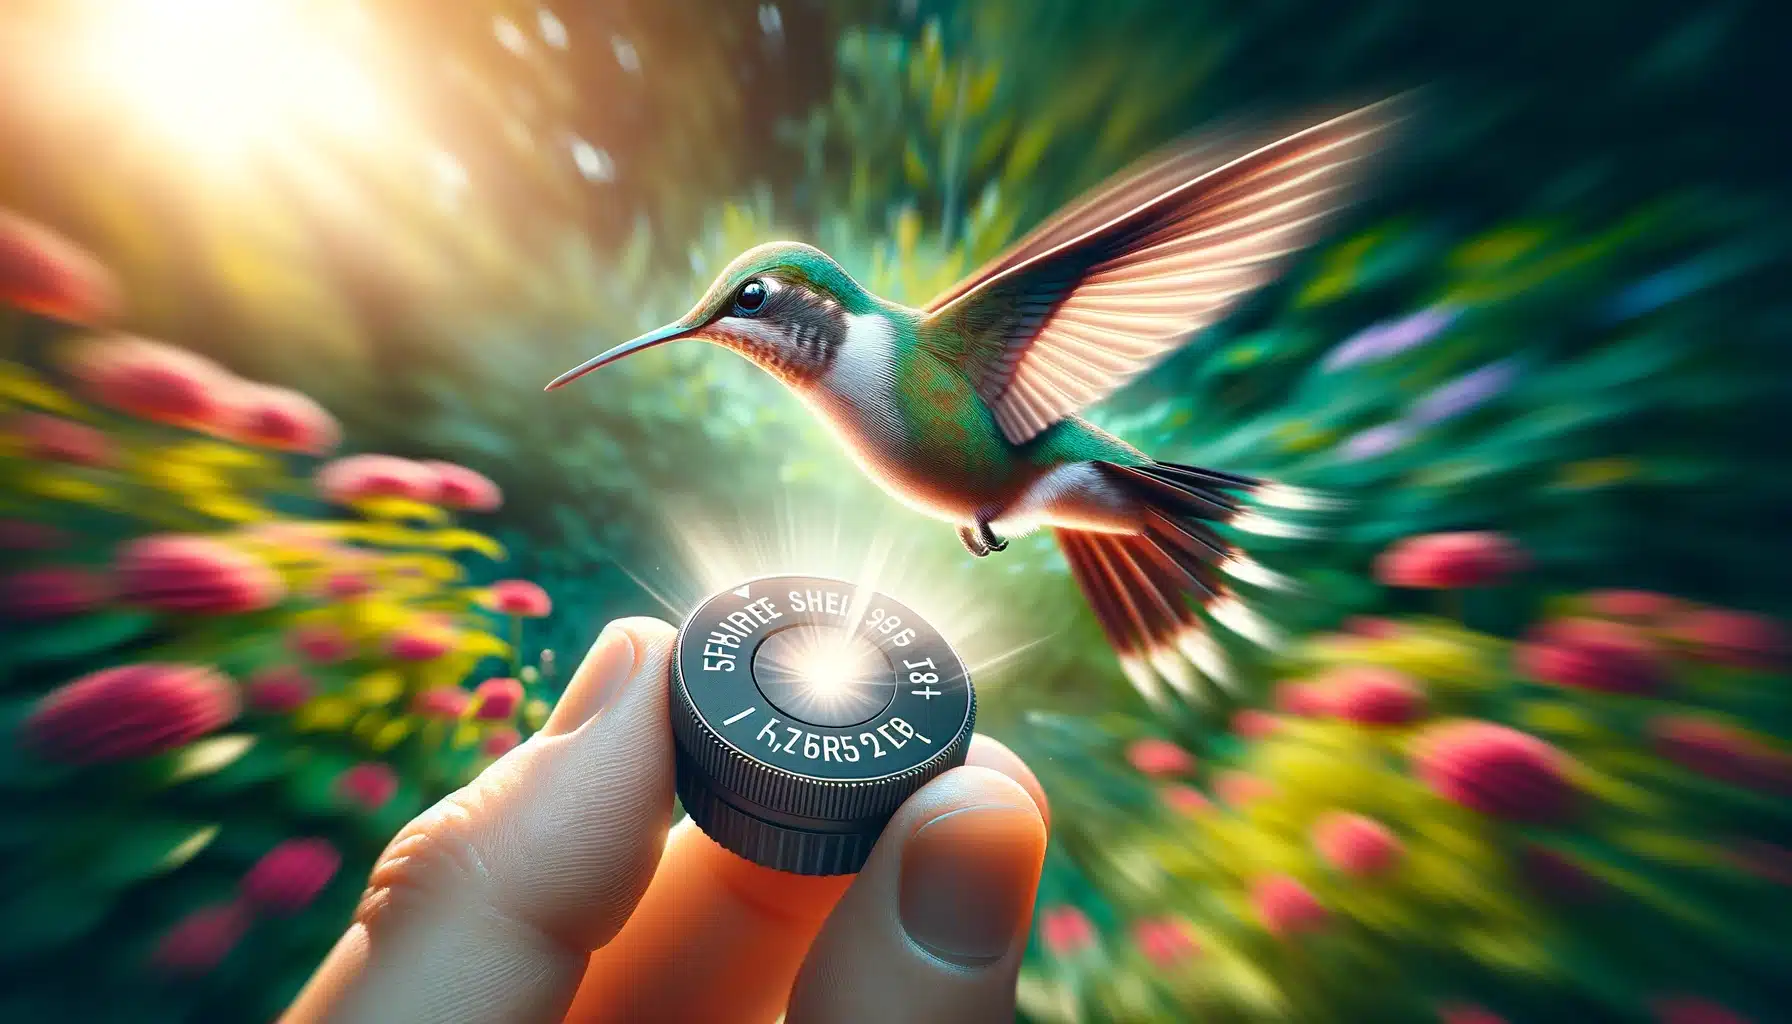
Shutter speed is essentially how long your camera’s shutter stays open to let light in. It’s like blinking – blink fast, and you freeze a moment in time; blink slowly, and you capture the motion, creating a blur effect. Fast shutter speeds are fantastic for action shots where you want to freeze the moment, like capturing a hummingbird in flight. Slower shutter speeds work wonders for creating that silky smooth look in flowing water or for shooting in little light conditions when you need to let in as much light as possible.
Aperture: The Regulator of Light's Path
Aperture, on the other hand, controls how much light enters your camera. It works much like the pupil of your eye, enlarging in dim conditions and shrinking in bright light. A wide aperture (a lower f-number) lets in more illumination and also creates a shallow depth of field, making your subject stand out against a blurred background. A narrow aperture (a higher f-number) allows less illumination but gives you a greater depth of field, keeping more of your scene in focus.
| Aspect | ISO Sensitivity | Shutter Speed | Aperture |
|---|---|---|---|
| Primary Function | Adjusts the camera sensor's sensitivity to light. | Controls the duration that the camera's sensor is exposed to light. | Controls the size of the lens opening through which light enters. |
| Impact on Exposure | Higher ISO increases exposure by making the sensor more sensitive to light. | Longer exposure times increase exposure by allowing more light to hit the sensor. | Wider apertures (lower f-numbers) increase exposure by allowing more light to pass through. |
| Impact on Image Quality | Higher ISO can lead to increased noise, affecting picture clarity and texture. | Can introduce motion blur at slow speeds or freeze motion at fast speeds. | Influences depth of field, affecting how much of the photograph is in focus. |
| Typical Use Cases | Typical Use Cases Less illumination conditions, action shots requiring fast shutter speeds without flash. | Freezing action, creating motion blur, low light photography without increasing ISO too much. | Controlling depth of field, low- illumination photography, emphasizing subjects. |
| Creative Control | Balancing light sensitivity with image noise for optimal exposure. | Expressing motion or capturing sharp images in varying lighting conditions. | Artistic focus control, from sharp landscapes to portraits with blurred backgrounds. |
Mastering ISO Settings: Practical Tips
Start Low and Adjust as Needed
Begin with the lowest camera ISO rating possible for your lighting conditions to ensure the highest photograph quality with minimal noise. As the light decreases or if you need a faster shutter speed, gradually increase the camera ISO. This approach maintains picture clarity while adapting to changing light.
Utilize ISO for Shutter Speed Control
In situations where motion blur needs to be minimized, such as in sports photography or capturing wildlife, leverage higher ISO settings to enable faster shutter speeds. This trade-off helps freeze motion without compromising on exposure, though it’s important to balance the resulting noise.
Experiment with Auto ISO
Many modern cameras offer an Auto ISO feature that adjusts the camera ISO level automatically based on the lighting conditions. Experiment with this setting to understand how your camera responds to different environments. It’s a valuable tool for maintaining exposure in rapidly changing illumination or when focusing on composition.
Understand Your Camera's Noise Performance
Familiarize yourself with how your specific camera model handles noise at various ISO levels. This knowledge lets you predict when photograph standard will start to degrade, allowing you to make informed decisions about when and how much to increase ISO.
Post-Processing and Noise Reduction
Even with careful camera ISO management, some situations may require pushing ISO higher than desired. Utilize post-processing software to apply noise reduction techniques. This step can significantly improve image quality, but it’s best used sparingly to avoid losing detail.
Tip: Use Adobe Photoshop for worldclass editing
Advantages and Disadvantages of Adjusting ISO Sensitivity
Advantages of ISO Sensitivity
- Enhanced Low-Light Shooting: Firstly, increasing camera digital sensitivity allows photographers to capture images in low- illumination conditions without a flash. This capability is crucial for shooting in environments where flash photography is prohibited or undesirable, such as in museums or during certain social events.
- Faster Shutter Speeds: Secondly, a higher ISO enables faster shutter speeds, reducing the risk of motion blur. This advantage is particularly beneficial for action or sports photography, where capturing split-second movements is essential.
- Aperture Flexibility: Moreover, by adjusting ISO digital sensitivity, photographers gain more control over aperture settings, allowing for greater depth of field flexibility. For instance, in bright conditions, increasing camera ISO can allow for smaller apertures to achieve sharp landscape photos with everything in focus.
- Overcoming Camera Limitations: Additionally, adjusting ISO sensitivity can help overcome limitations of camera lenses that do not support wide apertures. This adjustment is especially useful in scenarios where light conditions are less than ideal, but the subject matter demands clarity.
Disadvantages of ISO Sensitivity
- Increased Noise: However, one of the primary disadvantages of increasing digital sensitivity is the introduction of noise, which can degrade picture quality. Noise is particularly noticeable in uniform areas of color, such as skies in landscape photographs.
- Reduced Dynamic Range: Furthermore, higher camera ISO rating can result in a reduced dynamic range, meaning that the camera captures fewer details in the shadows and highlights. This reduction can lead to lost details in dark or bright areas of an image.
- Color Saturation and Accuracy: Additionally, as digital sensitivity increases, images may suffer from reduced color saturation and accuracy. This effect can make photos appear washed out or with altered colors, requiring post-processing adjustments to correct.
Adjusting ISO Sensitivity in Cameras: A Step-by-Step Guide
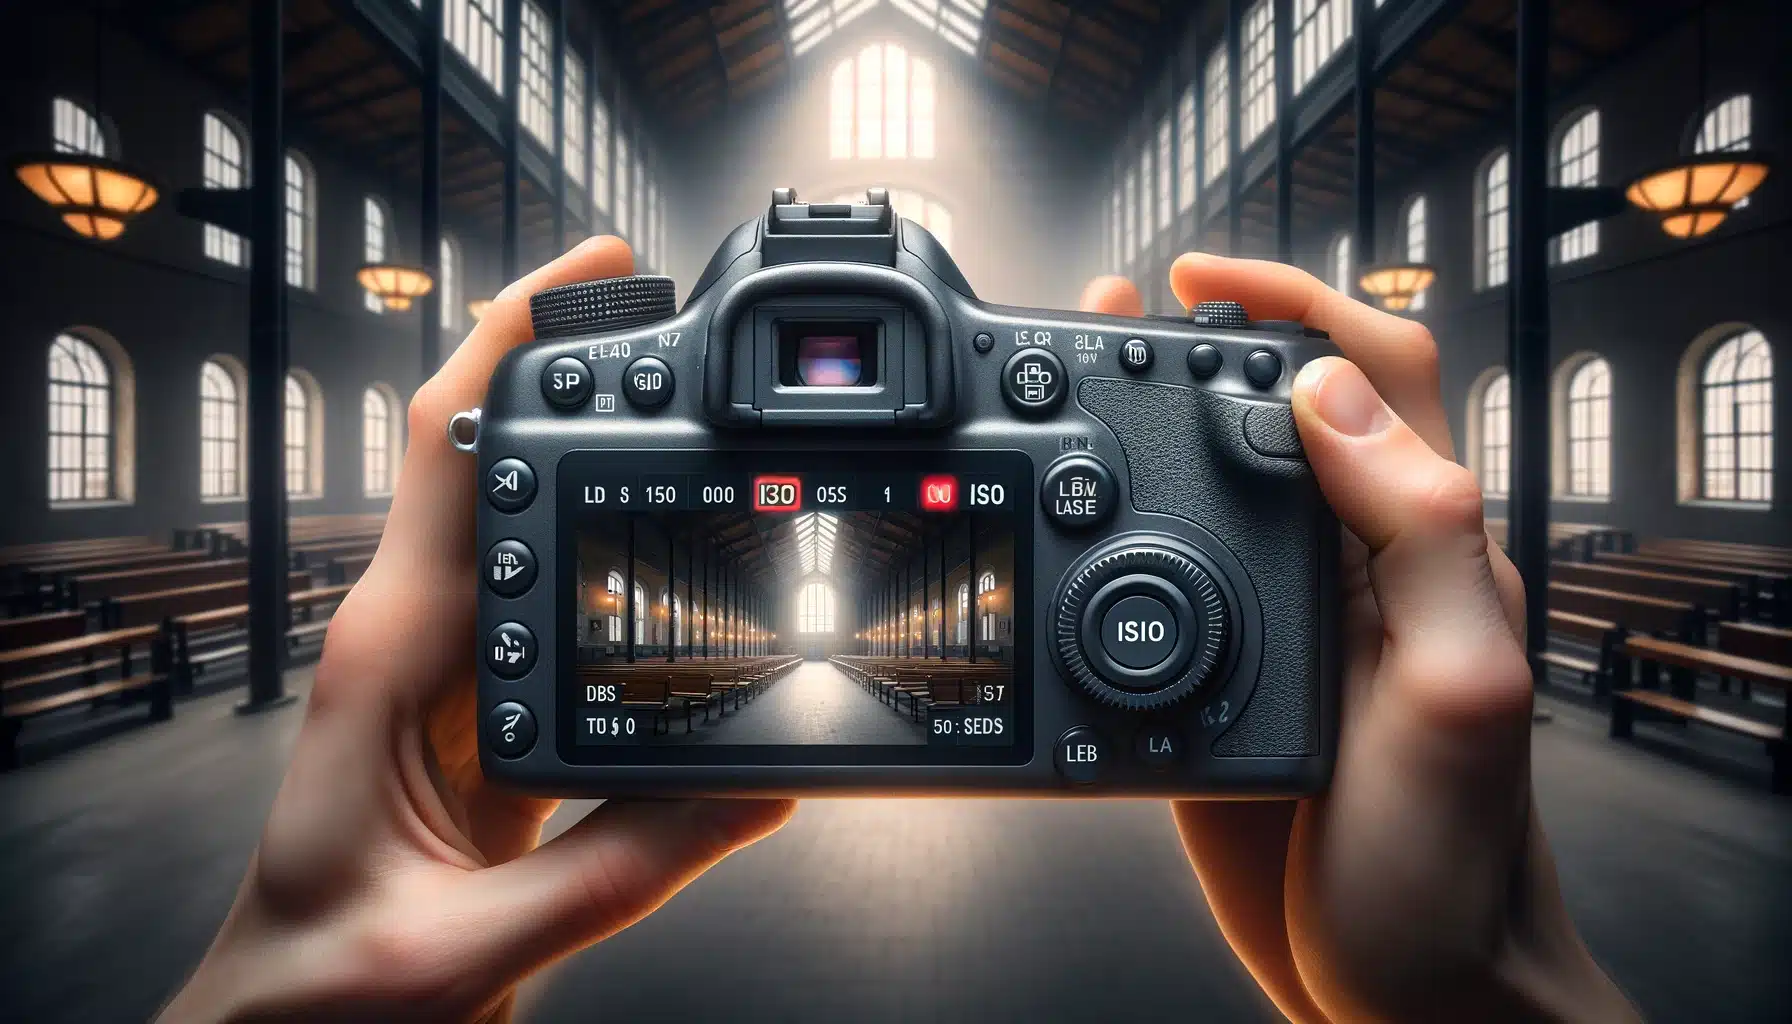
Adjusting ISO sensitivity in your camera is a straightforward process that can significantly impact your photographs, especially in challenging lighting conditions. Here’s a general step-by-step guide to help you navigate through changing the ISO settings on most digital cameras:
1. Access ISO Settings
- First, turn on your camera and access the menu or quick menu where camera ISO settings are located. In many DSLRs and mirrorless cameras, there might also be a dedicated ISO button on the camera body.
2. Choose ISO Setting Mode
- Select between manual ISO setting and Auto ISO. Manual allows you to specify the ISO value, while Auto ISO lets the camera adjust the digital sensitivity based on lighting conditions.
3. Adjust ISO Manually
- If you're going for a manual adjustment, select the ISO setting option and use the dial or arrow keys to increase or decrease the ISO value. Remember, a lower ISO (e.g., 100 or 200) is ideal for bright conditions, while a higher ISO (e.g., 1600 or above) is suitable for low-light environments.
4. Consider the Environment
- Adjust the ISO based on your shooting environment. For low- illumination scenes without a tripod, you might increase the ISO to avoid blur. In well-lit scenarios, reducing ISO minimizes noise.
5. Check Image Quality
- After adjusting the ISO, take a test shot and review it on your camera's display. Pay attention to the presence of noise and overall exposure. Adjust the ISO as needed based on this feedback.
6. Adjust Other Settings as Necessary
- ISO sensitivity is part of the exposure triangle, along with aperture and shutter speed. Changing the ISO may require adjustments to these other settings to achieve the desired exposure and depth of field.
I am sure you would like to know more about the manual mode of camera.
Conclusion
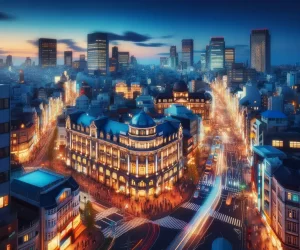
Mastering the delicate balance of capturing the essence of a moment has profoundly changed my approach to creating visual stories. Recently, during an evening walk through the city’s heart, the challenge was to encapsulate the vibrant yet subtle interplay of shadows and highlights without the direct use of my usual tools. By carefully tweaking my device’s sensitivity to capture more detail in dim conditions and adjusting other critical controls to freeze the dynamic urban life, I found a sweet spot that brought my vision to life.
For those eager to delve deeper and refine their craft, embarking on a structured learning path can be transformative. I wholeheartedly recommend exploring the comprehensive courses available at lightroom-photoshop-tutorials.com. Whether you’re keen on enhancing your skills in Photoshop or Lightroom, these resources are designed to empower creators at any skill level, offering insights and techniques to navigate the technical aspects of visual storytelling with ease. Embrace these courses for Adobe’s top products to unlock your creative potential and bring your unique visions to life with clarity and confidence.
We have compiled a different types of Photoshop filters that can help you understand few important terms and concepts.
Read more: Photoshop Light Effects and Learn Photography »
Have a nice photoshoot!
Read more about ISO Sensitivity and learn through our Lightroom and Photoshop Tutorials
Course
Light Effect Photoshop
Lightroom Course 2024
Adobe Photoshop Course
Photo Editing Course
Get the latest version of Photoshop & Lightroom


Download Your Free Guide Now!
Discover the secrets of photography with our printable guide! Master essential techniques like aperture, shutter speed, and ISO to create stunning images. Get your free printable PDF now and start turning your snapshots into masterpieces!

