What is backlighting? It’s the art of placing your main light source behind your subject, creating a captivating glow around its edges. This technique can add incredible depth, drama, and texture to your photos, making them more visually striking. Whether you’re just starting out or looking to refine your skills, understanding it can elevate your photography. Ready to transform your images with the magic of backlighting? Let’s dive in!
Table of Contents
What is Backlighting and Its Importance
It places the main light behind the subject, facing the camera, creating a dramatic glow around its edges. This technique highlights textures, creates silhouettes, and adds depth, unlike frontlighting, which evenly illuminates the subject.
Importance of Backlighting
- Adds Depth and Dimension: By highlighting the edges of the subject and casting shadows, backlighting can make a flat image appear more three-dimensional.
- Creates Dramatic Effects: The strong contrast between light and shadow can add a dramatic flair to the image, making it more visually engaging.
- Enhances Textures: It can emphasize the textures of various subjects, such as hair, leaves, or fabrics, by illuminating their edges and surfaces.
Types of Backlighting
Feature | Natural | Artificial |
---|---|---|
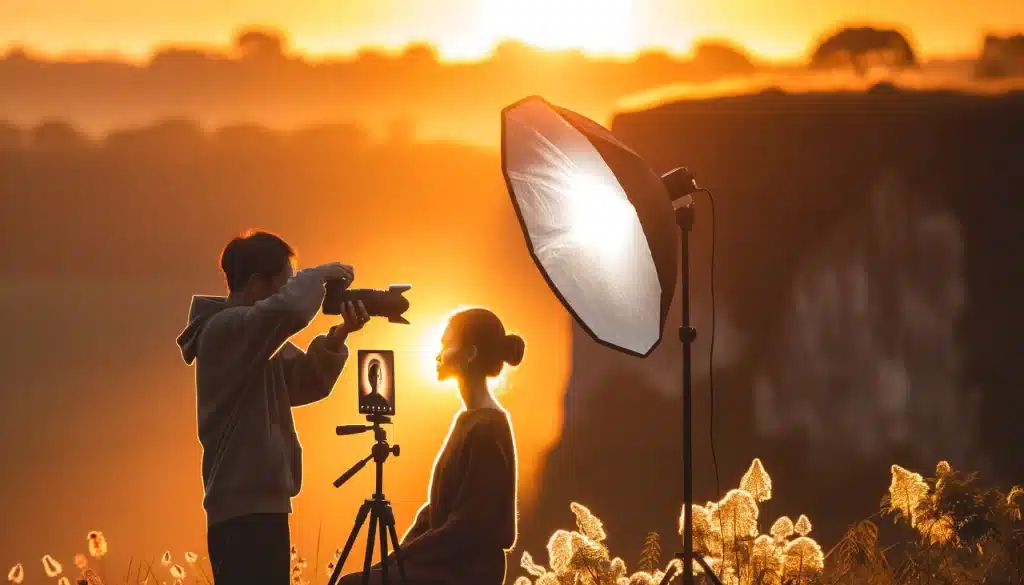
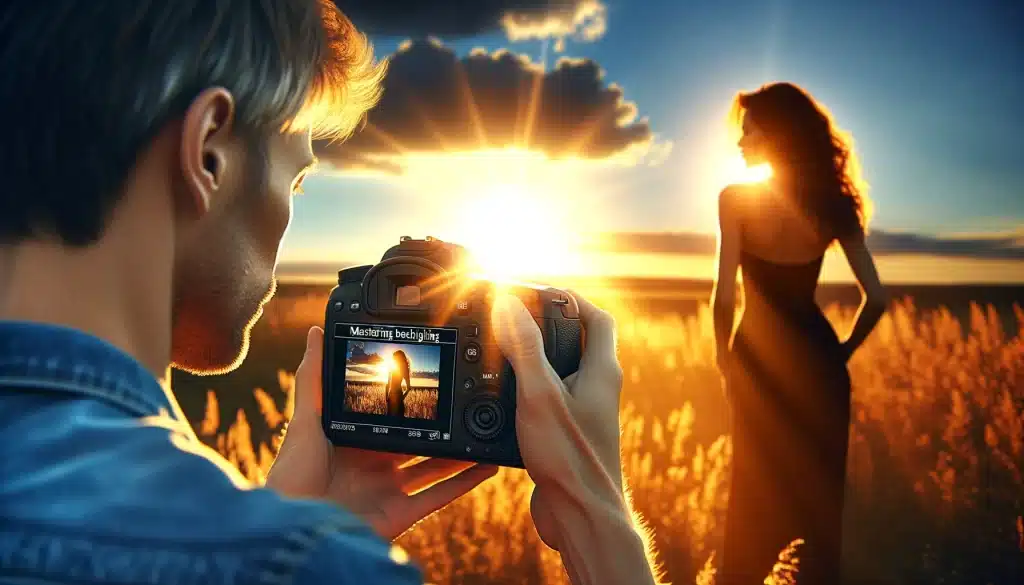
Description | Utilizes natural light sources such as sunlight and moonlight to create backlit effects. | Uses human-made light sources like studio lights and household items to achieve consistent effects. |
Examples | Sunlight during golden hour, Moonlight in night photography | Studio lights (LED panels, flashes), Household items (lamps, smartphone flashlights) |
Benefits | Creates a soft, warm glow, Enhances textures and details, Adds an ethereal quality to night photos | Full control over light intensity and direction, Consistent lighting conditions, Versatile and adjustable |
Understanding the differences between them helps photographers choose the most suitable method for their creative goals. Let’s explore:
Natural Backlighting
- Sunlight: The most common natural backlight source, especially effective during the golden hour when the light is soft and warm
- Moonlight: Can be used for subtle backlighting effects in night photography.
Artificial Backlighting
- Studio Lights: Controlled light sources such as LED panels or flashes positioned behind the subject to create consistent effects.
- Household Items: Everyday light sources like lamps or even smartphone flashlights can be used creatively for it.
How to Implement Backlighting in Your Photos
Choosing the Right Time and Light Source
To implement it effectively, choose the right light source and time of day. The sun is best during the golden hour for its soft, warm light. Position the sun behind your subject for a halo effect and experiment with angles. For artificial backlighting, use LED lights or flashes behind the subject, adjusting distance and height to achieve the desired effect.
Camera Settings
Mastering adobe backlighting requires precise camera settings. Use manual mode for control. Start with a low ISO (100) to reduce noise and a wide aperture (f/2.8) to let in more light. Adjust the shutter speed to balance exposure, using a faster speed to avoid overexposure. Use spot metering to ensure the subject is correctly exposed.
Using Fill Light and Reflectors
Backlighting can underexpose subjects, so balance it with fill light or reflectors. Use an off-camera flash to light the front of the subject, adjusting the power as needed. Indoors, bounce the flash off a ceiling or wall for softer light. Place reflectors in front of the subject to reduce shadows, using white sheets or walls as substitutes if necessary.
Managing Exposure and Avoiding Overexposure
Managing exposure is challenging. Avoid overexposing the background by using exposure compensation (+1 or +2 stops) to brighten the subject. Use Auto Exposure Lock (AE-L) to lock exposure on the subject, and then recompose your shot. Regularly review and adjust settings, especially during changing light conditions like the golden hour.
By following these steps, you can effectively implement it in your photography, creating stunning and dramatic images that stand out.
Frequently Asked Questions
What is the Meaning of Backlighting?
It positions the main light behind the subject, facing the camera, creating a dramatic effect by illuminating its edges. This often results in a halo or silhouette, adding depth, contrast, and dimension to the image.
What is Backlight Explained?
In photography and cinematography, it involves positioning the main light source behind the subject, accentuating its contours for a striking effect. This can use natural sunlight or artificial lights to separate the subject from the background and highlight its shape.
How to do backlighting?
To achieve it, place your light source directly behind the subject, ideally during the golden hour for natural light. Adjust your camera settings to properly expose the subject, often by underexposing slightly to capture the glowing edges or silhouette effect.
What is the Purpose of Backlighting?
- Adding Depth: It creates a three-dimensional effect by highlighting the subject’s edges and contours.
- Creating Drama: The contrast between light and shadow can add a dramatic flair to the image.
- Emphasizing Details: It highlights textures and details, especially in translucent subjects like leaves or hair.
What is the Meaning of Backlit Light?
Backlit light places the source behind the subject, facing the camera, creating a glowing effect and enhancing edges for depth. Common in photography and film, it adds a dramatic, appealing quality, especially effective during the soft, warm light of the golden hour.
Conclusion
Mastering backlighting can greatly enhance your photography by adding depth and drama. For example, during a golden hour portrait, I positioned the setting sun behind my subject, creating a stunning halo effect. Initially, I struggled with underexposure but resolved it by adjusting exposure compensation and using a reflector, resulting in one of my best portraits.
If you’re eager to enhance your skills and create stunning backlit photos, consider joining our comprehensive courses. Our Photoshop Course and Photoshop guide will teach you advanced editing techniques, such as the select subject feature, to perfect your backlit images, while our Lightroom Course offers powerful tools, such as the clone stamp tool, to manage and enhance your photos effortlessly. Join us today and delve into the world of Adobe!
If this article has helped you, then Like and Share it with your friends!
Have a nice photoshoot!
Read more about: Photo Editing with Lightroom and Photoshop
Course
Light Effect Photoshop
Lightroom Course 2025
Adobe Photoshop Course 2025
Photo Editing Course
Get the latest version of Photoshop & Lightroom