Lightroom HDR Merge: Complete Guide with Tips, Techniques, and Troubleshooting

Introduction to Lightroom HDR Merge

Creating stunning photos with balanced light and detail can be a challenge. That’s where the Adobe Lightroom HDR Merge comes in. This tool allows you to combine multiple exposures into one beautiful image. Using HDR Photo Merge, you can take the full span of light in a view. The HDR Merge in Lightroom is perfect for making your photos look more realistic and vibrant. Whether you’re new to HDR or have some experience, the HDR Merge Tool makes the method easy and efficient.

In this article, we’ll guide you through everything you need to know about HDR merging in Lightroom. We’ll start with the basics and then explore advanced techniques for better editing. You’ll also learn how to solve common issues and get answers to frequently asked questions. By the end, you’ll be ready to generate stunning HDR images with confidence.

Table of Contents

Understanding HDR and HDR Merge in Lightroom

HDR landscape photo capturing a vibrant sunrise with detailed shadows and highlights over a mountain range.

HDR (High Dynamic Range) photography involves capturing multiple images at different exposure levels and integrating them to generate a single photo that showcases the best elements of each. This technique allows photographers to portray greater detail in both the shadows and highlights of an image, creating a more dynamic and visually appealing photo. HDR is particularly useful in scenes with a elevated contrast between light and dark areas, such as landscapes, interiors with bright windows, or any situation where a single exposure cannot capture the full scope of light.

The Importance of HDR in Photography

HDR is particularly useful in scenes with an elevated contrast between light and dark areas, such as landscapes, interiors with bright windows, or any situation where a single exposure cannot capture the full breadth of light. By blending multiple exposures, HDR helps in:

How Does HDR Photo Merge Work in Lightroom?

Desktop displaying Lightroom HDR merge process with three exposure levels of a forest scene.
HDR Merge in Lightroom feature allows photographers to combine several exposures into one, creating a high dynamic image directly within the software. This procedure involves:

Capturing Bracketed Scenes

Taking multiple photos at different exposures to cover the full dynamic scene. For example, you might take one underexposed, one correctly exposed, and one overexposed shot.

Selecting Images

Choosing the images to merge in Lightroom by selecting them in the library module.

Merging

Using Lightroom’s HDR Merge function to create a single HDR image, which involves aligning the images and blending the exposures to make a balanced final photo.

Key Terminologies in Lightroom HDR Blending

Photographer adjusting Lightroom HDR Merge settings on a laptop in a professional workspace, surrounded by photography gear.
Understanding key terminologies in HDR Image Merge can help you make the most of this technique:
Term Definition
Bracketing The procedure of taking multiple pictures at different exposure levels.
Ghosting Artifacts that appear when merging images with moving subjects, such as leaves blowing in the wind or people walking.
Auto Align A feature that automatically aligns images to correct for slight movements, ensuring a seamless merge.
De-ghosting The procedure of reducing ghosting artifacts during the merge, which can be adjusted in Lightroom to different levels depending on the amount of movement in the scene.

Benefits of Using HDR Merge in Lightroom

Vibrant forest landscape showcasing HDR editing in Lightroom with detailed textures and rich colors.
Using Lightroom HDR Combination offers several advantages:

Seamless Integration:

HDR Merge is built into Lightroom, eliminating the need for external software, which simplifies the workflow.

Non-Destructive Editing:

Edits are non-destructive, meaning you can always revert to the original images if needed.

Raw File Support:

Lightroom supports combining RAW files, retaining maximum image quality and giving you more flexibility in post-processing.

User-Friendly Interface:

Simple and intuitive controls make the HDR method accessible to photographers of all levels, from beginners to professionals.

Step-by-Step Guide to Merging HDR Photos in Lightroom

Detailed setup of a photographer using Lightroom to merge HDR photos, including a tripod and camera aimed at a landscape
Here’s a step-by-step guide to use HDR Merge Tool in Lightroom: 

Preparing Your Photos for HDR Photo Merge

Before combining photos in Lightroom, it’s important to prepare your images properly:

Use a Tripod: Ensure stability to avoid camera shake, which can cause misalignment in the images.

Set Your Camera to Bracket Mode: Capture multiple displays by using the auto-bracketing feature on your camera, which takes several views at different exposure levels.

Keep ISO Sensitivity and Aperture Constant: Only vary the shutter speed to avoid changes in depth of field and noise. Keep aperture constant! This ensures that all your bracketed images have consistent quality and sharpness.

Importing and Selecting Images

Import Photos: Open Lightroom and import your bracketed snaps into the library module.

Select Images: In the Library module, select the images you want to merge by holding down the Ctrl (CMD on Mac) key and clicking on each photo.

High Dynamic Range Merge

Open HDR Merge: Right-click on one of the selected images, go to Photo > Photo Merge > HDR. This opens the HDR Merge Preview window.

HDR Merge Preview: A preview window opens. Here, you can adjust settings like Auto Align and De-ghost Amount.

Auto Align: Useful if the camera moved slightly between shots. It ensures that all images are perfectly aligned for a seamless merge.

Settings: Automatically adjusts shade and exposure to give you a balanced starting point for your HDR image.

Deghost Amount: Set to Low or Medium to reduce ghosting from moving objects. You can preview the deghosting effect in the overlay to see which areas are being corrected.

Merge: Click the Merge option to create the HDR image. Lightroom generates a new DNG file with the suffix “-HDR.” This file will have enhanced dynamic range and more detail in both shadows and highlights. Your snaps will be merged.

Post-Merge Adjustments

Develop Module: Switch to the Develop module to fine-tune your HDR image. This is where you can make detailed adjustments to enhance your photo further.

Basic Adjustments: Use sliders to adjust exposure, contrast, highlights, white balance, and blacks. These basic adjustments help you balance the overall look of your HDR image.

Curve: Adjust the curve for finer control over contrast. This tool allows you to make precise adjustments to the tonal scale of your image.

Color Grading: Enhance colors using the HSL panel or Color Grading tool. This step is crucial for achieving the desired mood and look of your HDR photo.

Detail Enhancement: Apply sharpening and noise reduction as needed. This ensures that your HDR image is crisp and free of unwanted noise.

By following these steps, you can effectively use Lightroom HDR Merge to create stunning high dynamic range images that capture the full spectrum of light in your scenes. The HDR Merge Tool in Lightroom is powerful and versatile, making it an essential part of any photographer’s toolkit. 

Tips for Optimal HDR Photo Merge Results

Calm lakeside dawn captured using HDR techniques with minimal exposures and balanced histogram overlay.

Use Minimal Exposures:

Generally, 3-5 coverages are sufficient. Using too many exposures can complicate the merging procedure and increase the risk of ghosting.

Avoid Extreme Movements:

Minimize subject movement between photographs to reduce ghosting. This can be achieved by shooting in calm conditions or using a faster shutter speed.

Check Histogram:

Ensure a well-balanced exposure by checking the histogram. A balanced histogram indicates that your image has good exposure across the entire dynamic range.

Fine-Tune Settings:

Experiment with different options to achieve the desired look. HDR photography is as much an art as it is a science, so don’t hesitate to try different approaches to find what works best for your sight.

Common Issues and How to Solve Them in HDR Merging

Even with the powerful HDR Merge in Lightroom, you might encounter some common issues. Let’s explore these problems and how to solve them effectively.

Problem: Ghosting in HDR Images

Ghosting happens when objects move between shots in your HDR sequence. This can create strange, blurry artifacts in your final image.

How to Fix Ghosting

Use Deghosting in Lightroom: The HDR Merge Tool has a Deghost Amount Set it to Low, or Medium based on the amount of movement. If you’re merging photos of a windy landscape with moving trees, try Medium or Extreme deghosting. Open the HDR Merge Tool in Lightroom and select the Deghost Amount. Click the “Show Deghost Overlay” to see where Lightroom is applying the effect. Adjust until ghosting is minimized.

Use a Tripod: This reduces camera movement, which helps with alignment and reduces ghosting.

Problem: Alignment Issues

Sometimes, your images don’t align perfectly, especially if you took them handheld. This can cause blurry or double-exposed areas.

How to Fix Alignment Issues

Use Auto Align: In the HDR Merge Tool, check the Align box. Lightroom automatically aligns your photos. If you took bracketed photos of a cityscape at night, “Align” helps keep the buildings sharp and steady. Select your images in Lightroom. Open the HDR Merge Tool.

Use a Tripod: Keeps your camera steady, making alignment easier for Lightroom.

Advanced Techniques for HDR Editing in Lightroom

Using the Tone Curve for Better Contrast

The Tone Curve is a powerful tool in Lightroom for adjusting the contrast in your HDR images. It allows you to make fine adjustments to the tonal scale of your photo.

Open the Curve Panel: In the Develop module, find the Curve panel option on the right side.

Adjust the Curve: Click and drag points on the curve to adjust the highlights, & midtones.

To add contrast, create anS-curveby dragging the top part of the curve (highlights) slightly up and the bottom part slightly down.

Enhancing Colors with the HSL Panel

The HSL (Hue, Saturation, and Luminance) panel helps you fine-tune colors in your HDR image. This is useful for making certain colors pop or muting others.

Open the HSL Panel: In the Develop module, locate the HSL panel.

Adjust Hue, Saturation, and Luminance: Adjusts the intensity of the colors. Alters the brightness of the colors.

Increase the saturation of the blues to make the sky more vibrant or decrease the luminance of greens to darken foliage in snap or video. 

Using Graduated Filters for Selective Adjustments

Graduated filters help you apply adjustments to specific parts of your image. This is useful for enhancing skies, foregrounds, or other areas independently.

Select the Graduated Filter Tool: Click on the Graduated Filter icon below the histogram in the Develop module.

Draw the Filter: Click and drag over the area you want to adjust.

Adjust Settings: Modify exposure, contrast, clarity, and other settings to enhance the selected area.

Apply a graduated filter to the sky to darken it slightly and add more contrast without affecting the rest of the image or video or you can simply replace sky in Photoshop !
TechniqueUse CasesKey Benefits
Using the Tone Curve for Better ContrastEnhancing contrast in landscapes, adding drama to portraits.Fine-tunes contrast
Enhancing Colors with the HSL PanelMaking skies more vibrant, adjusting foliagePrecise color control
Using Graduated Filters for Selective AdjustmentsDarkening skies, brightening foregrounds in landscape photos.Targeted adjustments

This table provides a concise comparison of advanced HDR editing techniques in Adobe Lightroom.

By using these advanced techniques, you can take full advantage of the HDR Merge Tool in Lightroom. These methods will help you refine your HDR Photo Merge and achieve professional-quality results. Whether you are using Lightroom HDR Merge or HDR Merge in Lightroom, these advanced editing tips will elevate your landscape photography to the next level.

Photographer using Lightroom mobile to merge HDR photos with a cityscape backdrop at twilight.

Frequently Asked Questions

Here’re answers to the most asked questions on Lightroom HDR Merge:

What does HDR merge mean in Lightroom?

HDR merge in Lightroom means combining multiple photos taken at different exposures into one high HDR image. This method captures details in both bright and dark areas , creating a more balanced and realistic photo. Lightroom’s HDR Merge Tool makes this process simple and efficient.

How do I blend HDR photos in Lightroom?

To blend HDR photos in Lightroom, select your bracketed images, right-click, and choose Photo > Photo Merge > HDR . Adjust plugins and setiings like Auto Align and Deghost Amount in the HDR Merge Preview window, then click Merge. Lightroom will generate a single HDR image from your selected photos.

How to merge HDR in Lightroom mobile?

In Lightroom mobile, import your bracketed photos and select them. Tap on the three-dot menu and choose HDR Merge. Lightroom mobile will process the images and make an HDR photo, which you can then edit using the app’s editing tools.

Does Lightroom support HDR?

Yes, Lightroom supports HDR. Both Lightroom Classic and Lightroom mobile offer HDR photo merge capabilities. You can use the HDR Merge Tool to blend multiple exposures into a single HDR image, capturing a wide scope of light and detail in your photos.

Conclusion

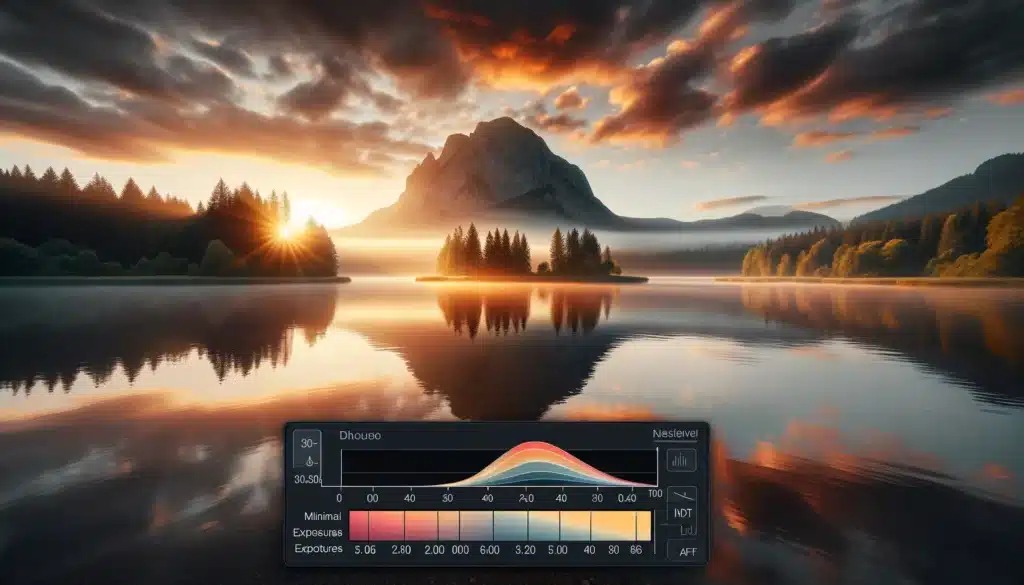
Using Lightroom HDR Merge has truly changed the way I edit my photos. I remember taking a series of sunset sequences at the beach. The sky was bright, but the sand and waves were dark. Using the HDR Merge Tool in Lightroom, I combined three different exposures. The result was amazing. The sky was colorful, and the details in the sand and waves were clear. It made the whole spectacle look just like I remembered it.

If you want to improve your HDR photo merge skills and learn more advanced techniques, check out our courses. Our Lightroom course will teach you everything about HDR Merge in Lightroom. Or, if you’re interested in Photoshop, our Photoshop course is perfect for you. Visit our Lightroom course and our Photoshop course to get started today!

If this article has helped you, then Like and Share it with your friends!
Facebook
Twitter
LinkedIn
Pinterest

Have a nice photoshoot! 

Learn more about

Download Your Free Guide Now!

Discover the secrets of photography with our printable guide! Master essential techniques like aperture, shutter speed, and ISO to create stunning images. Get your free printable PDF now and start turning your snapshots into masterpieces!