How to Do Retail Photography: A Step-by-Step Guide for Captivating Store Images
How to Do Retail Photography: A Step-by-Step Guide for Captivating Store Images
Introduction to How to Do Retail Photography
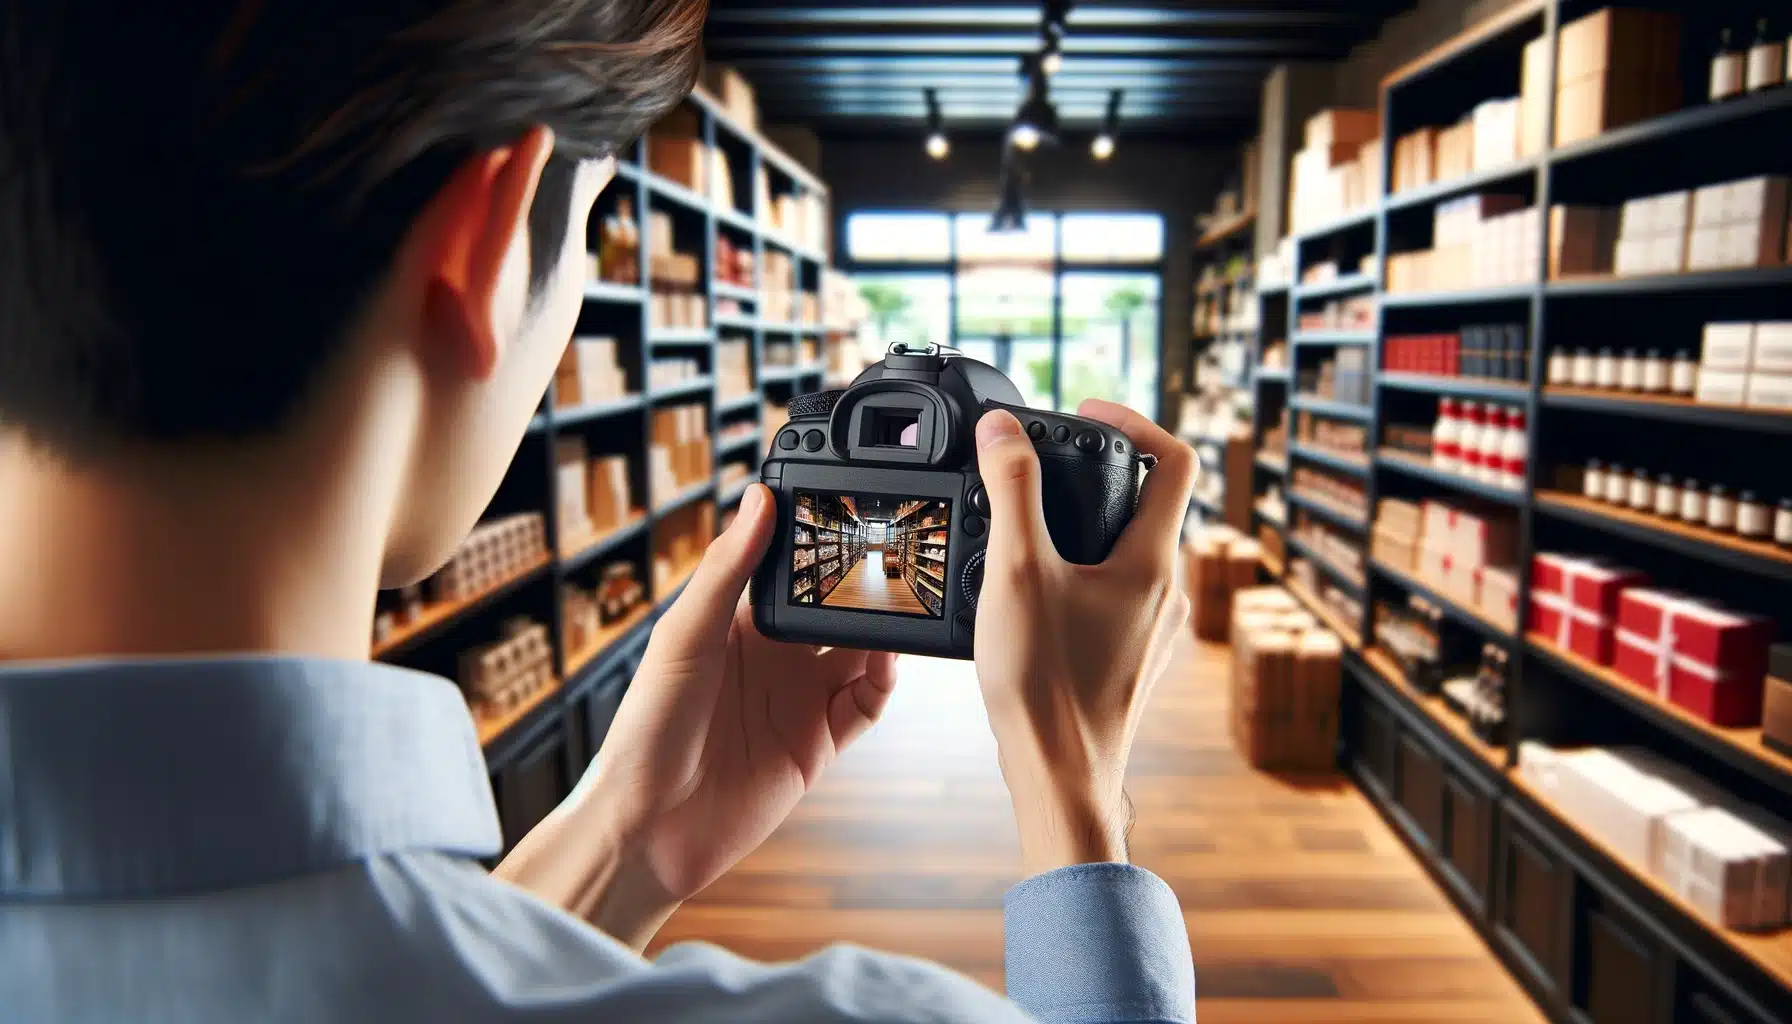
Retail photography is all about capturing images that make products irresistible to customers. A simple setup, involving a good camera, proper lighting, and a neutral background, can significantly enhance the quality of your photos. For instance, a local store that began using high-quality photos to showcase their handcrafted jewelry saw a noticeable increase in online sales. The vivid details and accurate colors in the photos helped customers appreciate the craftsmanship, leading to more purchases.
Effective Ecommerce Photography hinges on attention to detail, how the product is positioned, the direction of light, and the cleanliness of the backdrop are crucial. These elements ensure that the product looks appealing and trustworthy, motivating potential buyers. By mastering these aspects of photography, you can turn simple product images into powerful tools for boosting sales.
Table of Contents
Essential Equipment and Guide to Retail Photography
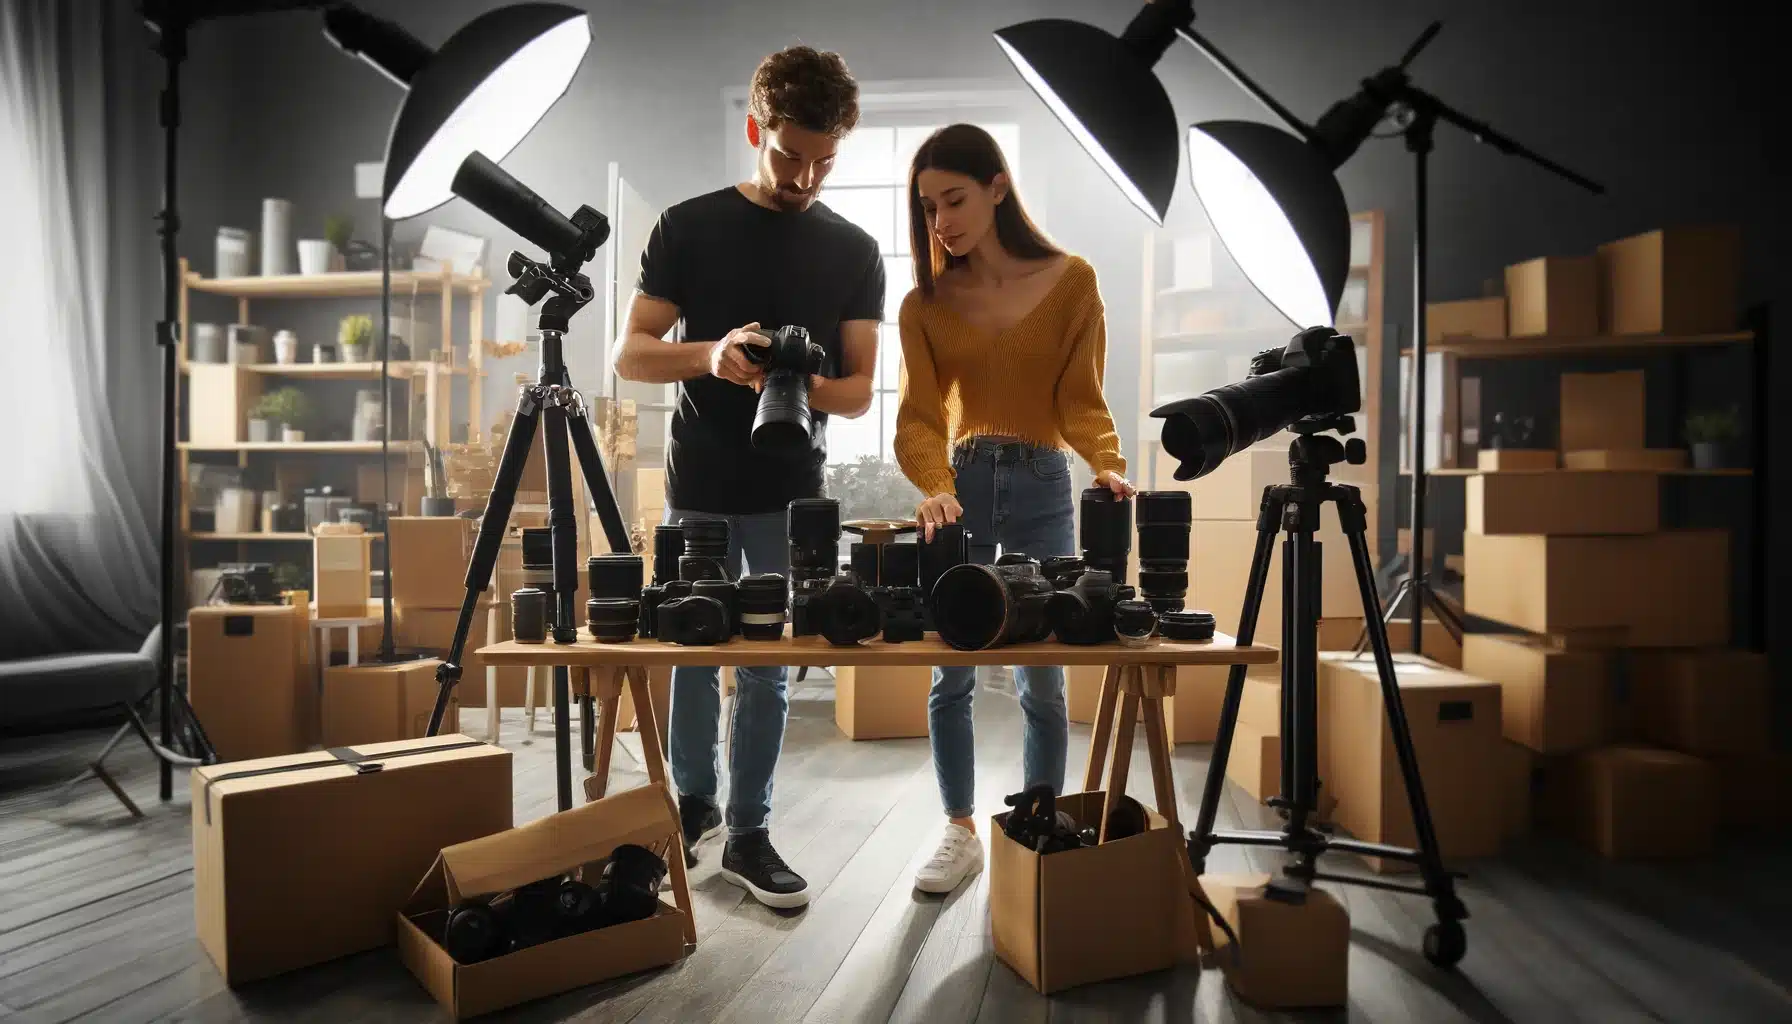
Product photography is not just about taking pictures, it’s about telling a story and selling a product. To capture the best retail photos, you need the right equipment. Here’s a list of essential tools to get started.
1. Camera
A good camera is the foundation of retail photography. DSLR and mirrorless cameras are ideal because they offer high image quality and flexibility. Brands like Canon, Nikon, and Sony have great options that will suit various budgets and needs.
2. Lighting
Products photo requires attention to detail and an understanding of lighting and composition. Softbox lights and LED panels provide consistent and controllable light. Using these lights will help eliminate shadows and highlight product details, making your images look professional.
3. Tripod
A tripod ensures your camera stays steady, preventing blurry images. Look for a sturdy tripod that can support your camera’s weight. Brands like Manfrotto and Joby offer reliable options that are perfect for retail photography.
4. Backdrops and Props
A clean backdrop focuses attention on the product. Seamless paper or fabric backdrops in neutral colors are best. Props can also enhance your product photos by adding context and interest. Choose props that complement your product without overshadowing it.
The product photography studio should be equipped with state-of-the-art lighting and camera equipment. Creating the perfect space for retail photography is essential for capturing high-quality images. Here’s how to set up your photography space effectively.
Choose the Right Location
Find a Well-Lit Area:Natural light is ideal for product photography. Set up near a large window to take advantage of the natural illumination. Natural light helps bring out the true colors and details of the product, making the images look more appealing.
Control the Light: If natural light is inconsistent, use softbox lights or LED panels. These provide consistent and even illumination, ensuring that your shots are always well-lit.
Prepare the Background
Use a White Background: A white background is the best choice as it makes products stand out and reflects light evenly. It creates a clean and professional look that enhances the focus on the product.
Seamless Paper or Fabric: Invest in seamless paper or fabric backdrops. These provide a smooth, distraction-free background for your product shots. They are easy to set up and replace, making them a convenient option for different shoots.
Arrange Your Equipment
Set Up Your Camera on a Tripod: A tripod will keep your camera steady, ensuring sharp images. Place the camera at the same level as the product for the best angle. This stability is crucial for maintaining the focus and clarity of your photos.
Position the Lights: Arrange your softbox lights or LED panels around the product to eliminate shadows and highlight details. Proper lighting enhances the product’s features and makes the images more attractive.
Organize Your Products
Keep Products Ready: Have all your products organized and ready for the shoot. This will save time and keep the session smooth. Group similar items together to make the shoot more efficient.
Use Props Wisely: Props can enhance your photos but should not overshadow the product. Choose props that complement and highlight the product’s features. For example, using a fresh fruit basket to accompany a kitchen appliance can add context to the image.
Test Shots
Take Test Shots: Before starting the main shoot, take a few test shots to check the lighting and background. Adjust as needed to achieve the best results. These initial photos will help identify any adjustments needed in lighting, angle, or placement.
Review and Adjust: Review the test shots and make any necessary adjustments to the setup to ensure the final images are perfect. Fine-tuning your setup before the main shoot saves time and ensures higher-quality results.
Expert Techniques on How to Do Retail Photography
Capturing stunning retail images is essential for ecommerce success. Here are some retail photography techniques to ensure your product photos stand out.
Lighting Techniques
Use Natural Light: Natural light creates soft, appealing images. Position your products near a window to take advantage of daylight. Direct sunlight can cause harsh shadows and highlights. Diffuse the light with a white curtain or a reflector for even illumination.
Composition
Center the Product: Make the product the focal point by placing it in the center of the frame. This draws attention directly to the product. Imagine your image divided into nine equal parts by two horizontal and two vertical lines. Place the product along these lines or at their intersections for a more dynamic shot.
Background and Props
Neutral Background: A white or light-colored background works best for most products. It keeps the focus on the product and makes it easier to edit the photos later.: Use a turntable to capture 360-degree views of the product. This allows customers to see the product from all angles.
Relevant Props: Add minimal, relevant props to enhance the product without overshadowing it. For example, a watch can be paired with a leather wallet for context.
Camera Settings
Aperture and Focus: Use a wide aperture (low f-number) to create a shallow depth of field. This blurs the background and keeps the product in sharp focus. Keep the ISO low to avoid grainy images. Use a higher ISO in low light, but be mindful of the noise it introduces.
Angles and Perspectives
Multiple Angles: Shoot from different angles to provide a comprehensive view of the product. Customers appreciate seeing the product from various perspectives. Shoot at the product’s eye level to give a natural view. For smaller items, consider shooting slightly above to show more detail.
Post-Processing
Editing Software: Use photo editing software like Adobe Lightroom or Photoshop to enhance your images. Adjust brightness, contrast, and color balance to make the product pop. Maintain a consistent editing style across all product images to create a cohesive look for your online store.
Time Management
Plan Your Shoots: Organize and plan your shooting sessions to save time. Group similar products together and shoot them in batches. Develop a workflow that includes setup, shooting, and editing. This helps streamline the process and ensures you don't miss any important steps.
Here are some examples of Product Photography as a Guide, as different companies invest in product photography to increase sales and customer engagement.
Soft Lighting: Use softbox lights to avoid harsh shadows and reflections. Jewelry pieces, especially those with shiny surfaces, need even illumination to showcase their sparkle and details.
Reflectors: Set up reflectors to bounce light and remove shadows, highlighting the intricate details of the jewelry.
Setup
Clean Surface: Use a clean, white surface or a lightbox to place the jewelry. This keeps the focus on the piece.
Close-Up Shots: Use a macro lens to capture the fine details of the jewelry. This is crucial for showing the craftsmanship and quality of the piece.
Laptop Photography: Guide to Retail Photography
Lighting
Consistent Lighting: Use a combination of softbox lights and LED panels to ensure the laptop is evenly lit. Avoid direct reflections on the screen by adjusting the angle of the lights. Reduce ambient light to minimize glare on the laptop screen.
Setup
Neutral Backdrop: Use a plain, neutral backdrop to keep the focus on the laptop. Ensure the background color contrasts well with the product to make it stand out.
Highlight Features: Take shots from multiple angles to showcase different features, such as the keyboard, screen, and ports. Use a standard lens for overall shots and a macro lens for close-ups of specific features.
Clothing Photography: How to Do Retail Photography
Lighting
Soft, Diffused Light: Utilize softbox lights to provide even, diffused light that prevents harsh shadows and highlights. This type of lighting is ideal for capturing the texture and true color of fabrics. If possible, use natural light to give the clothing a more natural look. Position your setup near a large window to take advantage of daylight.
Setup
Mannequin or Model: Display clothing on a mannequin or model to show its fit and shape. Ensure the mannequin is clean and neutral to keep the focus on the clothing.
Flat Lay: For smaller items like t-shirts or accessories, use a flat lay setup on a clean surface. Arrange the items neatly and use a ladder or stool to take shots from above.
The product photography expert use editing software to enhance the colors and contrast of the images. Editing is a crucial step in retail photography that can transform a good shot into a great one. Here are detailed guide to enhance your photos for online use.
Basic Adjustments
Exposure and Contrast
Adjust Exposure: Correcting exposure is essential. If the shot is too dark or too bright, adjust the exposure to ensure the product is visible and well-lit. Boost the contrast to make the product stand out. Higher contrast can help emphasize the details and textures, giving the photo a more dynamic look.
Color Correction
White Balance: Set the white balance correctly to ensure the colors in your photo are accurate. This adjustment is crucial for maintaining the product’s true color, which is important for online shoppers. Enhance the saturation and vibrancy to make the colors pop without looking unnatural. This adjustment can help make the product look more appealing and realistic.
Detail Enhancement on How to Do Retail Photography
Sharpening
Sharpen the Image: Apply sharpening to enhance the fine details of the product. Be careful not to overdo it, as excessive sharpening can create an unnatural look. Proper sharpening ensures that the product's features are clearly defined. For a more controlled sharpening effect, use the high-pass filter technique. This method can provide a more precise sharpening without introducing noise.
Noise Reduction
Reduce Noise: If the shot was taken at a high ISO setting, use noise reduction tools to clean up the image. Reducing noise is essential for maintaining a professional and polished look.
Advanced Techniques
Cloning and Healing
Remove Imperfections: Use the cloning and healing tools to eliminate imperfections or distractions, such as dust spots or scratches. This step is vital for presenting a flawless product. For larger areas, use the patch tool to blend imperfections seamlessly. This tool helps in maintaining the texture and consistency of the product surface.
Gradient Filters
Apply Gradient Filters: Use gradient filters to adjust specific parts of the photo. For instance, darken the edges to draw more focus on the product. This technique can help create a more professional and refined look.
Consistency
Presets
Create and Use Presets: Develop presets to maintain a consistent editing style across all your photos. This consistency is important for creating a cohesive look for your online store. Apply presets to multiple photos at once using batch processing. This approach saves time and ensures uniformity across your product images.
Final Touches in Retail Photography Techniques
Cropping
Crop to Optimize: Crop your photos to the appropriate size for online platforms. Ensure the product is centered and fills most of the frame. Proper cropping can enhance the product's presentation and focus.
Export Settings
High-Resolution Export: Export your edited photos in the highest resolution possible without compromising load times. Use formats like JPEG or PNG and ensure the file size is optimized for fast online loading.
Color Profile: Use the sRGB color profile for web images. This profile ensures that the colors display correctly across different devices.
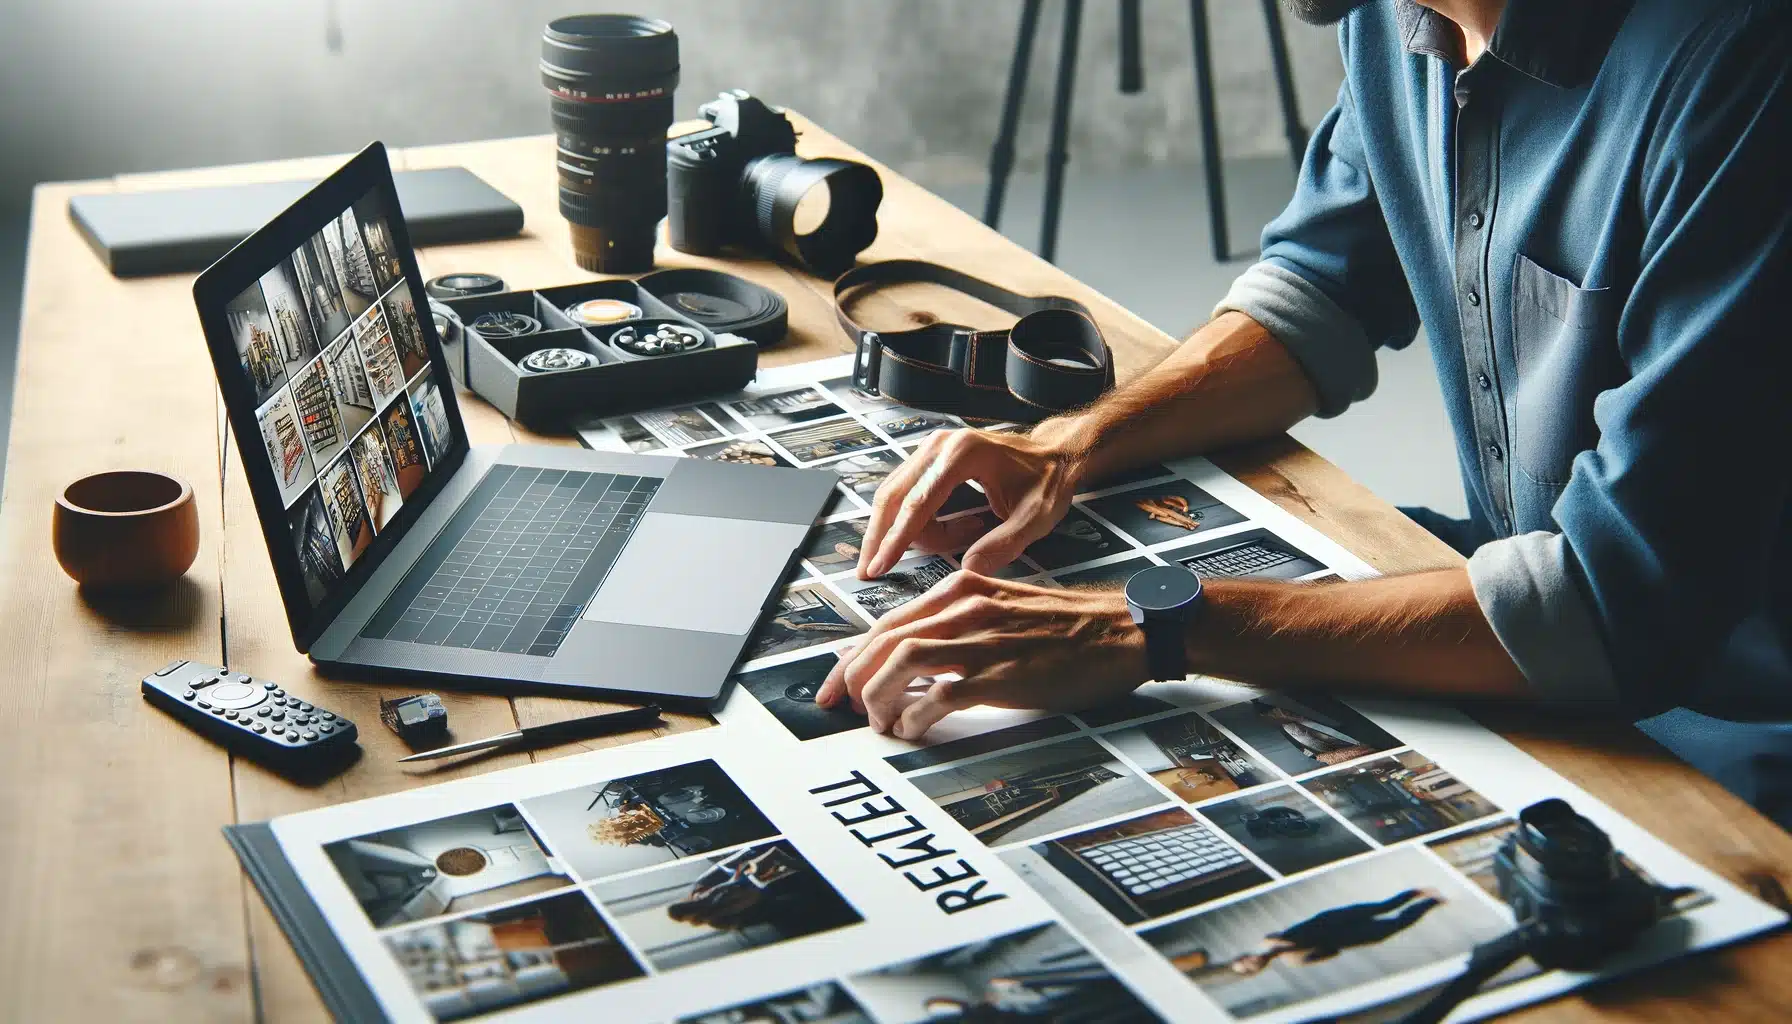
Building a Portfolio for Retail Photography
Creating a portfolio is crucial for any photographer looking to showcase their skills and attract clients. As your product photography team works tirelessly to capture the perfect shot of the new product. Here’s how to build an effective portfolio for retail photography.
Start with the Basics
Begin by selecting your best product photos. Make sure these pictures demonstrate your ability to highlight product details and appeal to potential buyers. Include a variety of products to show your versatility. This can help you attract a wider range of clients.
Organize Your Portfolio
Organize your photos into categories, such as clothing, electronics, or food. This makes it easier for potential clients to find what they’re looking for. Place your most impressive shots at the beginning of each category. This ensures they make an immediate impact.
Create an Online Presence
Having a dedicated website is essential. Use platforms like Wix or Squarespace to create a professional-looking site. Make sure the website is easy to navigate and mobile-friendly. Make sure your contact information is easy to find. Include a contact form and links to your social media profiles.
Use Social Media Guide to Retail Photography
Use social media platforms like Instagram and Pinterest to share your work. These platforms are great for reaching potential clients and showcasing your style. Engage with your followers by responding to comments and messages. This can help build a loyal audience and attract new clients.
Marketing Your Retail Photography Business
Effective marketing is crucial for a retail photographer to attract clients and grow the business. Here are innovative strategies to market your retail photography business successfully.
1. Create a Strong Online Presence on Retail Photography Techniques
Start with a website that showcases your best work. Use a clean, easy-to-navigate design to highlight your portfolio, services, and contact information. Ensure your website is optimized for search engines. Use relevant keywords like “retail photography,” “product photos,” and “photographer” to attract potential clients.
2. Networking and Partnerships
Partner with local small businesses to provide photography services. This can help you get referrals and build a network. Attend industry events and trade shows to showcase your work. Bring a small printed portfolio and business cards to distribute.
3. Content Marketing Guide to Retail Photography
Start a blog on your website offering tips and guides on retail photography. This positions you as an expert and attracts traffic to your site. Write guest posts for popular blogs in photography or ecommerce niches. This can help you reach a broader audience.
4. Paid Advertising Guide to Retail Photography
Use Google Ads to target potential clients searching for product photography services. This can drive traffic to your website quickly. Invest in ads on social media platforms to reach a wider audience. Target your ads based on location, interests, and demographics.
5. Offer Promotions
Offer discounts during peak seasons to attract more clients. For example, a summer sale can attract businesses looking to update their product photos. Create a referral program that rewards clients for referring new business to you. This incentivizes your clients to spread the word about your services.
6. Showcase Client Testimonials
Display client reviews and testimonials on your website. Positive feedback can build trust and attract new clients. Share case studies that highlight successful projects. Show how your photography helped a client increase sales or improve their online presence.
FAQs on How to Do Retail Photography
How do you take retail pictures?
To take great retail pictures, use proper lighting, preferably natural or softbox lights. Ensure a clean, white background and use a macro lens for close-ups. Steady your camera and enhance the photos with editing software.
How Do I Get Into Product Photography?
Start by building a portfolio of your best work and create an ecommerce website on platforms like Shopify or Etsy. Market your business through social media and SEO, and network with potential clients. Don’t forget to learn Photoshop online to take your user experience to the whole next level.
How to Photograph Items for Sale?
Product photography is a crucial aspect of online sales, as it showcases the product’s features and details. Use a high-quality camera with a sharp lens and ensure the area is well-lit. Present the product cleanly, shoot from multiple angles and 360 degrees, and enhance the photos with editing tools to make them appealing for online sales.
How do photographers attract customers?
Photographers attract customers by building an online presence, showcasing a strong portfolio, offering promotions, networking at events, and displaying positive customer testimonials to build trust and credibility.
How to Do Retail Photography: Conclusion
In my journey as a photographer, I learned that the right equipment, techniques, and a well-organized portfolio are essential for success. When I first started, my photos lacked the professional touch needed to attract clients. However, by investing in good lighting, using effective composition techniques, and continuously updating my portfolio, I saw a significant improvement in my work. The key to my progress was not just practicing but also learning from experts and applying their insights.
If you’re looking to take your retail photography to the next level, consider enrolling in our comprehensive courses. Our Photoshop Course and Lightroom Course offer in-depth tutorials that will help you master the tools and techniques needed to create stunning product photos. Sign up today and start transforming your photography skills!
If this article has helped you, then Like and Share it with your friends
$2,061.00Original price was: $2,061.00.$1,061.00Current price is: $1,061.00. 27635
Download Your Free Guide Now!
Discover the secrets of photography with our printable guide! Master essential techniques like aperture, shutter speed, and ISO to create stunning images. Get your free printable PDF now and start turning your snapshots into masterpieces!