Long Exposure Photography at Night: Tips for Exceptional Nightscapes
Long Exposure Photography at Night: Tips for Exceptional Nightscapes
Introduction to Long Exposure Photography at Night
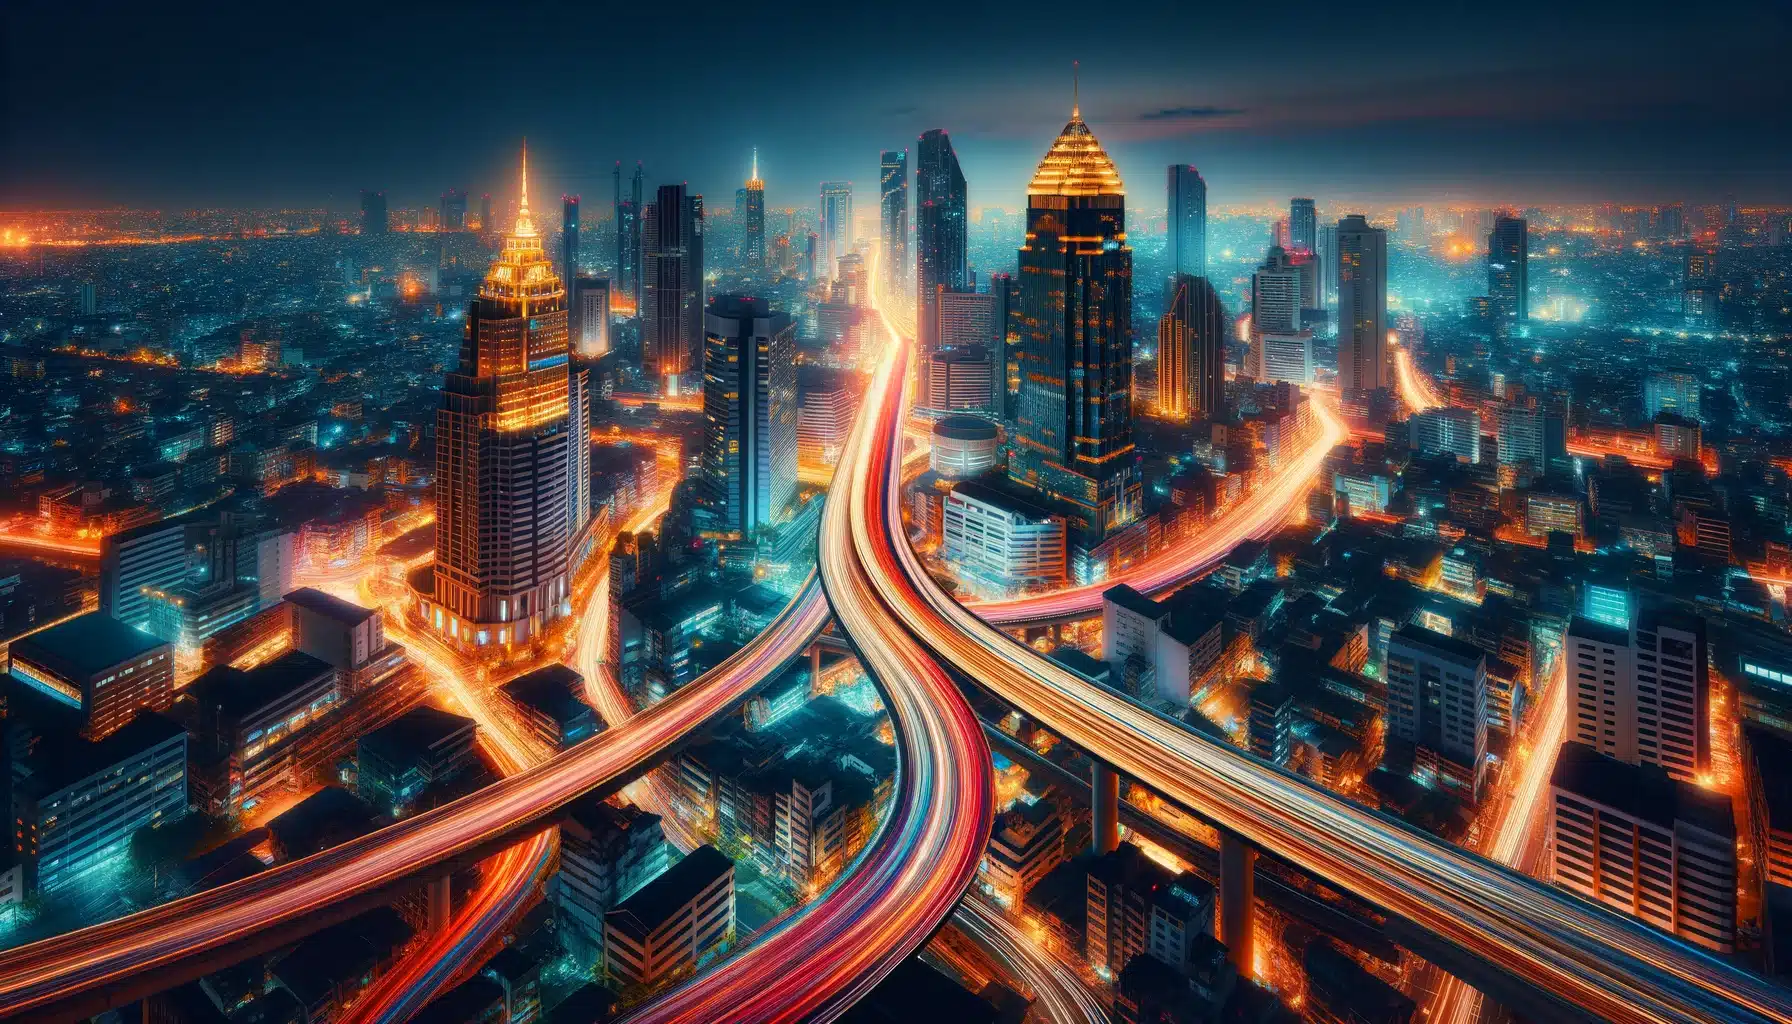
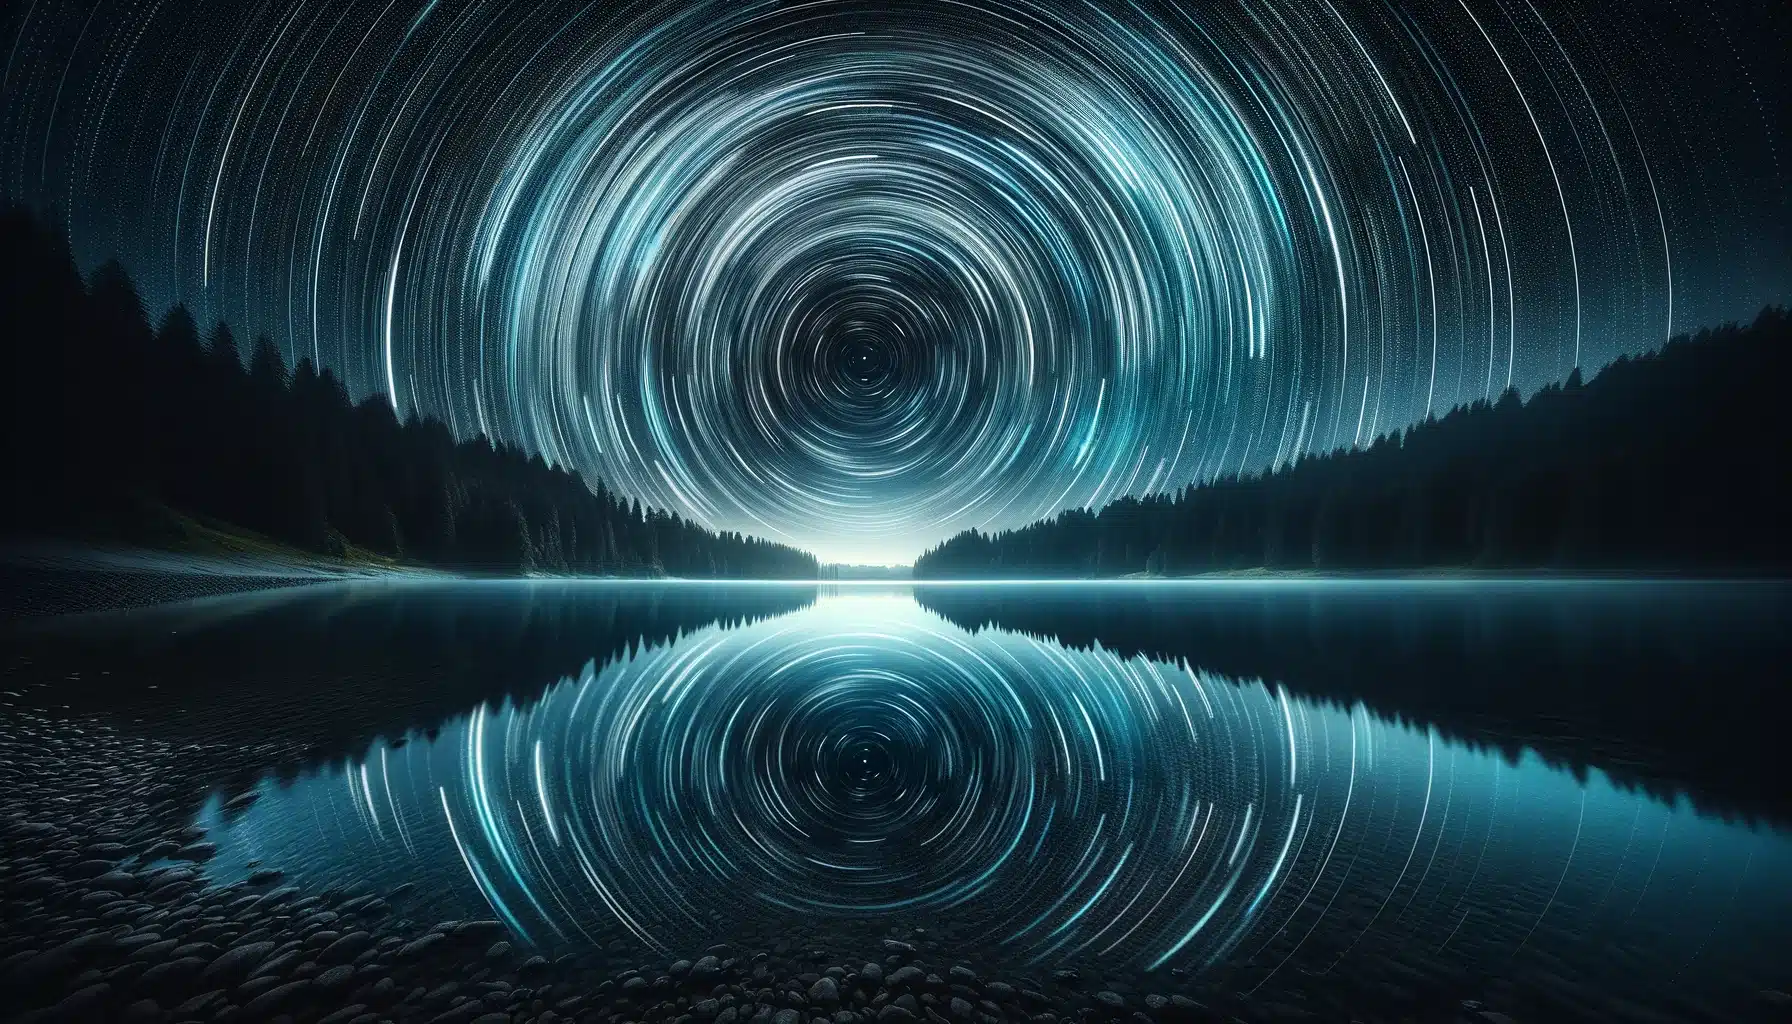
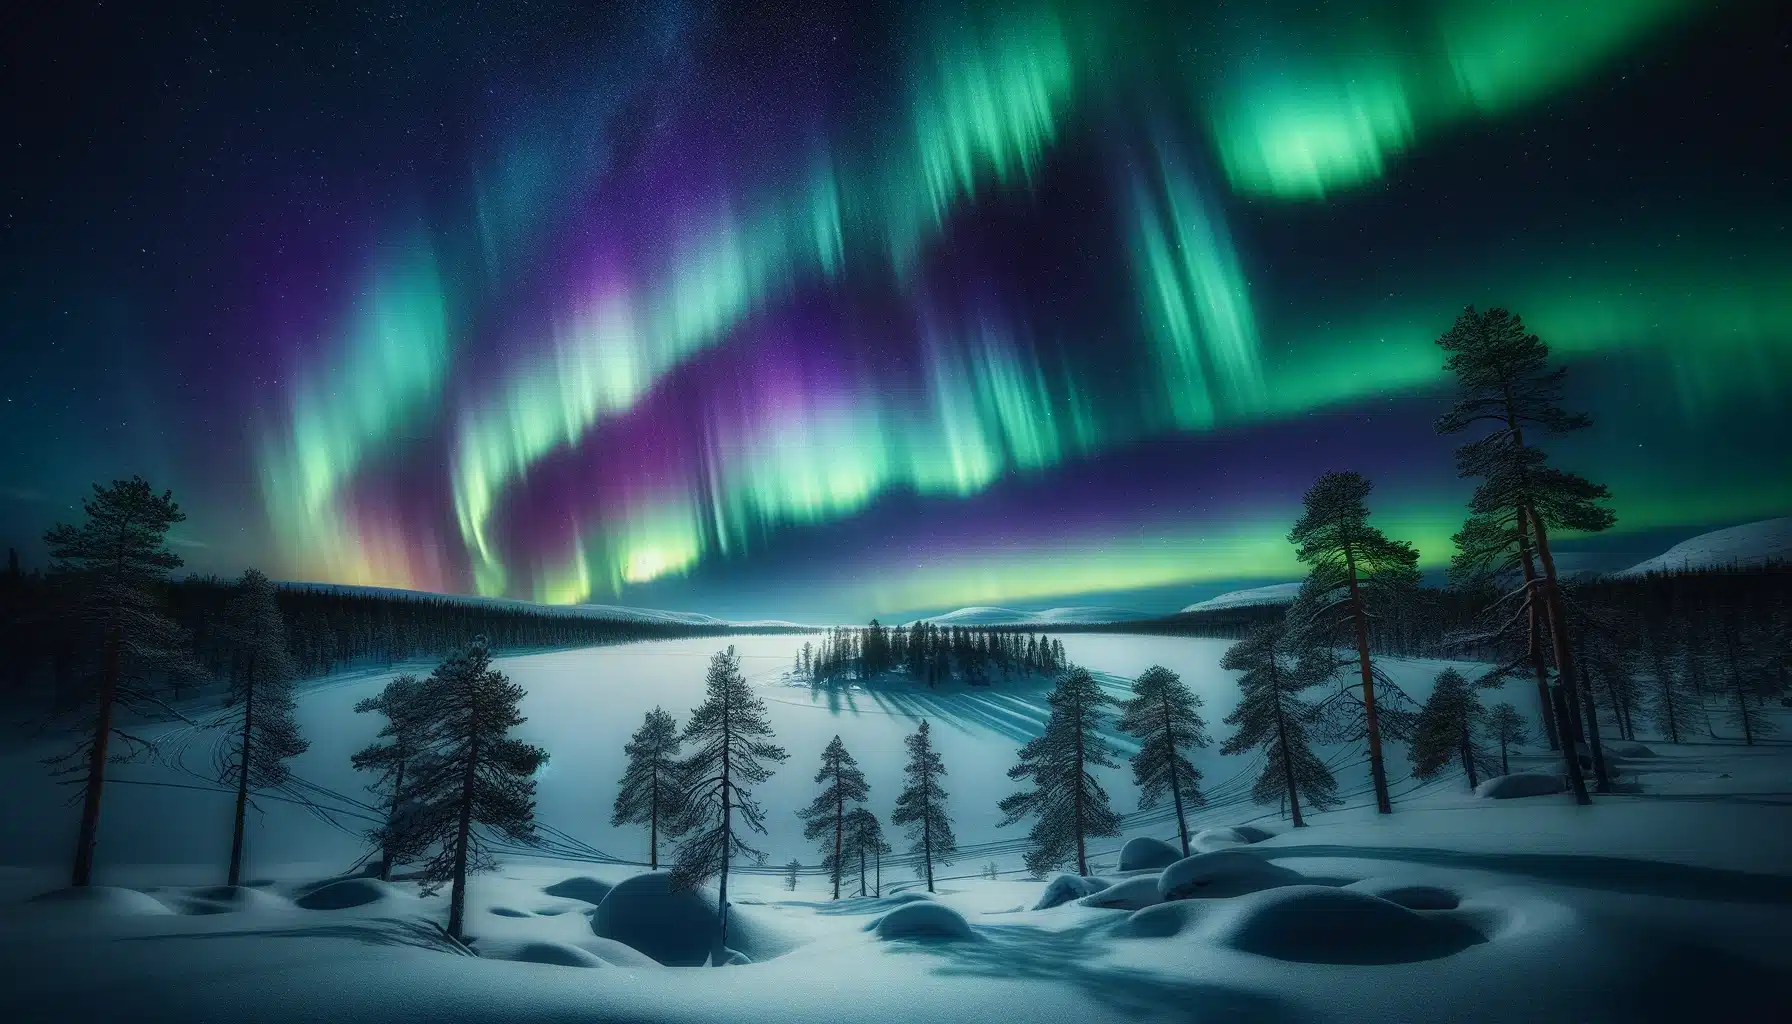
Long exposure photography at night time is a way to take really cool pictures when it’s dark. You keep the camera’s shutter open for a long time, from a few seconds to even minutes. This lets in a lot of light, making everything brighter and clearer. It’s great for taking pictures of things at night, like bright city lights, stars, or water that looks super smooth.
When we talk about long exposure at night photography, we mean making photos that show details and colors we usually can’t see when it’s dark. This kind of photography changes normal places into amazing scenes, making them look magical with lines of light, star designs, or water that looks soft and flowing.
For example, think about a beach at night with the moon shining. With long exposure night time photography, the sea’s waves get all blurry and look really soft, making a big difference compared to the still land. It makes the picture look really special, pleasing to our eyes and touching our hearts.
Table of Contents
Essential Equipment for Nighttime Long Exposure Photography
For night long exposure photography, it’s really important to have the right accessories. The right tools can make a huge difference in getting those cool, glowing pictures that we all love. So, let’s talk about what you need to make your long exposure photography at night totally awesome:
Camera with Manual Mode: A camera that lets you control the shutter speed is essential for long exposure photography at night. This control is crucial for taking long exposure retakes where the shutter stays open to capture more illumination and create stunning effects.
Sturdy Tripod: Your camera must be super steady while capturing all that glare for several seconds or even minutes. A good tripod means no shaky photos, just crisp and clear images every time
Remote Shutter Release: This gadget helps you take a photo without touching the camera. It’s perfect for keeping everything super still, so your long exposure photography at night turns out sharp and clear.
The Right Lens: A lens that performs well in low light is crucial for capturing detailed and clear images in night long-photo shoots. There are many types of lenses available in the market but a wide-angle lens is great because it lets you see more of the scene.
Extra Batteries and Cards: Taking pictures for a long time eats up battery and memory space. Have extra batteries and memory cards so you don’t run out in the middle of your night long exposure photography adventure.
Illumination Source: A headlamp is necessary for setting up your equipment in the dark and navigating during night long exposure photography sessions. It helps in adjusting settings on your camera and tripod in low-glare conditions.
Common Challenges in Long Exposure Night Photography
Getting into long exposure night time photography can be like trying something new and exciting. There might be some small problems at first, like getting used to shooting in the dark or figuring out the best camera settings. But don’t worry, it’s all part of learning something cool. Here’s a closer look at what you might face:
Changing Weather Conditions
Weather can change unexpectedly during long exposure night time photography sessions. A clear sky might suddenly become cloudy, affecting the composition of your planned retakes. Check weather forecasts and plan accordingly. Bring protective gear for your equipment to handle unexpected weather changes.
Equipment Malfunctions
Operating your camera and accessories in the dark can be tricky. You might face issues like batteries draining faster in the cold or struggling to change settings on your camera without proper illumination during long exposure night time photography. To fix this, use a headlamp or torch to manage your equipment. Familiarize yourself with your gear’s layout so you can adjust settings by touch.
Unexpected Movement in the Scene for Dark Slow-Shutter
When capturing long exposures, unexpected movements like animals entering the frame or branches moving with the wind can blur the final image in long exposure night time photography. So, to avoid this, monitor your scene carefully before starting the exposure and wait for the right moment when movement is minimal.
Calculating the Correct Exposure Time
Finding the right shutter speed, aperture, and ISO can be tricky, especially for those new to long exposure night time photography. To solve this, start with a baseline setting recommended for your conditions and adjust based on trial and error. Take test shots, review them, and tweak the settings as needed to get the desired effect.
Color Balance Issues
Night lights can vary in color temperature, causing tricky color balance issues in your photos. Manual white balance adjustment is your best bet. Use Photoshop and experiment with different settings to find the right balance for the lighting conditions, or adjust the colors during post-processing to achieve a natural look.
Camera Settings for Long Exposure Night Photography
Shutter Speed
The most important setting for long exposure at night photography is the shutter speed. You’ll want to set it to several moments or even minutes to let enough glare in. This long shutter speed is what makes long exposure photography at night or sunset so special, as it allows you to capture trails of brightness and motion in a way that can’t be seen with the naked eye.
Aperture Settings for Dark Slow-Shutter Shots
For long exposure at night photography, use a wider aperture (a lower f-number) if you want more illumination to hit the sensor or a smaller aperture (a higher f-number) if you’re capturing glare trails and want everything in sharp focus. Balancing the aperture with the shutter speed is key to getting the right exposure.
ISO and Long Exposure Night Time Photography
Keep the ISO as low as possible to reduce noise in your photos. Since long exposure photography at night involves capturing brightness over a longer period, you can afford to keep the ISO low and still get a well-exposed image.
Focus and Long exposure at Night Photography
Autofocus might struggle in low light, so manual focus is often better for long exposure at night photography. Use your camera’s live view mode to zoom in on a point and manually adjust the focus to get sharp images.
White Balance
Auto white balance can work, but for more control and consistency in your long exposure photography at night, adjust the white balance manually. This will prevent color shifts across different retakes and ensure that the colors in your nightscapes are accurate and consistent.
Here’s a table detailing the camera settings for long exposure photography at night for different types of photography:
Capturing stunning nightscapes with dark slow-shutter is all about finding the right moment and making the most of it. You see, it’s not just about clicking the shutter button; it’s about creating a scene that tells a story of the night. Here are a few tips that help you to capture the most stunning cityscapes during long exposure at night photography:
1. Choose the Best Time to Go
For night long exposure photography, timing is everything. Think about the scene you want to capture: do you want the warm glow of sunset or the deep mystery of a pitch-black sky? Aim to get to your location at least 45 minutes before sunset or sunrise to catch the perfect light. If you prefer the night sky, wait until after sunset; this gives you plenty of time to try different settings.
Aspect of Nightscapes
Early Evening (Before Sunset)
Night Time (After Sunset)
Late Night (Deep Night)
Time to Arrive
At least 45 minutes before sunset
1-2 hours after sunset
2-3 hours after sunset
Sky Condition
Transition from brightness to dark, colorful skies
In night long exposure photography, balancing light sensitivity with the right ISO setting is crucial. Aim for an ISO range of 800 to 3,200 to keep your images clear and reduce noise, ensuring your night scenes are sharp and detailed.
3. Compose Your Frame
Composition is key in night long exposure photography. Use the rule of thirds to guide you, placing your main subject at the intersections of the grid lines on your camera’s display. This method helps create a balanced and engaging photo.
4. Manual Mode and the 300/500 Rule for Night Long-Photo Shoots
For those who prefer full control, manual mode is the way to go, using the 300/500 Rule to get the right exposure time. This rule helps you calculate the best shutter speed based on your lens’s focal length and camera sensor size.
5. Bracket Your Shots
If getting the right exposure is difficult in long exposure at night photography, try bracketing. Take several shots at different exposure levels to capture a range of illumination and detail. This technique increases your chances of getting the perfect shot.
6. HDR for Detail
High Dynamic Range (HDR) photography can bring out the details in your nightscapes, combining multiple exposures into one balanced image. It’s great for highlighting both the shadows and highlights in evening long-take photos.
7. Use Live View for Focusing
Focusing, especially during long exposure at night photography, can be a challenge. Use your camera’s Live View feature and bump up the ISO briefly to make things visible on the screen. Zoom in on a bright spot, manually adjust your focus, then dial back the ISO for the actual photo.
FAQs - Long Exposure Photography at Night
Is 200 ISO film good for night photography?
Yes, 200 ISO film can be used for long exposure photography at night, especially if you have a tripod and can use longer exposure times to compensate for the lower sensitivity.
How many seconds is a long exposure?
A night long exposure photography typically ranges from 15 seconds to several minutes, depending on the scene and the effect you want to achieve.
What is the 500 rule in photography?
The 500 rule in photography is used to prevent star trails in night shots. Divide 500 by your lens’s focal length to find the longest shutter speed you can use without getting star movement.
Conclusion
Wrapping up, diving into long exposure night time photography has been a journey of discovery for me. I remember my first time trying to capture the Milky Way; I arrived too late, missing the optimal lighting conditions. From this, I learned the importance of timing and preparation, which transformed my approach to photography at night.
Now, I always plan ahead, check the weather, and arrive early, ensuring I capture the night sky in all its glory. For those looking to enhance their skills in night photography, consider our comprehensive courses. Our Photoshop course and Lightroom course are designed to help you master post-processing, turning your good photos into great ones. So, take the next step in your photography journey with us and see the difference in your nightscapes!
If this article has helped you, then Like and Share it with your friends
$2,061.00Original price was: $2,061.00.$1,061.00Current price is: $1,061.00. 27639
Download Your Free Guide Now!
Discover the secrets of photography with our printable guide! Master essential techniques like aperture, shutter speed, and ISO to create stunning images. Get your free printable PDF now and start turning your snapshots into masterpieces!