Aperture in Photography: A Comprehensive Guide to Mastering Light and Depth
Aperture in Photography: A Comprehensive Guide to Mastering Light and Depth
Introduction to Aperture in Photography
Much like the pupil in our eyes, the aperture in photography is a key part of photography. It acts as a doorway for light into the camera, affecting how bright and deep our pictures look. We measure it in f-stop, like f/2.8 or f/16, which tell us how large the lens opening is. Indeed, understanding the aperture in photographygives photographers a lot of power over their pictures. This article aims to explain aperture in simple terms, making it easier to use in different situations.
Think about taking a picture of a flower in bright sunlight. If you choose a smaller aperture, like f/16, it limits the light coming in. This is crucial because it makes the sites sharper, letting us see every detail of the petals clearly.
Table of Contents
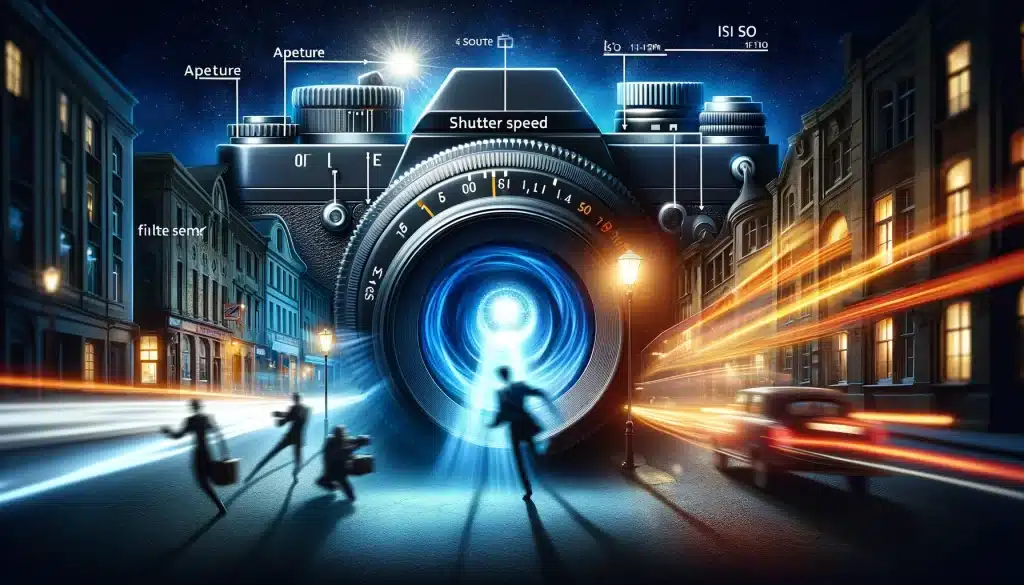
The Relationship Between Shutter Speed, ISO and Aperture in Photography
First things first, let’s discuss the relationship between the main elements. In photography, there are three key factors that shape how your pictures turn out: aperture, shutter speed, and ISO. Together, they make up what’s called the exposure triangle, a crucial concept for photographers to understand. While each part has its role, they all work together to give your shots the right light and look.
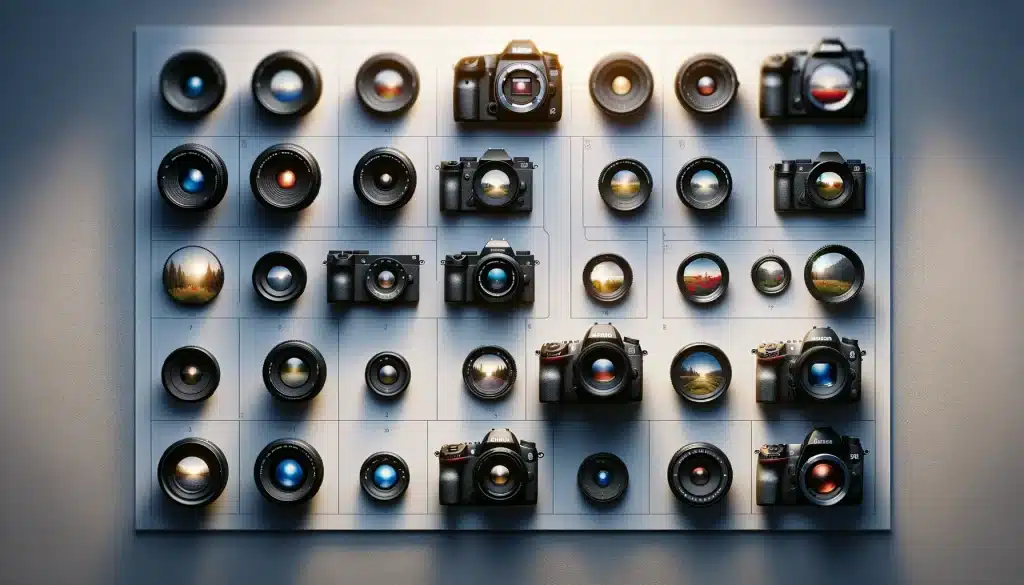
Aperture or Opening
Similar to how the eye’s pupil works, the aperture in photography manages the amount of light entering through the lens. It impacts both the depth of field and the brightness of your pictures. A lower f-stop means a large aperture, which allows more light into the camera and creates a shallower depth of field, emphasizing the focal point by blurring the background. Conversely, a higher f-stop leads to a smaller aperture, reducing the glare intake and resulting in a greater depth of field.
Shutter Speed
Secondly, we have shot speed. This parameter indicates how long the camera’s shutter stays open to let illuminationexpose the sensor. Shot velocity is measured in seconds or fractions (e.g., 1/500s, 1s). Fast shot velocity freeze fast-moving subjects with short exposures, while slower speeds create motion blur effects.
It reflects how sensitive the camera sensor is to light, thereby helping control photo brightness. Lower ISO values (e.g., 100, 200) work well in bright conditions to prevent overexposure, while higher ISO settings (e.g., 3200, 6400) boost sensor sensitivity, thereby enhancing performance in low light.
How They Work Together:
The interaction among camera aperture, frame rate, and ISO sensitivity is vital for capturing well-exposed pictures. Adjusting one of these settings often impacts the others, necessitating changes to achieve the desired exposure level.
Below is a summary table illustrating how alterations in each parameter can impact your shots
Element
Increase (Effect)
Decrease (Effect)
Aperture (Lower f-stop)
More light, shallower depth of field
Less light, deeper depth of field
Shutter Speed (Slower)
More light, potential motion blur
Less light, freeze motion
ISO (Higher)
More light, increased noise
Less light, reduced noise
Imagine you’re capturing a moving subject indoors where illumination is limited. You begin with a wide camera aperture, like f/2.8, to allow maximum glare into the lens. However, to prevent motion blur, you opt for a fast shot speed, say 1/1000s.
Then to compensate for the decreased illumination resulting from the quick shot velocity while still maintaining proper exposure, you increase the ISO from 100 to 800. This well-considered adjustment ensures sufficient glare capture, preserving the clarity and detail of the image.
How to Choose the Right Aperture for Different Photography Scenarios
Selecting the appropriate camera aperture, also known as the f-stop, is crucial for achieving the desired depth and detail in your photographs. Whether you’re capturing a portrait or a sweeping landscape, the size of the lens opening, or iris, significantly influences the outcome of your image.
Now, let’s explore how to choose the right aperture in photography for different scenarios, employing the correct combination of f-stop, diaphragm adjustments, and comprehension of light.
Portrait Photography
When it comes to portrait photography, the aim is often to isolate the subject from their background, thus creating a beautifully blurred backdrop known as bokeh. By using a wide aperture or a low f-stop number like f/2.8, you can achieve this effect. This allows a larger opening in the lens, directing the focus sharply on the subject while gently blurring the background.
Imagine you’re outside taking a photo of someone with a busy surrounding. If you set the lens to f/1.4, the person will be clear, but the background will be blurry. This makes the person catch your eye more because the surrounding isn’t distracting.
Landscape Photography and Opening
On the other hand, when taking pictures of landscapes, it’s important to have everything in focus from the front to the back. But to do this, you need to use a small lens opening, indicated by a high number like f/16. This lets in less light but ensures that everything in the site looks sharp.
If you’re photographing a wide valley with a river running through it. If you set the lens to f/16, it ensures everything from the rocks in the front to the mountains in the background remains clear and detailed.
Sports and Wildlife Photography
In sports and wildlife photography, getting clear shots of quick-moving subjects in different lighting can be tough. In these cases, photographers often prefer using a wider aperture, usually ranging from f/2.8 to f/5.6. It allows more illumination to reach the camera sensor, enabling faster shot speeds.
This is crucial for freezing action and ensuring that every detail, from the expression on an athlete’s face to the intricate patterns on an animal’s fur, is captured with sharp clarity.
Macro photography can be tricky because of the super shallow depth of field when shooting close-ups. To manage this, photographers often go for a mid-range camera aperture, like f/8 to f/16. This strikes a balance between letting in enough light and keeping the subject in focus.
When capturing a spider web covered in dew, set the aperture to f/11 can work wonders. It keeps the intricate details of the web and droplets sharp while gently blurring the background, making the subject stand out without getting lost in a cluttered background.
But keep in mind that using smaller apertures in macro photography can mean less light. So, you might need extra lighting or reflectors to brighten up the picture without cranking up the ISO too much, which could introduce noise.
Street Photography
Street photography focuses on capturing those unexpected, candid moments. To do this effectively, photographers often go for a middle to narrow aperture, like f/5.6 to f/11. This range gives you enough depth of field to keep your subjects sharp while also capturing the vibe of the city around them.
For instance, whether you’re snapping close-up shots of people or wider views of city streets, this aperture range ensures everything stays in focus, allowing you to tell a story with your pictures.
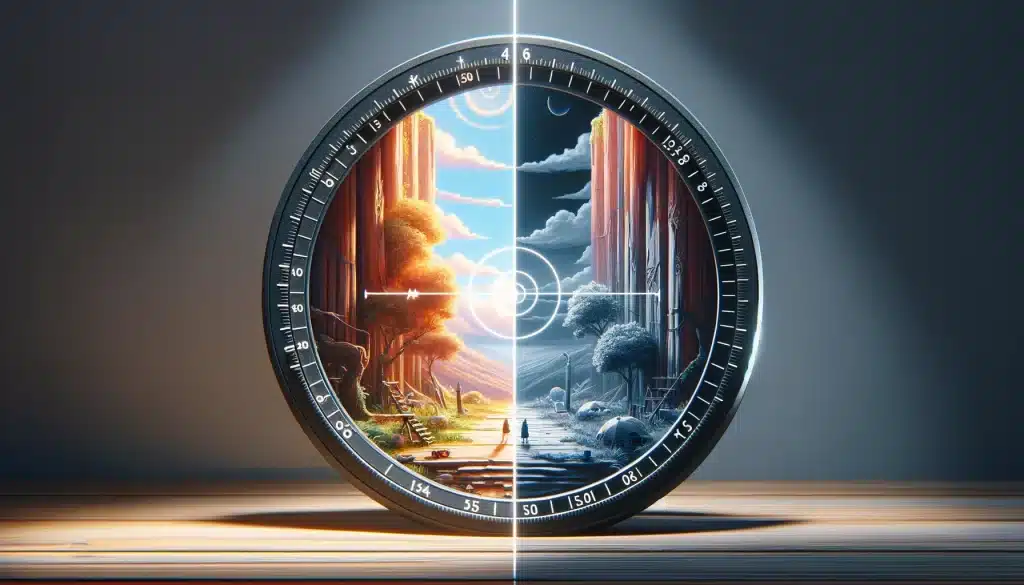
Night and Low-Light Photography
In dim conditions, maximizing glare becomes crucial. Here, a wide aperture comes in handy, like f/1.4 to f/4, as it lets in more light, helping you capture clearer images without having to crank up the ISO too high. This results in less noise and better-quality shots, even in dimly lit environments.
When you’re trying to capture the quiet beauty of a city at night, you might opt for an aperture of f/1.8. This allows you to gather enough light to illuminate the site while avoiding the need for excessively high ISO levels, thus preventing unwanted graininess.
Here’s a table summarizing the best settings of aperture in photography of different scenarios, taking into account factors like the ideal f-stop range and the main objective for each setting:
Photography Scenario
Recommended Aperture
Purpose and Effect
Portrait Photography
f/1.4 to f/2.8
Create a shallow depth of field; focus on the subject with a blurred background.
Landscape Photography
f/11 to f/22
Achieve a deep depth of field; keep the entire site from foreground to background in sharp focus.
Sports and Wildlife Photography
f/2.8 to f/5.6
Allow more light for faster shutter speeds; freeze fast-moving subjects with clear detail.
Macro Photography
f/8 to f/16
Provide a sufficient focus area; ensure small subjects are crisp with a softly blurred background.
Street Photography
f/5.6 to f/11
Offer a versatile depth of field; maintain focus on subjects with contextual background detail.
Night and Low-Light Photography
f/1.4 to f/4
Maximize available light; capture clear images with lower ISO to reduce noise.
Additionally, after capturing your images, consider fine-tuning them further in Lightroom to enhance their visual impact and overall quality.
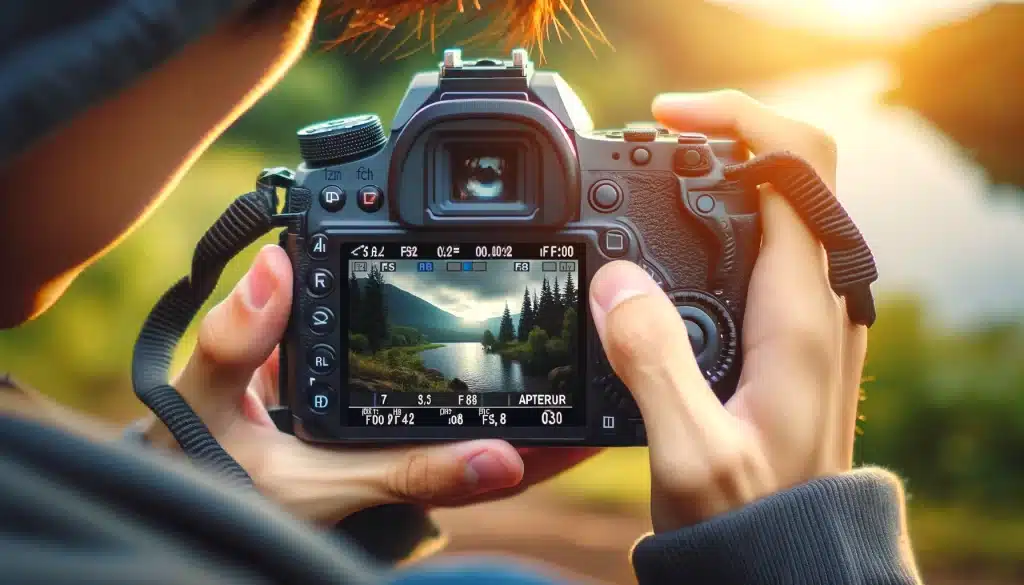
How to Use Aperture Mode Effectively
Aperture mode, often designated as “A” or “Av” (Aperture Priority) in camera settings, allows photographers to set the desired aperture in photography while the camera automatically selects the appropriate shot velocity to match the lighting conditions.
This mode strikes a balance between creative control and automated convenience, making it a preferred choice for many photographers when manipulating the aperture in photography.
To use aperture mode effectively:
Step 1: Understand Your Scene
First, think about what you want your photo to look like. Do you want your subject to stand out with a blurry surroundings, or do you want everything to be in sharp focus? Your decision will help you pick between a wide or narrow aperture. Start by identifying the elements in your scene that are in motion or have the potential for movement. This could be anything from flowing water to moving vehicles or people engaged in activities. Determine the direction and speed of the motion within your scene. This information will help you anticipate how the motion will translate in your photograph and how much blur effect you want to achieve.
Step 2: Set Your Aperture in Photography
Once you know what you’re aiming for, choose the right aperture. For portraits where you want the subject to pop, go for a wide camera aperture (low f-stop number). For landscapes or scenes where you want everything clear, go for a narrow aperture (high f-stop number).
Step 3: Monitor Shot Velocity
In aperture mode, the camera picks the frame velocity for you. Shutter speed refers to how long your camera’s shutter remains open to capture light. In aperture mode, the camera automatically adjusts the shutter speed based on your chosen aperture setting. It’s crucial to monitor the shutter speed to ensure your photos are properly exposed and free from motion blur. For fast-moving subjects or low-light conditions, a faster shutter speed is needed to freeze motion and prevent blurry images. Conversely, a slower shutter speed can be used to capture motion blur or enhance low-light shots, but it requires steady hands or a tripod to avoid camera shake.
ISO determines your camera’s sensitivity to light. In aperture mode, the ISO setting can be adjusted manually or left to the camera’s automatic mode. Increasing the ISO makes your camera more sensitive to light, allowing for faster shutter speeds in low-light conditions. However, higher ISO settings can introduce digital noise, reducing image quality. Conversely, lowering the ISO decreases sensitivity to light. It results in cleaner images but requiring longer exposure times in low-light environments.
Step 5: Review and Refine
Take a test shot and see how it looks. Pay attention to how sharp things are and if the background looks blurry. If it’s not what you want, tweak the aperture or ISO until it’s right.
Step 6: Experiment with Exposure Compensation
If your scene is way brighter or darker than usual, try exposure compensation. It helps adjust the brightness without changing your aperture setting. Experiment with different settings to see how they work with the aperture in photography, finding the ideal mix of light and shadow.
How Aperture in Photography Works in Various Camera Types?
Different cameras handle illumination and settings in their own unique ways. Let’s dive into how different types of cameras use aperture. Remember, even though they’re not all the same, they all use aperture to control the amount of glare that gets into the picture.
1.DSLR vs Mirrorless Cameras
DSLR (Digital Single-Lens Reflex) and mirrorless picturing devices are a bit similar in the camera world. Both let you change the aperture to control the amount of light and the look of your snaps, but they do it in slightly different ways.
With DSLRs, the aperture is controlled through the lens. You can actually see the aperture blades moving if you look into the lens while adjusting the settings. This changes the aperture opening, letting in more or less light, which is essential for getting your snaps just right, especially in low light. Mirrorless cameras work similarly when it comes to aperture but without the bulky mirror system of DSLRs. This means they can be smaller and lighter, but still give you lots of control over the aperture lens for that perfect shot.
2.Smartphone Photography and Aperture
Smartphones might seem simpler than big cameras, but they’re pretty smart when it comes to aperture photography. Most of the time, they have a fixed aperture, which means you can’t change how wide it opens. However, this is usually set to a larger aperture to let in a good amount of light, which helps in low-light situations. Even though you can’t adjust the aperture like in DSLR or mirrorless cameras, smartphones use clever software to create effects like shallow depth, where your subject is clear but the surrounding is nicely blurred. This shows that even with a fixed lens aperture, smartphones can still play around with the amount of illumination and photo effects to give you beautiful shots.
Compact cameras, while smaller and less complex than DSLRs or mirrorless types, still use aperture to control the amount of illumination reaching the sensor, influencing both brightness and depth of field. Typically featuring variable aperture lenses, these cameras adjust the aperture size based on zoom level, impacting image clarity and light intake. And even though they don’t let in as much light as the bigger cameras and can’t blur the background as much, compact digital photoing devices are still great for regular use.
Pro Tip: Learn the difference between prime and zoom lenses to find out which suit your needs best.
Understanding Aperture in Photography Issues
1. Blurry Backgrounds in Portraits
Issue: Your portraits have a distracting background blur instead of a pleasing bokeh effect.
Solution: Ensure your aperture is wide enough (low f-stop number) to create a shallow depth of field. Also, adjust your distance from the subject and background to enhance the blur.
2. Insufficient Depth of Field in Landscape Shots
Issue: Landscape images lack clarity throughout the scene, with objects appearing blurry in the foreground or background.
Solution: Increase the aperture value (higher f-stop number) to expand the depth of field, ensuring that more elements within the sites are in focus.
3. Overexposure in Bright Conditions
Issue: Images appear overexposed or washed out, especially in bright daylight conditions.
Solution: Narrow the aperture (higher f-stop number) to reduce the amount of light entering the lens, preventing overexposure. Additionally, use exposure compensation or ND filters to further control light levels.
Aperture Troubleshooting Table
Issue Description
Possible Cause
Solution
Blurry Backgrounds
Wide aperture setting
Adjust aperture to a narrower setting (higher f-stop number)
Insufficient Depth of Field
Narrow aperture setting
Increase aperture to a wider setting (lower f-stop number)
Overexposure
Wide aperture setting
Narrow aperture to reduce light intake, consider using exposure compensation or ND filters to control light levels.
Top 5 Benefits of Using Right Aperture in Photography
Aperture plays a crucial role in photography, offering several benefits that help photographers capture stunning images. Here are five key advantages of aperture in photography:
Control Depth of Field
Aperture controls how much of your photo is in focus. A wide aperture (low f-stop) gives a shallow depth of field, blurring the background and making the subject stand out. For example, when taking a portrait, using a wide aperture (like f/2.8) can blur the background, drawing attention to the person’s face while creating a pleasing bokeh effect.
Adjust Exposure
Aperture also affects the amount of light entering the camera. A wider aperture lets in more light, making the image brighter, while a smaller aperture reduces light, making the image darker. This adjustment is essential for controlling exposure in various lighting conditions.
Creative Effects
By manipulating aperture settings, photographers can achieve creative effects such as starbursts or sun flares when shooting against bright light sources. These effects add visual interest and uniqueness to photographs, enhancing their artistic appeal.
Versatility
Different aperture settings offer versatility in capturing various scenes and subjects. A wide aperture is ideal for portraits and close-up shots, while a smaller aperture is suitable for landscapes or group photos, ensuring sharpness across the entire frame.
Lens Performance
Aperture choice can impact the overall performance of a lens, affecting factors like sharpness, vignetting, and distortion. Understanding how aperture affects lens performance enables photographers to make informed decisions when selecting lenses for different shooting situations.
FAQs
What is the exposure triangle?
The exposure triangle refers to the relationship between aperture, shot speed, and ISO. Balancing these three elements is key to achieving the desired exposure and depth of field in your pictures. Changing one element will often require adjustments to the others to maintain proper exposure.
How do aperture or Diaphragm blades affect my shots?
Aperture blades shape the diaphragm opening of your lens and can affect the quality of the blur (bokeh) in the out-of-focus areas of your photos. The number and shape of these blades determine how round the bokeh appears, especially when lights are part of the blurred surrounding.
Why do some photographers prefer prime lenses for aperture or Iris control?
Prime lenses (lenses with a fixed focal length) often offer larger maximum apertures compared to zoom lenses. This larger aperture allows more light, provides better low-light performance, and achieves a shallower depth of field, making them preferred by photographers who prioritize these aspects, especially in portrait and low-light photography.
How does Opening selection impact image Clarity in photography?
Aperture plays a significant role in determining the depth of field in a photograph, which in turn affects image sharpness. A wider aperture (lower f-stop number) creates a shallow depth of field, resulting in a blurred background and emphasizing the clarity of the subject. In contrast, a smaller aperture (higher f-stop number) increases the depth of field, ensuring more of the scene is in focus but potentially sacrificing clarity due to diffraction.
What is the optimal aperture for maximizing image clarity while maintaining sufficient depth of field?
The optimal aperture varies depending on factors such as the lens, subject distance, and desired creative effect. However, as a general guideline, many lenses perform best in terms of clarity at mid-range apertures, typically around f/8 to f/11. At these apertures, diffraction effects are minimized, and the lens is often operating near its optical sweet spot, resulting in excellent overall sharpness. Experimentation with different aperture settings is essential to determine the ideal balance between clarity and depth of field for each photographic situation. You can use essential tools in Lightroom for more clarity in the image.
Conclusion
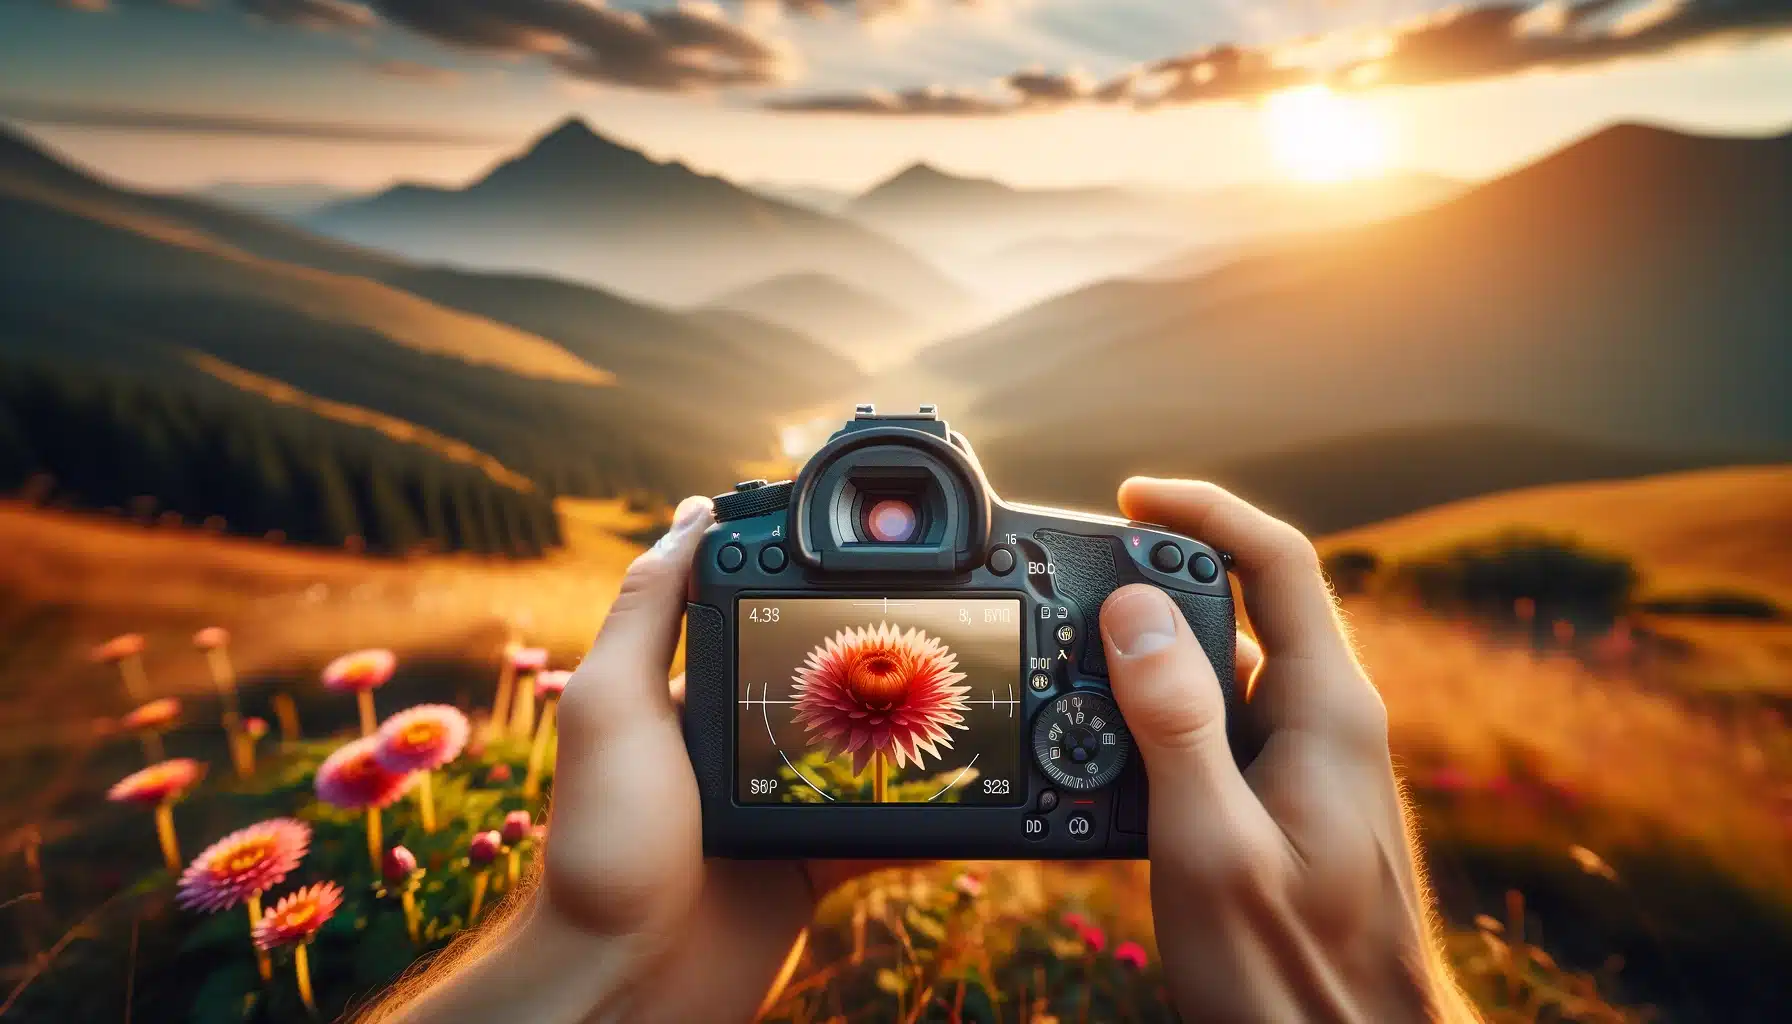
In conclusion, learning all about aperture has really changed the way I take pictures. Like this one time, I was taking pictures of a mountain scene. By playing around with the aperture, I managed to get both the flowers close to me and the distant hills super clear. It was like a lightbulb moment for me, realizing how much control I had over my photos.
If you want to get better at taking pictures and have more of those “aha” moments, I really suggest checking out our courses on Photoshop and Lightroom. They’re super helpful and can teach you a bunch of cool stuff to make your photos look amazing. So, why not give it a shot and see how much your pictures can improve?
If this article has helped you, then Like and Share it with your friends!
Discover the secrets of photography with our printable guide! Master essential techniques like aperture, shutter speed, and ISO to create stunning images. Get your free printable PDF now and start turning your snapshots into masterpieces!