Introduction to 360 Photography
In today’s digital age, 360 photography has revolutionized how we capture and experience images. Unlike traditional photos that secure limited outlook, 360 photographic arts provide a complete panoramic view, allowing viewers to immerse themselves in the scene. It is all thanks to the 360 photography equipment especially when they are used for the product 360 photography. Additionally, no one can deny the importance of 360 photography for businesses.
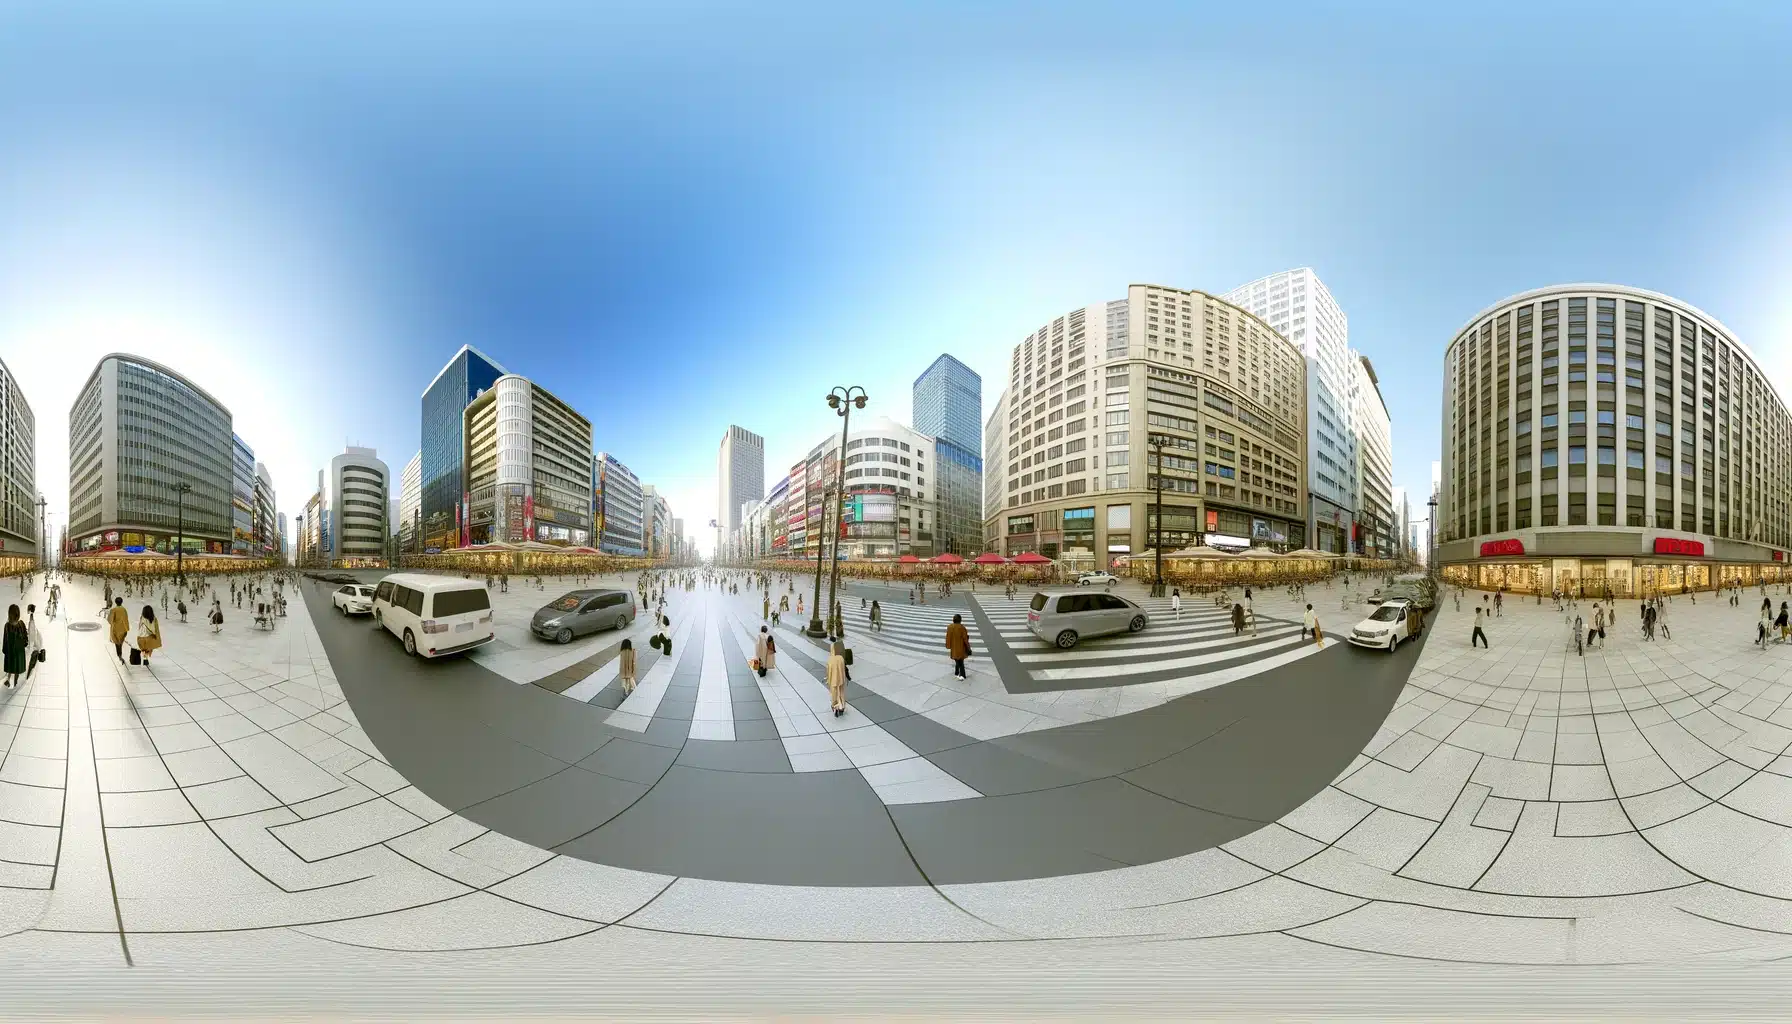
Imagine standing in a bustling city square, surrounded by skyscrapers, bustling crowds, and vibrant street performers. With 360 photography, you can gain not just a snapshot but the entire environment, giving viewers a sense of being right there in the moment.

Table of Contents
Real-Life Examples of 360 Photography in Action

Here are real-life examples showcasing the application of 360 image capturing across various business service industries:
Real Estate
Real estate agents are using 360 photographic panoramas to change how they show properties. Instead of just using pictures, potential buyers can now take virtual tours. They can explore every part of a property as if they were there in person. This makes it easier for buyers to understand the layout, design, and features of a property.
Travel and Tourism
In the travel and tourism industry, businesses are using 360 images capturing to show off amazing places. They seize stunning landscapes, historic sites, and popular attractions in 360-degree photos. This gives viewers a feel for what it’s like to be in those places and helps them plan their trips better.
Education
Schools and colleges are using 360 panoramic photography to make learning more interesting. They generate virtual tours of museums, historic sites, and science exhibits. These interactive tours help students see things up close and understand them better.
E-Commerce
Online businesses are using 360 photography for businesses to show products in more detail to their clients. Customers can see goods from all angles, like they would in a physical store. This helps them make best decisions when buying things online.
360 photography for businesses isn’t just about capturing images; it’s about producing engaging and interactive encounters that transport viewers to different places and moments. It has applications across various service industries, making it a powerful tool for storytelling, marketing, and education in the digital world.
Benefits of 360 Photography
1. Enhanced User Engagement
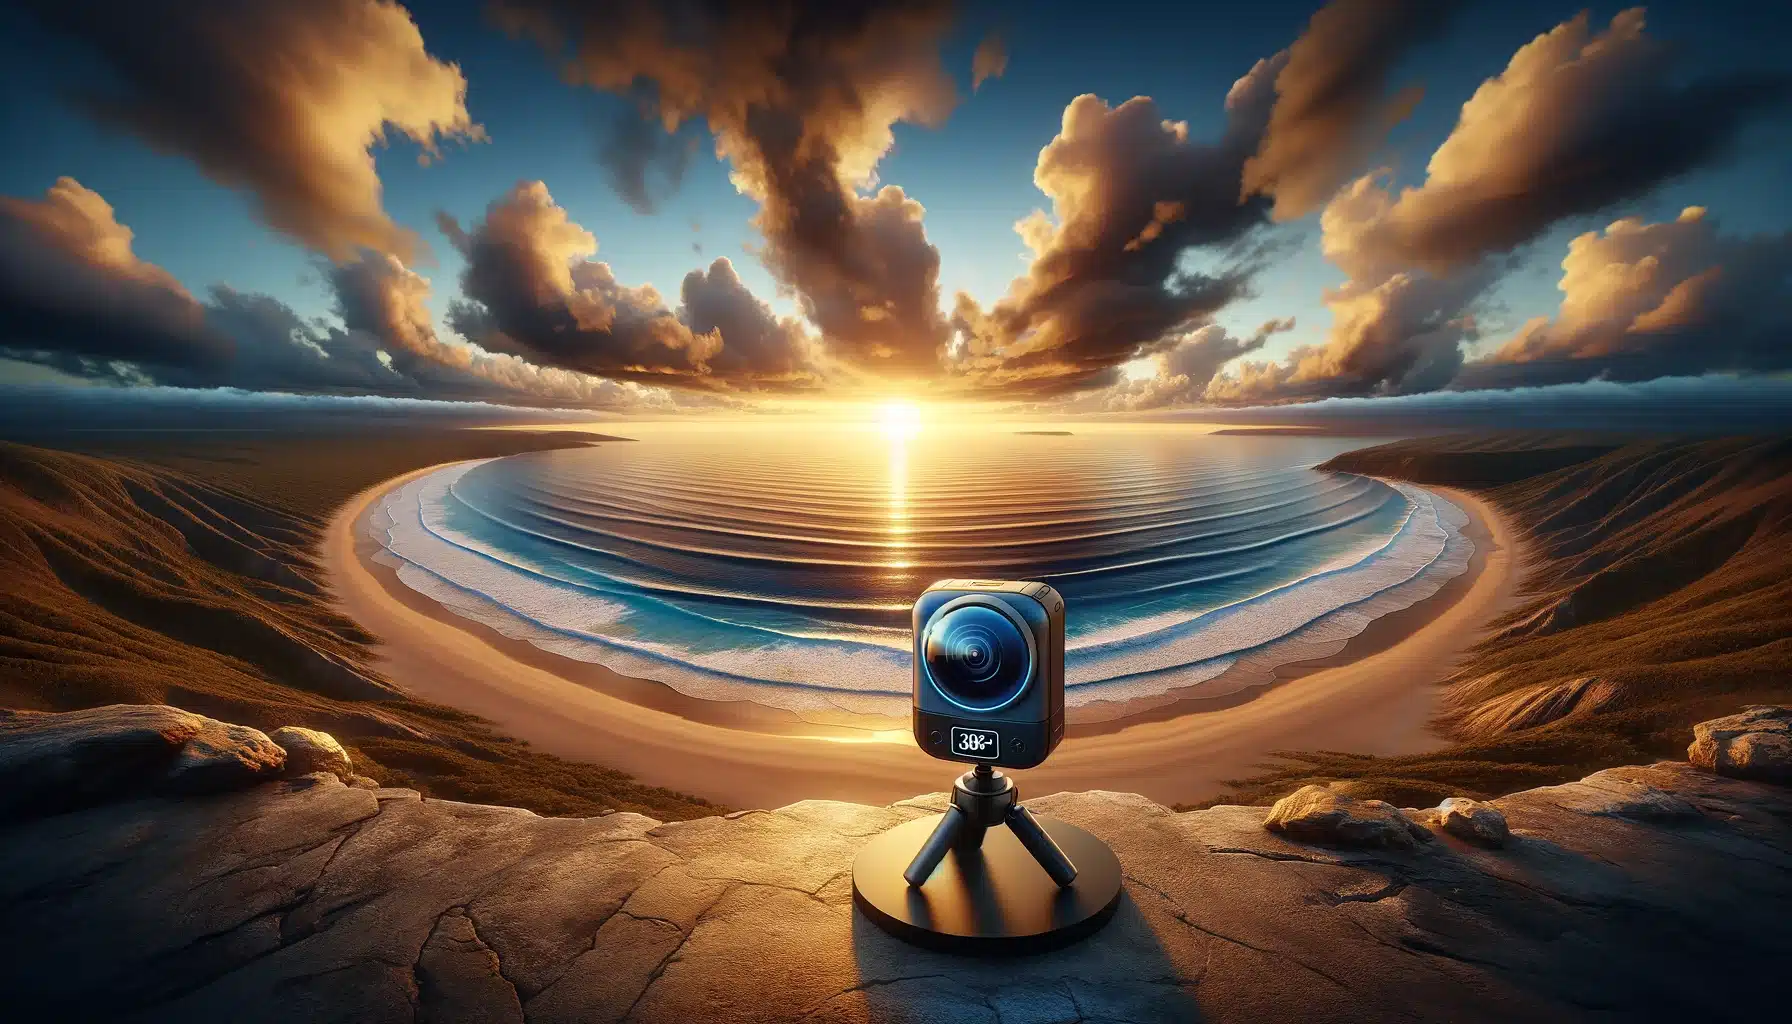
360 panoramas bring scenes to life, allowing viewers to step into the picture. Imagine browsing through a travel website and being able to virtually explore a beautiful beach resort, seeing every detail as if you were there. This immersive encounter captures attention. It keeps viewers engaged longer, making the clients more likely to remember and share the content.
2. Detailed Product Visualization
When shopping online, seeing a good from multiple angles helps make informed decisions. For instance, imagine shopping for a new car and being able to virtually sit inside inspect the dashboard, and even look under the hood through 360-degree imaging. This level of detail aids in understanding the commodity better and increases confidence in making a purchase.
3. Virtual Tours and Real Estate Showcases
In the real estate business industry, immersive photography revolutionize property viewing. Prospective buyers can take virtual tours of homes, seeing every room and corner, which saves time and increases interest. For example, a real estate website offering 360 tours of properties allows buyers to explore homes as if they were physically there, attracting more serious inquiries and speeding up the sales process.
4. Educational and Training Applications
360 image capturing enhances learning experiences by creating interactive simulations. Imagine a history lesson where students can explore ancient ruins in 360 degrees, examining artifacts up close and feeling immersed in the historical context. This approach not only improves retention but also makes learning more engaging and enjoyable.
5. Marketing and Branding Advantages
For businesses, product 360 photographic is a powerful marketing tool. Imagine a clothing brand showcasing its latest collection through interactive 360-degree panoramas, allowing customers to virtually try on outfits and see how best they look from all angles. This interactive instance creates a lasting impression, strengthens brand loyalty, and encourages repeat purchases.
6. Improved SEO and Online Visibility
From a digital marketing perspective, 360 spherical photography for businesses boosts SEO and online visibility on Google and other search engines. Websites with interactive 360 content attract more organic traffic and retain visitors longer, signaling search engines that the site offers valuable and engaging content. This leads to higher rankings in search results, increasing visibility and attracting potential customers organically.
Types of 360 Cameras for the Perfect 360 Photography

- Single-Lens 360 Cameras
Single-lens 360 cameras, also known as monoscopic photographic device, confine a full 360-degree sight using a single lens. These cameras are compact and easy to use, making them ideal for beginners and casual users. They provide a seamless adventure for capturing immersive photos and videos without the need for complex setups.
For instance, the Ricoh Theta Z1 is single-lens 360 photography equipment popular among travelers and hobbyists. It’s straightforward to operate, allowing users to gain panoramic views of landscapes, events, and memorable moments with ease.
- Dual-Lens 360 Cameras
Dual-lens 360 photography equipment, also called stereoscopic cameras, use two lenses to acquire 360-degree content. This setup enables better depth perception and more realistic visuals. Dual-lens image-capturing devices are often preferred by seasoned and content creators for their enhanced image quality and immersive adventures.
An example of a dual-lens 360 camera is the Insta360 ONE X2. This camera is commonly used by adventure enthusiasts and vloggers to document outdoor activities such as hiking, skiing, and biking. Its dual-lens system clicks action-packed scenes with vivid detail.
- 360 Action Cameras
360 action photographic devices are designed for capturing dynamic and fast-paced activities. They are rugged, waterproof, and built to withstand challenging environments. These 360 photography equipment are popular among sports enthusiasts, adventurers, and vloggers who want to capture immersive action shots from every angle.
Consider the GoPro MAX as a prime example of a 360 action camera. This 360 photography equipment is frequently used by extreme sports athletes and adrenaline junkies to record thrilling moments like surfing, skydiving, and snowboarding. Its durable build and wide-angle lens ensure that no action is missed.
Other Prominent Types of 360 Cameras
- Professional Grade 360 Cameras
Professional-grade 360 photography equipment are tailored for high-quality content creation and advanced editing capabilities. They offer features such as RAW image capture, manual controls, and compatibility with the editing software. These image-capturing devices are used by filmmakers, photographers, and virtual reality photography (VR) content creators to produce stunning 360-degree visuals.
One notable grade 360 camera is the Kandao QooCam 8K. Filmmakers and VR developers often utilize this DSLR to gain cinematic scenes, virtual tours, and immersive experiences. Its high-resolution output and post-processing options make it a valuable tool for creative experts.
- Smartphone-Compatible 360 Cameras
Smartphone-compatible 360 lens equipment seamlessly integrates with smartphones. This allows users to capture and share 360-degree content directly from their mobile devices. These image-capturing device offer portability, ease of use, and instant sharing capabilities, making them accessible to a wide range of users.
Take the Samsung Gear 360 as an example of a smartphone-compatible 360 camera. This 360 photography equipment is commonly used by social media influencers and photographers to develop engaging content for platforms like Instagram and YouTube. Its intuitive app integration and social sharing features make it a favorite among mobile content creators.
Key Features of Different Types of 360 Lens Equipment

| Type | Key Features |
|---|---|
| Single-Lens 360 | • Acquires full 360-degree sight with a single lens • Compact and easy to use • Ideal for beginners and casual users |
| Dual-Lens 360 | • Uses two lenses for better depth perception and more realistic visuals • Preferred by experts and content creators |
| 360 Action Cameras | • Rugged, waterproof, and designed for fast-paced activities • Popular among sports enthusiasts, adventurers, and photographers |
| Professional Grade | • Tailored for high-quality content creation and advanced editing capabilities • Features RAW image capture, manual controls, and compatibility with editing software |
| Smartphone-Compatible | • Seamless integration with smartphones for easy capture and sharing • Portable, user-friendly, and suitable for a wide range of users |
How to Enhance Visuals with Product 360 Photography
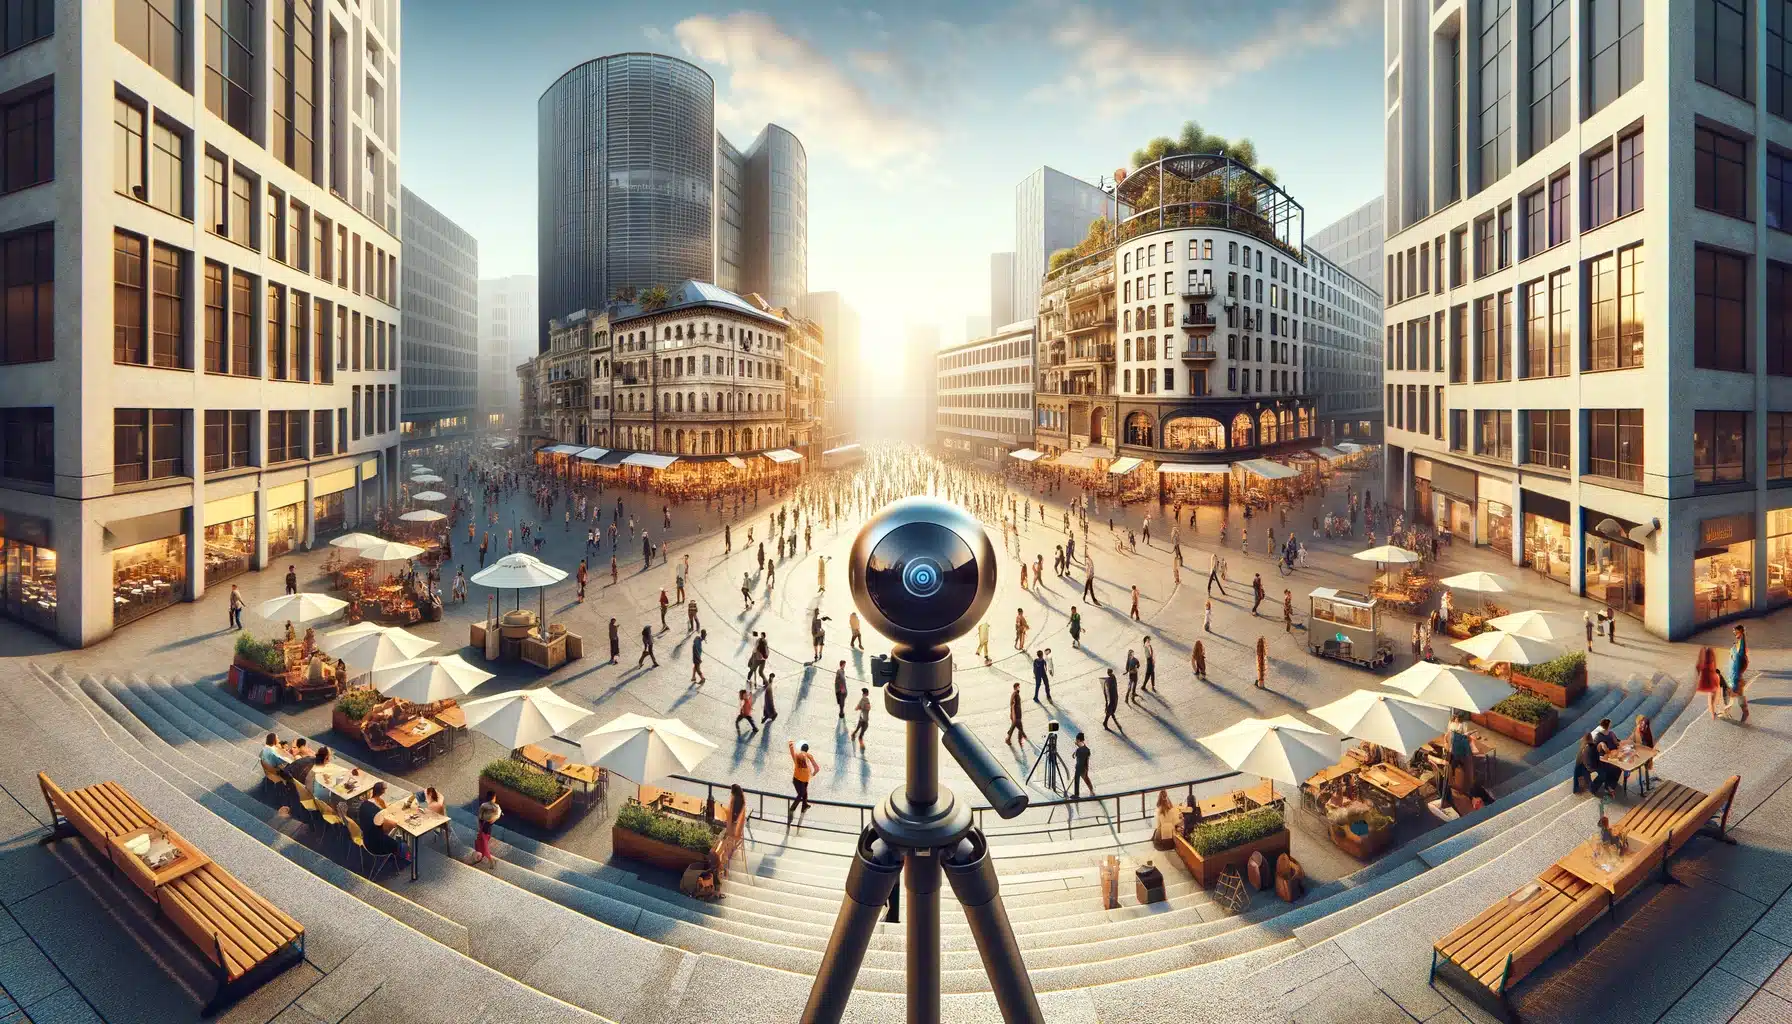
360 Product photography is a powerful tool for showcasing goods from every angle, providing customers with a detailed view that enhances their shopping event. Here are some examples:
- Comprehensive Product Views
Photos 360 works offers comprehensive views of goods, allowing customers to examine them thoroughly. Transitioning from a static image to a 360-degree perspective provides a seamless occurence for customers, enabling them to see the commodity from all perspectives.
For example, an online furniture store can use 360 photography for businesses to showcase a sofa. Customers can rotate the image to inspect the fabric, stitching, and design details. This helps them make informed purchasing decisions based on a thorough examination.
- Interactive Product Exploration
With product 360 photography, customers can interactively search items, mimicking an in-store encounter. Transitioning from one angle to another in a smooth and intuitive manner enhances the exploration process, making it engaging and enjoyable. This interactive approach, coupled with advanced editing tools like Photoshop, allows users to enhance and customize their viewing encounter , generating visually stunning and compelling content.
Consider a jewelry retailer using 360-degree photographic for earrings. Customers can rotate the image to see the earrings from different angles, assessing their design, shine, and overall appeal. This interactive exploration increases customer satisfaction and confidence in the output.
- Enhanced Item Details
Product 360 photography highlights intricate details that may be overlooked in traditional photos. Transitioning between close-up shots and panoramic photographic thing allows customers to focus on specific features, such as textures, patterns, or commodity functionalities.
For instance, a technology retailer can utilize photos 360 for businesses for smartphones. Customers can zoom in to examine the camera quality, screen resolution, and button placements, gaining a comprehensive understanding of the device’s features and benefits.
Other Proven Technique to Enhance Visuals
- Increased Customer Engagement
The interactive nature of product 360 photography encourages customers to engage with the content for longer periods. Transitioning from static images to dynamic scenes acquires attention and keeps customers actively involved in exploring the good.
An automotive dealership can leverage 360 photography for businesses for showcasing cars. Customers can virtually step inside the vehicle, rotate the outlook to see the interior details, and even navigate different color options. This immersive adventure leads to increased customer engagement and interest in the good.
- Improved Conversion Rates
Ultimately, product 360 photography contributes to improved conversion rates by providing customers with a thorough understanding of the good. Transitioning from browsing to purchasing becomes seamless as customers feel confident in their decision after exploring the item from all angles.
A clothing brand using 360 DSLR equipment for apparel can showcase outfits in various poses and angles. Customers can see how the clothing fits from different perspectives, leading to more informed purchases and higher conversion rates.
Product 360 Photography: Comparing Features of Top 360-Degree Equipment
| 360 Photography Equipment | Key Features | Price Range |
|---|---|---|
| Nikon KeyMission 360 | Dual-lens system, 4K video recording, Waterproof | $200 – $500 |
| Ricoh Theta V | High-resolution images, 4K video, Live streaming | $400 – $600 |
| Insta360 ONE X2 | Dual-lens setup, 5.7K video, Stabilization features | $400 – $500 |
| GoPro MAX | 360-degree capture, Waterproof, Stabilization | $200 – $500 |
| Kandao QooCam 8K | Professional-grade, 8K video, Raw photo capture | $300 – $800 |
Shooting Techniques for 360 Photographic Work

- Stable Positioning
To click clear and steady 360 images, start by placing your camera on a stable surface or using a tripod. This helps avoid shaky footage and provides a solid foundation for capturing immersive visuals.
Positioning your camera at eye level or slightly above can enhance the viewer’s perspective. It creates a more natural viewing encounter.
- Balanced Lighting for 360 Photography
Proper lighting is crucial for achieving vibrant and well-exposed 360 photos. Begin by assessing the lighting conditions in your environment. If necessary, use additional lighting sources such as natural light, artificial lights, or reflectors to balance shadows and highlights.
Avoid shooting directly into harsh sunlight or bright sources that can cause overexposure or lens flare. Instead, opt for diffused or soft lighting for a more pleasing result.
- 360-Degree Composition
Consider the entire 360-degree space when composing your stunning shots. Start by identifying key elements or focal points within the scene. Then, use the camera’s preview or app to visualize how the composition will appear in a spherical photoplay.
Remember to include foreground, middle ground, and background elements to add depth and perspective to your images. Experiment with different angles and perspectives to develop engaging and dynamic compositions.
- Motion and Movement
Adding motion to your 360 photoplay can create captivating visuals. Try incorporating movement by panning the camera smoothly or using slow rotations to reveal the surroundings gradually.
Be mindful of the speed and direction of movement to avoid disorienting viewers. Consider the narrative or story you want to convey.
- Focus and Sharpness
Maintaining focus and sharpness is essential for achieving clarity in 360 images. Set your camera’s focus to the appropriate distance based on your subject or scene. Ensure that important details are sharp and well-defined throughout the entire 360 sight.
Frequently Asked Questions
What equipment do I need to start with 360 photography?
To start with 360 photography, you’ll require a 360 camera or smartphone-compatible 360 camera and a stable tripod. Additionally, editing software such as Photoshop or Lightroom for post-processing is essential.
Can I use 360 photography for businesses or personal projects?
360 photography for businesses is versatile and applicable in various fields. It can be used for real estate listings, product showcases, virtual tours, educational content, and creative storytelling projects.
How do I share 360 photography with others?
You can share your 360 photos and videos on social media platforms like Facebook, YouTube, and Instagram by uploading them directly or using specialized apps that support 360 content. Additionally, you can embed 360 content on websites and blogs for a more immersive incident.
What are some tips to shoot compelling 360 photos?
To shoot engaging 360 photos, consider stable positioning, balanced lighting, 360-degree composition, incorporating motion, and maintaining focus and sharpness. Experimenting with different shooting techniques can add depth to your 360 imagery. Trying various angles also enhances creativity in your photos.
Conclusion
360 photography is a game-changer in the world of visual storytelling. As someone deeply passionate about immersive experiences, you’ll witness the transformative power. 360-degree imagery will personally captivate and engage you. Whether it’s showcasing breathtaking landscapes or bringing output to life with detailed outlooks, the possibilities are endless.
If you’re ready to take your photographic art skills to the next level, we invite you to discover our comprehensive courses. Our Photoshop Course and Lightroom Course are designed to equip you with the knowledge and tools needed. They will also help generate stunning visuals that captivate and engage your audience. Join us on this creative journey and learn how to create stunning visuals that captivate and engage your audience.
Have a nice photoshoot!


