Patch Tool in Photoshop: How to Use it to Perfection?
Patch Tool in Photoshop: How to Use it to Perfection?
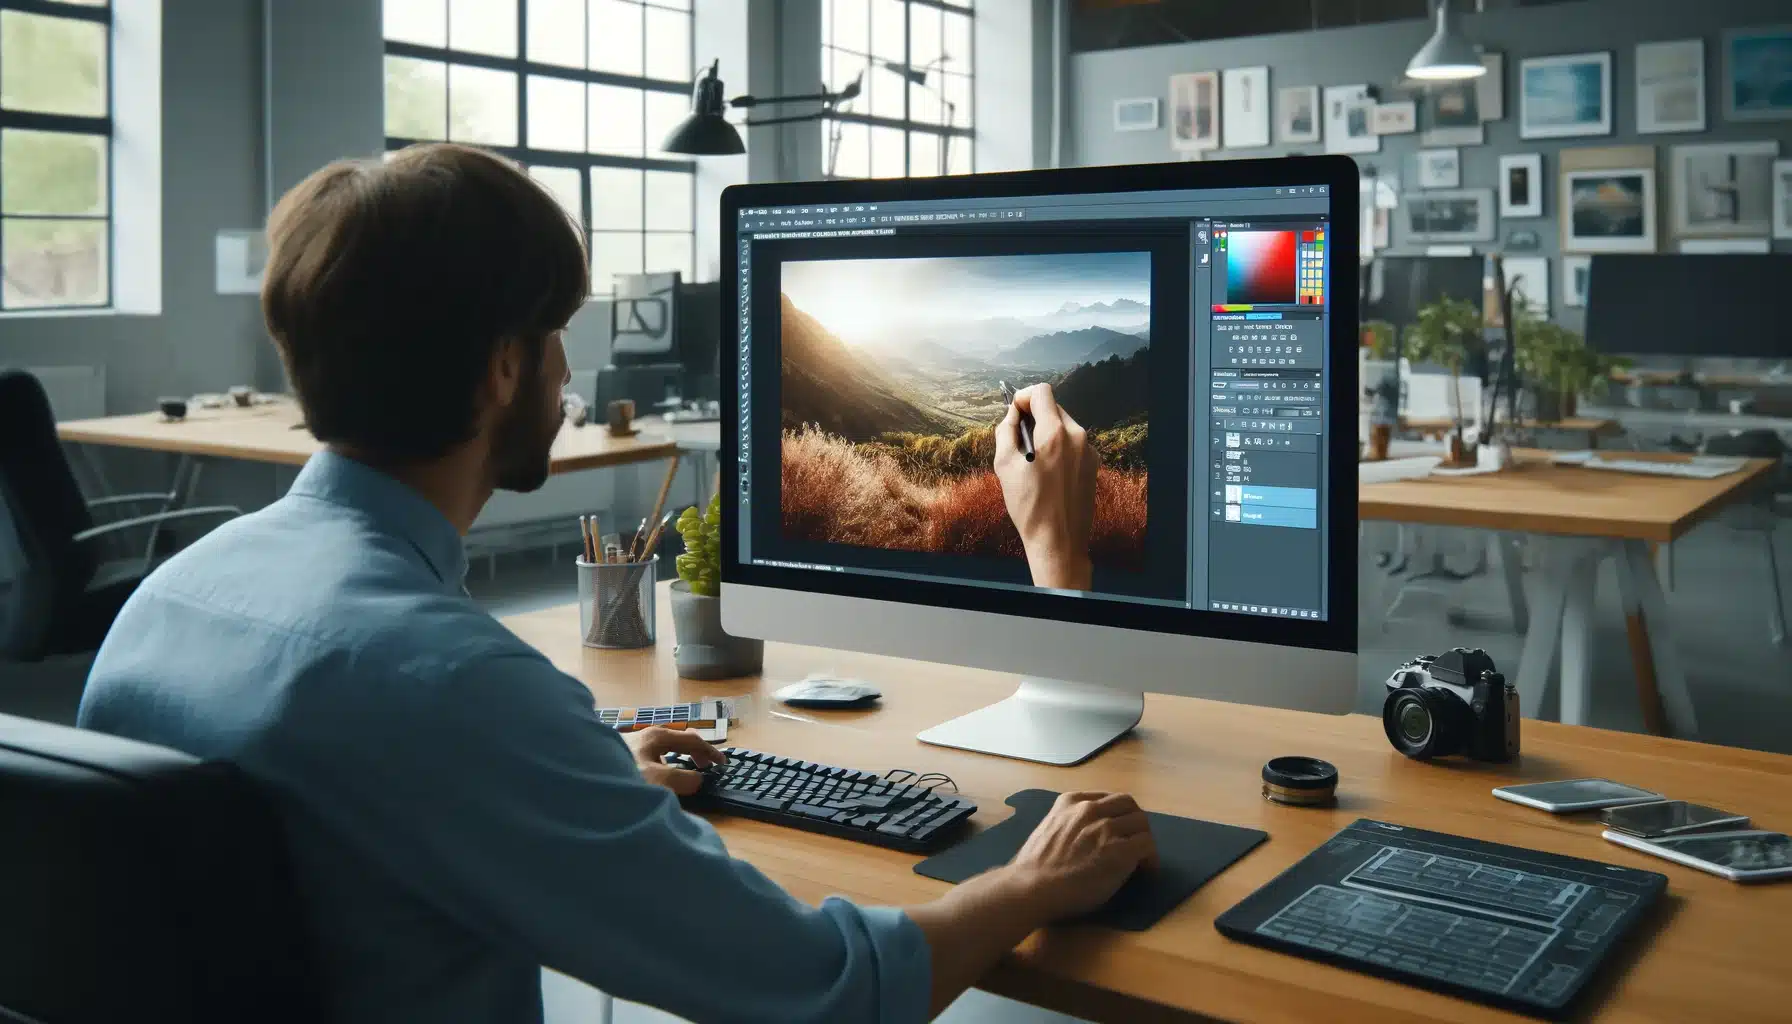
The Patch Tool in Photoshop is a powerhouse in the realm of photo editing. It offers a seamless blend of simplicity and efficiency for both novice and expert users. This versatile tool stands as a cornerstone in Photoshop’s vast array of editing capabilities. Thus, enabling users to effortlessly remove unwanted elements, repair imperfections, or even substitute sections of an image with remarkable ease.
Whether you’re aiming to perfect your portraits, refine your landscapes, or simply enhance the visual appeal of your photographs, the Patch Tool is your go-to resource. In this guide, we delve deep into the mechanics and creative potentials of the Patch Tool in Photoshop. Hence, equipping you with the knowledge and techniques to transform your images into masterpieces.
Table of Contents
Essential Functions of the Patch Tool
The Patch Tool in Photoshop is an advanced image editing tool used for repairing areas of a graphic. It functions similarly to the Healing Brush Tool. This is because it matches the texture, lighting, and shading of the sampled pixels to the source area.
Historical Context and Advancements
Introduced alongside the Healing Brush Tool.
Earlier Photoshop versions required editing directly on the image layer, while updates like CS6 introduced Content-Aware for non-destructive editing on separate layers.
Provides slightly different results with each use, even on the same selection.
Ideal for retouching larger image areas quickly and seamlessly.
Offers modes like Destination Mode for cloning or duplicating objects within the image.
Practical Usage
Located behind the Healing Brush tool in the Tools panel, accessible via a fly-out menu.
Operates in Source or Destination mode, determined in the Options Bar, impacting how the tool samples and replaces image areas.
Duplication and Content-Aware Mode
Duplication involves selecting an area, choosing Destination Mode, and positioning the selection in the desired location for cloning.
Content-Aware Mode enhances the tool’s ability to blend the patched area with complex backgrounds or edge details, offering more refined control over the texture and color blending.
Common Challenges and Solutions
The Patch Tool may require several attempts for a perfect result, often needing fine-tuning of the selection and sampled area for seamless integration into the image.
Users must be mindful of the selected layer and mode, as these factors significantly affect the tool's functionality and outcome.
By understanding these functions, users can get professional-quality retouching and image manipulation.
Common Use Cases of Patch Tool in Photoshop
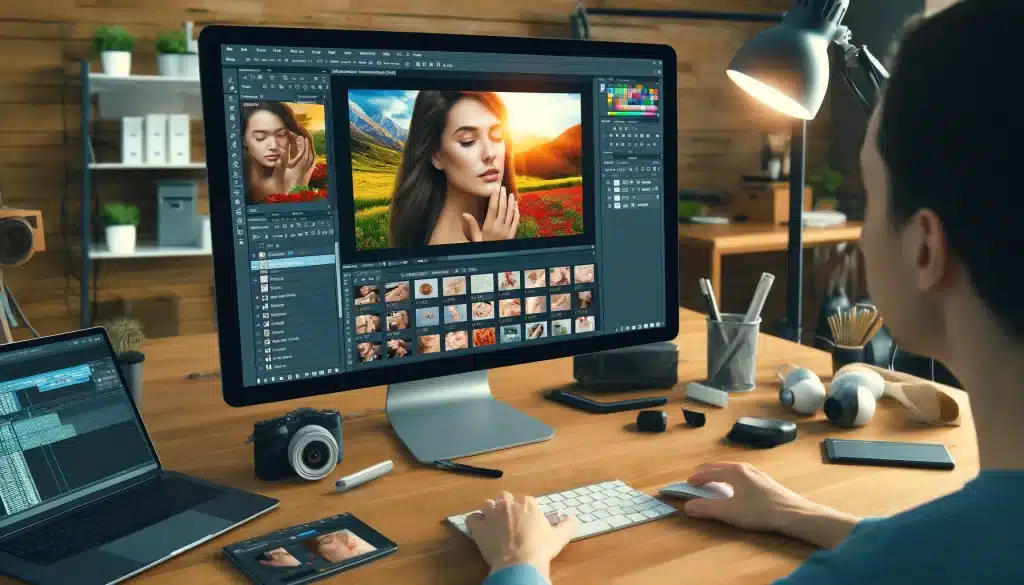
The Patch Tool in Photoshop is a highly versatile tool for photo editors. Its primary function is to repair and improve photos by allowing users to remove or alter unwanted parts of an image seamlessly.
Removing Imperfections and Objects
Skin Retouching: Ideal for eliminating shadows, acne, or uneven skin tones by blending the area with the surrounding skin texture.
Object Removal: Efficient in erasing unwanted objects from photos, like trash on a landscape, photobombers, or distracting elements in the background.
Duplicating and Cloning Elements
By switching to Destination mode, users can replicate objects within the image, making it useful for creating symmetry or adding elements to enhance the composition.
Content-Aware Patching
For complex areas close to edges or with intricate backgrounds, the Content-Aware option adjusts the patched area more intelligently to match the surrounding content.
Common Challenges and Solutions
Sometimes, the Patch Tool may not work as expected, often due to issues like an empty selection or incorrect layer selection. Ensuring that 'Sample All Layers' is checked and working on the appropriate layer can mitigate such problems.
By mastering the Patch Tool and understanding its common use cases, photographers and graphic designers can make more polished and visually appealing images.
Keyboard Shortcuts for the Patch Tool in Photoshop
The Patch Tool, vital for quick fixes and edits, has specific shortcuts that can enhance your workflow. Here’s a handy table of keyboard shortcuts:
Action
Windows Shortcut
macOS Shortcut
Activate Patch Tool
J
J
Cycle through Healing Tools
Shift + J
Shift + J
Deselect Selection
Ctrl + D
Command + D
Duplicate Patch Area
Alt + Drag
Option + Drag
Move Tool
V
V
Zoom In
Ctrl + Plus (+)
Command + Plus (+)
Zoom Out
Ctrl + Minus (-)
Command + Minus (-)
Fit Image to Screen
Ctrl + 0
Command + 0
Switch Foreground/Background
X
X
Default Foreground/Background
D
D
Undo
Ctrl + Z
Command + Z
Redo/Step Forward
Ctrl + Shift + Z
Command + Shift + Z
Step Backward
Ctrl + Alt + Z
Command + Option + Z
These shortcuts are essential for navigating and utilizing the Patch Tool efficiently in Adobe Photoshop. Thus, saving time and allowing for more precise editing work.
It is used for repairing areas in a photograph or artwork by replacing them with another part of the image.
Where is the Patch tool in Photoshop Elements?
Photoshop Elements lacks a dedicated Patch Tool but offers the Content-Aware Move tool for similar repositioning and blending tasks.
How do I apply a Patch in Photoshop?
To use it, activate it by pressing ‘J’, select the area needing repair, and drag to a source area to blend the repair seamlessly.
What is the shortcut for the Patch tool in Photoshop?
The shortcut for the Patch Tool in Photoshop is the ‘J’ key. Pressing ‘J’ will cycle through the Healing Brush Toolset, which includes the Patch Tool. Use Shift + J to cycle directly to the Patch Tool if it’s not the active tool in the set.
Wrapping up Patch tool in Photoshop
In my journey as a photographer, the Patch Tool in Photoshop has been an indispensable ally, especially during post-processing sessions where precision and quality are paramount. For instance, while working on a portrait, I noticed a distracting element in the background that took away from the subject’s allure. Utilizing the Patch Tool, I seamlessly blended the area with the surrounding pixels, maintaining the image’s integrity and focus.
Mastering the Patch Tool and its shortcuts has significantly streamlined my workflow, allowing me to focus more on the creative aspects of photography such as how to do long exposure phone photography. If you’re looking to enhance your photo editing skills and efficiency, I highly recommend exploring our comprehensive Photoshop and Lightroom courses.
If the “Patch Tool in Photoshop” article has helped you, then Like and Share it with your friends!
Facebook
Twitter
LinkedIn
Pinterest
Have a nice photoshoot!
Read more about: Photo Editing with Lightroom and Photoshop
$2,061.00Original price was: $2,061.00.$1,061.00Current price is: $1,061.00. 27635
Download Your Free Guide Now!
Discover the secrets of photography with our printable guide! Master essential techniques like aperture, shutter speed, and ISO to create stunning images. Get your free printable PDF now and start turning your snapshots into masterpieces!