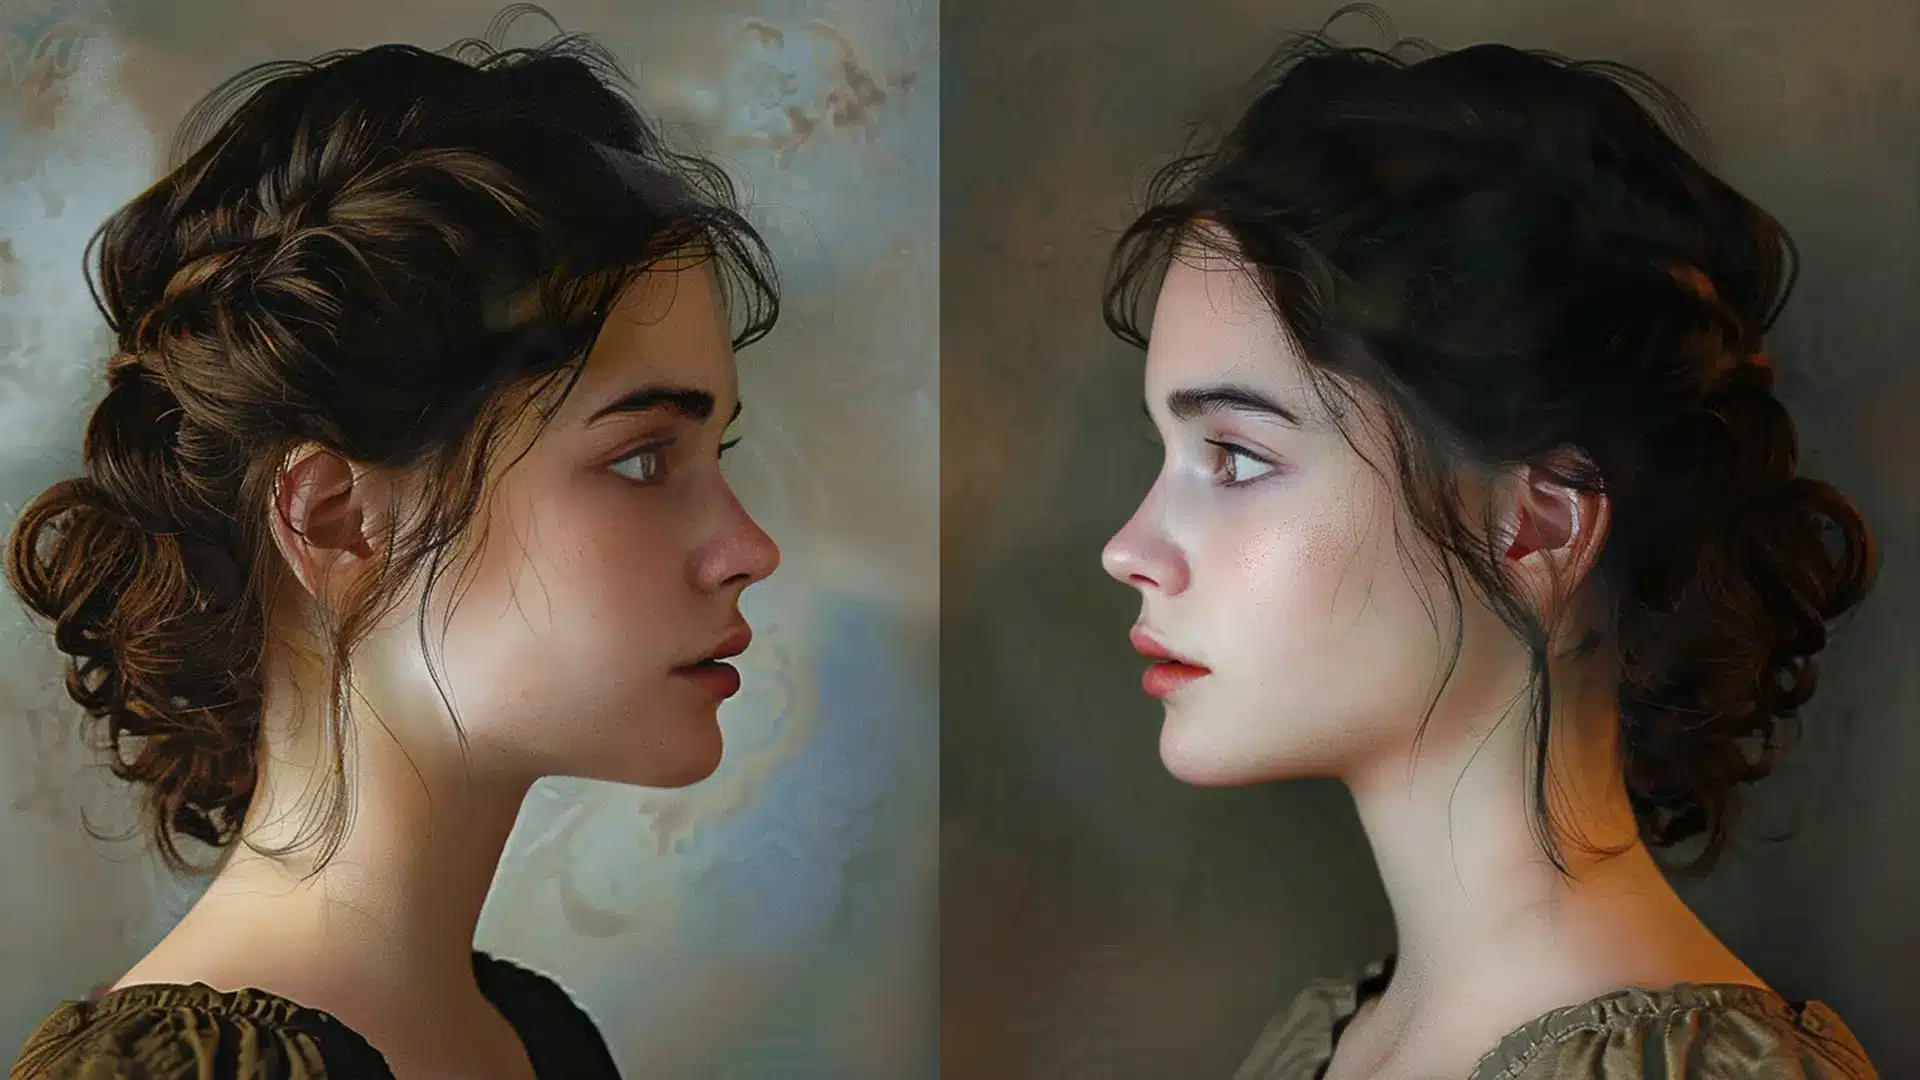
Creating a side-by-side image in Photoshop is perfect for comparing images or showing a before-and-after. This is a simple but effective technique to use in your presentations and social media posts.
In this article we’ll show you how to do it easily. By the end of this you’ll be creating professional looking visuals.
Let’s get into side-by-side picture Photoshop tricks and level up your image editing.
Table of Contents
How to Place Side by Side Picture Photoshop
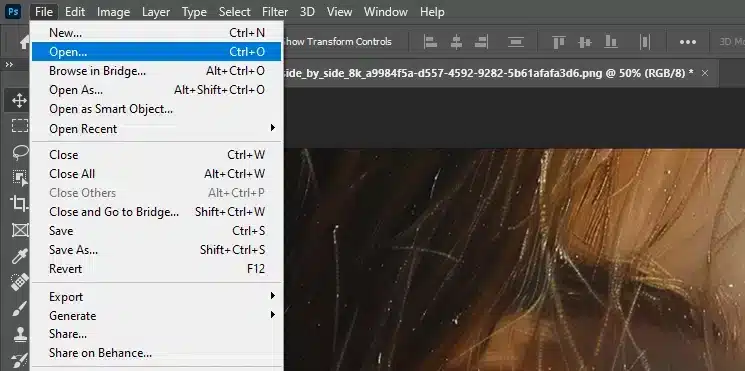
Step 1: Open Both Images in Photoshop
First things first, you need to open both images in Photoshop.
Simply go to File > Open and select the images you want to work with. You can also drag and drop the images directly into Photoshop.
Additionally, familiarizing yourself with common Photoshop shortcuts can save time and improve your editing process.
Step 2: Create a New Document
Next, create a new document where you’ll place the two images side by side.
Go to File > New. Set the width to be the combined width of both images and the height to match the taller image.
For example, if each image is 500 pixels wide and 300 pixels tall, set the width to 1000 pixels and the height to 300 pixels.
When working on projects like this, understanding different digital cameras can help you select the best resolution for your images.
Additionally, mastering techniques such as how to remove an object in Photoshop can enhance the final output by eliminating any unwanted elements from your images.
Step 3: Move One Image to the New Document
Now, use the Move Tool to transfer the images to the new document.
Select the Move Tool from the toolbar or click V on your keyboard. Click on the first image, pull it to the new document, and release the mouse button.
Repeat the process for the second image.
For a more polished look, you might want to use techniques such as content-aware fill in Photoshop to seamlessly blend any areas between the images.
Aligning the Images
Once both images are in the new document, align the two images side by side.
Use the Move Tool to position the first image on the left side of the canvas. Then, pull the second image to the right side.
Make sure the images are touching but not overlapping.
Pro Tip: Hold down the Shift key while dragging to keep the images aligned horizontally.
Additionally, you can use the Dodge and Burn tools in Photoshop to adjust the lighting and shadows on your images, enhancing their visual appeal.
If you need more precision in your edits, consider learning how to use the Replace Color tool in Photoshop to fine-tune the colors of your images.
Step 4: Adjust Image Sizes and Positions
If the images are not the same size, you may need to resize them.
Select the image you want to resize, go to Edit > Free Transform, and adjust the size by dragging the corners.
Hold down the Shift key to maintain the aspect ratio.
After resizing, use the Move Tool to fine-tune the positions of the images.
Make sure they are perfectly aligned, and there are no gaps between them.
Pro Tip: Use the arrow keys on your keyboard for precise positioning.
For more advanced editing, you might want to explore how to use the Patch Tool in Photoshop to remove any imperfections.
After resizing, use the Move Tool to fine-tune the position of the images.
Make sure they are perfectly aligned and there are no gaps between them.
Pro Tip: Use the arrow keys on your keyboard for precise positioning.
Additionally, to achieve a seamless blend between the images, consider using the Content-Aware Scale in Photoshop. This tool helps to resize images without distorting important elements.
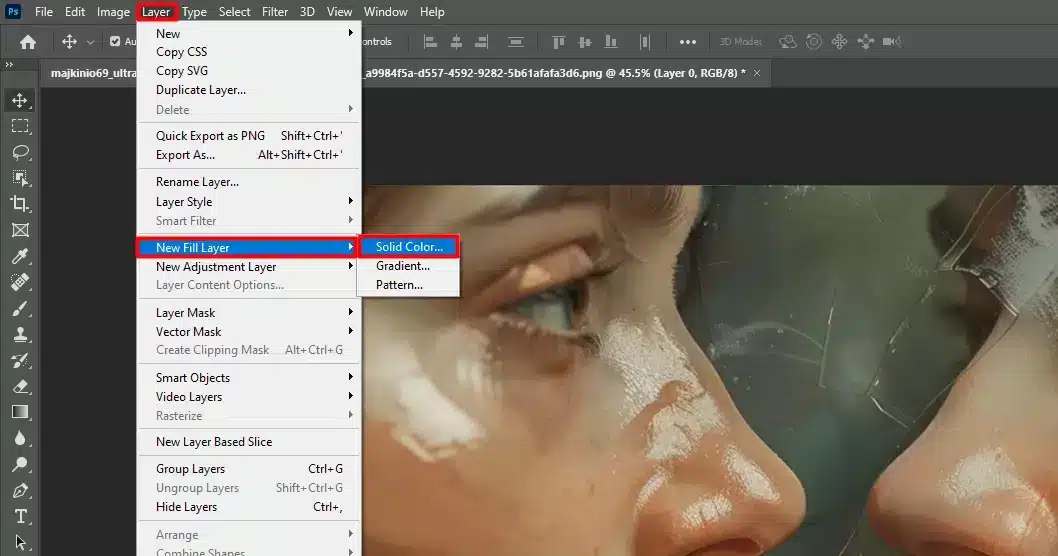
Once you’re happy with the placement, you can add a border or white background color to make the images stand out.
Go to Layer > New Fill Layer > Solid Color and choose a color that complements your images
Pro Tip: Save your work frequently to avoid losing any progress.
Go to File > Save As and select your preferred format.
Additionally, familiarize yourself with Lightroom shortcuts to streamline your workflow if you’re switchingbetween Lightroom and Photoshop.
For a unique touch, consider experimenting with the Gradient tool in Photoshop to create subtle transitions between the images and the background.
Using Photoshop Actions for portraits can also save time and add professional touches to your images with just a click.
Tips for Perfectly Aligning Images side by side picture photoshop
Using Guides and Rulers
When you’re working in Photoshop, guides and rulers are your best friends for aligning two images side by side.
First, make sure your rulers are visible by going to View > Rulers or pressing Ctrl+R (Cmd+R on Mac).
For additional accuracy, you might want to learn how to use the Clone Stamp Tool in Photoshop to duplicate specific areas and blend them seamlessly.
Drag Guides from Rulers: Click on the ruler and drag a guide to the canvas. Place one guide where you want the first image to end and the second image to start.
Align Images to Guides: Use the Move Tool (press V) to drag your images. Snap them to the guides for perfect alignment.
Snapping to Grid
Snapping to the grid is another excellent way to ensure your images are perfectly aligned.
To enable the grid, go to View > Show > Grid. Then, turn on snapping by going to View > Snap To > Grid.
Adjust Grid Settings: Go to Edit > Preferences > Guides, Grid & Slices. Set the gridline every 100 pixels and subdivisions to 1 for a simple grid.
Snap Images to Grid: Use the Move Tool to drag your images. They will snap to the nearest gridline, making alignment easy.
Snap Images to Grid: Use the Move Tool to drag your images. They will snap to the nearest gridline, making alignment easy.
For a more polished outcome, consider using the Smart Filters in Photoshop to apply non-destructive edits to your images.
Additionally, mastering how to use the Spot Healing Brush Tool in Photoshop can help you remove imperfections and enhance the overall quality of your photos.
Using the Align Tool
The Align Tool in Photoshop is a powerful feature for aligning two images side by side. Here’s how to use it:
Select Both Images: Hold down the Ctrl key (Cmd on Mac) and click on both images in the Layers panel.
Use the Align Options: Go to the top menu and find the align options. Click on Align Top Edges to ensure both images are aligned at the top. Then, click on Distribute Horizontal Centers to evenly space the two images side by side.
Pro Tip: For additional editing, consider learning how to use Selective Focus in Photoshop to draw attention to specific areas of your images.
Moreover, understanding the use of Gaussian Blur in Photoshop can help you create a soft, dreamy effect, enhancing the overall visual appeal of your work.
Advanced Techniques for side by side picture photoshop
Creating a Collage side by side picture photoshop
Creating a collage in Photoshop is a fun way to combine multiple images into one. Here’s how you can do it:
Steps
How To
Open your images
Start by opening the images you want to use. Go to File > Open and select your photos.
Create a new document
Go to File > New. Set the dimensions to fit all your images. For example, if you have four images, set the width and height to accommodate them.
Move images to the new document
Use the Move Tool (press V) to pull each image into the new document. Arrange them as you like.
Resize and position
If needed, resize your images by selecting them and going to Edit > Free Transform. Hold Shift to maintain the aspect ratio.
Add a background
To make your collage pop, add a background color. Go to Layer > New Fill Layer > Solid Color and select a color that complements your images.
Pro Tip: Use guides to help align your images. Go to View > Rulers and pull guides from the rulers to the canvas.
Adding borders and frames can make your images stand out. Here’s how to do it:
Select the image layer: Click on the layer of the image to which you want to add a border.
Add a stroke: Go to Layer > Layer Style > Stroke. A dialog box will appear.
Adjust the settings: Set the size, position, and color of the stroke. For a simple border, set the position to Inside and select a color contrasting with your image.
Apply the changes: Click OK to apply the border.
Pro Tip: in a case if you want to look more creative , try using patterns or gradients for your borders. You can find these options in the same Layer Style dialog box.
Using Layer Masks
Layer masks are a powerful tool in Photoshop that allows you to blend images seamlessly. Here’s how to use them:
Open your images: Start by opening the two images you want to blend.
Move images to the same document: Use the Move Tool to pull one image into the document of the other. For a detailed guide on how to do this, check out how to move Images.
Add a layer mask: Select the top image layer and click the Add Layer Mask button at the bottom of the Layers panel.
Select the Brush Tool: Press B to select the Brush Tool. Make sure your foreground color is set to black.
Paint on the mask: Click on the layer mask thumbnail in the Layers panel and start painting on the image. This will hide parts of the top image, revealing the image below.
Pro Tip: To add some creativity, you can experiment with blending modes in Photoshop to achieve unique effects.
Additionally, utilizing the Lasso Tool in Photoshop can help you make precise selections and create interesting shapes within your collage.
Frequently Asked Questions (FAQs)
How do I put two pictures side by side in Photoshop?
Here is a detailed step-by-step on how to put two pictures side by side in Photosohp
Open Photoshop: Start by launching Photoshop on your computer.
Open Your Images: Go to File > Open and select the two images you want to use.
Create a New File: Go to File > New. Set the width to the combined width of both images, and the height to the tallest image.
Copy and Paste Images: Use the Move Tool to pull each image onto the new canvas. Arrange them side by side.
Adjust: Use the Free Transform tool (Edit > Free Transform) to adjust the size and position of the images as needed.
Save Your Work: Once you're satisfied, save your new image by going to File > Save As.
How to make 2 photos into 1 side by side?
Open Both Photos: Launch Photoshop and expose the photos you want to combine.
Create a New Document: Create a new document (File > New) that can fit both images side by side.
Drag and Drop: Move each photo into the new document. Use the Move Tool to position them next to each other.
Adjust and Align: Make any necessary adjustments to align the images perfectly using the Move Tool and alignment options.
Finalize and Save: Once everything looks good, save your new combined image by selecting File > Save As.
How to make a dual image in Photoshop?
Here is a detailed step-by-step on how to make a dual iamge in Photosohp
Launch Photoshop: Open your Photoshop application.
Import Images: Unfold the images that you want to combine.
New Canvas: Create a new document with enough space for both images to fit side by side.
Copy Images: Copy and paste each image onto the canvas.
Arrange: Position each image side by side without overlapping.
Adjustments: Use the Move Tool and other adjustment tools to get the perfect alignment and size.
Save: Once your layout looks as desired, save the file (File > Save As).
How do I blend two pictures next to each other in Photoshop?
Open Images: Open the images in Photoshop.
New Document: Start a new Photoshop document that is wide enough for both images.
Place Images: Place each image on the canvas next to each other.
Blend Settings: Adjust the layers' blend modes and opacity to blend the images softly into each other (found in the Layers Panel).
Refine Edges: Use the Eraser Tool or Layer Masks to further blend where the images meet.
Save Your Creation: Save your work by choosing File > Save As.
By following these steps, I can easily create side-by-side images in Adobe.
This helps my visual storytelling and makes my images more awesome. With practice and experimentation, I quickly mastered this process.
Additionally, using Photoshop feather edges can add a soft, blended look to the borders of your images, enhancing the overall composition. Incorporating motion blur in photography can also bring a dynamic, creative effect to your work.
And, if you want to further enhance your skills, I highly recommend checking out both our Photoshop course and Lightroom course.
Thanks for following along; hope this helps you out. Happy editing!
If this article has helped you, then Like and Share it with your friends
$2,061.00Original price was: $2,061.00.$1,061.00Current price is: $1,061.00. 27584
Download Your Free Guide Now!
Discover the secrets of photography with our printable guide! Master essential techniques like aperture, shutter speed, and ISO to create stunning images. Get your free printable PDF now and start turning your snapshots into masterpieces!