For smooth transitions, learning feather edges in Photoshop is a skill that can significantly enhance your image editing abilities.
Understanding how to utilize the smoothing gadget effectively allows for seamless blending between layers, improving the overall aesthetic of any photo project.
Photoshop offers an array of tools for precise image manipulation, amongst which ‘Feathering’ holds paramount significance as it enables users to blend edges smoothly.
Feathering affects choice boundaries exclusively, whereas blurring impacts pixels throughout an entire layer.
Table of Contents
Understanding Feather Edges in Photoshop
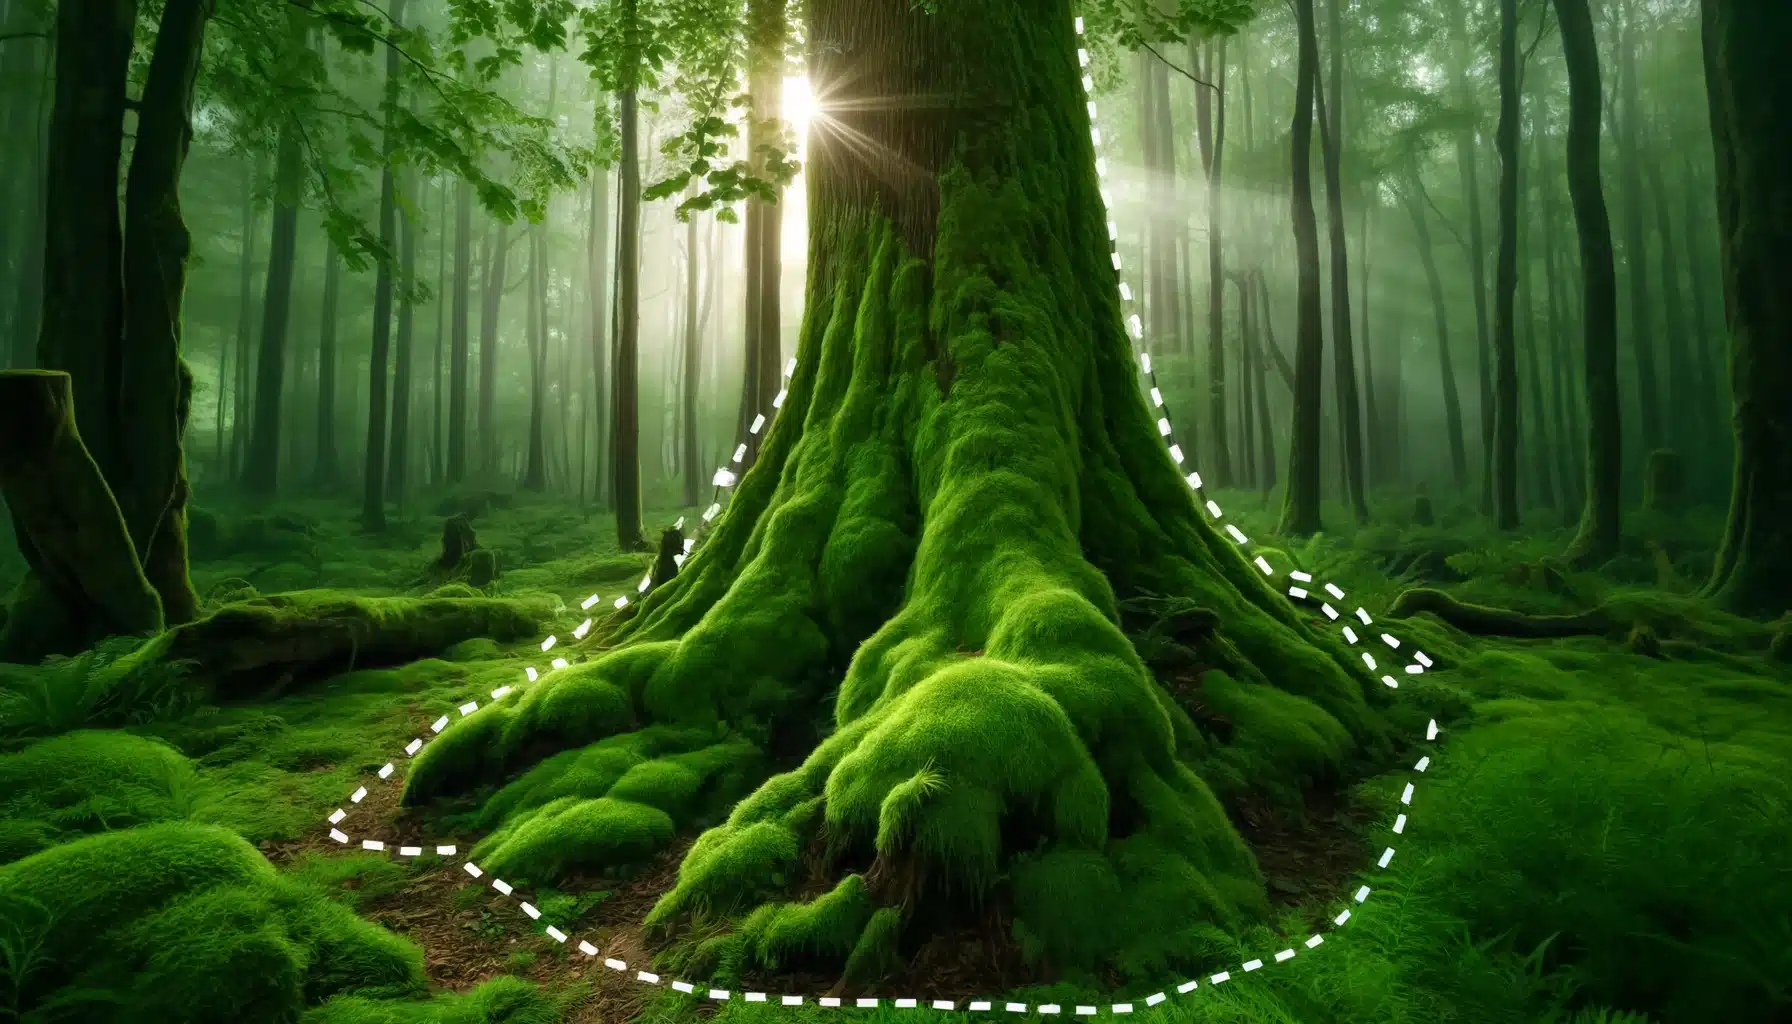
Feathering is a technique for softening the corners of an election by creating a transition zone. The purpose is to integrate the selected object seamlessly with another background or section.
1. Start by selecting the object with your preferred selection tool.
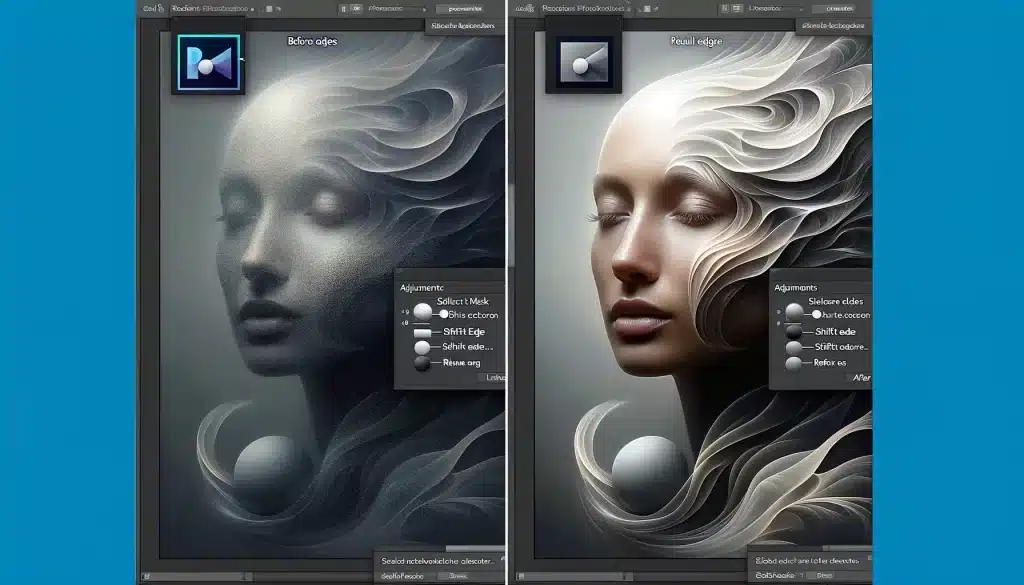
2. Navigate to the ‘Select and Cover’ workspace to adjust the softening distance visually.
3. Use the ‘Shift Edge’ slider to contract or expand the selection’s boundaries.
4. Preview the changes in real time to achieve the desired softness.
Benefits of Feather Edges in Photoshop for Image Blending
Feathering can transform the way elements come together in a composition and making the blending process appear more natural. Here are the benefits of using feathering:
It reduces the stark contrasts between the election and the wallpaper. Enhances the realism of composited pictures by mimicking how the human eye perceives sides.
Again, this allows for more forgiving choices, as the soft sides can hide minor inaccuracies.
Refining Edges with Advanced Feathering Techniques
| Description | ||
|---|---|---|---|
|
| ||
|
| ||
|
| ||
|
| ||
|
|
Techniques for Feathering Selections
Using Quick Selection for Feathering
The Quick Selection gadget is a game changer for those who want to speed up their election process. Unlike the traditional Lasso or Marquee tools, the Quick Selection gadget allows you to paint over the desired space, and Photoshop will automatically detect and pick the sides.
- Start by selecting the Quick Selection gadget from the toolbar.
- Adjust the brush size to fit the space you're working on.
- Click and drag over the part of the image you want to pick.
- Switch between the 'Add to selection' and 'Subtract from selection' options as needed to refine the election.
Once you’re satisfied with the pick, head to ‘Select and Cover‘ to refine the sides further.
By using this method, you can make a more natural looking blend between the selected item and its wallpaper.
In addition, the quick selection gadget for this type of projects can really make difference.
Advanced Feather Edges in Photoshop with Layer Masks and Channels
Transitioning from the basics, let’s delve into the nuanced world of Adobe Photoshop, where the precision of layer masks and the power of channels elevate your smoothing techniques.
This section will uncover the intricate methods that allow for refined side control and seamless blending in your digital compositions.
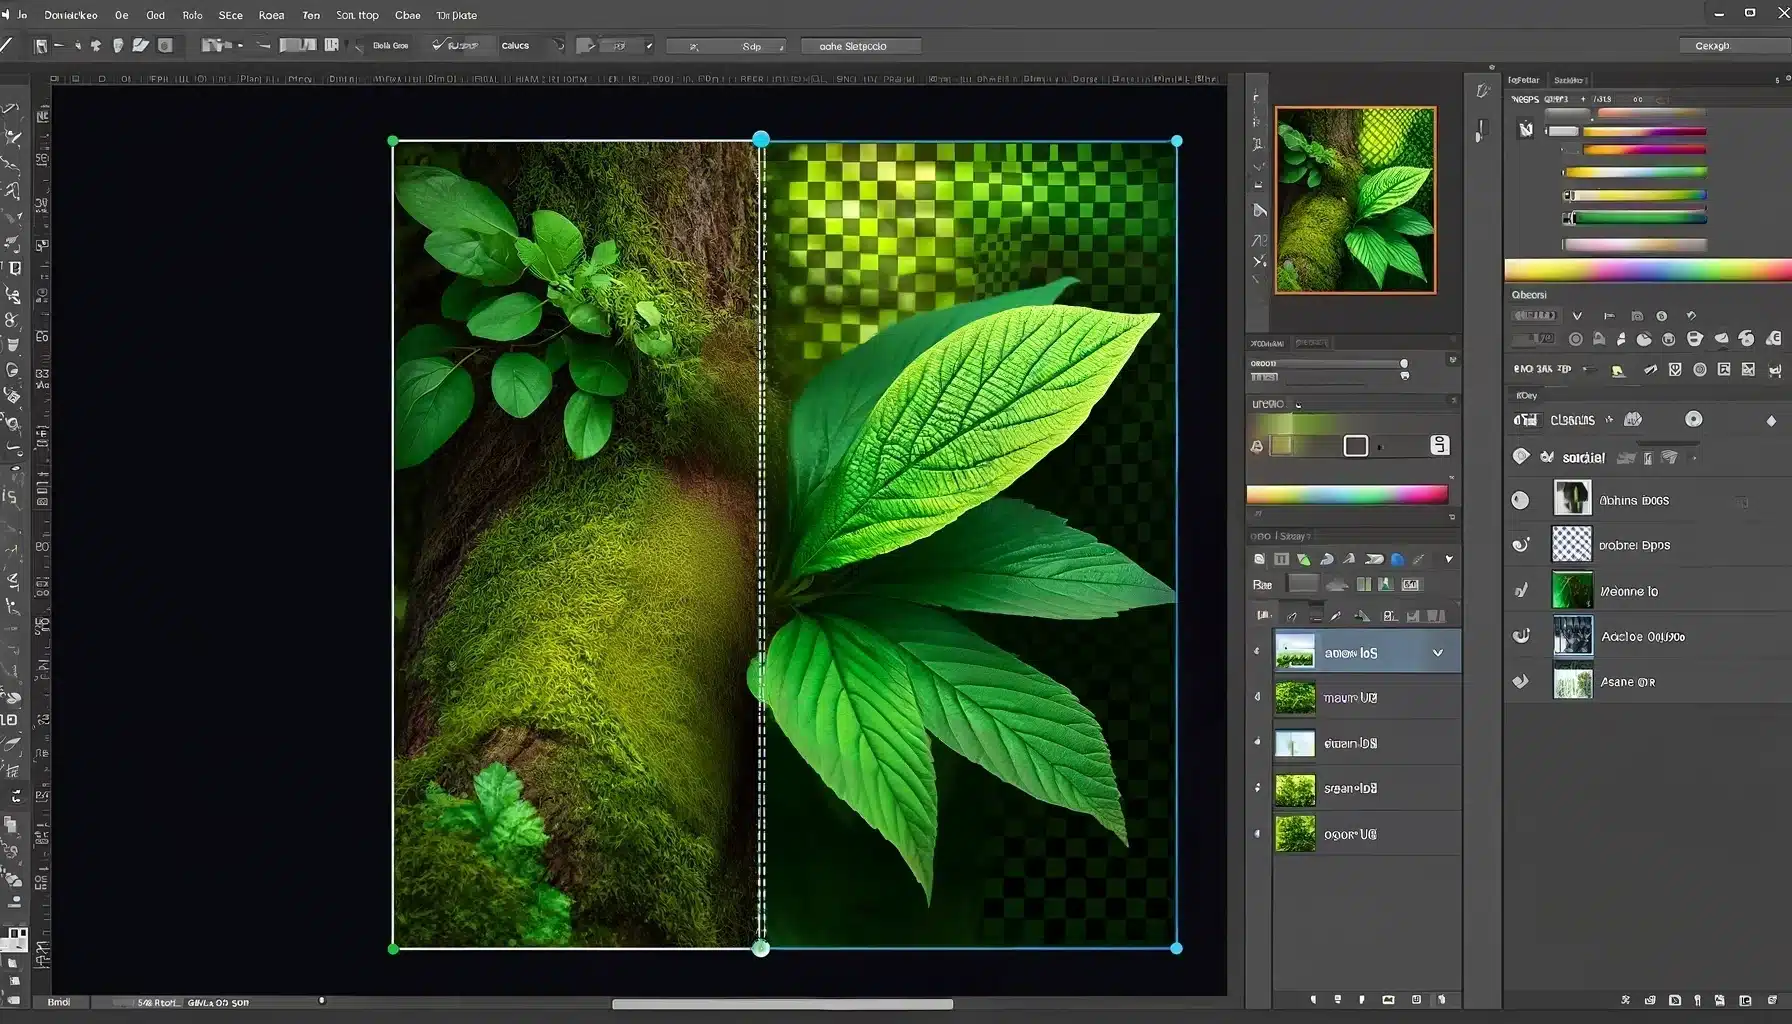
Incorporating Layer Masks for Detailed Feathering
Layer masks are essential when you need to soften areas selectively without affecting the whole image. Here’s how to use them effectively:
- Open your chosen photo.
- Duplicate the section to preserve the original.
- With the duplicate layer selected, click the 'Add layer mask' icon at the bottom of the Layers panel.
- Use the Brush gadget with a soft side to paint over the areas you want to soften on the cover up. Black conceals and white reveals.
- Use the tool to quickly select and isolate objects for use in other projects or compositions.
Utilizing Channels to Refine Edges
Channels are a hidden gem for side refinement. They allow you to make choices based on color and tonal values, which can be incredibly precise:
1. First Go to the Channels panel and observe the Red, Green, and Blue channels.
2. Then identify which channel has the highest contrast between the side and its canvas.
3. Duplicate that channel by dragging it to the ‘New channel‘ icon.
4. Use levels or curves to increase the contrast further if necessary.
5. Ctrl-click (Cmd-click on Mac) on the channel thumbnail to load it as a choice.
6. Return to the Layers panel, pick your image section, and attach a cover-up to include the choice.
This method is beneficial for complex edges like hair or fur.
Blending Modes and Feathering for Realistic Composites
Blending modes can be used in conjunction with smoothing to make realistic composites. Here’s a step-by-step guide:
After feathering your pick using either a layer cover-up or channels, experiment with different blending modes to see how they interact with the sections beneath. Therefore, commmonly used modes for composites include ‘Multiply’ for darkening and ‘Screen’ for lightening.
After that adjust the ‘Fill’ and ‘Opacity’ settings to blend the feathered edges seamlessly.
Remember that practice and experimentation are key in your journey through the advanced techniques of smoothing.
Besides than, by utilizing these advanced methods, your feathered edges will transition smoothly, and your composites will gain a level of realism that stands out.
Common Feathering Challenges
Addressing Over Feathering Issues
Over feathering can leave your pictures with edges that are too soft, causing them to lose definition. To tackle this, begin by using the “History Brush Tool” to revert the affected areas to their original state. Then, reapply the smoothing at a lower distance. Here’s a step-by-step approach:
- First Choose the "History Brush Tool" from the toolbox.
- Second, Set the brush size and hardness according to the detail needed.
- Carefully paint over the over-feathered edges to restore sharpness.
- Re-feather the side at a lower distance to achieve the desired softness.
In addition, consider using the “Eraser Tool” with a soft brush setting to blend the edges if needed gently. This method gives you more control over the subject and canvas transition.
Fine-Tuning Feather Edges in Photoshop for Complex Images
Complex pictures, such as those with intricate details or varying levels of transparency or those being edited side-by-side, require a more nuanced approach. Utilize the “Pen Tool” to make precise paths around your subject.
Here’s how to refine the smoothing:
- Frist use the "Pen Tool," draw a path around the subject.
- Then Right-click the path and choose "Make Selection.''
- Set the smoothing distance to a low value to maintain integrity.
- Finally Add a layer cover-up to hide the canvas without losing detail.
Important, for pictures with hair or fur, the “Refine Edge” option can be a lifesaver. It allows you to adjust the distance and smoothness to capture fine details without creating a halo effect.
Tips for Mastering Photoshop's Feather Edges
Mastering the art of smoothing is a pivotal skill for any digital artist or photographer, allowing for the seamless integration of elements within a composition.
Futher we break down essential tips and techniques into manageable sections to help you refine your smoothing skills.
Understanding Smoothing Radius
- Know Your Radius: The softening radius determines how soft or hard the transition between the selected space and its surroundings is. A larger distance results in a softer, more gradual transition, while a smaller radius maintains more of the original edge’s sharpness. Experiment with different radius settings to understand how they affect your selection.
- Application in Composites: When combining multiple pictures, adjusting the softening distance can help blend edges in a way that looks natural and cohesive. Remember, the context of your project should dictate the distance size — there's no one size fits all answer.
Layer Cover and Feathering
- Layer Cover Magic: After creating a feathered selection, applying a layer cover-up allows for non-destructive editing. This means you can blend, hide, or reveal parts of the image without permanently altering the original content.
- Gradient Masks for Smooth Transitions: Use gradient fills on layer masks to create smooth transitions. This technique is beneficial when working with backgrounds or sky replacements.
Advanced Selection Techniques
- Precision is Key: For complex choices, such as hair or fur, utilize Photoshop’s Select and Mask workspace. This gadget offers advanced features like the Refine Edge Brush, which can perfect the selection side with a more nuanced feathering effect.
- Modify Selection for Perfection: Sometimes, the initial choice might not be perfect. Use Select > Modify > Feather to refine the side further. Also this is especially useful when the side ge requires additional softening after the initial choice.
Incorporating Feathering with Brushes
- Brush Feathering for Detail Work: In situations where you need to use smoothing to a very specific space or want to make a gradual effect, the brush gadget can be your best friend. Adjust the hardness setting to zero for a fully feathered brush tip, allowing for soft, blended brush strokes.
- Creative Effects with Feathered Brushes: Beyond just blending images, feathered brushes can be used to paint in light, shadow, or color adjustments with a high degree of control. This can attach depth and dimension to your artwork in a subtle, natural way.
Distinguishing Between Feathering and Blurring
Understanding the nuanced differences between feathering and blurring is foundational for any digital artist or photographer.
Therefore, both techniques play pivotal roles in enhancing the visual appeal of images, yet they serve distinct purposes and are applied using different methods.
Feathering
Feathering is used to make a soft, gradual transition at the end of a selection. This technique is ideal for blending a selected space seamlessly with its surroundings, making it indispensable for composites, portraits, and any project where a natural integration of elements is crucial.
Steps to Apply Feathering
- Select the space you wish to soften using any picking gadget.
- Modify the pick by adding a softening distance through Select > Modify > Feather or by using the Shift + F6 shortcut.
- Apply the feathering by adjusting the distance to control the softness of the side transition.
Blurring
On the other hand, blurring decreases the definition of a space within an image.
Unlike smoothing, which primarily affects the ends of a selection, blurring impacts the clarity and sharpness across the area it is applied to, making it perfect for drawing attention away from distractions or emphasizing focal points.
Steps to Apply Blurring
- Choose the space or layer you want to blur.
- Select a blur gadget or filter, such as Gaussian Blur, from the Filter > Blur menu.
- Adjust the blur intensity using the provided slider or settings dialog to achieve the desired effect.
Frequently Asked Questions

How do I fade the sides of an image in photoshop?
To achieve a subtle transition on the periphery of your photograph, pursue the following course:
1. Initiate by opening the picture you wish to alter.
2. Employ the Elliptical Marquee Tool to circumscribe the section you desire to preserve.
3. Navigate to the Select menu and opt for Modify, then Feather… to set a specific blend distance.
4. Invert the pick through Select > Inverse and engage the Gradient Tool to dilute the unselected zone gently.
5. Execute the changes by hitting the Delete key or opting for Edit > Clear to finalize the fade effect.
How do I soften edges in Photoshop?
For a refined and softer boundary on your visual work, adhere to this guided procedure:
Commence with the selection gadget of choice to distinguish the necessary region.
Access the Properties panel and finesse the Mask Edge by adjusting the “Feather” slider to introduce a desired level of softness.
Implementing Gaussian Blur can also enhance the side’s softness. Access this via Filter > Blur > Gaussian Blur… and adjust accordingly.
How do I blend two edges of an image in Photoshop?
Blending two borders seamlessly involves these steps:
Have both pictures abreast on separate layers. Develop a cover-up of the layer that you want to blend.
With the gradient tool, draw a line across the mask where the merge should occur. Affirm the blend by finessing the gradient on the mask to ensure a natural transition.
How do you refine sides in Photoshop?
To adjust the Refine Edge gadget settings in Photoshop for cleaner side choice, follow this guide:
1. Accessing Select and Mask
2. Navigate to the top list in Photoshop.
3. Click on the “Select and Mask” option.
4. Lastly, Refine Edge Tool Adjustments
First upon clicking, the Properties tab will appear, providing various settings.
Ensure the Refine Edge gadget is selected from the new sidebar that opens. Then explore the settings under the Properties tab to adjust how your edges are refined.
Finally this bullet list guide simplifies the process of utilizing the Select and Mask feature in Photoshop, specifically focusing on adjusting the Refine Edge tool to clean up selection sides effectively.

Conclusion
Mastering the art of feathering edges in Photoshop, as well as understanding the depth and nuance of such a simple yet powerful gadget, has profoundly impacted my approach to digital art.
Moreover, becoming part of a community that shares your passion for creativity and learning can be incredibly enriching and inspiring. A crucial skill you’ll develop is using Photoshop feather edges, which is essential for creating seamless image transitions and blends.
Embrace the opportunity to transform your visions into reality and join a community of like minded creatives eager to push the boundaries of digital art in our Photoshop course or Lightroom course.
Read more about Photoshop: