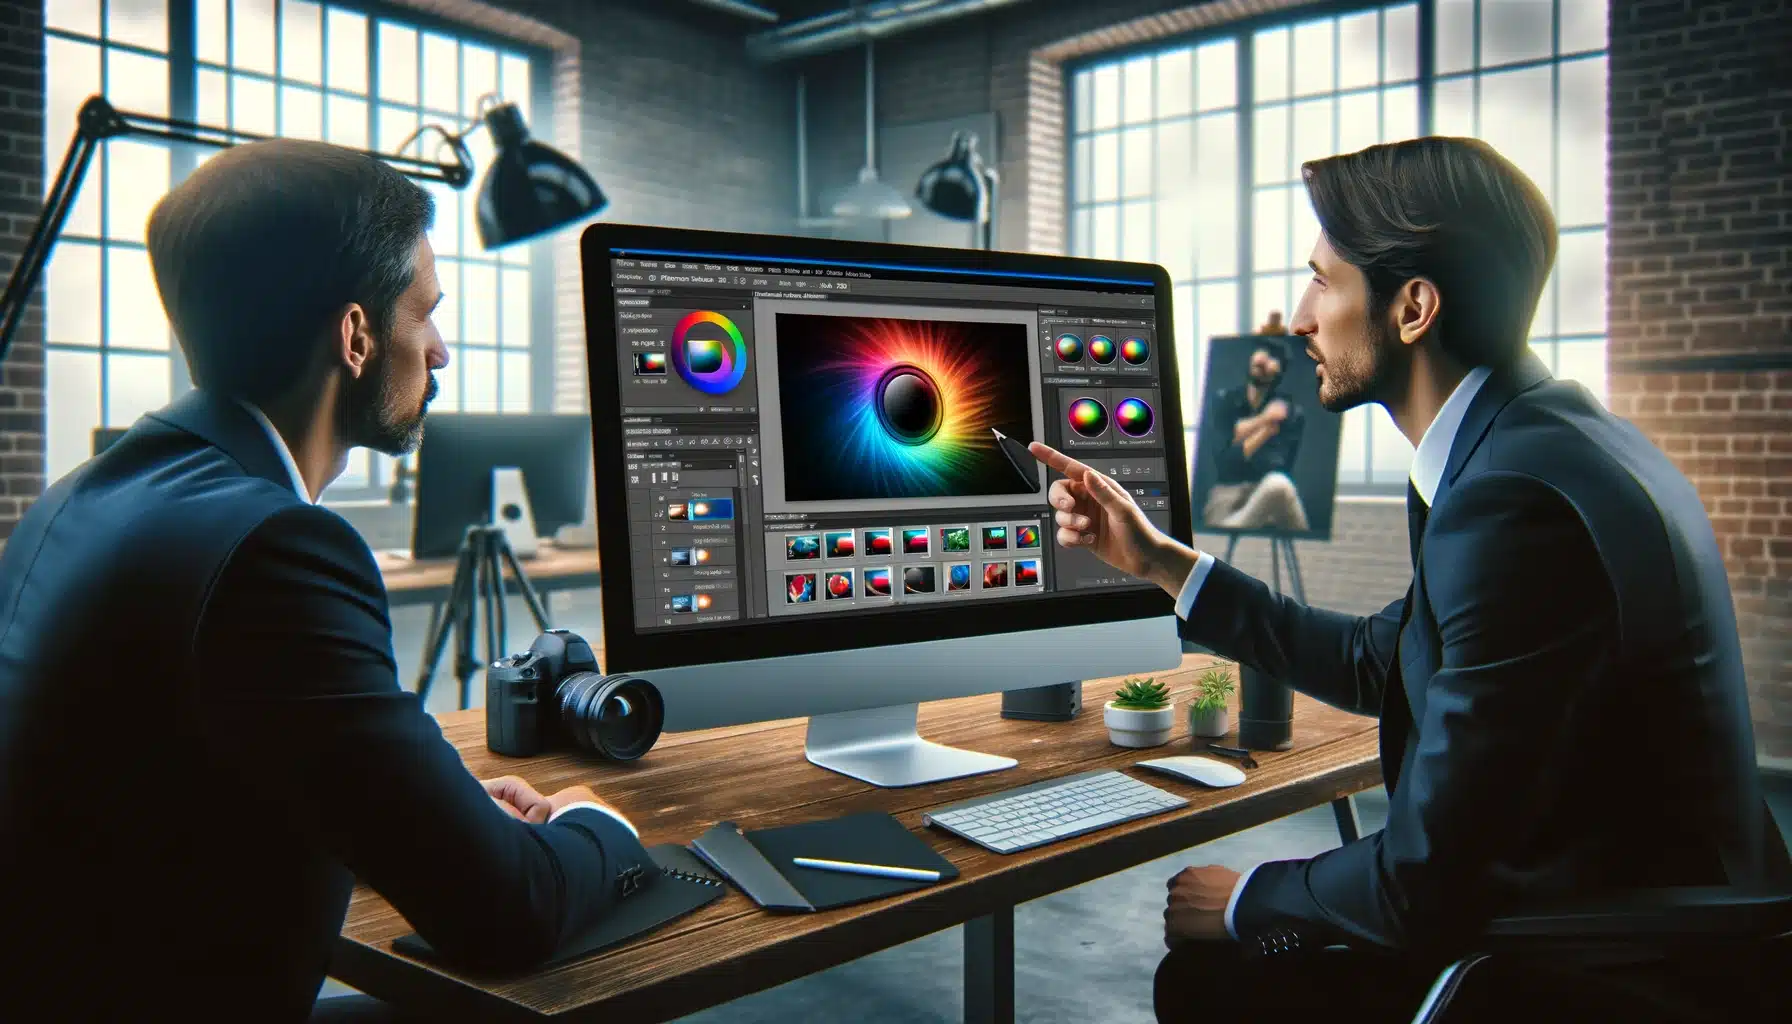
Introduction to Smart Filters in Photoshop
Smart Filters in Photoshop are similar to magical stickers that you can apply to your photos to alter their appearance. Initially, you might have a picture that you wish to brighten, blur photography, or imbue with unique effects, akin to transforming it into a painting. Instead of directly modifying the image, you place these magical stickers, known as smart effects/filters, on top. Consequently, your original photo remains unchanged, allowing you to experiment with various aesthetics without the risk of damage.
For instance, consider having a photograph of your dog that you desire to render in a cartoonish style. You would apply a smart effect to achieve this enhancement. However, if the result doesn’t meet your expectations, you can effortlessly remove the effect and explore other options, such as converting the photo to black and white or infusing it with a dreamy glow, much like trying on different outfits to find the perfect match for your photo.
Moreover, if you opt to modify an aspect, such as intensifying or softening the cartoon effect, there’s no need to start from scratch. You simply fine-tune the sets of the effect. This flexibility is advantageous as it conserves time and fosters experimentation, ensuring that your original photo remains intact.

Table of Contents
How to Use Photoshop Smart Filters

The method to use Photoshop smart filters is quite simple and easy if you follow the right approach. Below mentioned are the steps that you need to follow to make use of smart effects in Photoshop.
Opening Your Image
The first step is to open the photo you wish to edit. This initial step sets the foundation for applying smart effects, allowing you to enhance the photo’s appearance effectively.
Converting to a Smart Object
To effectively use smart filters in Photoshop, it’s crucial to convert your image layer into a smart object. This process is essential for preserving the original photo, enabling you to apply various smart effects non-destructively.
Applying a Smart Filter
Applying a smart filter is a core aspect to use smart filters in Photoshop. Once your photo is a smart object, you can explore different filters. This can be done under the “Filter” menu, applying them to see immediate changes and experimenting with their outcomes on your image.
Adjusting the Filter Effect
The solution of how to use Photoshop smart filters involves not just applying modifiers but also adjusting to get desired outcome. Double-clicking on the filter’s name allows you to tweak its options, offering control over the intensity and nature of the applied effect.
Blending with the Original
Further, mastering the blending options is another answer to how to use Photoshop smart filters. The opacity slider plays a key role. This also allows you to blend the filtered effect with the original appearance seamlessly, ensuring a natural and appealing result.
Experimenting with Different Filters
Further, mastering the blending options is another answer to how to use Photoshop smart filters. The opacity slider plays a key role. This also allows you to blend the filtered effect with the original appearance seamlessly, ensuring a natural and appealing result.
Saving Your Work
After applying and adjusting smart filters, when you want to replicate the same result on another picture or layer make sure to save your current work in a PSD format to retain the editable layers and effects.
The Technicalities of Smart Filters: Objects, Layers, and Functions

1. Smart Objects
Smart objects in Photoshop are like magic containers. When you put an photograph inside a smart object, it’s like placing a document in a protective sleeve. Afterwards, you can write over it, stick things on it, and then remove them without damaging the document itself. This is similar to duplicating smart filters in Photoshop, where you can put on the same protective and reversible adjustments to multiple images or layers. This ensures consistency across your project.
2. Layers
Layers in Photoshop work like the pages of a flipbook. Each page (layer) can contain different elements of your overall image. Thus, you can work on each page individually without affecting the others. Utilizing smart filters in Photoshop on these layers is like adding transparent overlays to the pages. You can see the effect on the page below without permanently altering it. This eventually gives you the flexibility to experiment with different looks.
3. Functions of Smart Filters
The functionality of smart filters in Photoshop is akin to having a set of reusable stickers. You can stick them on your image (layer), peel them off, and restick them differently as many times as you want. This smart filter functionality in Photoshop allows for endless experimentation; you can try out various options, see the results in real-time, and correct or remove them without ever harming the original photo.
4. Replicating and Leveraging Smart Filters
Imagine you’ve created a perfect effect with a smart filter on one photo file and you want the same effect on another. However, for replicating smart filters in Photoshop, you can duplicate them from one smart object to another in different files. It’s just like using a successful recipe to bake another cake, ensuring the taste (or in this case, the visual effect) is consistent. Furthermore, leveraging smart filters in Photoshop means maximizing their potential, like a chef uses a favorite knife. By understanding and applying these adjustments effectively across various files, you can enhance your images. Thus, this ensures that your work always looks professional and polished.
How to Copy Smart Filters in Photoshop

Understanding “how to copy Photoshop smart filters” can greatly enhance your workflow, allowing for the reuse of filter sets across different images or layers, thus ensuring consistency and saving time.
Applying Smart Filters
Initially, convert your layer into a smart object to enable Smart Effects. Right-click on the layer and select “Convert to Smart Object.”
Copying the Filters
After applying them, right-click on the smart object layer with the desired adjustments and select ‘Duplicate Smart Filters.’ This action copies all the Smart Filter settings from that layer.
Pasting the Filters
To paste the copied filters, right-click on the target layer or smart object and select ‘Paste Smart Filters.’ This action applies the copied effects to the new layer or smart object, completing the process.
Moreover, you can effortlessly transfer sophisticated filter settings between layers and images.
Applying Smart Filters to Different Layers

Applying Smart Filters for using layers in Photoshop is a straightforward process that enhances your photo edit skills. Let’s dive into how to use Photoshop smart filters effectively across various layers.
- Select the Layer: The first step involves selecting the layer you want to modify. It's like choosing the subject of your photo edit project.
- Convert to Smart Object: To put on smart filters in Photoshop, you must convert the layer into a Smart Object. This action protects your original layer, allowing non-destructive edit.
- Apply the Smart Filter: Now, you can smear the desired smart filter to the layer. Photoshop offers a range of smart modifiers, each capable of adding unique adjustments to your photo.
- Adjust the Smart Filter: After applying the smart filter, you can amend its intensity and functions to achieve the perfect look. This flexibility is a key benefit of smart filters in Photoshop.
- Repeat for Other Layers: To fully leverage smart filters in Photoshop, you can put on different smart filters to other layers, enhancing the overall effect on your photograph.
| Step in Photoshop Process | Analogy | Description |
|---|---|---|
| Select the Layer | Choosing the Canvas | Identify the layer to smear the smart filter. |
| Convert to Smart Object | Preparing the Canvas | Protect the layer for non-destructive edit. |
| Apply the Smart Filter | Painting on the Canvas | Add the smart filter to the selected layer. |
| Adjust the Smart Filter | Refining the Painting | Modify the effect to suit the image. |
| Repeat for Other Layers | Adding Layers to the Painting | Put on and fine-tune smart filters on additional layers to enhance the artwork. |
Smart Effects Versus Adjustment Layers: Understanding the Differences

Smart Features and Adjustment Layers in Adobe Photoshop are essential tools, each serving unique purposes. Understanding how to use Photoshop smart filters can significantly enhance your excision process. Smart Effects act like reusable stickers on a smart object, allowing for changes in appearance without altering the original picture. For instance, if you learn how to use Photoshop smart filters, you can add a blur effect to a car photo and later change or remove this blur, all while keeping the original appearance intact.
On the other hand, Adjustment Layers function like transparent colored sheets that modify the colors and tones beneath them. When you know how to use Photoshop smart filters effectively, you can compare their impact with Adjustment Layers. For example, placing a blue Adjustment Layer over a white drawing will make everything appear blue, yet removing this layer will reveal the unchanged white drawing beneath.
Here’s how they differ in practice:
Flexibility
Smart Filters in Photoshop are notably versatile, allowing for modifications or complete removal to suit the desired effect changes. This adaptability is similar to the convenience of switching out filters on a camera lens. For instance, by duplicating smart filters within Photoshop, you can extend the same effect across multiple images. However, to employ a consistent filter type to ensure a uniform appearance throughout your photo series. This feature facilitates a coherent visual style across diverse images. This is also like mirroring the way a single filter type can standardize the look in a collection of your photography.
Non-destructiveness
Both tools are non-destructive; however, they impact images in distinct ways. Using smart filters in Photoshop allows for the application of complex modifications, while ensuring the original pixels remain untouched. This process is akin to wearing glasses, which modify your perception of the world. However, it does not alter the world itself. Essentially, smart effects provide a layer of visual alteration without making permanent changes to the underlying image.
Effect Application
Smart Filters and Adjustment Layers in Photoshop function differently, affecting how they alter a photograph. Smart effects are applied directly to the smart object, impacting only that specific layer. This process is similar to how an icon on a desktop affects only the application it represents, not the entire system. Conversely, Adjustment Layers affect all layers beneath them in the stack, akin to tinting a car’s windows, which changes the view through all the windows, not just one area. Therefore, they offer targeted adjustments on individual layers, while Adjustment Layers provide broader, more uniform changes across multiple layers.
Layer Interaction
Adjustment layers in Photoshop have the capability to influence multiple layers below them unless they are specifically clipped to one layer. This contrasts with smart effects, which only affect the layer to which they are directly applied. To visualize this, think of smart filters as sunscreen applied to specific areas of your skin, protecting those spots alone. In contrast, adjustment layers resemble changing the room’s lighting. This alters the visual appearance of everything within the space. This distinction highlights the targeted application of smart modifiers versus the more comprehensive impact of adjustment layers.
Advanced Techniques with Smart Effects

Advanced Techniques with Smart Effects involve more complex and creative uses in Photoshop to enhance your images. Let’s explore some of these techniques with simple explanations and examples.
- Stacking Filters for Complex Effects: Just like layering clothes for different looks, you can apply multiple smart effects to a single smart object. Each filter adds a new dimension. For instance, you might use a blur filter to soften the photo, then add a texture filter to give it a unique finish.
- Combining Filters with Blend Modes: Blend modes are like mixing paints; they change how your filter interacts with the picture below. Applying a smart filter and then adjusting its blend mode can dramatically alter the effect. For example, using a 'Multiply' blend mode with a darkening filter can make an appearance look like it was taken at night.
- Using Smart Filters with Masks: Masks in Photoshop let you hide or reveal parts of a layer. When used with smart effects, you can apply modifiers selectively, like spotlighting a subject in a 360 photography while keeping the background unchanged. It’s like using a flashlight to illuminate only part of a dark room.
Pro Tip: Learn how to add noise in case you ever need to fix some issues.
| Technique | Example | Description |
|---|---|---|
| Stacking Filters | Blur + Texture | Softens appearance then adds texture. |
| Combining Filters with Blend Modes | Gaussian Blur + Multiply Blend Mode | Creates a shadowy, night-time effect |
| Using Smart Filters with Masks | Sharpen + Mask on Subject | Sharpens only the subject, not the background. |
Advantages of Photoshop Smart Filters

Photoshop smart filters offer several advantages that make them a go-to selection tool for photo editing. Some of the major advantages of smart filters of Photoshop are mentioned below.
Pro Tip: Learn the smart select feature in Photoshop for an even better workflow.
Non-Destructive Adjustment
Photoshop smart filters empower you to manage and apply generative enhancements such as blurring or sharpening without permanently altering your photo. This feature is ideal for replicating adjustments between pictures, safeguarding the original. It enables you to experiment with various generative effects and, if necessary, discard them, akin to the reversible nature of using a pencil and eraser.
Pro Tip: You can combine them with other effects such as warping text to make your projects stand out.
Adjustable Settings
Once you’ve applied a smart filter, you can tweak its customization. This is handy when copying effects to another image, allowing you to adjust the effect to fit just right. It’s similar to changing the options on your TV for the best picture.
Combinable Effects
You can layer Photoshop smart filters to create complex effects, similar to how a chef layers flavors in a dish or a videographer layers selections in a video sequence. Each filter adds a unique dimension, much like an icon and color add distinctiveness and depth to a graphical interface, enhancing the overall composition and appeal of the photo. Just as selections are crucial in video refinement for isolating and modifying specific areas, in Photoshop, smart filters serve to refine and augment the visual narrative of your imagery.
Pro Tip: Learn how to use Photoshop’s smart fill for an even smoother workflow.
Integration with Smart Objects
Smart filters work with smart objects to keep your alterations non-destructive. This means you can apply filters and edit without harming the original photo. It’s like using the right tool for a job, ensuring everything looks perfect without damage.
Frequently Asked Questions
How do I enable smart filters?
To enable smart filters in Photoshop, first convert your layer into a Smart Object by right-clicking on the layer and choosing “Convert to Smart Object.” Then, go to the Filter menu and apply filters as usual. Smart Filters let you make non-destructive edits, meaning you can adjust or remove them later without harming your original image.
What is smart in Photoshop?
In Photoshop, “smart” refers to features that allow for non-destructive photo enhancement. It preserves your original photo quality. Smart Filters are one such feature, enabling you to apply filters to layers in a way that can be easily adjusted or removed without permanently altering your image.
What is smart blur in Photoshop?
Smart Blur in Photoshop is a filter that intelligently blurs images while preserving edges and details. It’s useful for smoothing out imperfections or creating subtle effects while maintaining clarity in important areas of your photo.
What are the filters in Photoshop?
Filters in Photoshop are tools or effects that can be applied to images to achieve various artistic or practical results. They range from basic adjustments like blurring and sharpening to more complex effects like distortions or stylizations. Filters can be found in the Filter menu in Photoshop.
How to edit Smart Filters?
Adjusting Smart Filters in Photoshop is straightforward. Once applied to your photograph, you can adjust the customization of the Smart Filter by double-clicking on it in the Layers panel. This opens the Filter dialog box, where you can modify the options and click “OK” to apply the changes. The adjustments will then be reflected in the image, updating the Smart Filters accordingly.
Do Smart Filters help with Wildlife photography?
Yes, Smart Filters in Photoshop can be beneficial for wildlife photography. They enable photographers to apply adjustments such as sharpening or blurring selectively, allowing for the enhancement of specific aspects of wildlife images while maintaining the original photo’s integrity.
How is AI improving smart filters in Photoshop?
AI is enhancing smart filters in Photoshop by automating the process of recognizing elements within a photograph, such as animals or backgrounds. This allows for more intelligent and targeted application of filters, resulting in more precise and natural-looking edits.
How do you reuse a Smart Object in Photoshop?
To reuse a Smart Object in Photoshop, open the document containing the Smart Object. Click on the layer of the Smart Object, where its icon and color label help identify it, then right-click and choose “Export Contents.” Save it as a separate file. In the new document where you want to use it, drag and drop the saved Smart Object file. This will add it as a new layer in your working document, preserving the icon and color features associated with the original Smart Object.
Can I combine multiple Smart Filters into a single filter?
While you cannot merge multiple Smart Filters into a single manageable unit, you can apply multiple filters to the same Smart Object layer, thereby generating a stack of Smart Filters. These stacked filters collaboratively manage and enhance the Smart Object through a generative process, producing a comprehensive and layered effect that facilitates a complex and nuanced modification approach.
Conclusion
In my journey with Photoshop, using Smart Filters has been a game-changer, allowing me to enhance images non-destructively and with creative flexibility. For instance, when working on a portrait, I applied a Gaussian Blur to soften the skin, followed by a subtle vignette effect to focus on the subject. This process was seamless, and the ability to tweak the filters without starting over saved me time and enhanced the final result. Smart Filters empowered me to experiment and perfect my vision, ultimately elevating the quality of my work.
For those looking to master these skills, including video enhancements and precise selections, I highly recommend the Photoshop Course Masterclass. It’s ideal for both beginners and seasoned professionals aiming to refine their expertise in handling both still images and video content. And if you’re interested in further expanding your altering prowess, embark on this educational journey to unleash your full creative potential, mastering the art of photo editing.
Dive in, and start transforming your images with the proficiency of a pro!
Have a nice photoshoot!
- Image editing techniques
- Photo editing tools
- Photoshop filter workflow
- Photoshop smart filters
- Photoshop tips and tricks
Course
Light Effect Photoshop
Lightroom Course 2025
Adobe Photoshop Course 2025
Photo Editing Course


Download Your Free Guide Now!
Discover the secrets of photography with our printable guide! Master essential techniques like aperture, shutter speed, and ISO to create stunning images. Get your free printable PDF now and start turning your snapshots into masterpieces!


