Embarking on a journey through the digital canvas of Adobe Photoshop unveils a world where creativity knows no bounds. The essential tools in Photoshop are the cornerstone for transforming mundane images into stunning masterpieces. With each tool acting as a brushstroke in the broader picture of digital artistry, understanding their purpose and power is crucial for anyone aiming to master the art of photo editing. From the subtle nuances of shade correction to the bold decisions in composite creations, these instruments are the backbone of every project, guiding both novices and seasoned professionals to achieve their visionary goals.
This guide is your comprehensive roadmap to navigating the vast landscape of Photoshop’s toolbox, ensuring every click and adjustment you make contributes to crafting visually compelling stories. Join us as we unravel the secrets of Photoshop’s most pivotal tools, enhancing your skills and empowering your creative journey.
Table of Contents
Navigating the Workspace: A Guided Tour
Understanding the Photoshop Workspace Layout
The Photoshop workspace, comprising various panels and windows, can be initially overwhelming. The key elements include the Menu Bar, Tool Panel, Options Bar, Document Window, and various Panels like Layers and History. Each plays a crucial role in the editing process. Customizable workspace layouts cater to specific tasks, enhancing workflow efficiency.
Customizing Your Workspace
Personalizing the workspace in Photoshop boosts productivity. You can rearrange panels, save custom workspace layouts, and even adjust the interface’s color theme. This flexibility allows you to create an environment tailored to your workflow and preferences.
Navigating Within Your Image
Mastering navigation within your image is essential. Utilize the Zoom and Hand tools to move around and inspect details. Familiarity with these instruments accelerates your editing process and improves precision in your work.
Key Panels and Their Functions
- Layers Panel: Manages and organizes image layers, allowing for complex edits and composites.
- History Panel: Tracks each action, enabling you to undo or revisit specific steps in your editing process.
- Adjustments Panel: Offers a range of tools for shade and exposure corrections, vital for fine-tuning your images.
Maximizing Efficiency with Workspace Shortcuts
Learn and use keyboard shortcuts to speed up your editing workflow. Knowing these shortcuts can drastically reduce the time spent navigating through menus and panels, making your editing process more intuitive and efficient.
By familiarizing yourself with the Photoshop workspace and customizing it to your needs, you can streamline your editing process, leading to faster and more effective image manipulation.
Mastering Essential Tools in Photoshop for Precision Editing and Selection
Introduction to Selection Tools
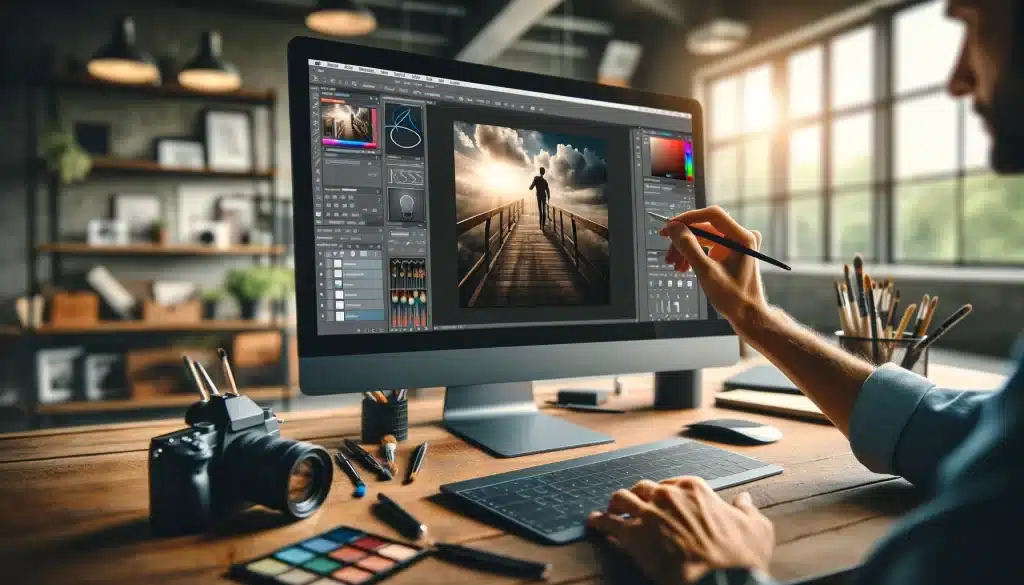
Photoshop’s selection tools are vital for precise editing, allowing you to isolate and modify specific areas of an image. Understanding how to effectively use these instruments, from the basic Lasso to the advanced shade Range, can dramatically enhance your editing efficiency and accuracy.
Types of Selection Tools and Their Uses
- Marquee Tools (Rectangular and Elliptical Marquee): Ideal for selecting regular geometric shapes.
- Lasso Tools (Standard, Polygonal, and Magnetic): Best for freeform selections, with the Magnetic Lasso providing edge detection.
- Quick Selection and Magic Wand Tools: Useful for selecting large areas of similar color or texture quickly.
- Pen Tool: Offers precision for creating complex paths and selections.
- Object Selection Tool: Utilizes AI to select objects within an image effortlessly.
Advanced Selection Techniques
- Refining Selections: Utilizing the Refine Edge tool helps in adjusting the edges of a selection for a cleaner and more precise outcome.
- Color Range Selection: This tool selects areas based on color similarity, useful for isolating specific tones or color patterns in an image.
- Using Layer Masks with Selections: Layer masks allow for non-destructive editing, enabling you to hide or reveal parts of the layer based on the selection.
- Feathering: Softens the edges of a selection, blending the selected area with its surroundings for a more natural look.
Practical Tips and Common Questions
- Understand when to use each selection tool based on the task at hand. For instance, use the Quick Selection tool for rapid selections and the Pen tool for precision.
- Learn how to add or subtract from your selection to refine the area you want to edit.
- Practice using feathering and refine edge features to integrate selections smoothly into the rest of the image.
- Utilize shortcuts to switch between different selection instruments efficiently, saving time during the editing process.
By mastering these selection instruments, you can significantly improve the quality and efficiency of your work in Photoshop, ensuring that you can select and edit any part of your image with precision and ease.
Essential Tools in Photoshop: Exploring Brush and Pencil Tools
Introduction to Brush and Pencil Tools
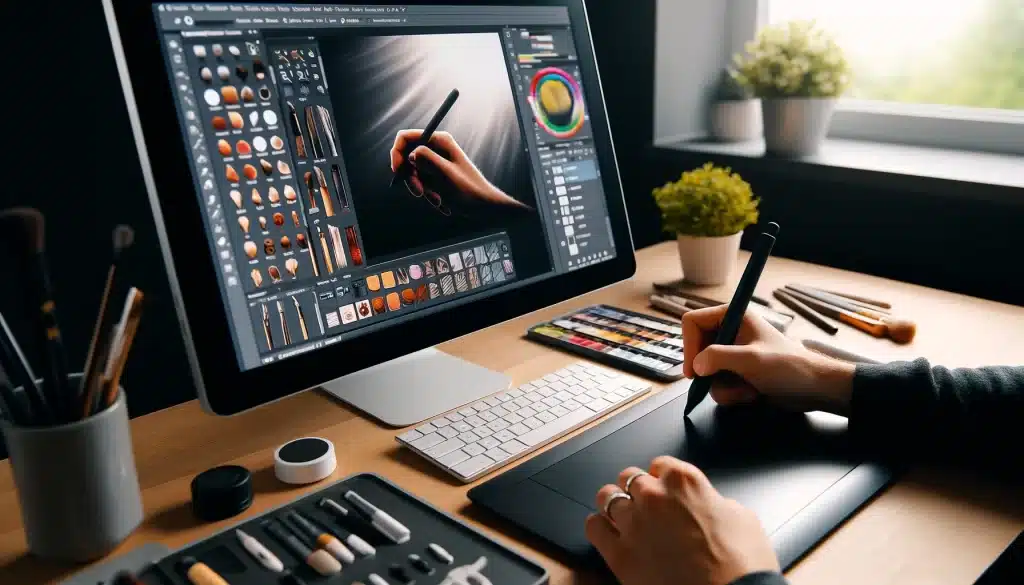
These tools are foundational for digital artists and photographers. They offer diverse options for painting, drawing, and editing images. Understanding these tools’ functionalities can significantly enhance your editing and creative process.
Brush Tool: Features and Techniques
- Brush Tip Selection: Access various tips to suit your project needs, from hard edges for solid strokes to soft brushes for feathered lines.
- Size and Hardness Adjustments: Modify brush size and hardness directly from the Options bar, allowing for dynamic changes while working.
- Flow and Opacity: Control the paint's flow and opacity for nuanced painting effects, adding depth and texture to your artwork.
- Advanced Settings: Utilize the Brush Settings panel to fine-tune the brush properties like angle, roundness, and spacing for customized effects
Pencil Tool: Precision Pixel Editing
The Pencil tool offers precision and simplicity, producing clean, non-anti-aliased lines, perfect for detailed pixel-level editing. Unlike the Brush tool, the Pencil tool provides a hard edge without softness, making it ideal for crisp line work and graphic illustrations.
Utilizing Brush and Pencil Tools in Your Workflow
- For detailed and intricate artwork, the Pencil tool is excellent for sharp, defined lines.
- The Brush tool is more suitable for broader strokes, blending, and texturing, offering a range of dynamic effects depending on the brush settings.
- Experiment with both tools to understand their capabilities fully and how they can complement your specific workflow and artistic style.
Transform and Warp: Shaping Your Images
The Essentials of Transforming in Photoshop
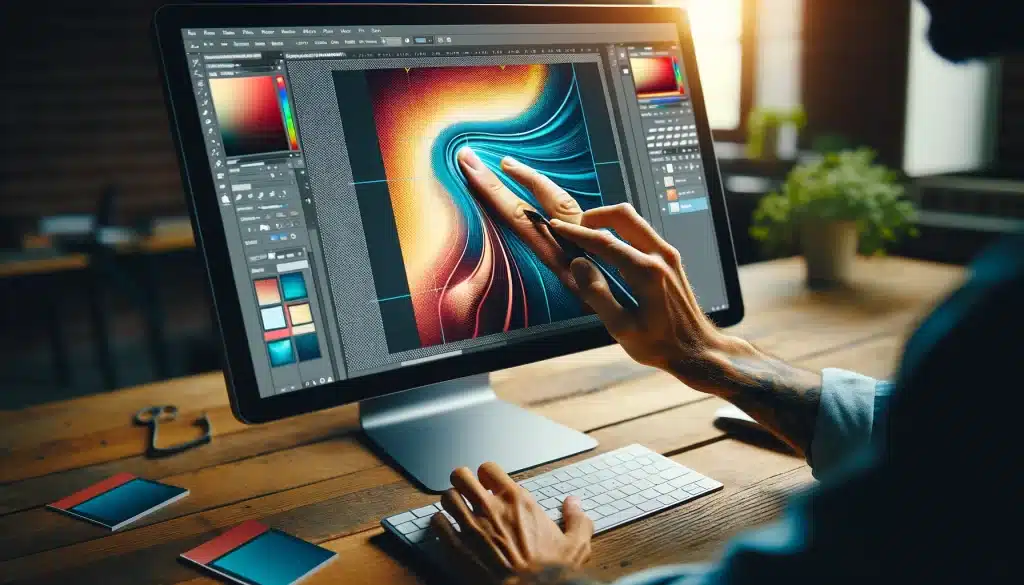
Transforming in Photoshop allows you to scale, rotate, skew, distort, and apply perspective to objects within your image. This is crucial for adjusting the size, orientation, or shape of an image element to fit your design needs. By default, the transformation is proportional, maintaining the object’s aspect ratio, but you can toggle this setting for non-proportional scaling as well. Transformations can be applied to various elements, including layers, selections, and paths, enhancing the flexibility and control you have over your edits.
Mastering the Warp Tool
The Warp tool in Photoshop is an advanced feature that lets you manipulate the shape of images, shapes, or paths by dragging control points. This tool is incredibly versatile, allowing for precise adjustments to the item’s structure. You can choose from predefined warp styles or create a custom warp mesh to achieve the desired effect. Adding control grid lines to the warp mesh enhances the tool’s flexibility, enabling more intricate adjustments to the shape of the item.
Utilizing Grid Presets for Detailed Warping
Photoshop CC 2020 introduced grid presets for the Warp tool, providing more control points and allowing detailed manipulations of the image’s shape. With options for 3×3, 4×4, or 5×5 grids, you can select the complexity level of the warp grid based on your project’s requirements. This enhancement allows for more nuanced warping, as you can adjust individual grid points and lines, or even multiple points at once, to achieve the desired distortion of the image.
Creating Custom Warp Grids
For even greater control, you can create custom Warp grids. This feature lets you specify the exact number of columns and rows, giving you a tailored grid that meets your project’s specific needs. Custom grids are particularly useful for complex warping tasks, where the standard presets do not provide sufficient control points to achieve the desired effect.
By mastering the Transform and Warp tools in Photoshop, you gain the ability to finely tune the spatial properties of your images, leading to more dynamic and engaging compositions. Whether you’re subtly adjusting the perspective or completely reshaping an element, these instruments are essential for bringing your creative vision to life.
Essential Tools in Photoshop for Color
Understanding Foreground and Background Colors
In Photoshop, the foreground color is used for painting, filling, and stroking selections, while the background color is utilized for gradient fills and filling erased areas. You can set these colors using the Eyedropper tool, the Color panel, the Swatches panel, or the Adobe Color Picker, with black as the default foreground and white as the background.
Mastering Color Correction Tools
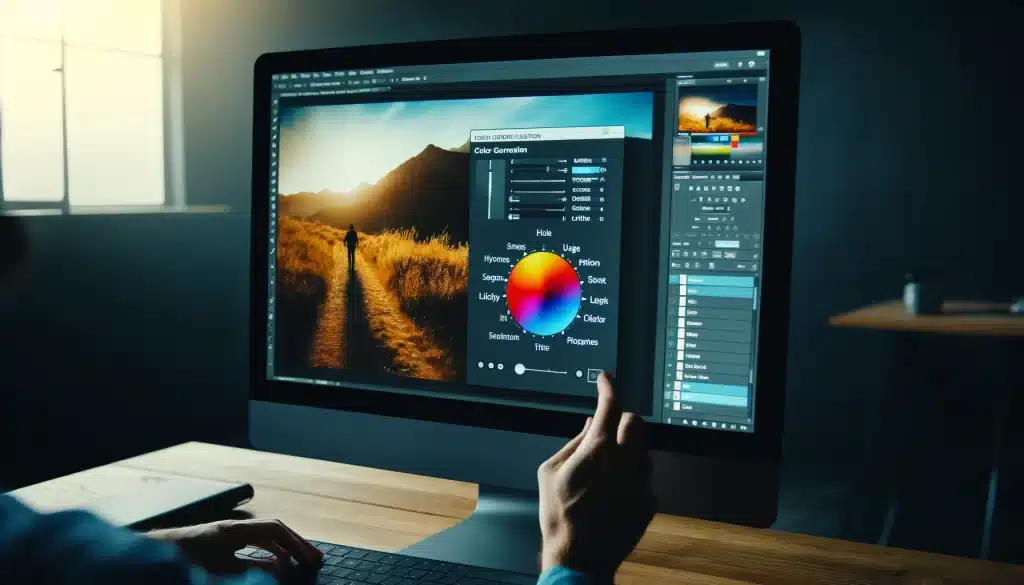
Color correction is vital for achieving the desired visual impact. Tools like Levels and Curves help adjust the image’s tonal range. The Hue/Saturation tool modifies hue, saturation, and lightness, while the Color Balance tool adjusts the color balance. Selective Color and Color Lookup are advanced tools for fine-tuning specific color ranges or applying predefined color grades.
Changing Colors with Advanced Techniques
To change an object’s color, utilize the Hue/Saturation adjustment layer for non-destructive edits, or the Color Replacement tool for manual adjustments. The Eyedropper tool helps sample colors for correction, and the Replace Color command makes global color changes. For targeted adjustments, use the Color Range selection or adjustment layers to modify specific hues.
By leveraging these color tools in Photoshop, you can transform the color dynamics of your images, enhancing the overall mood and conveying the intended visual message effectively.
Text and Typography Essential Tools in Photoshop

Exploring Various Text Effects
Photoshop offers a plethora of techniques to create unique and eye-catching text effects. From creating an ice cream type treatment to playing with Repoussé in Photoshop CS5 Extended for 3D effects, the possibilities are vast. Tutorials like creating realistic folded paper text or retro folded typography can inspire and guide you through detailed processes, making the most of Photoshop’s tools for impactful typography designs.
Creative Typography Techniques
- Suspended Translucent Text Effect: Combines filters and blending methods for a unique look.
- Copper Text Effect: Utilizes bevel and emboss styles, pattern overlays, and matching backgrounds.
- Wild Fire Text: A classic technique using real fire images and blending methods.
- Colorful Light Burst Text: Engulfs text in an explosion of light and color.
Enhancing Text with Special Effects
The diversity in text tutorials extends to creating movie-inspired effects, such as a text effect reminiscent of the “Black Widow” movie, or crafting a rusted metal text effect inspired by “Mad Max.” These tutorials provide step-by-step guides to achieve detailed and thematic text designs suitable for various creative projects.
In conclusion, mastering text and typography in Photoshop allows you to add depth and character to your designs. By experimenting with different effects and techniques, you can elevate your design work and create truly standout typographic art.
Retouching Essentials: Healing and Cloning Tools
| Feature | Healing Tools | Cloning Tools |
|---|---|---|
| Purpose | To blend and repair imperfections by matching texture and color. | To duplicate or remove elements without blending textures. |
| Tools Included | Healing Brush, Spot Healing Brush, Patch Tool | Clone Stamp Tool |
| Sample Selection | Automatically matches texture and color from the sampled area. | Uses the exact pixels from the sampled area. |
| Usage | Ideal for fixing blemishes, scratches, or similar imperfections. | Best for duplicating objects or filling spaces with specific content. |
| Flexibility | These tools blend with the surrounding space. | Cloning tools maintain the original texture and color of the sample. |
| Control | Limited control over texture and color blending. | Full control over the area being cloned. |
| Result | Produces seamless repairs integrated with the surrounding image. | Creates an exact copy of the sampled area, maintaining original details. |
The Healing Tools are designed for repairing images by blending the repaired space with the surrounding pixels, whereas the Cloning Tools are better suited for tasks requiring precise duplication of parts of an image or removal of unwanted elements without blending. Let’s explore in detail:
Harnessing the Healing Brush Tool
This tool in Photoshop is your ally for repairing image imperfections by blending pixels from one part of an image to another. To use it effectively:
- Select this Brush tool from the toolbar (shortcut 'J').
- Set your desired brush options, such as Mode, Source, and Sample, in the tool options bar.
- Alt-click (Win) or Option-click (Mac) to set the source sampling area from the image.
- Paint over the space to be healed; the tool blends the source pixels with the target area for a natural repair.
Mastering the Clone Stamp Tool
This tool is perfect for duplicating parts of an image or correcting blemishes by painting with sampled pixels. To use the Clone Stamp tool:
- Choose the tool from the toolbar and select a brush tip and set brush options blending mode, opacity, and flow.
- Alt-click (Win) or Option-click (Mac) in the image to define the sampling point.
- Paint over the target area; the tool copies the sampled pixels onto the target area.
- Use the Clone Source panel to manage multiple sample sources and adjust the scale or rotation of the source as needed.
Exploring Advanced Cloning Techniques
In addition to the basic cloning tools, Photoshop offers advanced options like the Patch Tool, which combines the features of the Lasso and Healing Brush tools for complex retouching tasks. The Content-Aware Fill and Vanishing Point tools provide automated and perspective-aware cloning capabilities, respectively, broadening the scope of retouching possibilities.
By mastering these tools, you can seamlessly repair and enhance your images, achieving professional-grade results in your photo editing projects.
Essential Tools in Photoshop: Using Filters and Effects

Understanding Photoshop Filters
Photoshop filters are tools that enhance or alter the appearance of an image, often used to clean up or retouch photos, apply artistic effects, or create unique transformations using distortions and lighting effects. Filters in the Filter menu are native to Adobe, while third-party plugins extend Photoshop’s capabilities.
Applying Filters and Effects
To apply a filter, select the desired layer or area, then choose from the Filter menu. Smart Filters allow for non-destructive edits when applied to Smart Objects, meaning you can adjust the filter settings anytime without altering the original image data. This flexibility is crucial for fine-tuning the effects and achieving the desired outcome.
Enhancing Creativity with Third-party Plugins
Third-party Photoshop filters and plugins can dramatically expand the creative possibilities beyond the default Photoshop filters. They allow for more unique and complex effects, which can be crucial for graphic design, including posters, flyers, and logos. These can be downloaded and installed to extend the functionality of Photoshop, providing a wider range of effects to explore and apply to your projects.
Utilizing Filters for Impactful Designs
Using Photoshop filters effectively can transform your images into creative masterpieces. Whether you’re aiming for a subtle retouch or a dramatic effect, understanding how to apply and manipulate these filters will significantly enhance the visual impact of your work. Experimenting with different filters and settings can lead to discovering new and innovative ways to express your artistic vision through your images.
Frequently Asked Questions about Essential Tools in Photoshop

What are the basic tools of Photoshop?
Basic tools in Photoshop include the Move Tool for repositioning elements, the Brush Tool for painting, the Eraser for removing parts of an image, the Crop Tool to trim and resize the canvas, and the Gradient Tool for creating a blend between colors. These are fundamental for various tasks, from layout adjustment to fine detailing.
What are the 5 tools in Photoshop called?
The top 5 functions in Photoshop are known for their versatility and essential roles in photo editing. These include the Brush tool for painting, the Eraser tool for deleting unwanted parts, the Crop tool for framing, the Lasso tool for freehand selection, and the Move tool for repositioning objects. These functions form the core toolkit for most Photoshop users, providing the necessary control and flexibility for detailed image work.
What are the five tools of Photoshop which you use frequently?
Five frequently used Photoshop instruments are, Brush Tool for essential for painting and drawing, Eraser for correcting mistakes or refining edges, Crop instrument to adjusts the composition and aspect ratio, Clone Stamp instrument is for Duplicates parts of an image and Dodge and Burn instrument lighten or darken areas for enhancing details.
What are the 6 editing tools in Photoshop?
- Crop Tool: Refines the frame and composition.
- Clone Stamp Tool: For duplicating or repairing sections of an image.
- Eraser Tool: Removes unwanted parts.
- Gradient Tool: Creates smooth transitions between colors.
- Pen instrument: Draws precise paths and shapes.
- Camera Raw Filter: Provides advanced photo adjustments before final editing.
Wrapping up Essential Tools in Photoshop

In my journey through Photoshop, mastering the diverse functionalities has been pivotal. For instance, using the Eraser to meticulously remove unwanted elements from a shot captured with my camera, or applying various blending modes to enhance the visual appeal of an image, has been transformative. I often find myself dragging elements across the canvas to achieve the perfect composition, a testament to the fluidity and precision Photoshop offers. These skills were honed through dedicated practice and learning, much of which was facilitated by comprehensive courses like the ones offered at Photoshop Course and Lightroom Course.
These courses are designed to elevate your skills from basic to advanced levels, ensuring a thorough understanding of Photoshop’s capabilities. I encourage aspiring photographers and designers to explore these courses to unlock their creative potential fully.
If the “Essential tools in Photoshop” article has helped you, then Like and Share it with your friends!
Have a nice photoshoot!
Read more about: Photo Editing with Lightroom and Photoshop
Course
Light Effect Photoshop
Lightroom Course 2024
Adobe Photoshop Course
Photo Editing Course
Get the latest version of Photoshop & Lightroom


