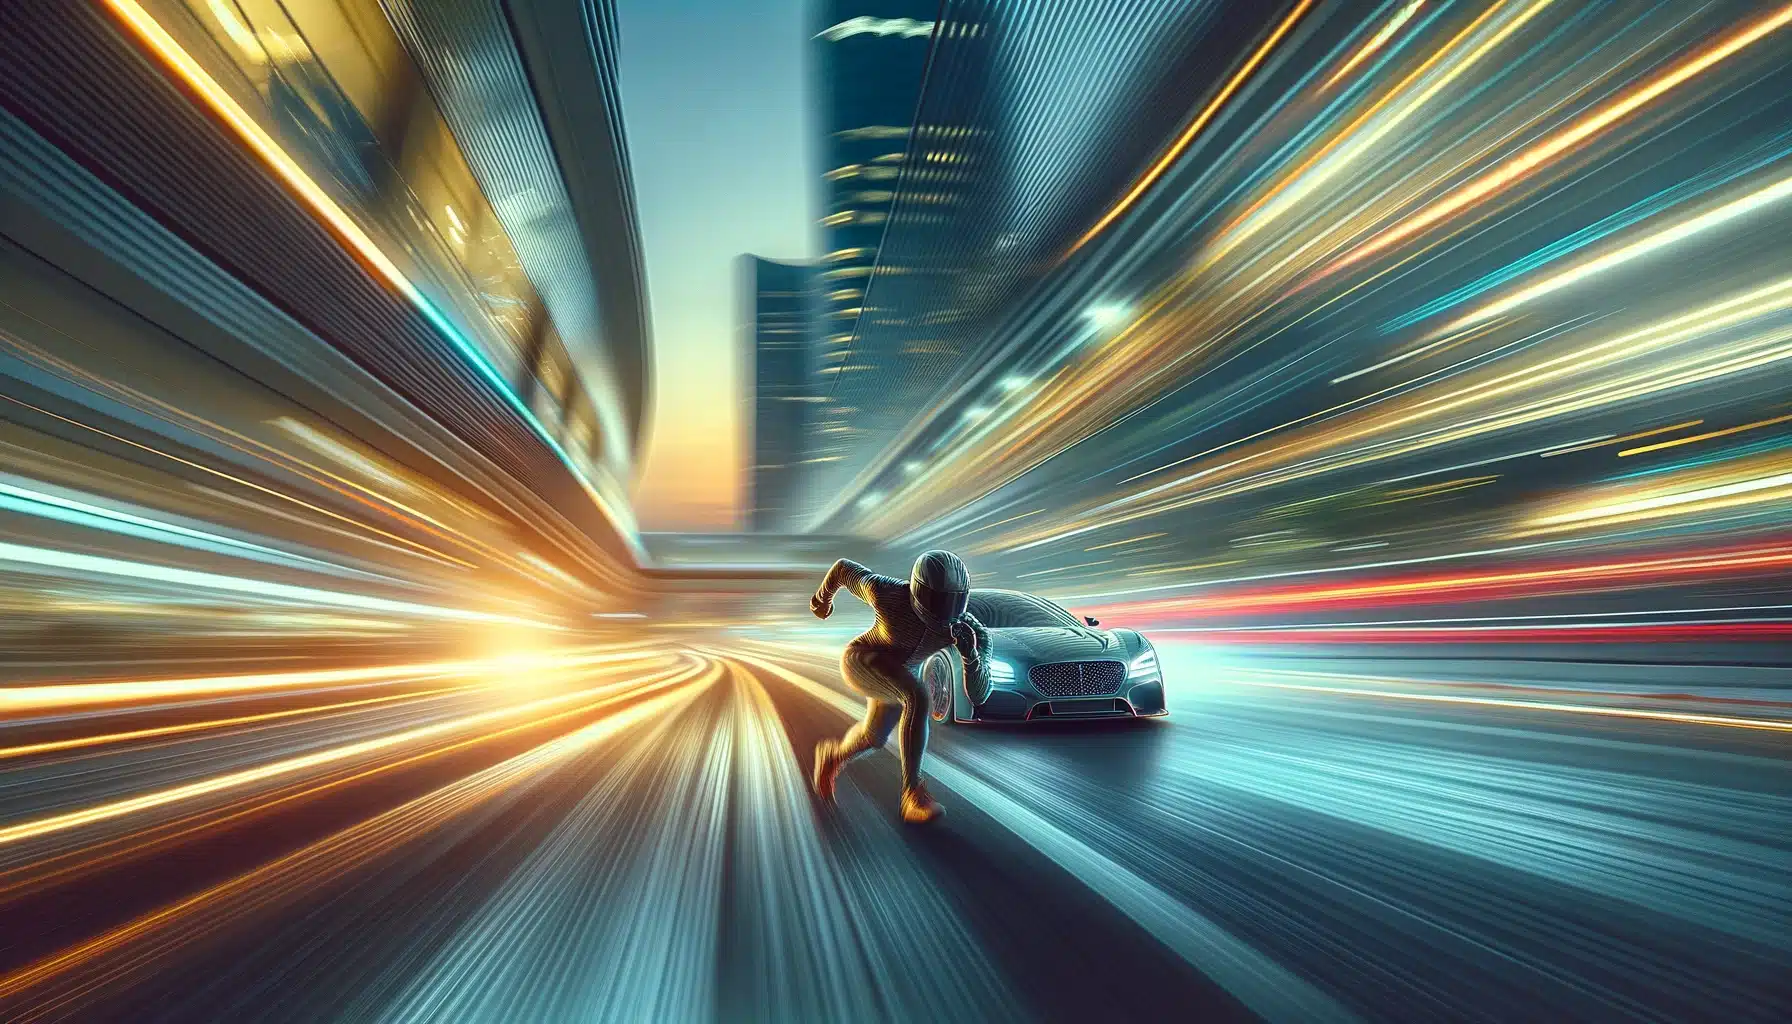
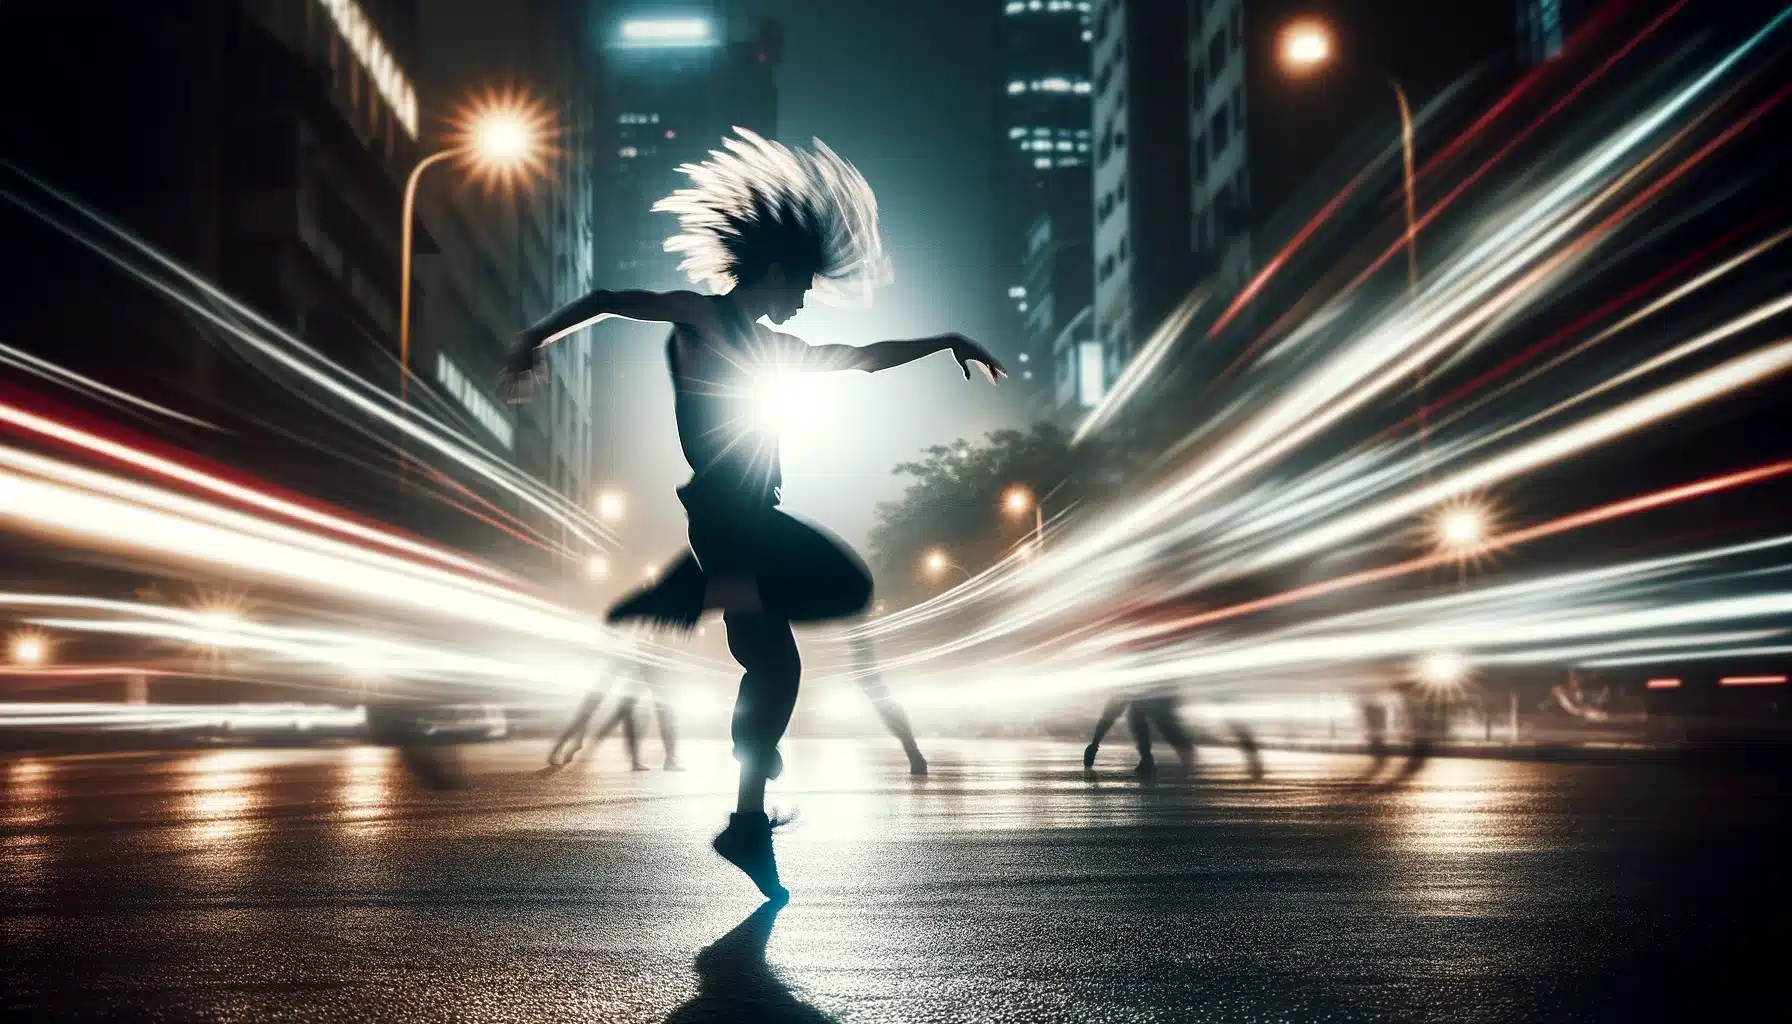
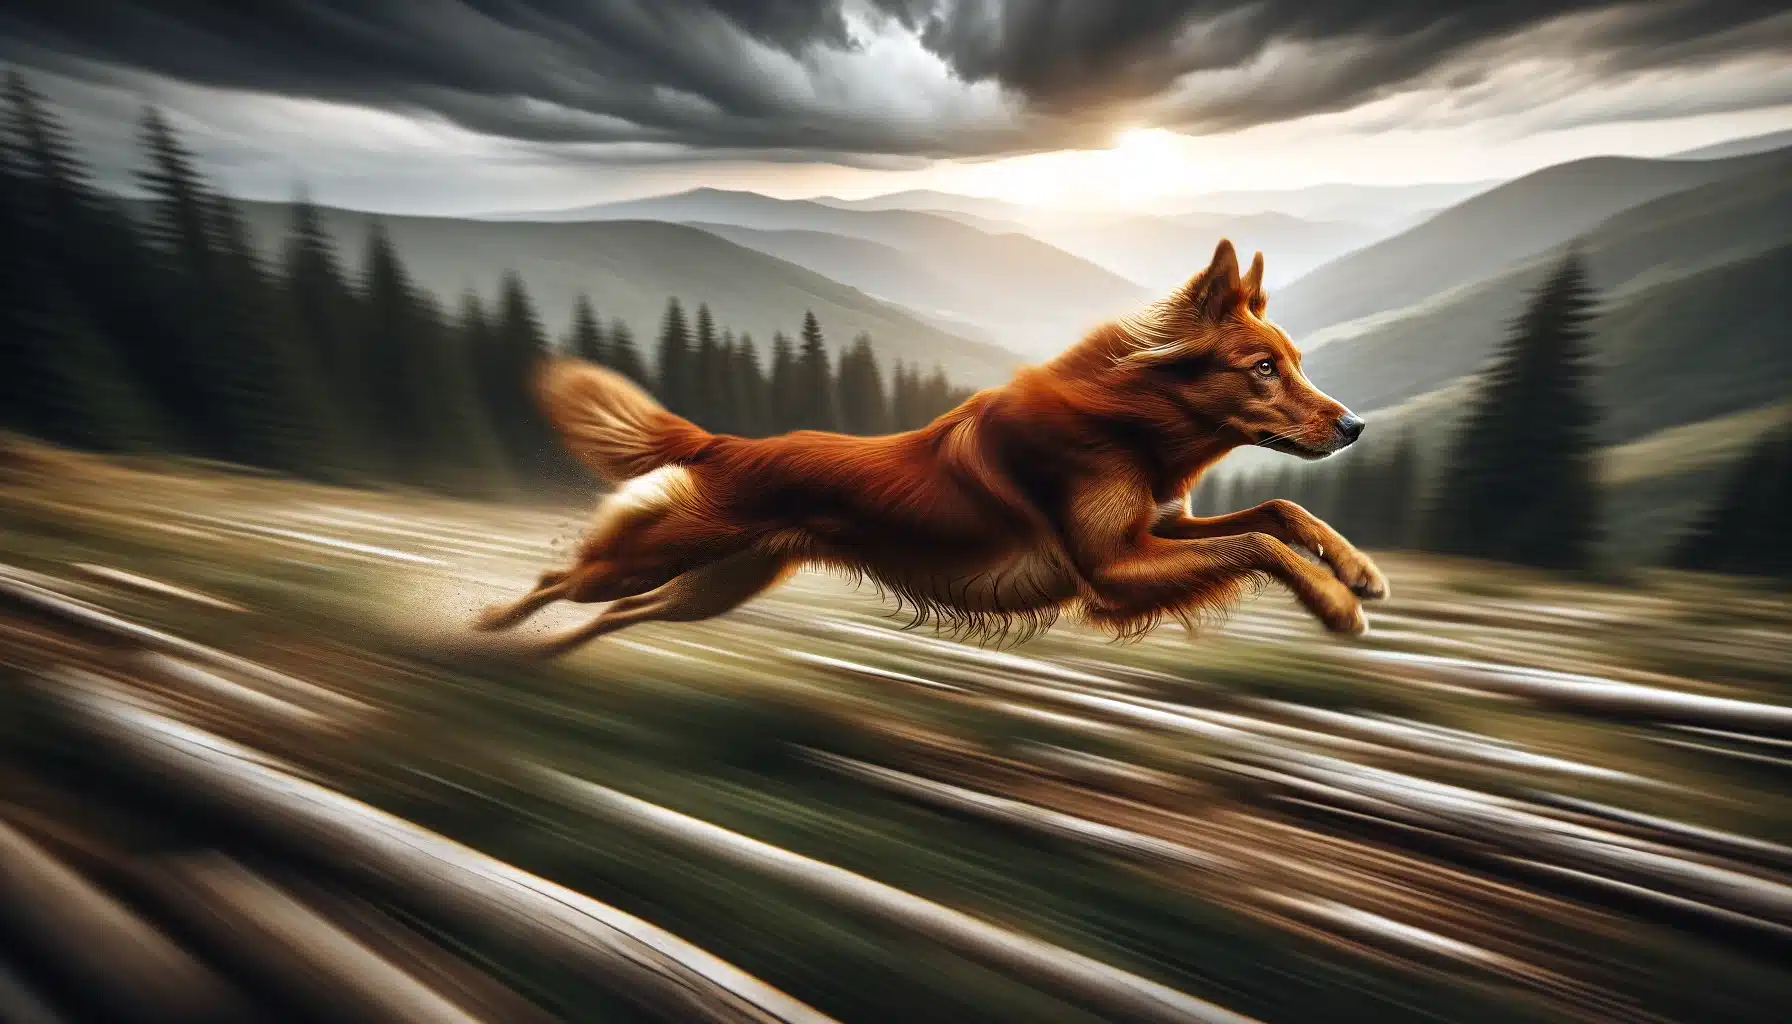
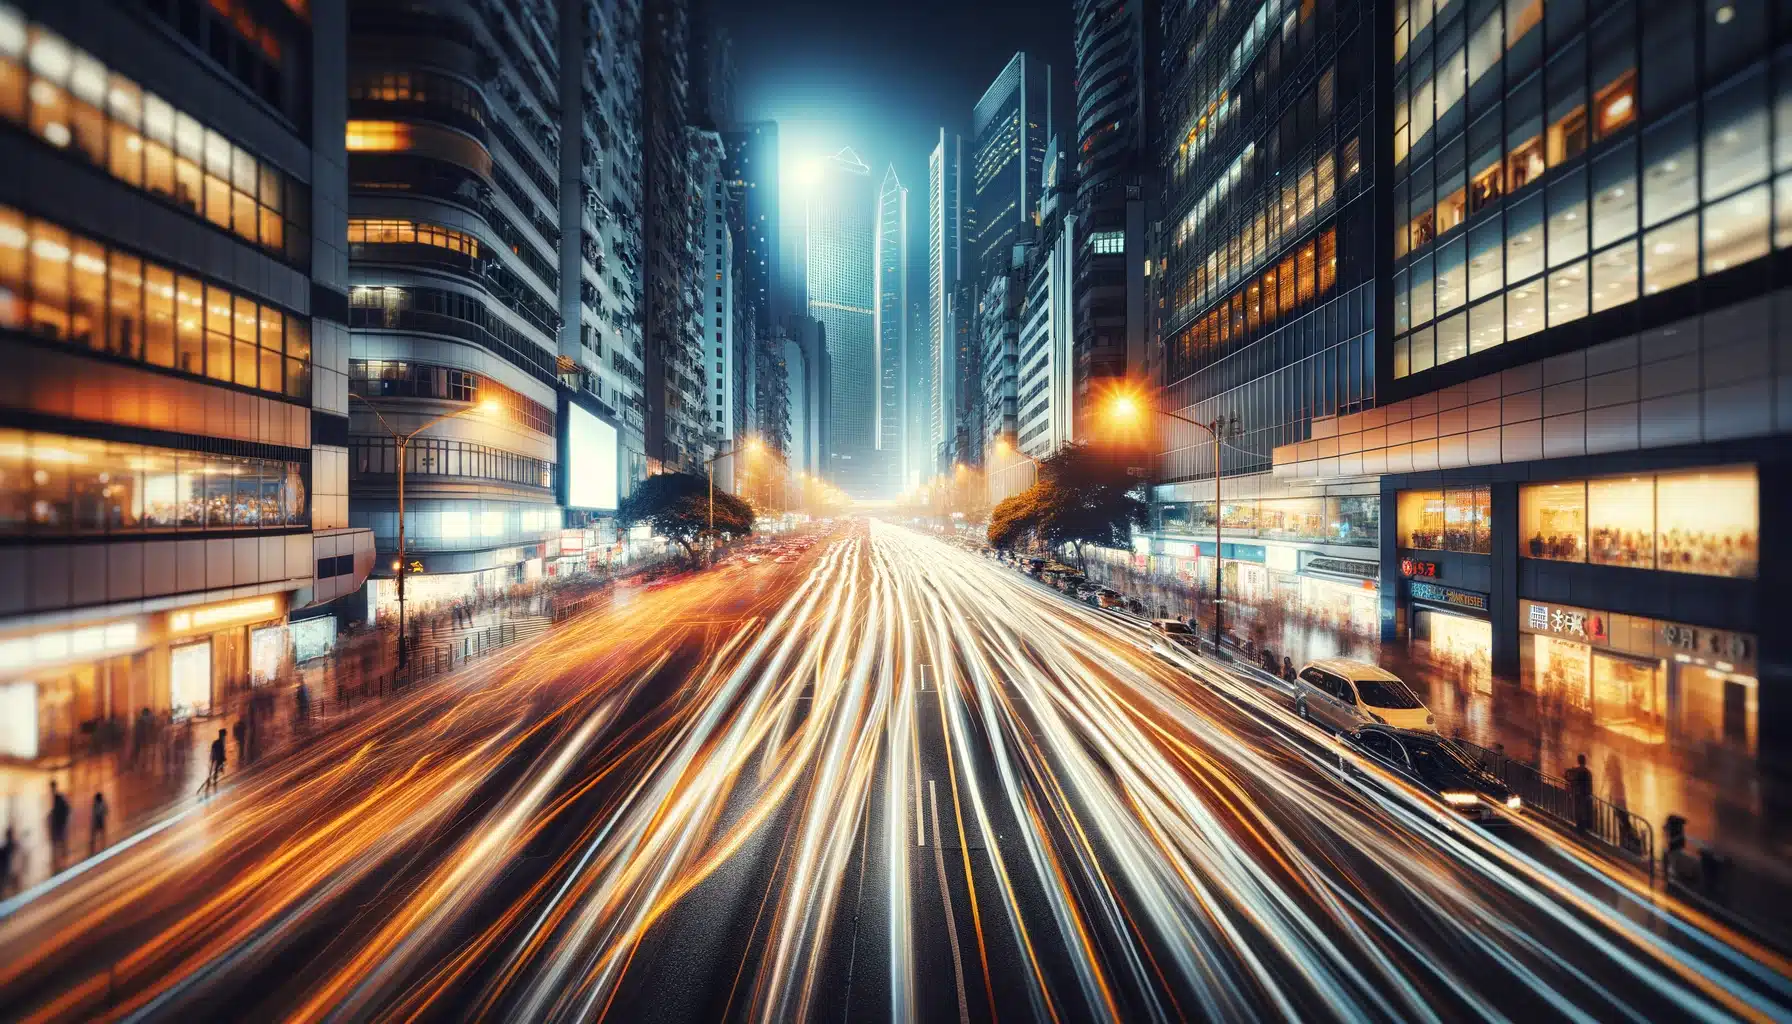
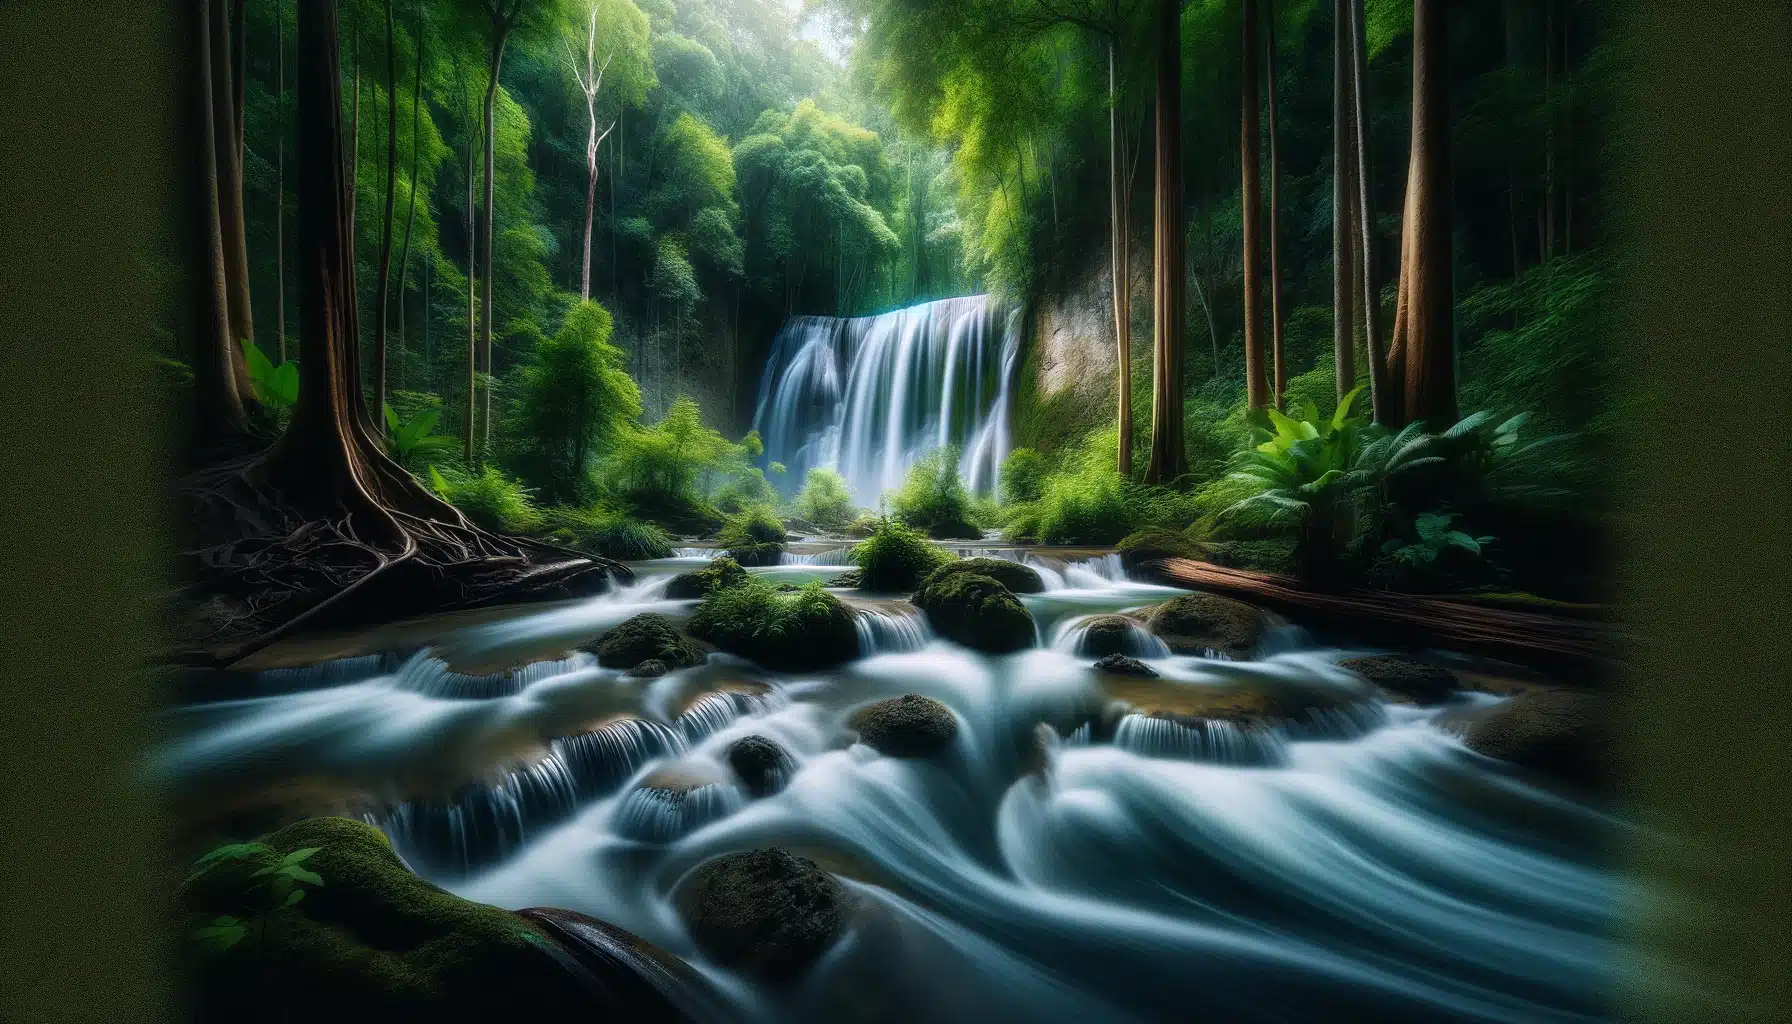
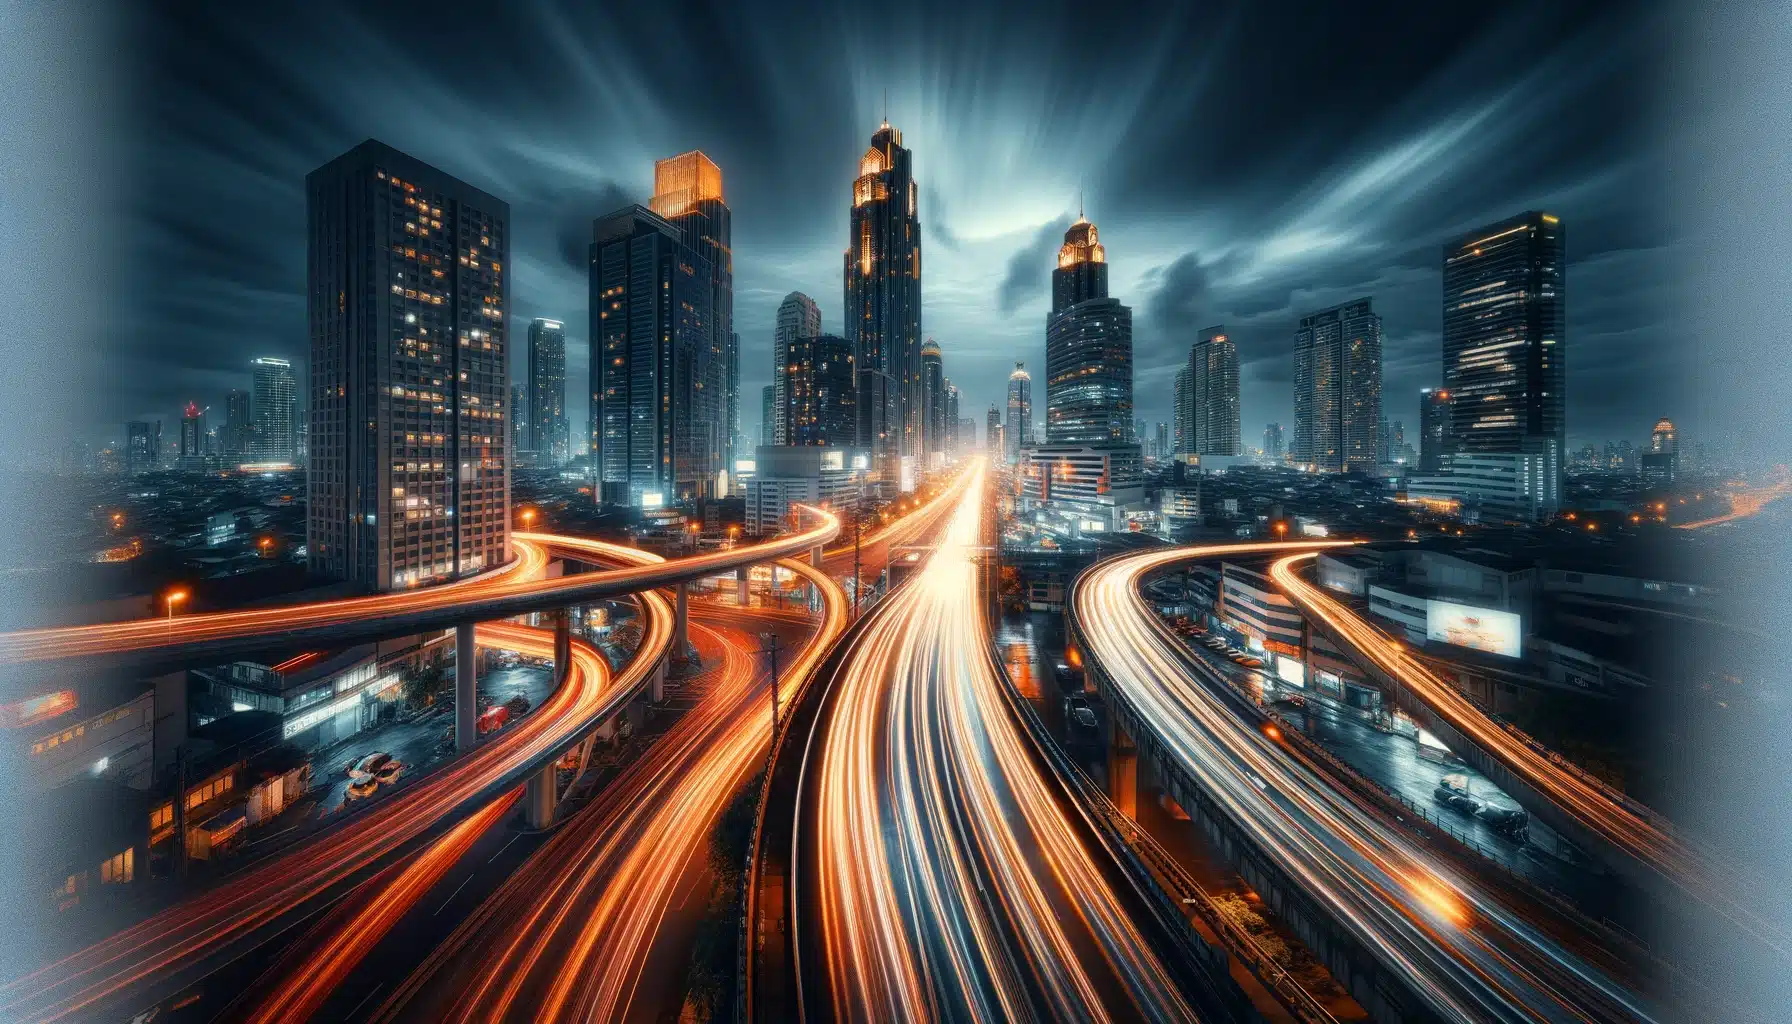
Motion blur is a purposeful streaking effect used in creative photography. You might have seen those great images capturing star trails or even the motion of an athlete, all of that is captured using motion blur in photography. Read along to find out how you could do it yourself and also get some motion blur photography ideas as a bonus.
What is Motion Blur Photography?
Motion blur in photography is basically the streaking effect of an object in motion in an image. You should not confuse it with the blur that the lens causes. Photographers use this technique to portray movement in a still image. Let us continue to figure out how you can create motion blur photography.
How to Capture Motion Blur in Photography?
There are a few variables that you have to control to achieve perfect motion blur. Firstly, you have to remember that it requires a long exposure time. The best way to get this is by slowing shutter speed.
Secondly, you have to keep an eye on the lighting. Slow shutter speed allows a lot of light to get into the camera, which may result in overexposing the photo. So, some photographers try to shoot in low light conditions to avoid this problem.
The last point is that you need to stabilize your camera. Long exposure time means that you have to keep your camera directly pointed at the subject for a longer time. Hence, any slight shake can ruin the image. We suggest that you invest in a good quality tripod and pair it with a remote shutter release. This combination will not only stabilize your camera but also give you the freedom to control the settings without worrying about shakes.

Photo edited in Lightroom.
Ways to control Motion Blur
We have only yet discussed how to capture motion blur in photography, now read along to understand how to fully control it.
Exposure Triangle:
It is a technique that allows you to control the exposure with the help of aperture, shutter speed, and ISO. So if you change one of the three variables, you have to adjust the other two as well. For example, for motion blur photography slow shutter speed will require you to use a wide aperture with low ISO. The reason being that if you are decreasing shutter speed, you need to keep the aperture open widely but it may let too much light in. For that, low ISO is set so that only the necessary amount of light is used.
Shutter Priority Mode:
The exposure triangle might be a bit confusing for you. In order to easily get motion blur in photography, you may use shutter priority mode. As the name suggests, in this mode you just have to set the values of shutter speed whereas the camera itself adjusts other variables.
ND Filters:
Another method to control overexposure in motion blur photography in daylight is using Neutral Density filters. They basically act as glasses for your lens and dim the light without affecting the color.
Panning for Motion Blur in Photography
Normally for motion blur photography, you stand at a fixed place while the subject moves. There is another technique called panning that can be used to get motion blur. Basically, it means that you have to move in the same direction as your subject and set the shutter speed respective to the speed of the subject. The slower the subject, the slower the shutter speed will be.Â

Motion Blur Photography Ideas
Now, here are some motion blur photography ideas for you.Â
Light Trails:
For capturing the gorgeous light trails left behind by vehicles, you need a shutter speed of 10 seconds or longer. However, if the images get overexposed, you can try taking multiple images with a shorter exposure and make a composite of them. Same settings can also be used for light painting in which you choose a source of light and create patterns with it.
Star Trails:
Although capturing star trails is a bit tricky but making use of the composite trick, you can do this easily enough. You just have to set the shutter speed between 20-30 seconds, take multiple photographs, and then combine them afterward.
Sports:
Sports competitions provide you with a lot of opportunities for motion blur photography. Mostly, panning is used in this scenario to keep the subject in focus while the blurred background gives a sense of motion.
Cloud Movement:
Capturing the trails of clouds in the sky produces great images. This, especially, adds more vibrancy and life when shooting historical places, landscapes or even sunsets.
Busy Street or Town Square:
You can go to any busy part of your city and set up your equipment to capture the fast-paced life of a city. The silhouettes left behind by the people will produce a surprisingly great effect on your photographs.

Photo edited in Lightroom.
Add Motion Blur using Photoshop
If you really do not want to do all of this manual work, there is an option for you as well. You can add motion blur to a still photograph using Photoshop Simply select the part that you want to blur using Pen Tool. Then, in the menu go to Filter>Blur>Motion Blur. After that select the angle, and distance of the blur and you are good to go. You can also learn to use the full potential of this software program with our professional level Photoshop Masterclass.
Conclusion - Motion Blur in Photography
We believe that we have explained the important aspects of motion blur photography. Now, our task finishes and your work begins. It will take some time to perfect these shots but once you get it, you will surely enjoy it.
If the “Motion Blur in Photography” article has helped you, then Like and Share it with your friends!
Facebook
Twitter
LinkedIn
Pinterest
Have a nice photoshoot!Â
Lightroom and Photoshop Tutorials
Course
Get the latest version of Photoshop & Lightroom
0 responses on "Motion Blur in Photography"