| Technique | Description | Example |
|---|
| Combining with Layer Masks | Non-destructively hide or reveal parts | Removing an entity from a seashore image |
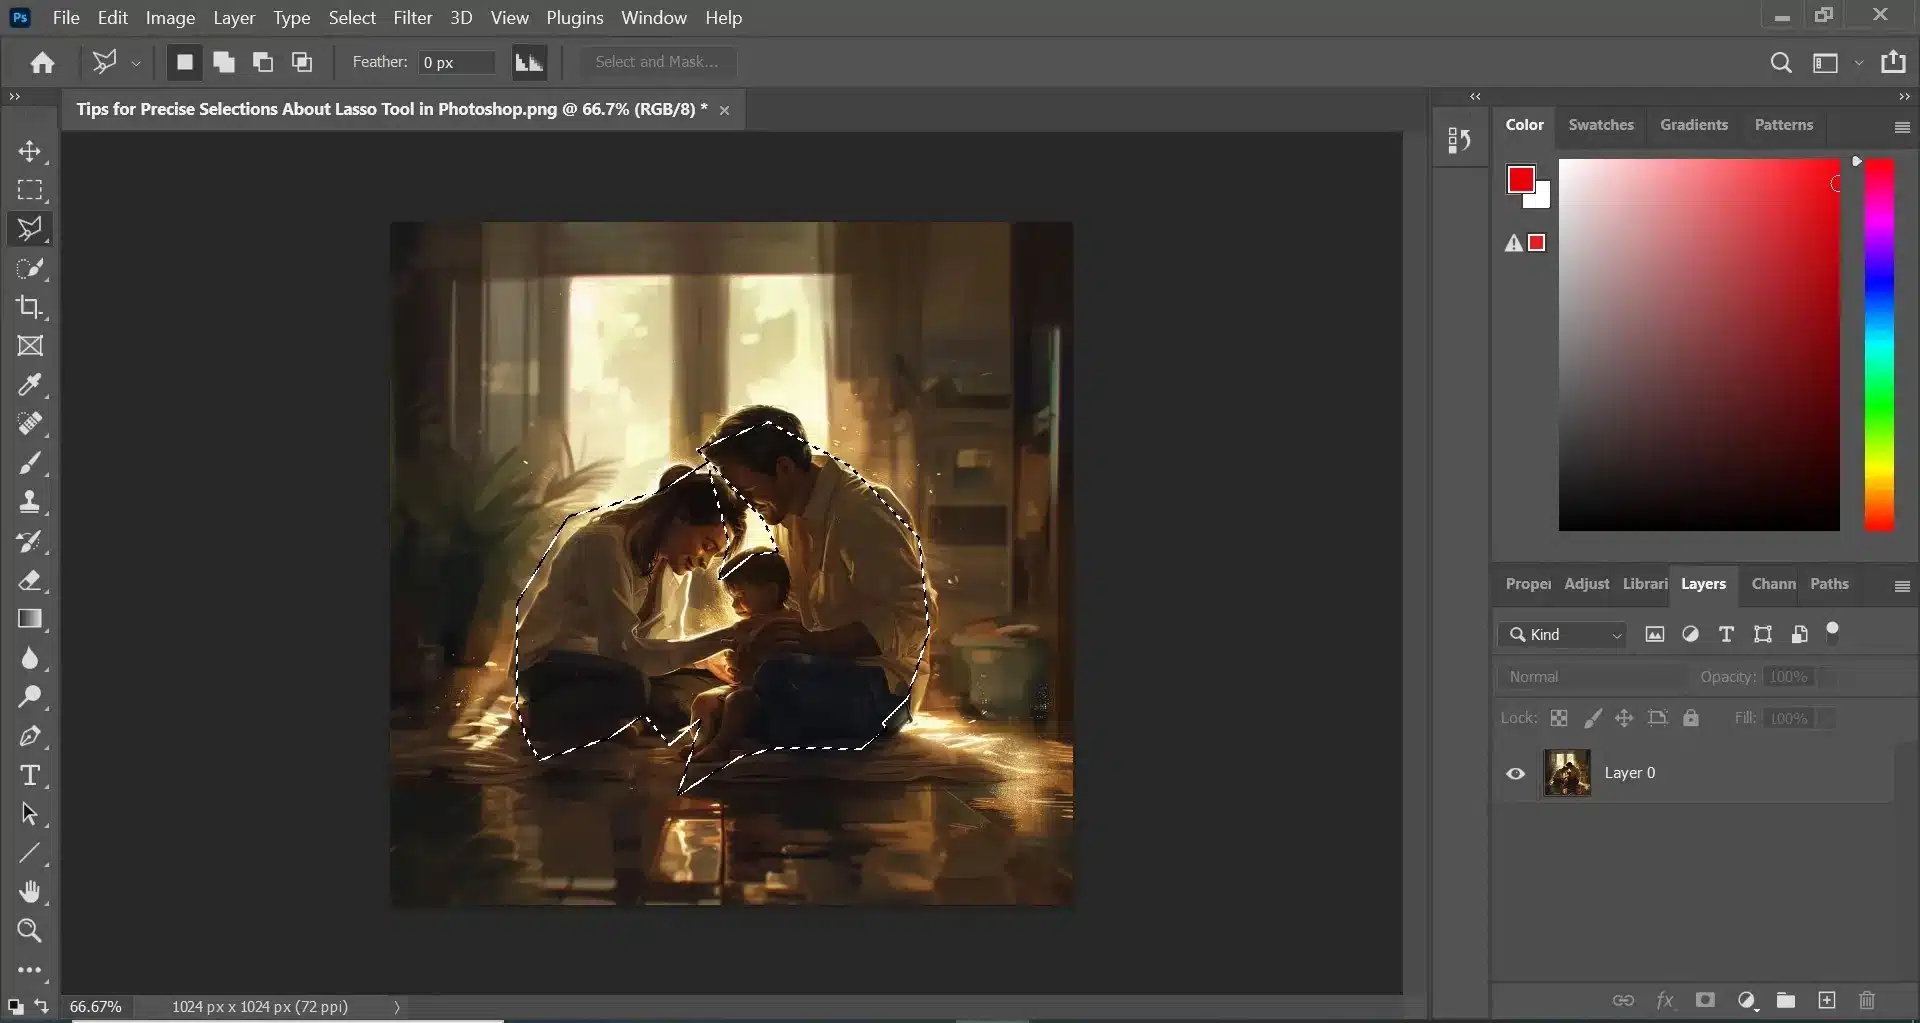
| Feathering | Soften borders and smooth jagged lines | Enhancing the chosen part of curved or diagonal objects |
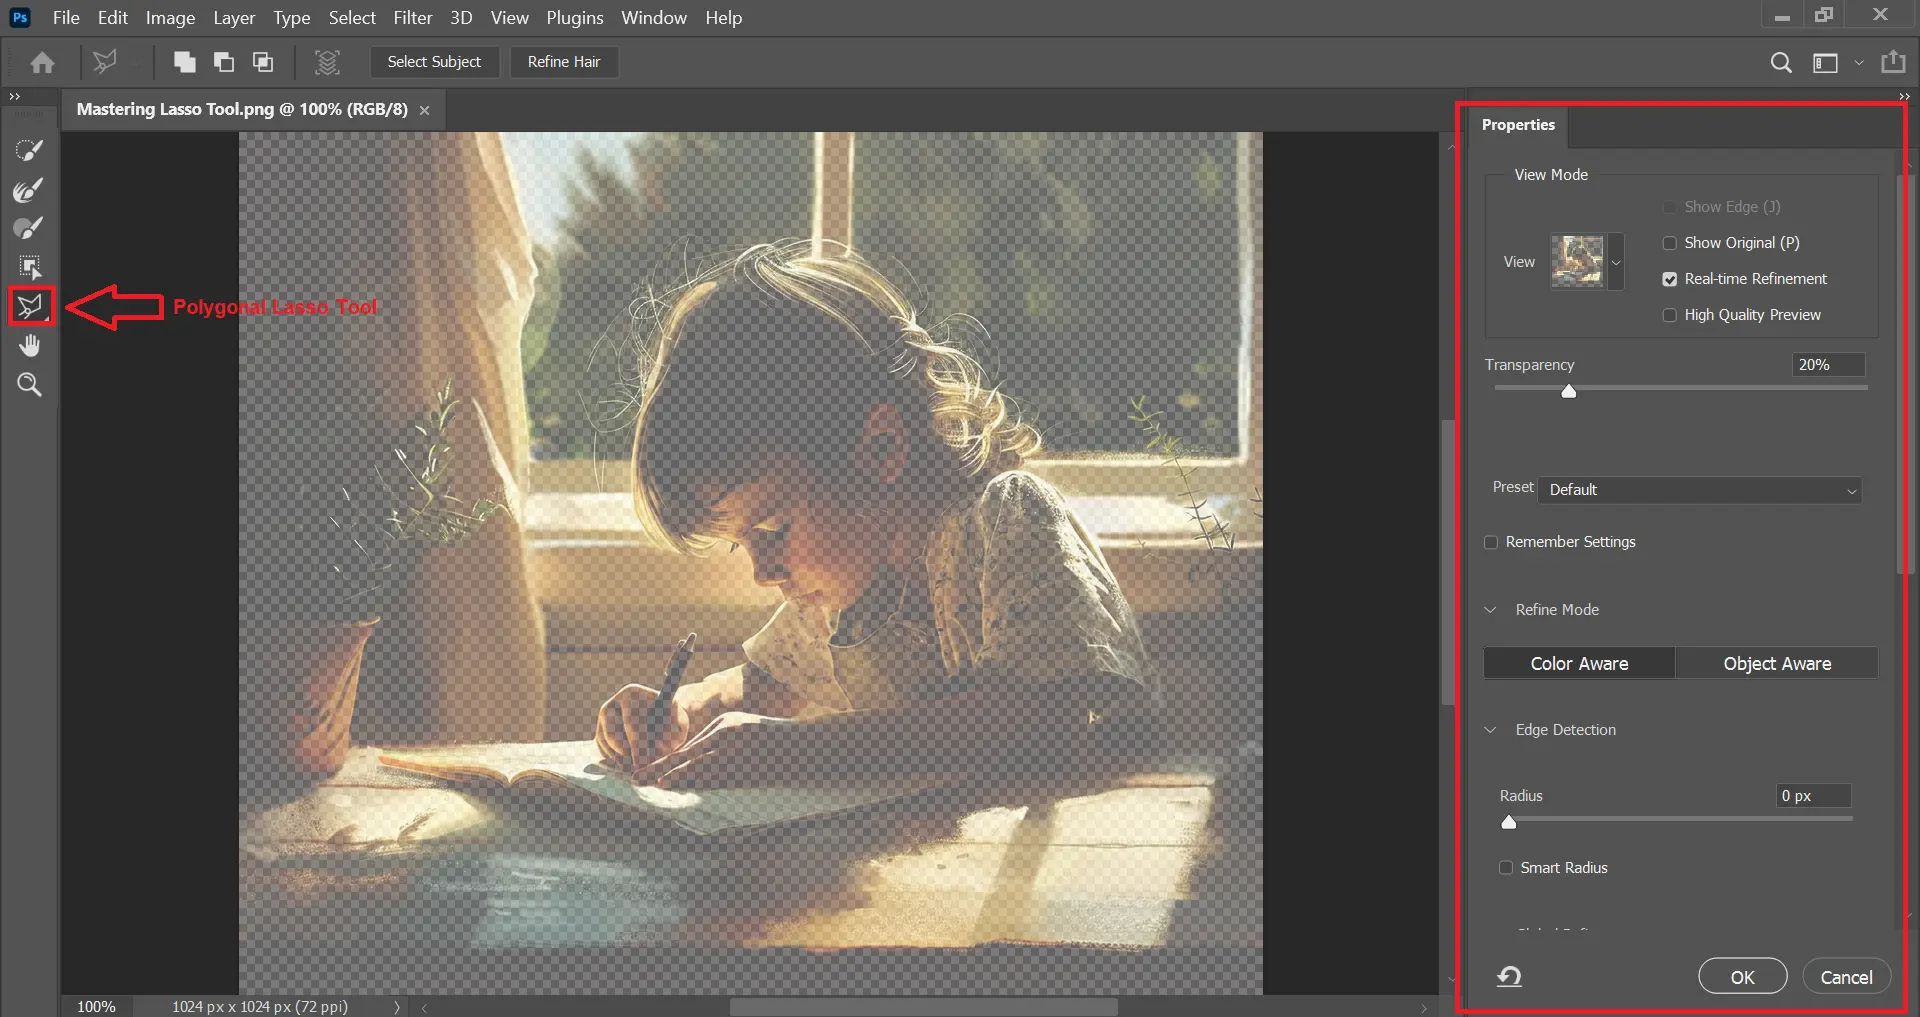
| Using the Refine Edge Tool | Perfecting choices with complex subjects like hair | Creating composites with people from a conference portrait |
| Creating Composite Images | Merging elements from different images | Placing a person from an online tutorial portrait into a beach scene |