How to Use Manual Mode: A Comprehensive Beginner's Guide
How to Use Manual Mode: A Comprehensive Beginner’s Guide
Introduction to How to Use Manual Mode
Learning how to use manual mode on your camera is a game-changer for photographers who want to take full control of their creative process. This guide will provide essential manual mode tips to help you get started and improve your skills. Whether you’re filming landscapes, portraits, or wildlife photography, mastering manual mode will elevate your photography to the next level.
The key is to understand how each setting impacts your photo and how they work together to create the perfect exposure. By experimenting with different combinations of ISO, aperture, and shutter speed, you’ll anticipate the best settings for various lighting conditions and subjects.
Table of Contents
Three Main Pillars of Manual Mode
Mastering how to use manual mode in photography involves understanding and adjusting three crucial points: ISO, aperture, and shutter speed. They often referred to as the exposure triangle, work together to manage the exposure and quality of your photographs. Here are some essential manual mode tips to get you started.
ISO
ISO determines the sensitivity of your camera’s sensor to light. A higher ISO makes it more sensitive, allowing you to capture images in low light, but it can also introduce noise or grain into your photos. For instance, when filming in bright conditions, you should use a low ISO (100-400), while in the dark, increase the ISO just enough to get a clear image without excessive noise. Learn more about ISO settings for better photography.
Aperture
The aperture in photography is the opening in the lens that manages how much light enters the camera. It also affects the area of the image that appears sharp. A wide aperture (low f-stop number) like f/2.8 creates a shallow depth of field, perfect for portraits with blurry backgrounds. Conversely, a narrow aperture (high f-stop number) like f/16 ensures that more of the scene is in focus, ideal for landscapes.
Shutter speed manages how long the camera’s shutter remains open to expose to light. A fast shutter speed (e.g., 1/1000s) freezes motion, making it great for capturing fast-moving subjects. A slow speed (e.g., 1/10s) can create motion blur, useful for artistic effects like silky-smooth waterfalls. Adjusting it is crucial for achieving the desired effect in your photos.
Pro Tip: Learn these shutter speed secrets to make your Lightroom editing even easier.
Setting Your Camera to Manual Mode
Learning how to use manual mode on your camera is a crucial step for gaining full control over your photography. These manual mode tips will help you get started and make the most of your camera’s capabilities. In manual mode, photographers have complete control over their cameras, allowing them to adjust settings for the perfect photo. Unlike automatic settings, this mode doesn’t rely on the camera to blur the background, giving photographers more creative freedom.
Switching to Manual Mode
Locate the Mode Dial: Most cameras have a mode dial on the top, which includes options like Auto, Aperture Priority (A),Shutter Priority (S), and Manual (M). Turn the dial to "M" to set your camera to manual mode. This allows you to Modify the ISO, aperture, and shutter speed independently, giving you full creative control over your shots.
Familiarize with Camera Operation: Once in manual mode, take some time to familiarize yourself with it. Understanding where to Modify the ISO, aperture, and shutter speed on your specific camera model is essential. Refer to your camera’s manual if needed or explore the menus and buttons to get comfortable.
Initial Settings Adjustments
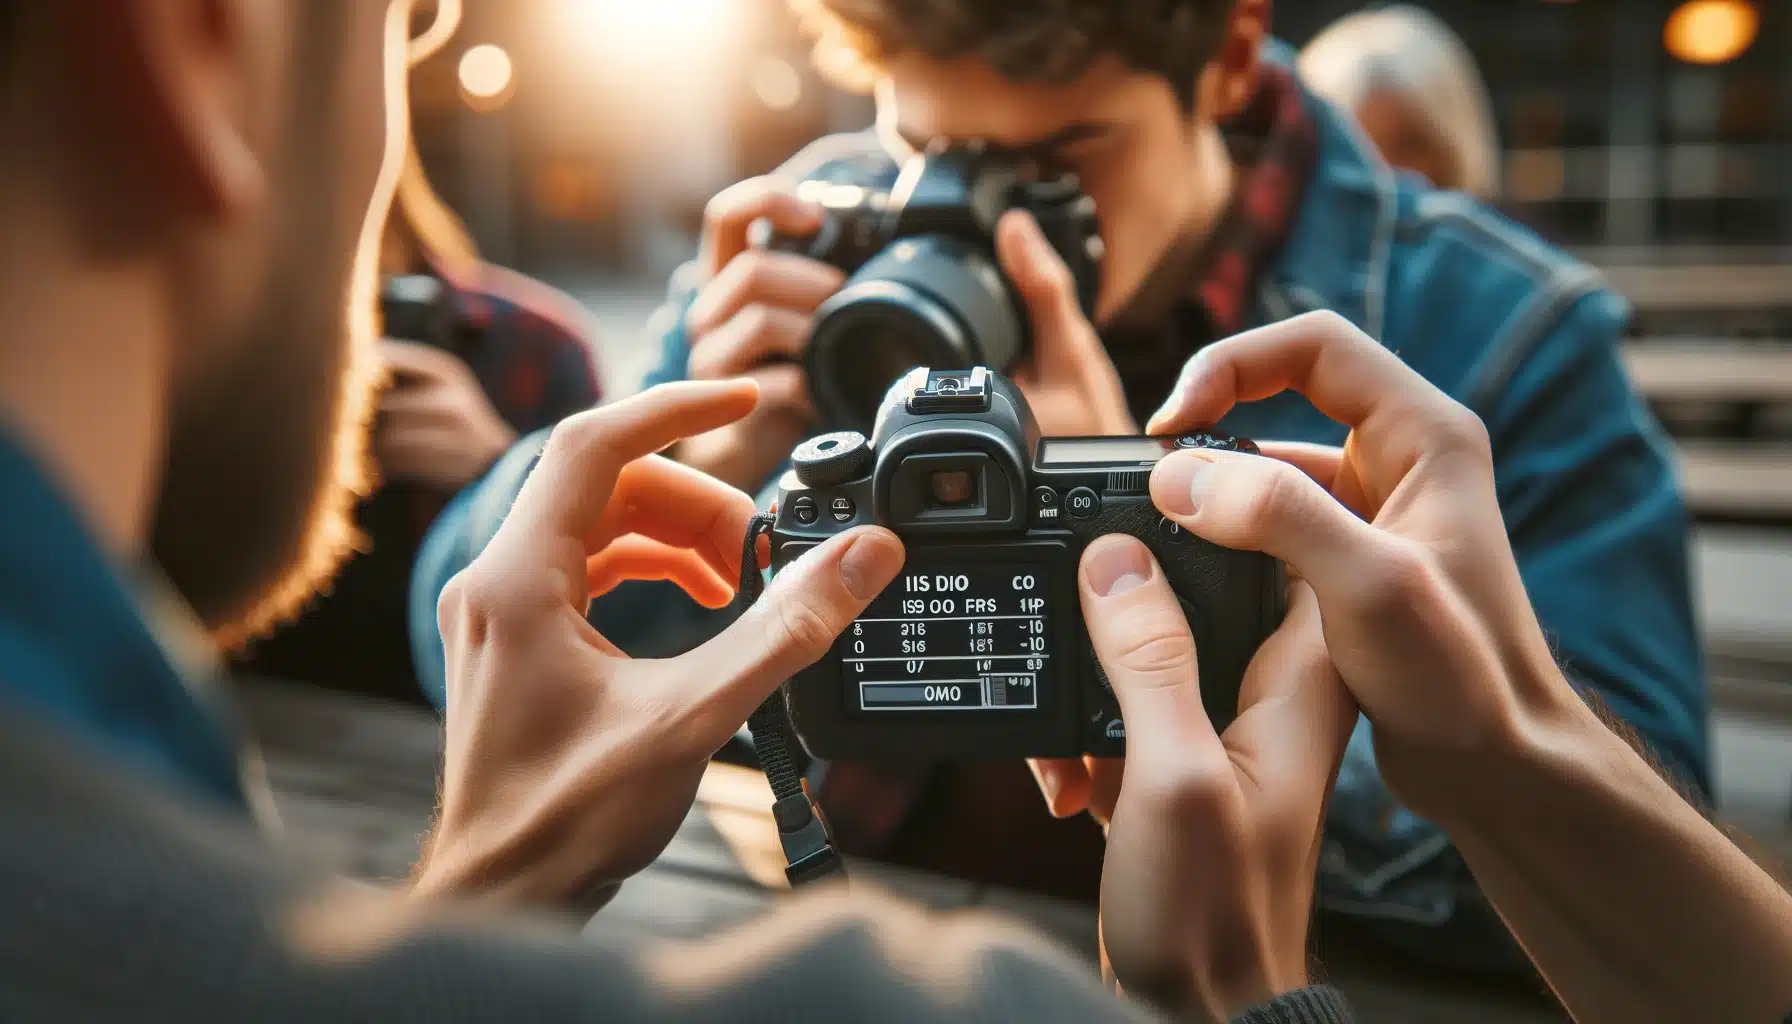
Start with a Neutral Setup: Begin with a balanced setup that works well for most situations. Set your ISO to 100, aperture to f/8, and shutter speed to 1/125s. This is a good starting point for experimenting and learning how each setting affects the exposure. Modify these as needed based on the lighting and the subject you are photographing.
Use the Light Meter: Your camera's light meter, usually visible through the viewfinder or on the screen, helps ensure proper exposure. Modify the settings until the meter indicates a balanced exposure. For instance, if the meter shows underexposure, increase the ISO or widen the aperture. For overexposure, narrow the aperture or increase the shutter speed.
Additional Settings to Consider
Adjusting White Balance: White balance is crucial for accurate color representation in your photos. In manual mode, you have the freedom to set the white balance manually. Experiment with different presets like daylight, shade, or tungsten to see their effects. For more creative control, learn to adjust white balance manually.
Camera Tethering: To review your shots in real-time on a larger screen, consider using camera tethering. This setup allows you to connect your camera to a computer or tablet, providing instant feedback and helping you make more precise adjustments while filming.
Practical Manual Mode Tips for Consistent Results
Practice in Different Lighting Conditions: Experimenting with manual mode in various lighting conditions helps you understand how each setting affects your photos. Try filming during different times of the day, indoors, and outdoors to see the variations in exposure and color.
Keep a Photography Journal: Document your settings for different shoots and note the results. This practice helps you remember which settings work best in particular scenarios and speeds up the learning process. It can be particularly useful for complex shoots like landscape photography.
Here is the table that has some advanced-level features for using manual mode:
Feature
Description
Practical Tips
Histograms
Graph showing shadows, midtones, and highlights.
Check exposure levels.
Aim for a balanced histogram.
Exposure Bracketing
Multiple shots at different exposures for best results.
Understanding how to use manual mode is a transformative skill for any photographer, providing creative control over your camera. These manual mode tips will guide you through practical steps to master this essential technique.
Familiarize Yourself with Key Settings
First, start by introducing yourself with the three main settings: ISO, aperture, and shutter speed. Modify these settings to control the exposure of your images. Search in different lighting conditions to see how each setting affects the final photograph. Experimenting in various scenarios, such as daytime, nighttime, and indoors, will help you understand the best settings for each situation.
High Challenge Environment
When shooting challenging subjects like astrophotography, you’ll need to set a high ISO and use a slow shutter speed to capture enough light. Similarly, for seascape photography, adjusting the aperture and shutter speed can help you achieve the desired effect of smooth, flowing water.
Utilize Post-Processing Tools
To refine your images further, consider using Adobe Photoshop for post-processing. This software allows you to make detailed adjustments to short or long exposure, contrast, and color balance, enhancing the overall quality of your photographs. Post-processing is particularly useful for fine-tuning images captured in challenging lighting conditions. Discover Blending modes in Photoshop which provide essential tools for combining layers in various ways to achieve different effects.
Practice Regularly and Review Your Shots
By regularly practicing and reviewing your shots, you’ll become more confident in using manual mode and will get to know about manual mode tips. Keep experimenting with different settings and subjects to continually improve your skills and expand your creative possibilities. Maintain a photography journal to document your settings and results, which will help you learn what works best in different scenarios and conditions.
Advantages of Using and Operating Manual Mode
Understanding how to use manual mode can significantly enhance your photography by giving you complete control over your camera. These manual mode tips will highlight the benefits of mastering this technique and how it can improve your photographic results.
Precise Control Over Exposure
One of the primary advantages of using manual mode is the ability to control exposure precisely. Unlike automatic modes, manual mode allows you to Modify the camera’s sensitivity to light, aperture, and shutter speed independently. This control is particularly useful in challenging lighting conditions, ensuring your images are neither overexposed nor underexposed.
Creative Freedom
Another significant benefit is the creative freedom it provides. Manual mode enables you to experiment with different techniques, such as creating motion blur with a slow shutter speed with a wide aperture. This flexibility is essential for artistic photography, where you can fine-tune every aspect of your shot. For instance, when dealing with grainy photos, you can lower the ISO to reduce noise, something that might not be possible in automatic modes.
Improved Understanding of Your Camera
Moreover, using manual mode helps you better understand your camera and how it reacts to various conditions. This knowledge is invaluable for improving your skills and becoming a more versatile photographer. You’ll learn how to compensate for factors like the crop factor of your sensor, which affects the field of view and depth of field in your images. By mastering these adjustments, you can achieve professional-quality results and adapt quickly to different shooting environments.
Enhanced Adaptability to Different Shooting Conditions
Manual mode also enhances your adaptability to different shooting conditions. Whether you are shooting in a dimly lit environment, a brightly lit scene, or a rapidly changing lighting situation, manual mode allows you to quickly and accurately modify your camera to suit the conditions. This adaptability ensures you can capture high-quality images in any setting, giving you the confidence to handle diverse photographic challenges.
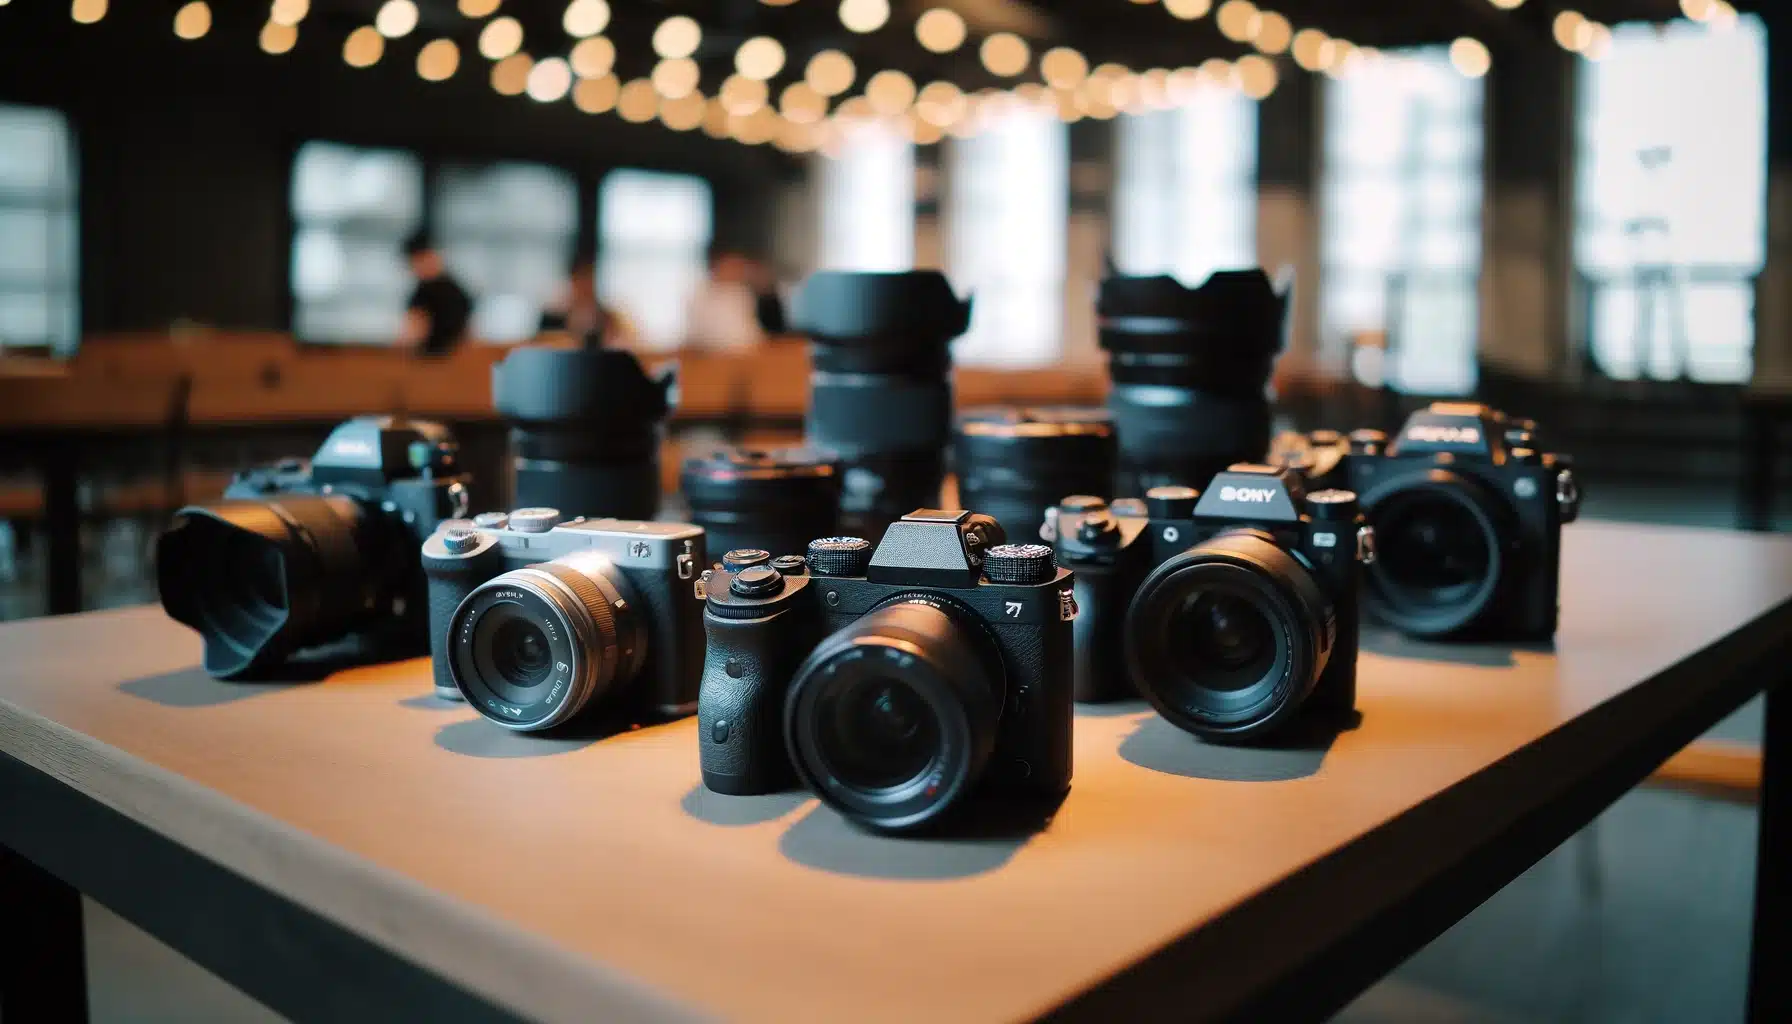
Top Devices for Mastering Manual Controls
When understanding how to use manual mode, having the right equipment can make a significant difference. These manual mode tips will help you choose from some of the best options available that excel in manual controls, enhancing your creative experience.
Canon EOS R10
The Canon EOS R10 is an excellent choice for both beginners and advanced users. It features a 24.2MP APS-C system, providing high-resolution images and an intuitive interface that’s easy to navigate. Its highly effective autofocus system and quick burst shooting make it ideal for various styles. This device is particularly user-friendly, making it easier to master manual controls. Although it lacks in-body stabilization, it compensates with its overall performance and affordability. This device allows users to easily shoot with excellent results.
Fujifilm X-T5
For those who prefer a mirrorless device with a classic feel, the Fujifilm X-T5 is a top pick. It offers a 40.2MP APS-C system and maintains Fujifilm’s traditional design with dedicated exposure dials. This setup allows for quick adjustments, making it perfect for enthusiasts who enjoy hands-on control. The X-T5 also excels in producing high-quality images, even in challenging conditions, thanks to its excellent noise handling and versatile tilting screen. Whether you’re capturing a background in landscape shots or focusing on a subject, this device delivers outstanding performance.
Sony α6700
The Sony α6700 is a versatile mid-range option known for its robust autofocus system and excellent image quality. It features a 26MP APS-C system and includes in-body stabilization, making it suitable for both stills and video. Its compact design and advanced autofocus capabilities, driven by AI, make it ideal for capturing fast-moving subjects. This device is perfect for those looking for a reliable all-around performer with excellent manual controls. When you don’t want to miss a moment, this device’s autofocus will ensure you capture the shot.
Nikon Z50
The Nikon Z50 is a great entry-level faster, mirrorless option that offers weather-sealing and excellent ergonomics. With a 20.9MP APS-C system, it provides good image quality and a user-friendly interface. The Z50 is well-suited for those who need a durable option that can handle various environments. Its tilting screen and reliable autofocus system make it a strong contender for beginners eager to master manual management. Adjusting to manual management becomes simpler with features like a tilting screen and user-friendly interface, ensuring you can lower or increase settings as needed.
The following table has an additional list that can help you with your picture-taking skills.
One of the primary benefits of using RAW format is the superior image quality it offers. Unlike compressed formats, RAW files retain all the data captured, providing greater detail and dynamic range. This results in images that are richer in color and clarity, allowing for more flexibility in post-processing.
Greater Flexibility in Editing
RAW files offer extensive flexibility during post-processing, enabling significant adjustments without degrading image quality. You can easily correct issues like white balance, brightness, and sharpness, which might not be possible with compressed formats. This flexibility is particularly beneficial for professional projects where precision is paramount.
Preservation of Original Data
When you capture images in RAW, all the original data is preserved, giving you a complete set of information to work with. This preservation allows for non-destructive editing, meaning you can make changes without permanently altering the original file. This feature ensures that you always have the original image to revert to, which is invaluable for detailed editing and future-proofing your work.
Common Mistakes and How to Avoid Them
Blurry Images
One common issue is capturing blurry images, which can happen due to slow shutter speeds or unsteady hands. To avoid this, use a tripod to stabilize your equipment, especially in low-light conditions. Additionally, practice holding your device steady and use a faster shutter speed when hand-holding.
Overexposed or Underexposed Shots
Another frequent problem is getting images that are either too bright or too dark. This occurs when the balance of light isn’t correctly managed. To mitigate this, use the histogram feature to check the light distribution in your image and make necessary adjustments to your aperture or ISO. Bracketing your shots can also help, where you take multiple shots at different levels to ensure at least one perfect image.
Incorrect White Balance
Incorrect white balance settings can lead to unnatural colors in your images. This is particularly evident in various lighting conditions, such as indoor or evening shoots. To avoid this, use a gray card to set the white balance accurately before taking your shots. Alternatively, shoot in RAW format, which allows you to correct the white balance during post-processing without losing image quality.
Frequently Asked Questions About How to Use Manual Mode
What should I set first in manual mode?
Start by setting the ISO based on your lighting conditions; lower for bright light and higher for low light. Next, decide on the aperture to manage the area, making sure your subject is properly highlighted. Finally, adjust the shutter speed to balance the exposure, ensuring your image is neither too bright nor too dark.
How to take pictures in manual mode?
Begin by setting your ISO, then choose an appropriate aperture for the desired depth of field. Adjust the shutter speed to achieve the correct exposure, checking your image through the viewfinder or screen. Experiment with different combinations to find the best balance for your scene.
Should I shoot in manual mode?
It is beneficial when you need precise adjustments for creative effects. It allows more flexibility in tricky lighting conditions where automatic might fail. If you’re looking to improve your technical skills and creative management, it’s a valuable practice.
When would you want to use manual mode?
Manual adjustments are ideal in complex lighting scenarios, such as during sunset or in low-light environments. It’s also useful when you want to achieve specific artistic effects, like motion blur or selective focus. If you’re aiming for a high level of precision and creativity, manual adjustments are the way to go.
Conclusion
Mastering how to use manual mode has truly transformed my approach to capturing images. I remember a time when I was photographing a sunset at the beach. The auto couldn’t quite capture the vibrant colors and dramatic shadows. Switching to manual allowed me to experiment with different combinations, eventually achieving the perfect balance of light and color that reflected the breathtaking scene. This experience not only improved my technical skills but also deepened my appreciation for the creative possibilities that manual adjustments offer.
If you’re passionate about elevating your skills and exploring the full potential of your equipment, I highly recommend diving deeper into our comprehensive courses. Whether you’re looking to master Photoshop or Lightroom, our tutorials at Photoshop Course and Lightroom Course provide detailed guidance and practical manual mode tips to help you achieve your creative vision. Embark on this journey with us and unlock new levels of creativity and expertise.
If this article has helped you, then Like and Share it with your friends
$2,061.00Original price was: $2,061.00.$1,061.00Current price is: $1,061.00. 27638
Download Your Free Guide Now!
Discover the secrets of photography with our printable guide! Master essential techniques like aperture, shutter speed, and ISO to create stunning images. Get your free printable PDF now and start turning your snapshots into masterpieces!