What is Shutter Priority Mode? Mastering Photography Techniques
What is Shutter Priority Mode? Mastering Photography Techniques
Introduction to What is Shutter Priority Mode
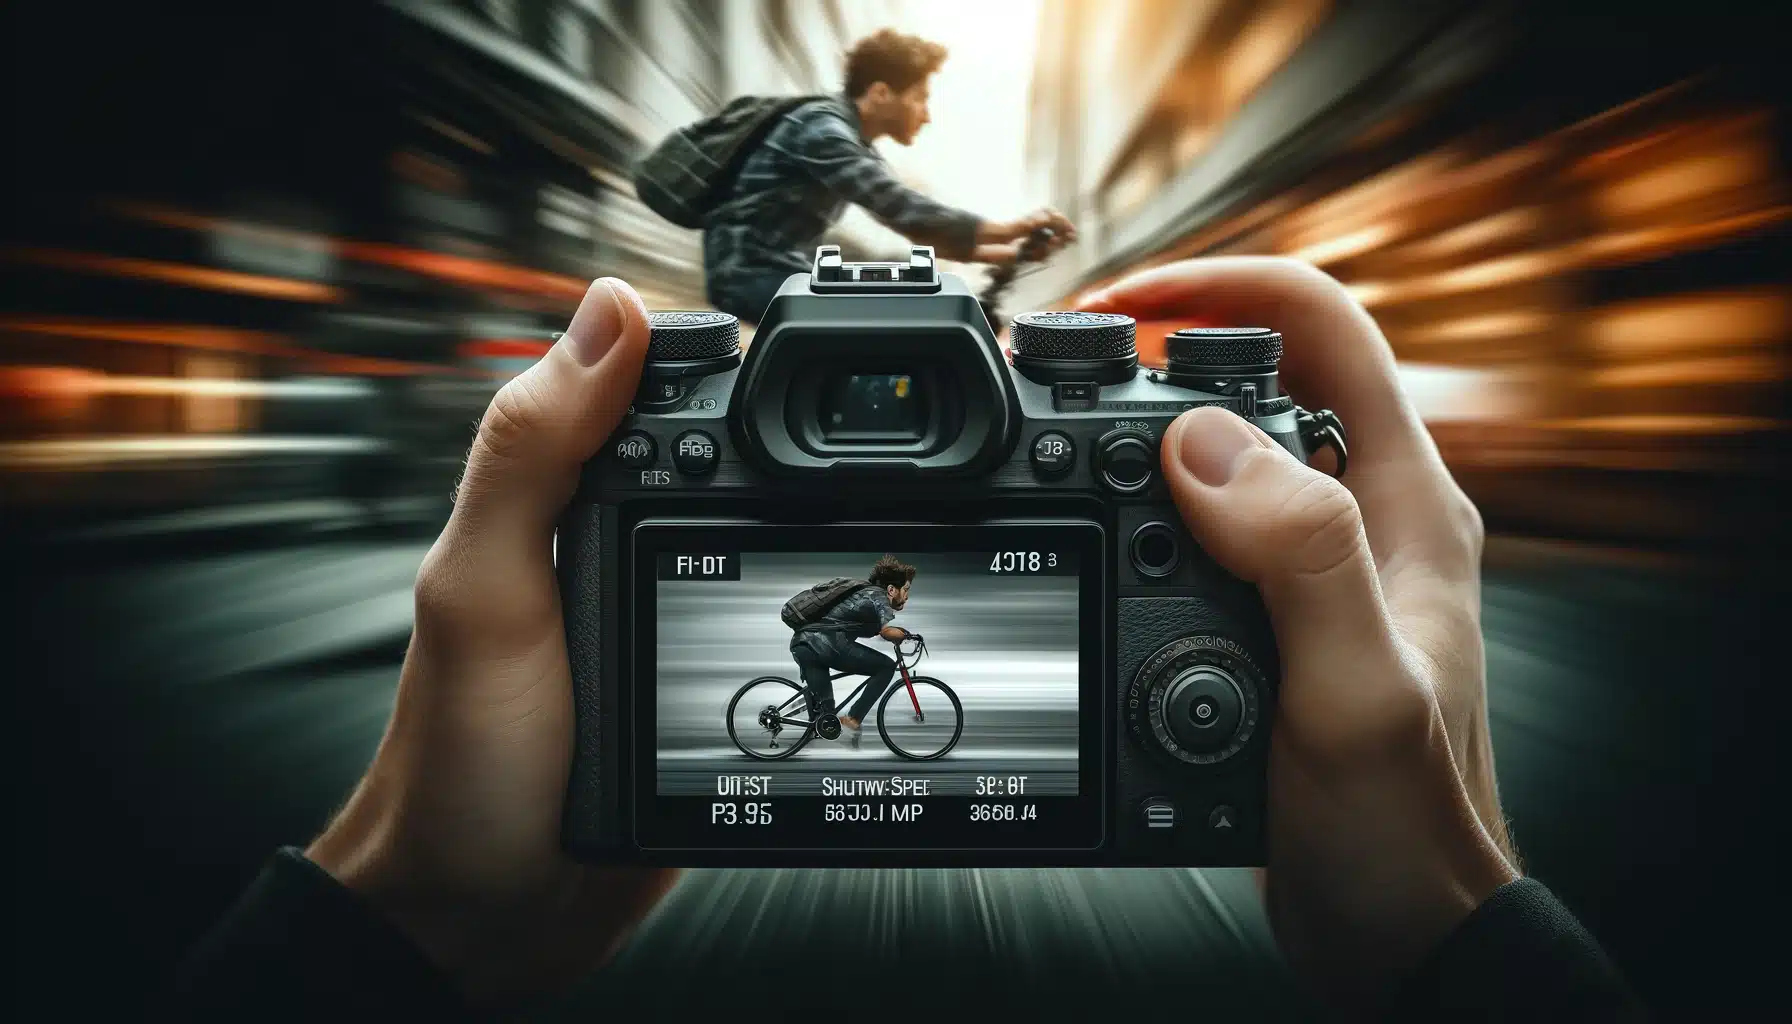
When learning about photography, you might come across the term shutter priority mode. But what is shutter priority mode exactly? This mode allows you to set the shutter speed while the camera adjusts the aperture to get the right display. Shutter priority mode tips for those who want to capture rapid-going objects like cars, athletes, birds photographs and insect photography.
It is great for beginners because it offers a balance between manual and automatic adjustments. You have control over the motion blur in your photos, which is essential for different types of shooting, including sports and wildlife. Whether you’re just starting or looking to improve your shots, understanding this mode is a key step in advancing your skills.
Table of Contents
Understanding The Basics of Shutter Priority Mode
Understanding what is shutter priority mode is helps you take charge of your camera settings, offering a balance between manual control and automatic convenience. For beginners, one of the essential shutter priority mode tips is to experiment with different durations to see how it affects your snaps.
How Shutter Priority Mode Works
Understanding shutter priority mode is essential for improving your shooting skills. In this mode, you select the shutter speed, and the camera automatically adjusts the aperture to ensure proper exposure. This feature is particularly useful for capturing rapid-drifting objects, making it a popular choice among various photography types.
When to Use It
It is ideal for situations where controlling motion blur is crucial. For example, in street photography, you might want to freeze the action of people going or cars passing by. By adjusting a swift shutter speed, you can picture sharp images even in dynamic environments.
Setting Up Your Camera
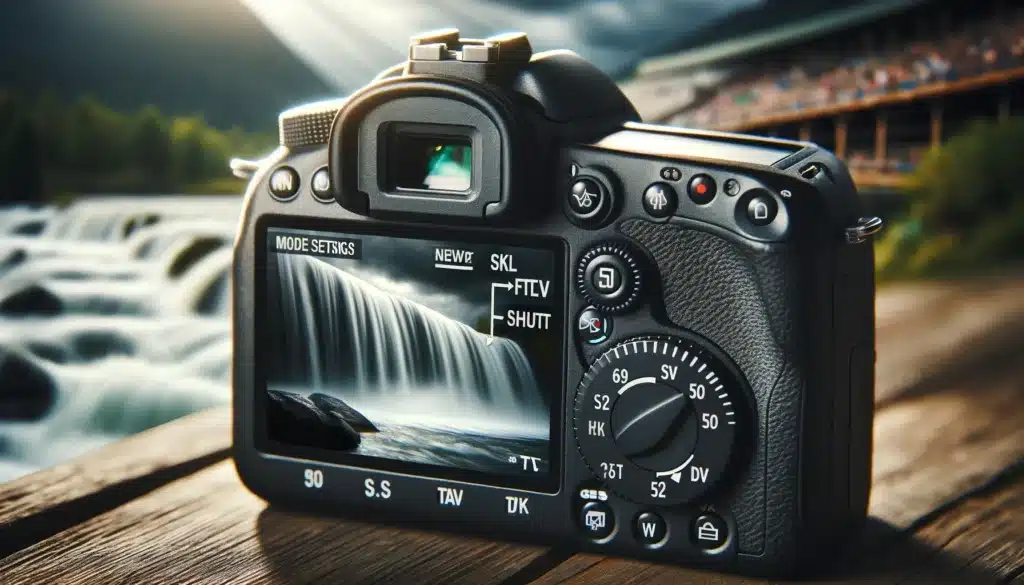
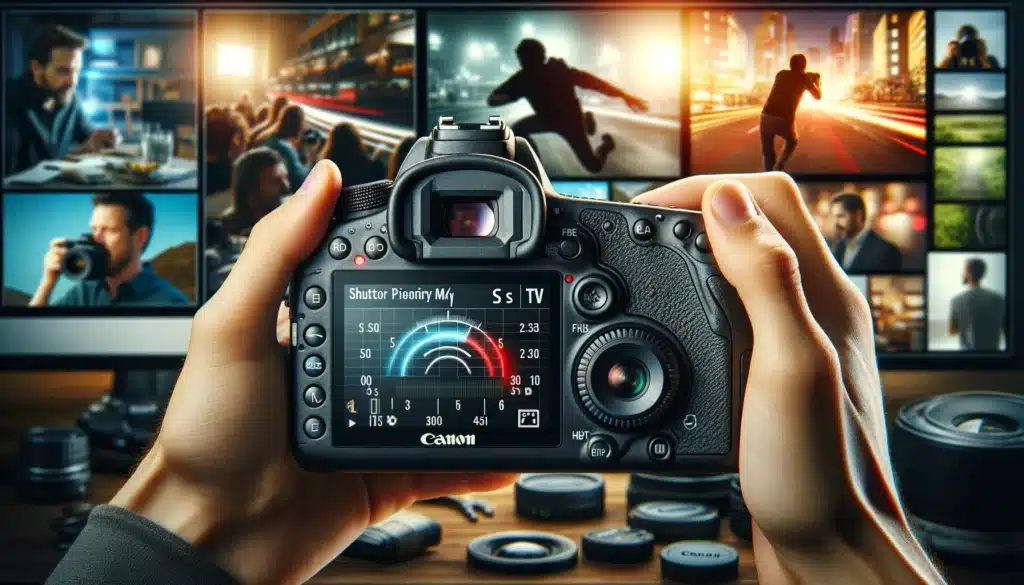
To set your camera to shutter priority mode, look for the “S” or “TV” setting on the mode dial. This stands for “Shutter Priority” or “Time Value,” respectively. Once selected, you can use the control dial to adjust the shutter speed according to your needs. Remember, more rapid speeds freeze the action, while slower speeds can introduce movement for creative effects. These are the best shutter priority mode tips to practice in different environments to understand how they influence the final result
Practical Examples of Using Shutter Priority Mode
A practical example of this is photographing a waterfall. By choosing a slow shutter speed, you can picture the smooth, flowing motion of the water. Conversely, for sports snaps, a swift shutter speed will hold the action, resulting in sharp, detailed images of athletes in motion. A useful shutter priority mode tip is to start with scenes that have consistent activity to see the impact on your pictures.
Common Mistakes to Avoid
When using shutter priority mode, avoid common mistakes such as not paying attention to the ISO setting. A high ISO can introduce noise, while a low ISO might result in an underexposed picture if that is too swift. Additionally, ensure your camera’s focus mode is set correctly to take sharp images.
How to Use Shutter Priority Mode
You might think what is shutter priority mode and how you use it. Here are some shutter priority mode tips to use for better pictures:
Choosing the Right Shutter Speed
High Speed: When selecting a shutter speed, consider the effect you want to achieve. For freezing-swift action, choose a high shutter speed. For example, when photographing a running dog, a shutter speed of 1/1000th of a second will ensure the image is sharp. Alternatively, if you want to show movement, like the quick-going car driving by, select a slower shutter speed.
Slow Speed: A slower shutter speed might require a tripod to avoid a camera shake. This ensures that while the drifting subject appears blurred, the rest of the image remains sharp. Balancing your shutter speed with the aperture will also influence the depth of field and overall composition of your photo, so it’s essential to experiment and adjust settings according to your creative vision.
Practical Applications
Sports Photography: It’s particularly beneficial in sports photography, where capturing rapid-moving subjects without blur is crucial. Imagine you’re at a soccer game; adjusting your shutter speed to 1/1000th of a second will help hold the activity, allowing you to capture sharp pictures of the player’s activity.
Landscape photography: On the flip side, for landscapes, especially when shooting waterfalls, a slower shutter speed can create a smooth, silky effect on the water. Set your shutter speed to around 1/4th of a second and use a tripod to avoid any camera shake. Among the valuable shutter priority mode tips is to use a tripod for stability, which can significantly enhance image clarity.
Increase ISO: One common issue is under-exposure in low-light conditions. Since you’re controlling the shutter speed, the camera might not be able to open the aperture wide enough to let in sufficient brightness. To counter this, increase the ISO setting to make the sensor more sensitive to brightness. An important shutter priority mode tip is to be mindful of your camera’s limitations to avoid over or underexposing your shots.
Natural Density: Another problem could be overexposure in bright conditions, especially if the minimum aperture isn’t small enough. In such cases, using a neutral density (ND) filter can help reduce the amount of brightness entering the lens, allowing you to use slower shutter speeds without overexposing the image. Experimenting with different adjustments and accessories can help you master shutter priority mode and capture stunning photos in any lighting condition.
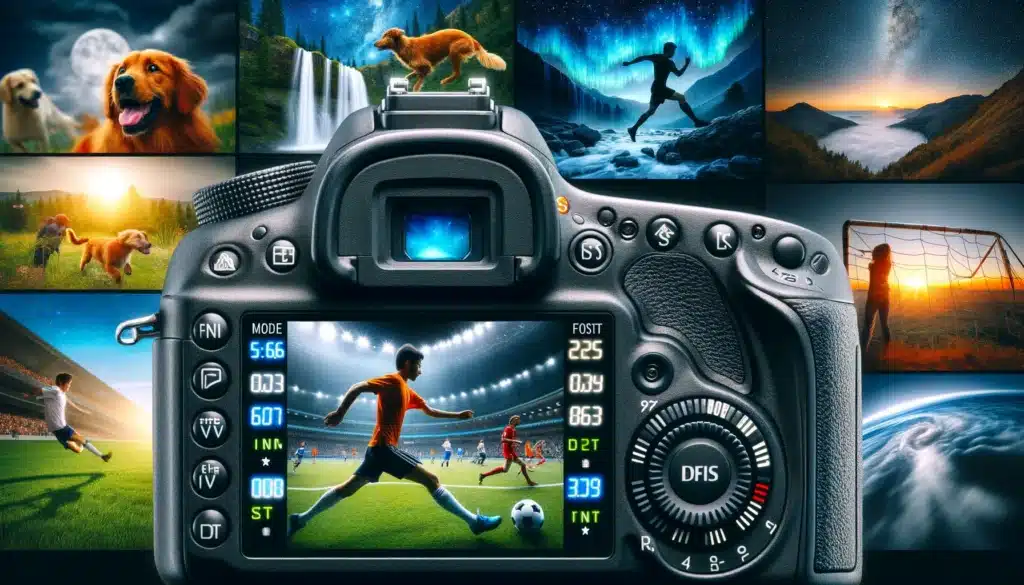
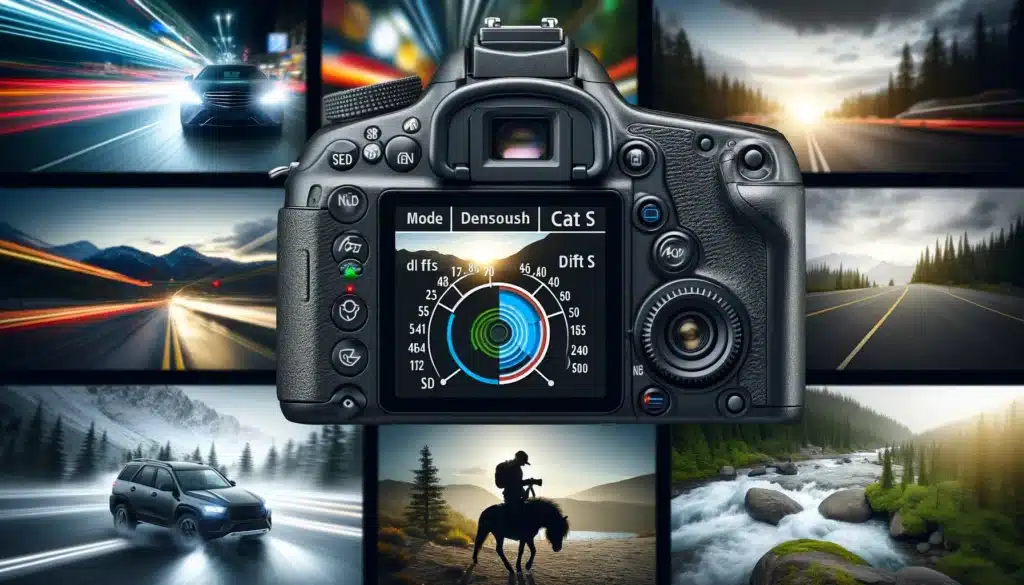
Here is the list of shutter speed guides for different photography types:
Understanding what is shutter priority mode can greatly enhance your picturing. This mode allows you to select the shutter speed, while the camera automatically adjusts the aperture to achieve the correct display. By adjusting the shutter speed, you can hold fast-going objects to create a beautiful effect.
Better Results in Any Light Condition
Exploring it also allows photographers to adapt to different lighting conditions efficiently. For example, in low-light photography, you can select a slower shutter speed to let in more brightness, ensuring your photos are well-exposed. This mode is particularly useful when you need to maintain control over the depth of field while managing the display.
Ease of Use for Beginners
For beginners, it is the learning process. It provides an easy way to understand the relationship between shutter speed and ISO sensitivity. By focusing on just one aspect of exposure, new photographers can learn how different shutter speeds affect their pictures without getting tired by too many adjustments. This makes it an excellent starting point for mastering manual snaps.
Improved Consistency
Using it can improve the consistency of your photos, especially in dynamic environments. By maintaining a constant shutter speed, you can ensure that the movement effects in your pictures remain consistent across different shots. This is particularly useful in wildlife photography or when filming events with rapidly changing scenes.
Shutter Priority Mode in Video Filming
Achieving Consistent Motion
When exploring what is shutter priority mode, it’s important to consider its benefits in video filming. It allows a photographer to control the shutter speed, ensuring consistent motion capture in your videos. This is particularly useful when filming rapid-moving objects, such as sports or wildlife, where maintaining a consistent frame rate is crucial for smooth playback.
In video filming, you manage the display while keeping the motion effect you desire. Unlike manual mode, where you must adjust all positions manually. Out of the great shutter priority mode tips, it is excellent to test various durations to see how they affect the sharpness and clarity of your photos.
Flexibility with Different Lens Types
One of the significant shutter priority mode tips for video filming is to pair it with the right lens. Different lens types can dramatically impact the quality and style of your videos. For example, using a telephoto lens with a fast shutter speed can help you capture distant activity without blur, while a wide-angle lens with a slower shutter speed can create dynamic motion effects. When using different lens types, you can quickly adapt to various filming scenarios.
Managing Exposure in Variable Lighting
Video filming often involves dealing with variable lighting conditions. It excels in such scenarios by automatically adjusting the aperture to maintain correct exposure. This is especially useful when going from bright outdoor positions to darker indoor environments or when filming at dusk. Another useful shutter priority mode tips is to utilize this mode when filming scene with varying activity levels.
Enhancing Creative Effects
Exploring shutter priority mode is not only about managing exposure but also about enhancing innovative effects in your videos. For instance, you can use a slower shutter speed to introduce motion blur, giving a dreamy effect to scenes with moving elements like water or crowds. Conversely, a rapid shutter speed can hold motion, providing a crisp and clear snap of fast activity. You can edit your pictures for better results later in Adobe Photoshop.
Frequently Asked Questions
When would you use Shutter Priority?
You would use this mode when you need control over the exposure duration to either eliminate or emphasize motion. It’s particularly helpful in conditions with varying brightness, as it allows you to maintain consistent exposure without constant adjustments. Knowing what is shutter priority mode allows you to focus on capturing moments without worrying about intricate camera adjustments.
How do I use Shutter Priority mode on my Canon?
To use this on your Canon, turn the mode dial to “Tv.” Then, select the desired duration by rotating the main dial near the button. Finally, half-press the button to focus and fully press it to take your picture.
What is the Shutter Priority mode button?
It is often marked as “S” or “Tv” on the mode dial, which lets you select the display duration while the camera handles the aperture automatically. This feature is useful for controlling the exposure time without worrying about manual aperture adjustments. Exploring what is shutter priority mode is can enhance your ability to control how your pictures turn out.
Should I shoot video in Shutter Priority?
Using this adjustment for video can help maintain a consistent exposure duration, crucial for capturing smooth movement. However, it might not always be ideal since the camera’s automatic adjustments to the aperture could lead to changes in depth of field. It can potentially affect the focus quality of your footage.
I remember one particular instance while shooting a sports event. The swift-paced activity was a challenge, but I could freeze the movement of the athletes perfectly, ensuring each shot was sharp and clear. This mode allowed me to focus on the composition of the scene without worrying about constantly adjusting settings.
For photographers looking to enhance their skills, understanding different modes and how to use them effectively is crucial. It offers a great balance between auto adjustments and manual control, making it an excellent choice for various shooting conditions. If you’re eager to dive deeper into shooting techniques and get the most out of your camera’s compensation features, consider enrolling in our comprehensive courses. Our Photoshop Course and Lightroom Course are designed to help you master photo editing and management, giving you the tools to create stunning pictures.
If this article has helped you, then Like and Share it with your friends!
Discover the secrets of photography with our printable guide! Master essential techniques like aperture, shutter speed, and ISO to create stunning images. Get your free printable PDF now and start turning your snapshots into masterpieces!