| Use Case |
Purpose |
Effect on Mood |
Technique |
Ideal Scenes |
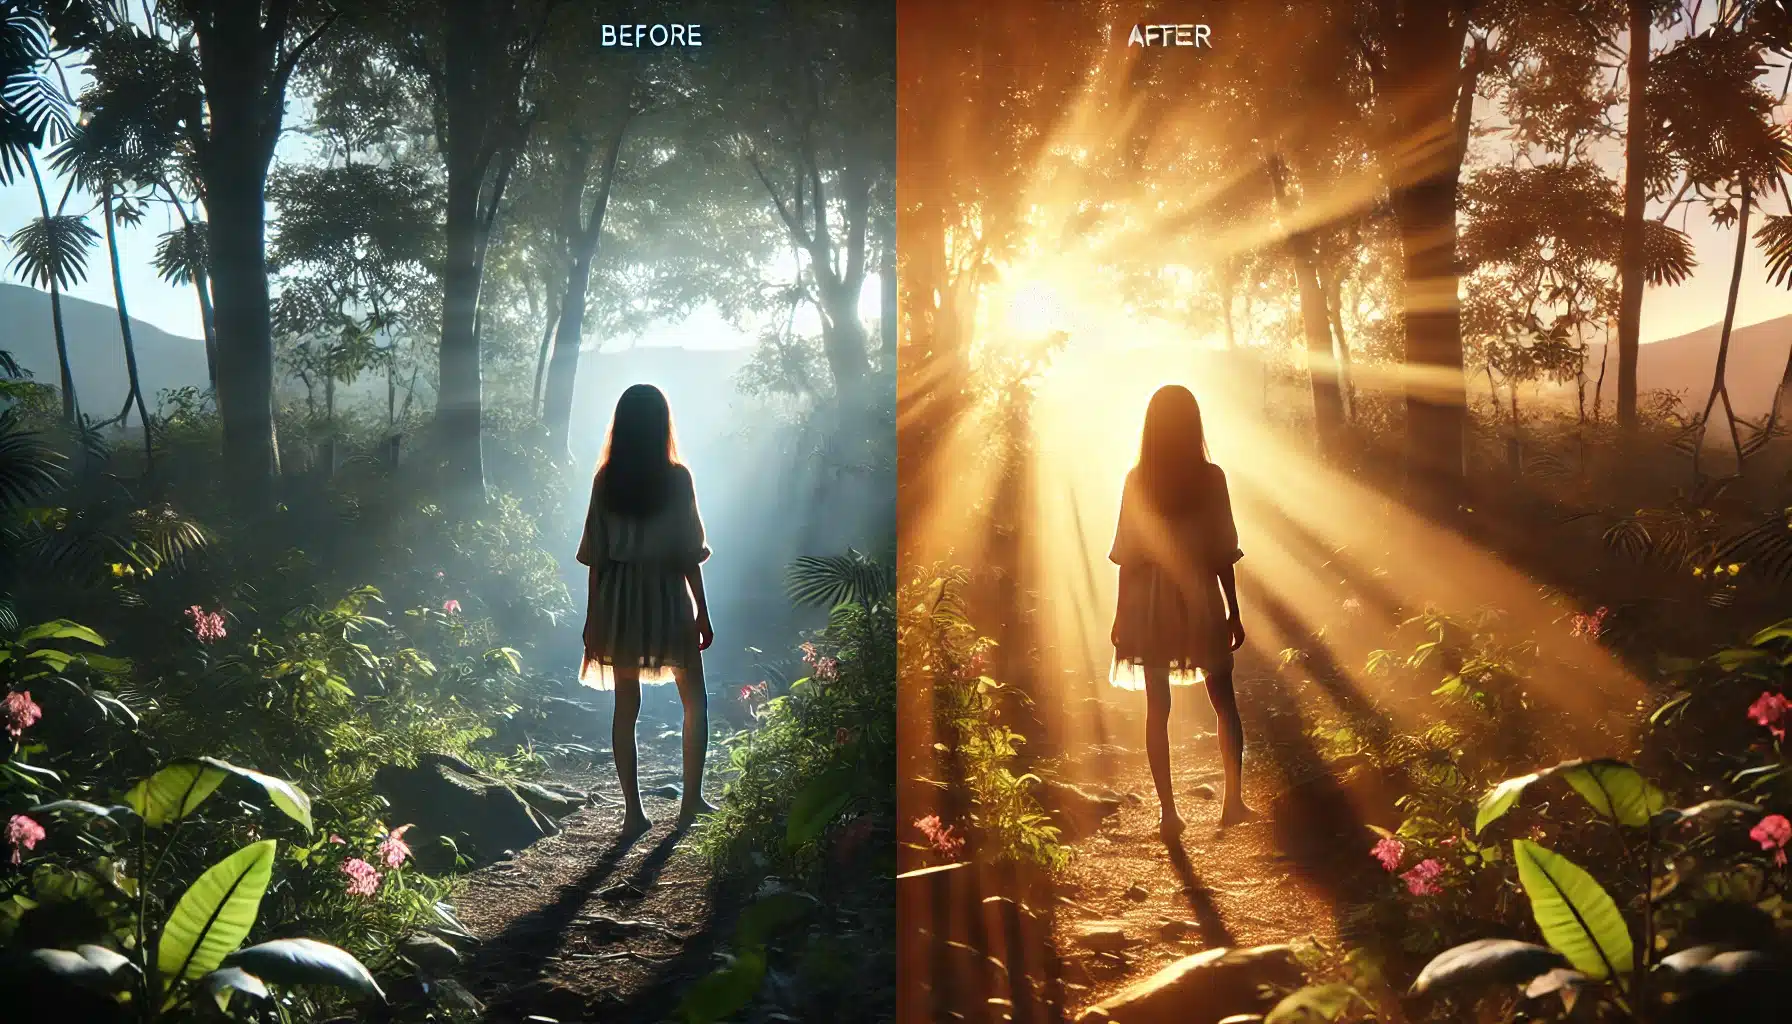
| Enhancing Sunlight |
Amplify natural light |
Warm and inviting |
Soft flare near light sources |
Sunsets, sunrises, backlighting scenes |
| Highlighting Subjects |
Draw attention to specific areas |
Dramatic and focused |
Sharp flare on subject |
Portraits, insect photos, close-ups |
| Creating a Vintage Look |
Add a retro or nostalgic feel |
Old-school charm |
Subtle, dispersed flare |
Street photographs, old buildings |
| Simulating Dream Sequences |
Produce a dreamy or surreal atmosphere |
Ethereal and floaty |
Large, bright flare |
Fantasy settings, peaceful editing landscapes |
| Adding Drama to Action Shots |
Intensify the dynamic feel |
Energetic and vibrant |
Directional flare |
Sports photography, fast action sequences |