How to Edit Astrophotography: Tips and Tricks for Beginners and Professionals
How to Edit Astrophotography: Tips and Tricks for Beginners and Professionals
Introduction to How to Edit Astrophotography
Do you love looking at the stars and the dark sky? Sometimes, pictures of the night sky need a little help to look as bright and beautiful as they do when you see them with your own eyes. This is where editing comes in! By learning how to edit astrophotography, you can make your snaps show the celestial bodies and galaxies just like you remember them. You can edit astro images with different Astrophotography editing tools such as Photoshop and Lightroom to get stunning photographs.
Editing is like coloring in a coloring book, but instead of crayons, you use computer tools to brighten stars, clear up the azure, and bring out the beautiful colors of the universe. It’s fun and with a bit of practice, you can make your snaps look amazing!
Table of Contents
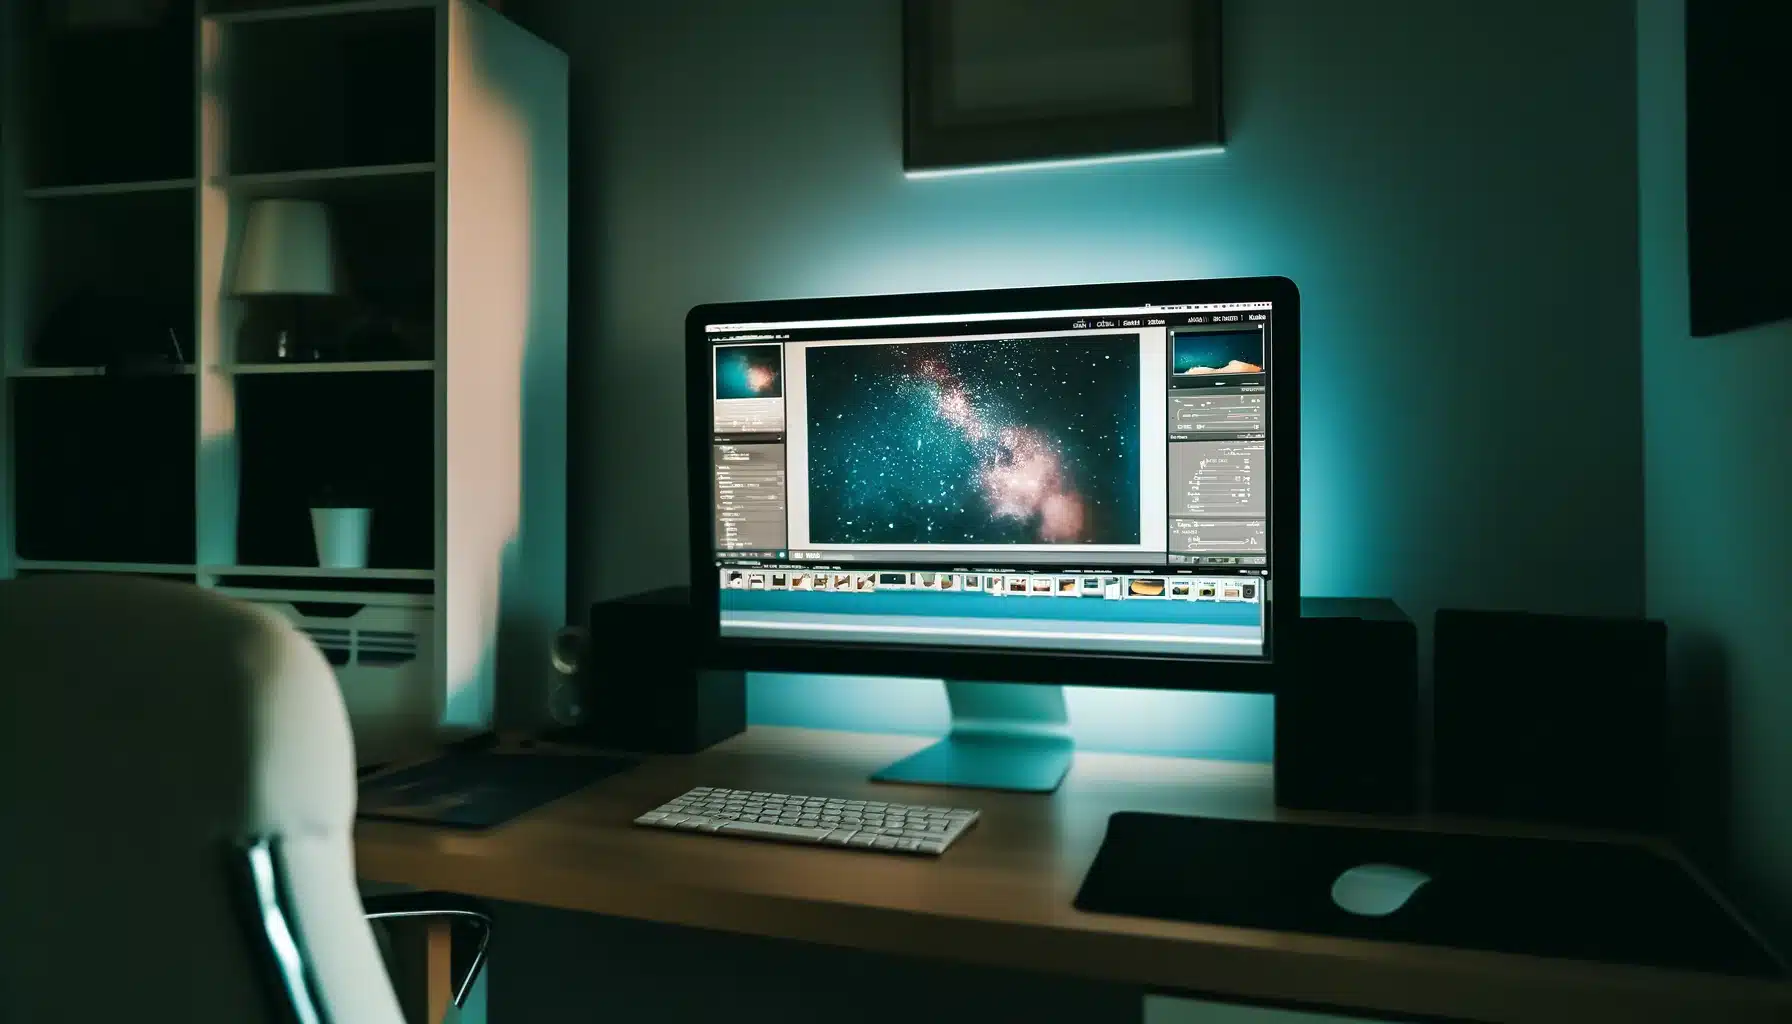
How to Edit Astrophotography with Tools and Software
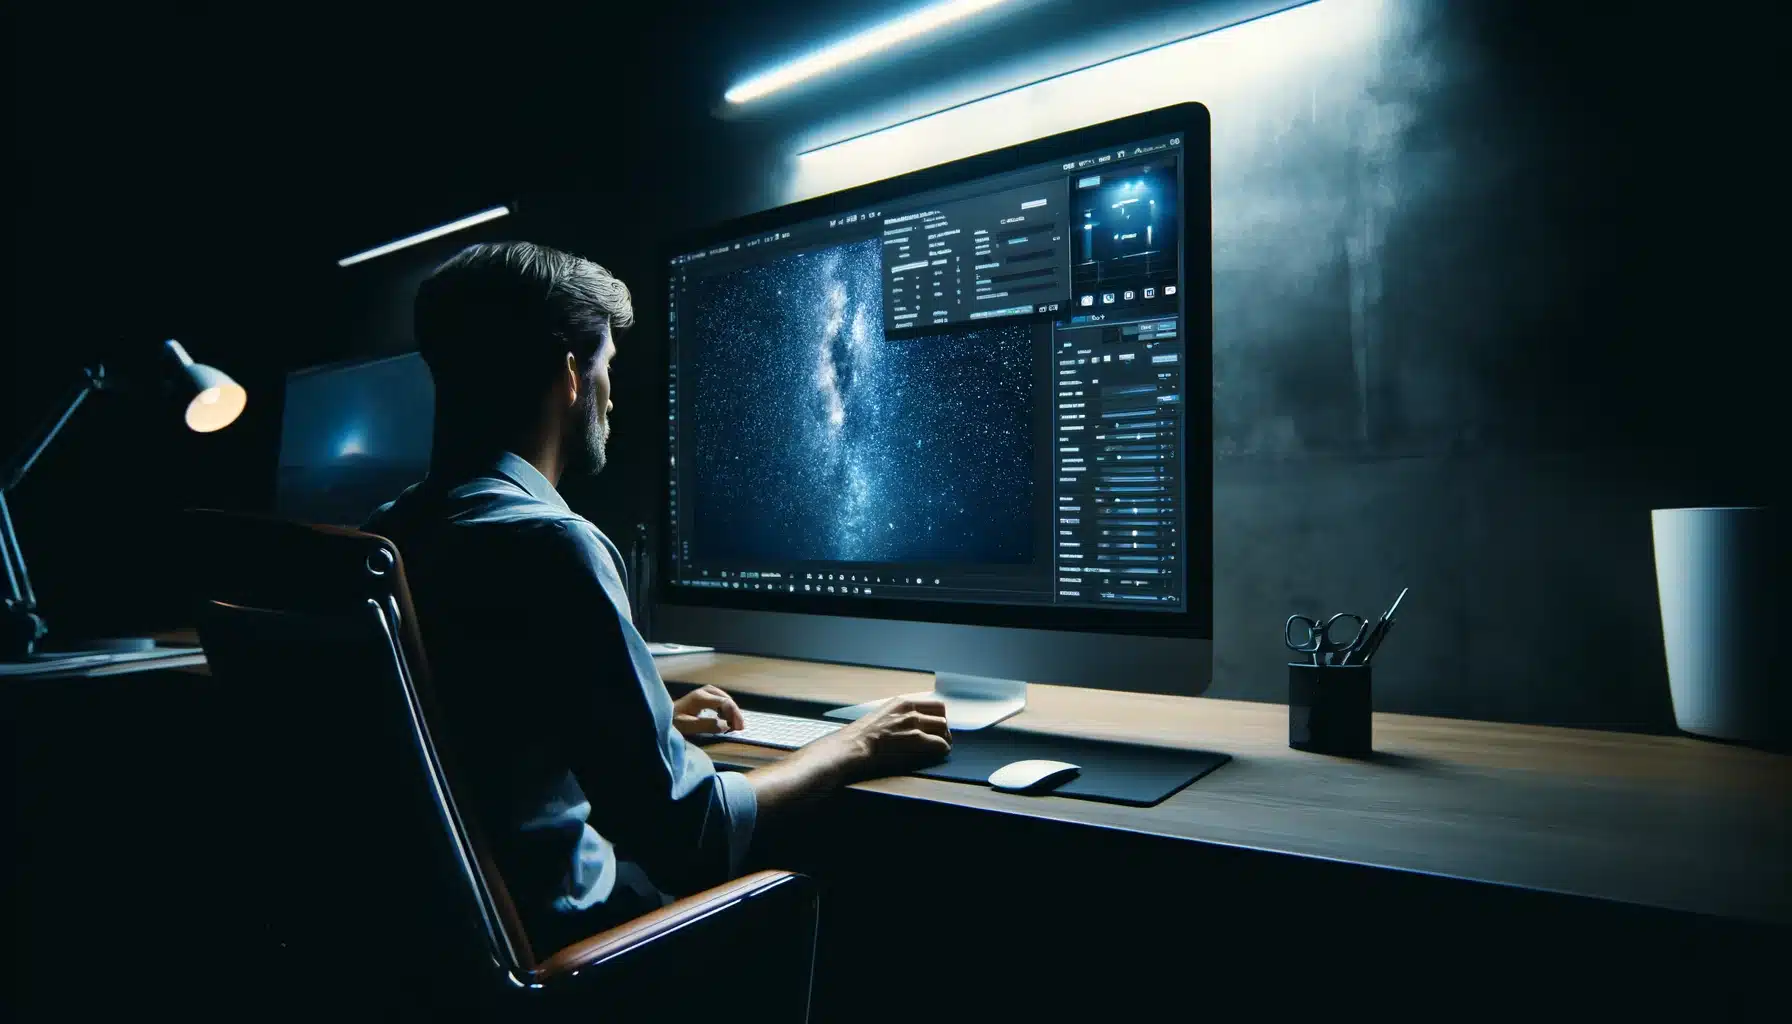
When you want to take amazing pictures of the celestial bodies and dark, knowing the right steps to improve celestial photography is key. One important phase is to edit Astro images using special software that helps you make the snaps look as wonderful as the real scene.
Adobe Photoshop
One of the best tools for this job is Adobe Photoshop. It’s like having a magic wand that lets you change the brightness, and contrast, and even remove unwanted objects from your pictures. This flexibility is crucial when you aim to edit astro images and bring out the beauty of the black sky in your pictures.
Adobe Lightroom
Another essential software is Adobe Lightroom. It’s easier to use than Photoshop and is excellent for adjusting the lighting and colors of your pictures. It helps you tweak the little information that makes a big difference, making it a favorite for photographers who regularly edit astro images.
Starry Landscape Stacker
For those who love capturing the night over beautiful landscapes, Starry Landscape Stacker is a must-have. It combines multiple photographs to create one clear and detailed photo, where both the celestial bodies and the landscape are perfectly sharp.
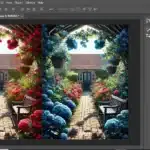
Guide on How to Edit Astrophotography in Adobe Photoshop
Do you want to make your photos of the night look amazing? Here’s a simple guide on how to edit astrophotography in Adobe Photoshop!
Open Your Image
Start by opening your starry night photo in Photoshop. This is where your adventure begins!
Set the Brightness and Contrast
First things first, let’s make your celestial bodies shine brighter! Go to the ‘Image’ menu, select ‘Adjustments’, and then ‘Brightness’. Play around with the sliders to see what makes your photo look best. This is a basic part of astrophotography editing.
Enhance the Colors
Next, let’s make the colors in your photo pop. Go back to ‘Adjustments’ and choose ‘Hue/Saturation’. You can make the sky more blue or the stars more yellow. It’s like painting with colors that are already there!
Add Some Texture
Now, for adding texture to make your photo look even more interesting. Go to ‘Filter’, then ‘Noise’, and choose ‘Add Noise’. This Astrophotography editing will make your sky look grittier or smoother, depending on how much noise you add.
Use Selective Focus
To make just one part of your picture, like a bright planet or a big star, stand out, use selective focus. Click on the ‘Lens Blur’ in the ‘Filter’ menu. This lets you choose where to focus in your photo, making that part sharp and other parts a bit blurrier.
Sharpen Up Guide to enhancing astrophotography
To finish up your astrophotography editing, let’s sharpen those celestial bodies. Go to ‘Filter’, select ‘Sharpen’, and then ‘Smart Sharpen’. This makes the edges of the stars and planets in your picture clearer, so they stand out! Then go to ‘File’ and then ‘Save As’ to keep your edited photo.
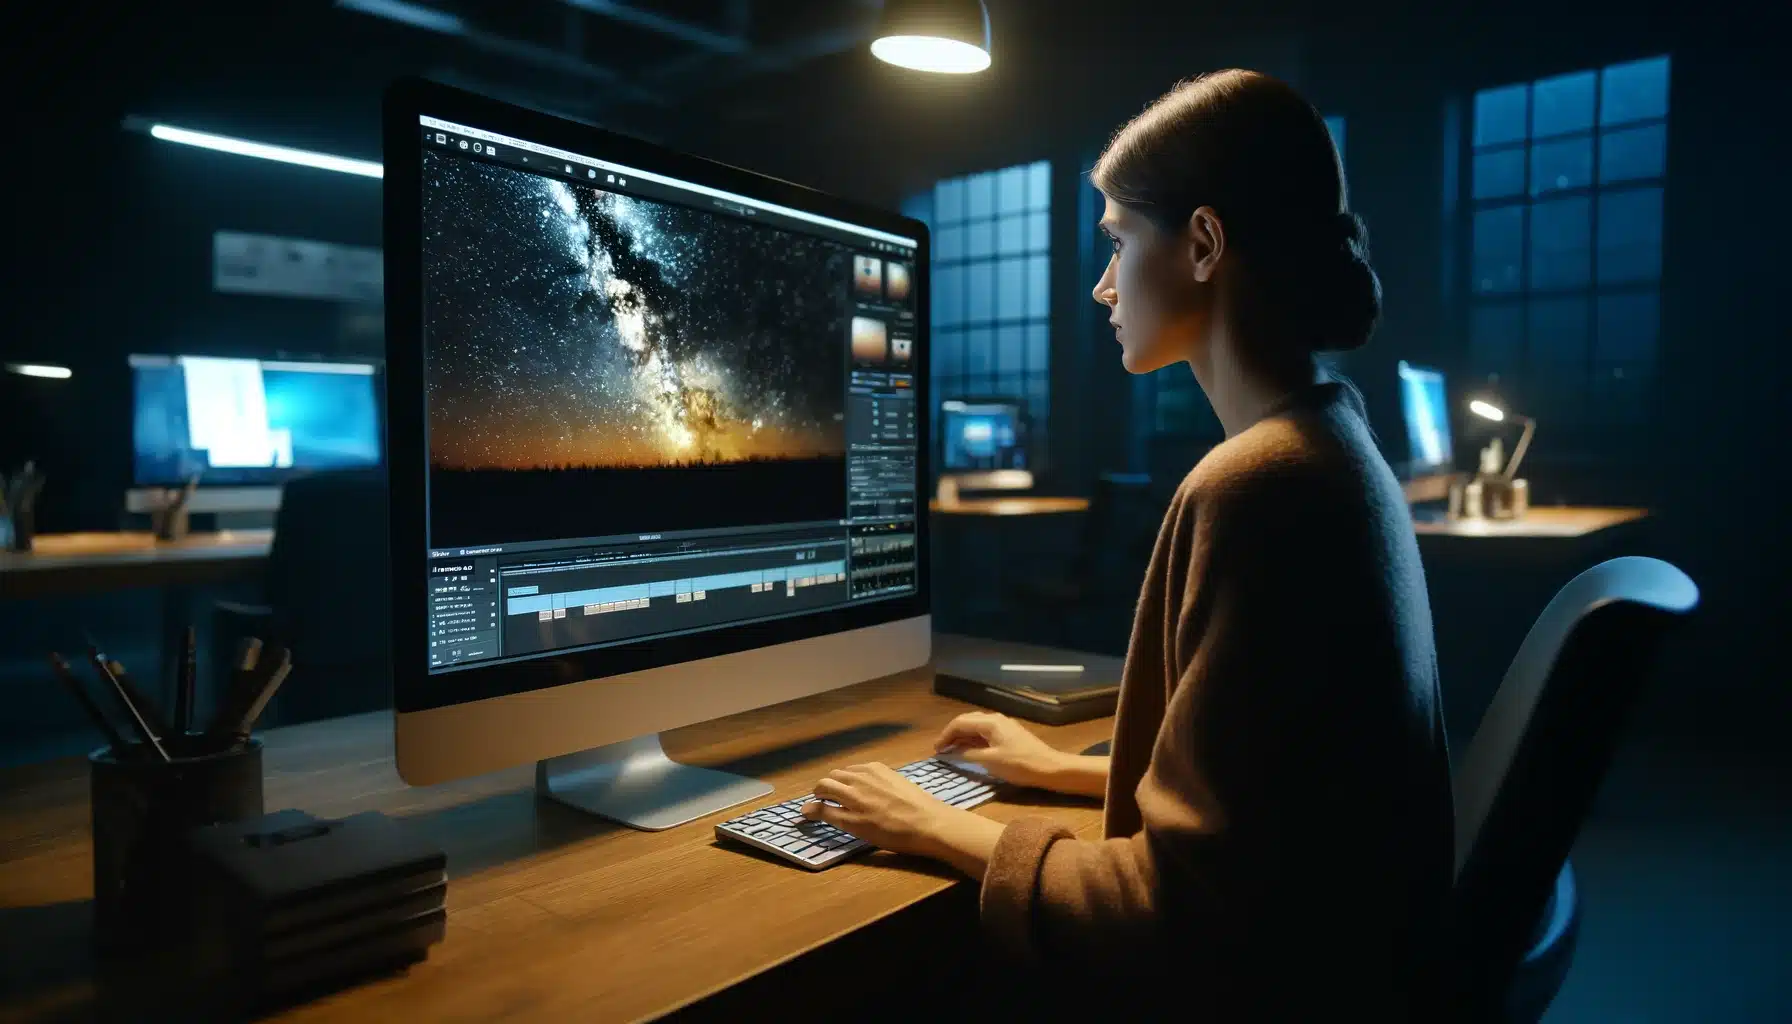
Advanced Techniques for processing astro images in Adobe Lightroom
Exploring the Methods for editing space photography can dramatically enhance your astrophotos. Let’s dive into some advanced techniques in Adobe Lightroom that can help you refine your space photographs like a pro.
HDR Merge and Clarity
HDR Merge: When you stack multiple exposures of the dark sky using HDR merge,Lightroom combines these layers to balance out the radiance and dark areas, ensuring every part of your sky is detailed and vibrant. This is especially useful for capturing the dynamic range between the bright Milky Way core and darker surrounding skies.
Clarity: Clarity can help define the edges and shapes within the Milky Way, making the structure of the galaxy more pronounced. This tool adjusts mid-tone variance, enhancing the texture of the cosmic dust and gas without affecting the overall submission.
Lens Correction Guide to enhancing astrophotography
Lens correction: It is essential for correcting distortions and aberrations that are typical in wide-angle Astro pictures. Lens correction tool fine-tunes the edges and corners of your photographs, where the celestial bodies might appear blurred or distorted due to the glass properties.
Distortion: Lightroom uses profiles specific to your optic to automatically adjust these distortions, making the celestial bodies appear as sharp pinpoints rather than blurry spots.
Color and Light Adjustment Tips for adjusting star photos
Color Balance: Manipulating the color balance and adjusting the radiance levels can transform the mood and detail visibility in your dark sky images. Using the temperature slider to adjust the color tone from warm to cool can emphasize different aspects of the darkness.
Highlights and Shadows: Playing with the highlights and shadows sliders allows you to reveal hidden information in the Milky Way. You can also darken the azure to make the stars stand out more prominently. It is an important feature in Lightroom.
Tips for Adjusting Star Pictures Using Starry Landscape Stacker
When you want to make your night photos look fantastic, using Starry Landscape Stacker is a great choice. This tool helps you combine several photographs into one clear picture, where every star shines bright. Here are some tips to help you edit Astro images using Starry Landscape Stacker.
Start with Good Photos
First, make sure your photos have a good shutter speed. This means how long your cameras looks at the celestial bodies. A longer shutter speed lets in more light, so celestial bodies look brighter, but you don’t want it so long that the stars start to look like little lines instead of dots. Take several pictures from the same spot without moving your camera. This way, Starry Landscape Stacker can easily mix them together.
Using Starry Landscape Stacker
Load your pictures into the software. Starry Landscape Stacker will look at them and figure out the best parts of each photo to use. The software can automatically detect the azure and the landscape (like hills or trees). It keeps the landscape steady and combines the skies from your pictures. This makes the celestial bodies in your final photo look sharp and clear.
Adjust the Color and Details
Starry Landscape Stacker lets you adjust the color temperature of your photo. This is like choosing whether the night looks cooler (more blue) or warmer (more yellow). Getting the color temperature right makes your stars look true to how they really are in the black azure.
For astrophotography editing, ensure your settings enhance the night sky’s clarity. When you edit astrophotography, focus on noise reduction and contrast to bring out stellar attributes. Use edit Astro images with precision to capture cosmic vibrancy, and apply astrophotography editing techniques to sharpen and define celestial features. Once your photographs are stacked, you can tweak things like brightness and divergence to make the stars stand out more. This is a fun part to edit astro images because you get to make your photo look exactly how you want.
Enhancing Star Visibility in Your Astrophotography
If you’re wondering how to edit astrophotography to make those twinkling celestial bodies stand out, here’s a simple guide to help you. This is a fun part of astrophotography editing that lets you bring out the best in your night pictures.
1. Capturing the Right Photographs
First, capture your pictures with optic settings that allow plenty of illumination to enter. This is the first phase before we edit Astro images. This captures more stars in your pictures and is your initial phase in astrophotography editing.
2. Using the Patch Tool for Cleaner Photographs
Once you have your pictures, you can begin editing on your computer. A handy tool for this is the patch tool. This helps you clean up small areas that might be too black or blurry, making each star in your photo pop.
3. Editing Portraits Under the Stars
For snaps that include people gazing at the celestial bodies, you might want to try some portrait editing. This helps lighten up their features so they aren’t overshadowed by the brightness of the stars, balancing the image nicely.
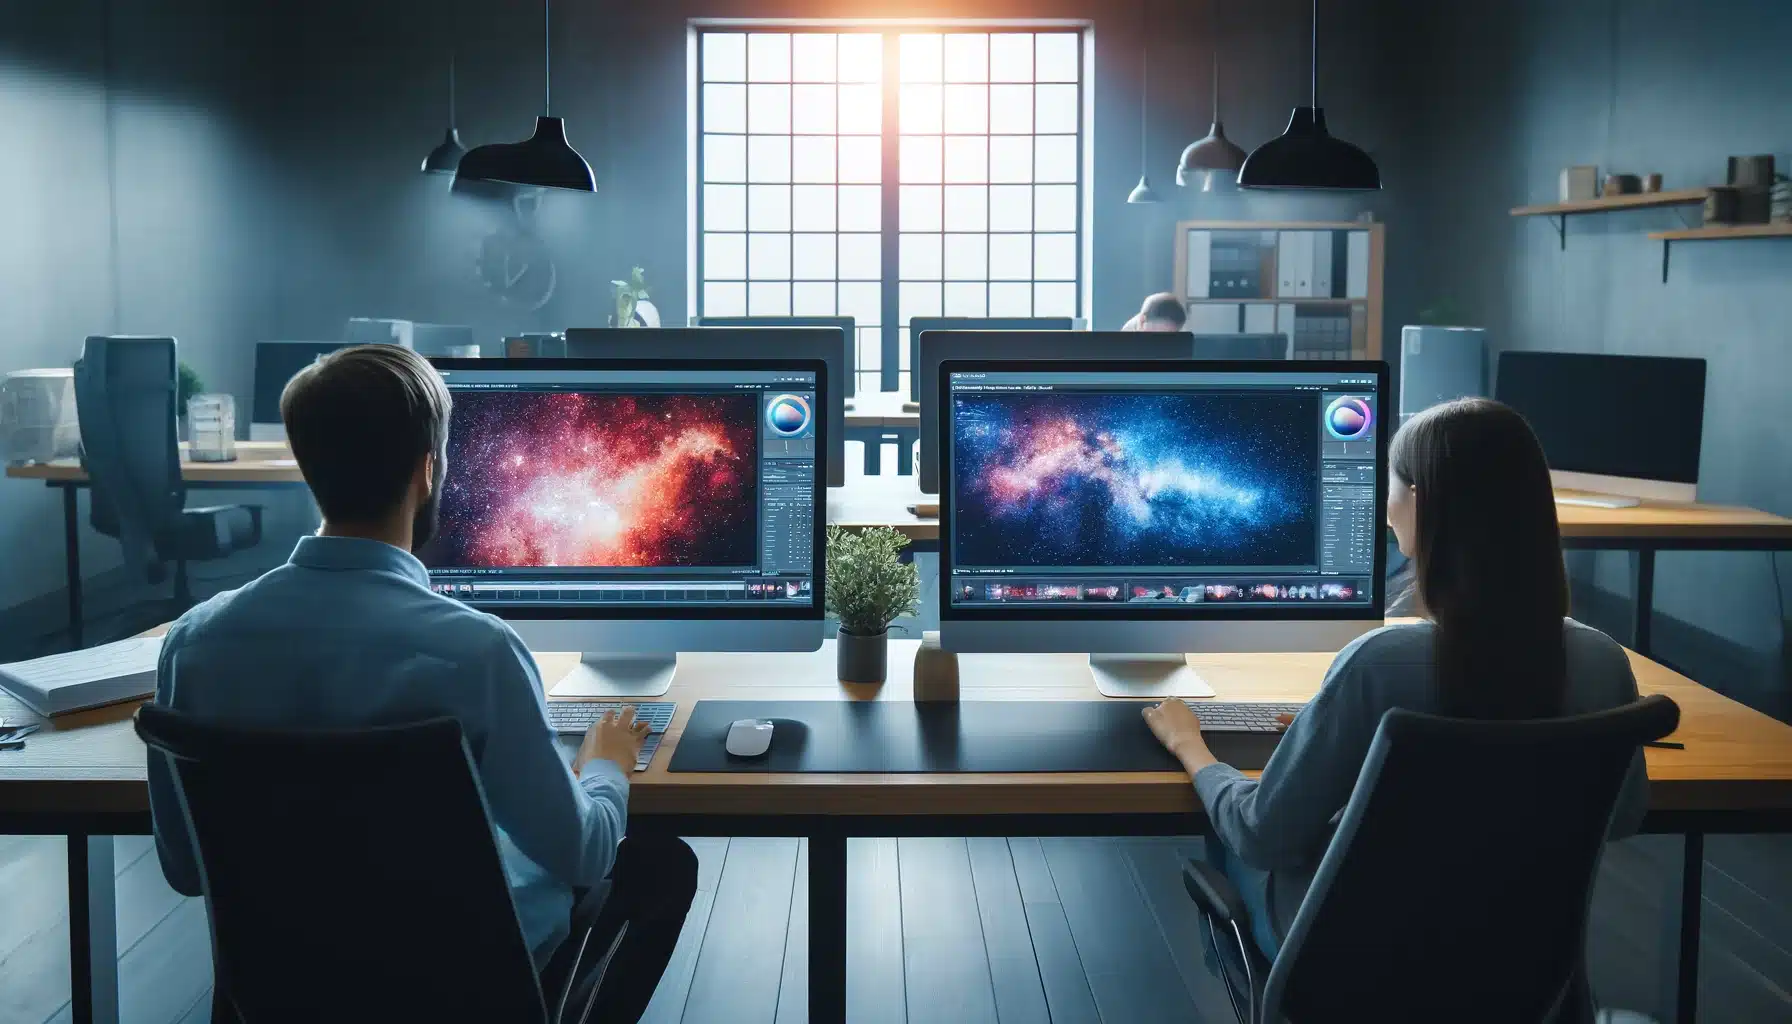
Pricing of Different Apps For Astrophotography Editing
The last editions of these software tools are highly regarded among professionals for their robust capabilities and efficiency. Adobe Photoshop offers advanced features that significantly reduce the time and effort required to achieve precision to edit astro images.
Starry Landscape Stacker and Sequator, on the other hand, specialize in stacking multiple raw exposures to produce photographs with optimal detail and minimal noise. This method is critical for achieving high-quality results where a reduction of visual noise is necessary to maintain clarity. Both tools have been updated to enhance their algorithms for stacking, making them indispensable for professionals aiming to edit astro images with precision
Here’s the updated table with the pricing and version for popular astrophotography editing software:
Software Name
Pricing
Latest Version or Release Year
Adobe Photoshop
US$22.99/mo
Last Edition
Adobe Lightroom (1TB)
US$9.99/mo
includes cloud storage
Starry Landscape Stacker
US$49.99
Last Version
Sequator
US$30.00/mo
Last Version
Tips for Editing the Moon in Astrophotography
Editing snaps of the moon can be really exciting, especially when you capture something as cool as a lunar eclipse! Here’s a simple guide on how to edit astrophotography to make your moon pictures look amazing.
1. Guide to Enhancing Astrophotography By Basic Adjustments
When you start editing your moon pictures, the first thing to do is adjust the brightness and differentiation. This helps make the moon’s features, like craters and plains, stand out more. You can also play with the sharpness to make the attributes of the moon clearer.
2. Using Advanced Techniques
After you’ve done the basic adjustments, you can use more advanced techniques. One helpful tool is blending modes. These are special settings in editing software that change how your moon photo mixes with adjustments or other photographs. For example, if you took multiple snaps of the moon at different times, blending modes could help combine these into one really detailed image.
When using software that supports raw files, the slider will provide finer control over the image's brightness. It offers more free credit for the user's input on the final outcome.
In stacking, the outcome will show significantly reduced noise and enhanced composition.
Regulating the slider on raw files will often result in more fine textures, especially when stacking photographs for depth.
3. Adding Effects for More Drama
If you want to make your moon photo look even more dramatic, you can add some effects like glow or shadow. This can make the moon seem brighter against the black azure, or make it look like it’s glowing. Just be careful not to add too much, or it might not look real.
Best Cameras to Shoot Astrophotography
Right Choice
Choosing the right optic is a big part of learning how to edit astrophotography. The best cameras for this kind of work give you high-quality frames that are easy to work with, making the whole smoother. Each optic has its own features that might make it a better fit for your specific needs. For example, some cameras offer a variety of aspect ratio options which can greatly affect how your final image looks. This feature lets you change the shape of the image to match what you envision.
Settings
Techniques for processing astro photographs are important in turning a good image into a great one. Another important thing to consider is how the optic handles different settings. Some cameras are set up to handle more automatic functions which can be free if you’re just starting out. This means you can focus more on the foreground and other elements without worrying about adjusting settings all the time.
Here’s a table featuring some of the best optics for astrophotography, including key specifications such as sensor type, resolution, and focal length compatibility:
How to Edit Astrophotography and Capturing Milky Way Professionally
Capturing the Milky Way is an exciting challenge that combines the beauty of the night sky with the technical aspects of photography. Here are some key techniques to help you create captivating photographs of our galaxy.
1. Planning Your Shoot
Good planning is essential for capturing the Milky Way. Choose a location far from city lights to ensure the sky darkens enough to reveal the galaxy. Use any app or website to track the Milky Way’s position and plan your shoot during the new moon for the best visibility. Timing is critical, as the Milky Way is most visible during specific months of the year.
2. Setting Up Your Cameras
For the best results, use the optics that can handle high subjection times without producing too much noise. Set your digital lenses to a high ISO, but not so high that it significantly increases the noise level. A wide-angle setting is ideal to capture the vastness of the Milky Way. A subjection of 20 to 30 seconds allows you to capture sufficient light.
3. Capturing the Image
When you’re ready to shoot, use a sturdy tripod to eliminate any movement and use a remote shutter release to avoid shaking when pressing the shutter button. Focus manually to ensure the celestial bodies are sharp, and if your optics have a live view mode, use it to zoom in and adjust the focus precisely.
4. Post-Processing Techniques
Once you’ve captured your photographs, the next procedure is to use software to enhance the Milky Way. Programs like Adobe Lightroom or Photoshop are good choices for this. Begin by adjusting the white balance to bring out the intense color of the Milky Way.
Common Mistakes in Editing Astro Pictures and Steps to improve celestial photography
Editing photos that capture the vastness of space can be a challenging but rewarding process. Here are some common pitfalls and tips on how to navigate them effectively.
Over-Processing the Foreground
Many enthusiasts focus heavily on the foreground, trying to enhance it to the point where it becomes unnatural compared to the rest of the composition. This can lead to a loss of balance in the photo.
Solution: Use a touch. Increase clarity or sharpness slightly and always compare the before and after to ensure the changes are subtle. Remember, sometimes less is more in photography.
Ignoring Color Balances
In the eagerness to bring out celestial details, it’s easy to overlook the overall color balance, leading to results that look unnatural.
Solution: Regularly toggle between your original and edited versions to keep track of the changes. Adjust colors gradually and avoid extreme shifts in hues that do not complement the original tones.
Excessive Noise Reduction
Using noise reduction too aggressively can smear attributes, which reduces the quality of the photo. This often happens when trying to achieve a cleaner look in low-light conditions.
Solution: Apply noise reduction sparingly. Focus more on getting the set exposure right during the shoot, which can reduce the need for heavy post-processing.
Additional Mistakes to Avoid and Tips for Adjusting Star Photos
Not Allowing Enough Time for the Editing Procedure
The excitement to see the finished product can sometimes lead to rushing through the editing procedure. This can result in missed opportunities to enhance the photo effectively.
Solution: Allocate time to create and refine your edits. Break your workflow into stages and revisit the photo after a break to see it with fresh eyes. This can greatly improve your final output.
Failing to Utilize the Full Dynamic Range
Often, the dynamic range of the photo is not fully utilized, which can make the photo look flat and devoid of depth.
Solution: Use tools like histogram adaptations in your editing software to make full use of the dynamic range. This helps in achieving a balance where both radiance and shadow are preserved, making the photo look more vivid and lifelike.
FAQs On How to Edit Astrophotography
How can I make my astrophotography look better?
To improve your celestial imaging, ensure you’re focusing on enhancing image clarity and sharpness. Adjust exposure settings and apply noise reduction to minimize graininess, making your photographs clearer. Regularly updating your editing techniques can also lead to better results.
How can I edit a picture to see stars better?
To enhance celestial attributes, increase the divergence and adjust the exposure slightly. Apply a high-pass filter to sharpen features without introducing artifacts. Lastly, use a curves adjustment to brighten the highlights while keeping the darker regions distinct.
How to edit astrophotography in Snapseed?
To modify space snaps in Snapseed, start with the ‘Tune Image’ function to adjust exposure, brightness, and saturation. Use the ‘extended’ feature to sharpen the image, enhancing its clarity. Snapseed’s app offers a range of tools for selective adaptations, allowing precise edits to specific image areas.
How to edit landscape astrophotography?
Editing landscape astrophotography typically involves blending exposures to effectively balance the foreground with other elements. Employ local adjustment tools to enhance particular sections of the image, which helps in improving the composition and depth. These steps will make your landscape photographs more compelling and visually appealing.
Conclusion
As we conclude this journey through the intricate frames of astrophotography, I reflect on the time I first applied these techniques to my own photos. The process seemed daunting at first, but the satisfaction of enhancing the color and clarity in my photographs was immensely rewarding. Each step refined my skills, giving credit to the patience and practice involved in achieving the best results.
For those inspired to delve deeper and refine their skills further, I highly recommend exploring our comprehensive courses. Whether you’re looking to master Photoshop or Lightroom, our courses provide the expert guidance and hands-on practice you need to elevate your photo editing skills. Start your learning journey today and see where it takes you! Explore our Photoshop course and Lightroom course to discover more.
If this article has helped you, then Like and Share it with your friends
Facebook
Twitter
LinkedIn
Pinterest
Have a nice photoshoot!
Learn more about Photo Editing with Lightroom and Photoshop:
Discover the secrets of photography with our printable guide! Master essential techniques like aperture, shutter speed, and ISO to create stunning images. Get your free printable PDF now and start turning your snapshots into masterpieces!