Introduction to How to Use Camera Tethering
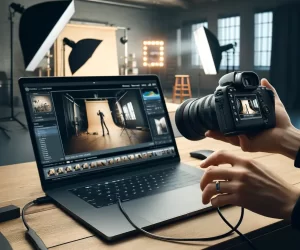
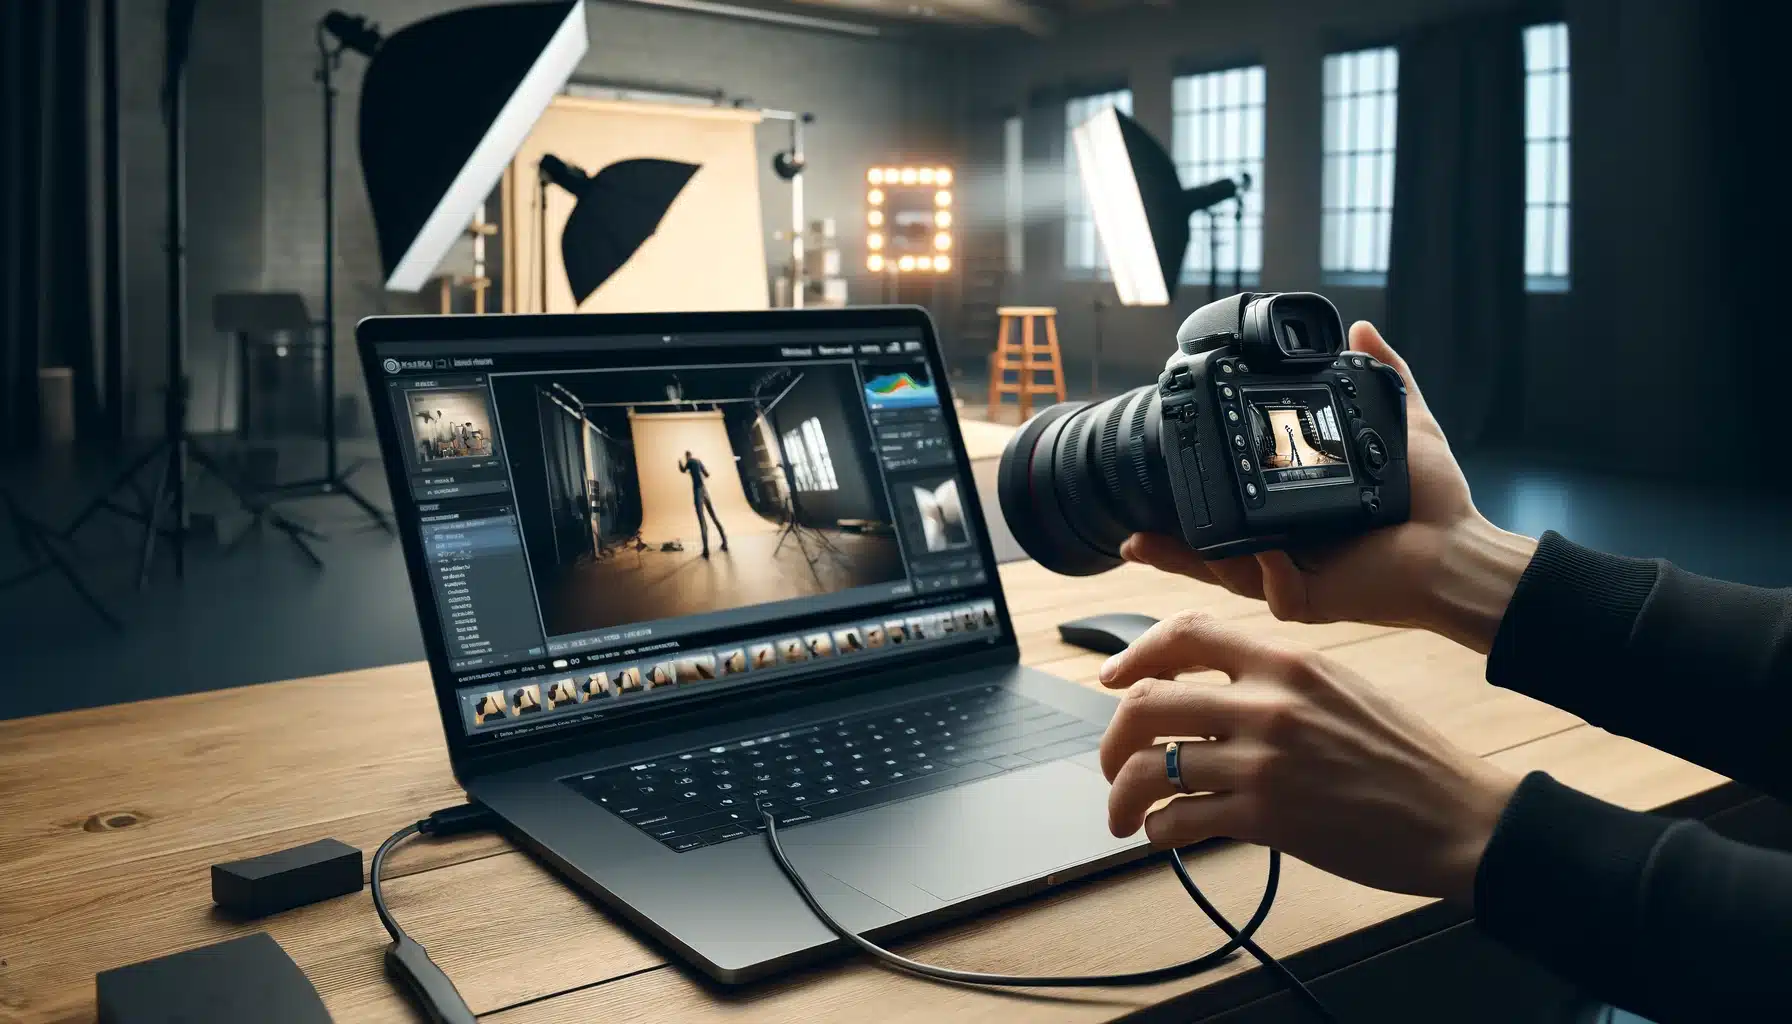
Camera tethering might sound complex, but it’s quite simple. It’s when you connect your camera directly to another display device such as a PC or tablet. This lets you view your photos on a bigger display right as you take them. It’s great because you can check if everything looks just right before you even finish your shoot.
In this article, we will explore how to use camera tethering effectively. You’ll learn essentially everything, from basic setup of the gear to quick fixes of the common tethering issues. Whether you’re a seasoned professional or just starting, this guide will help you make the most of your photography skills.
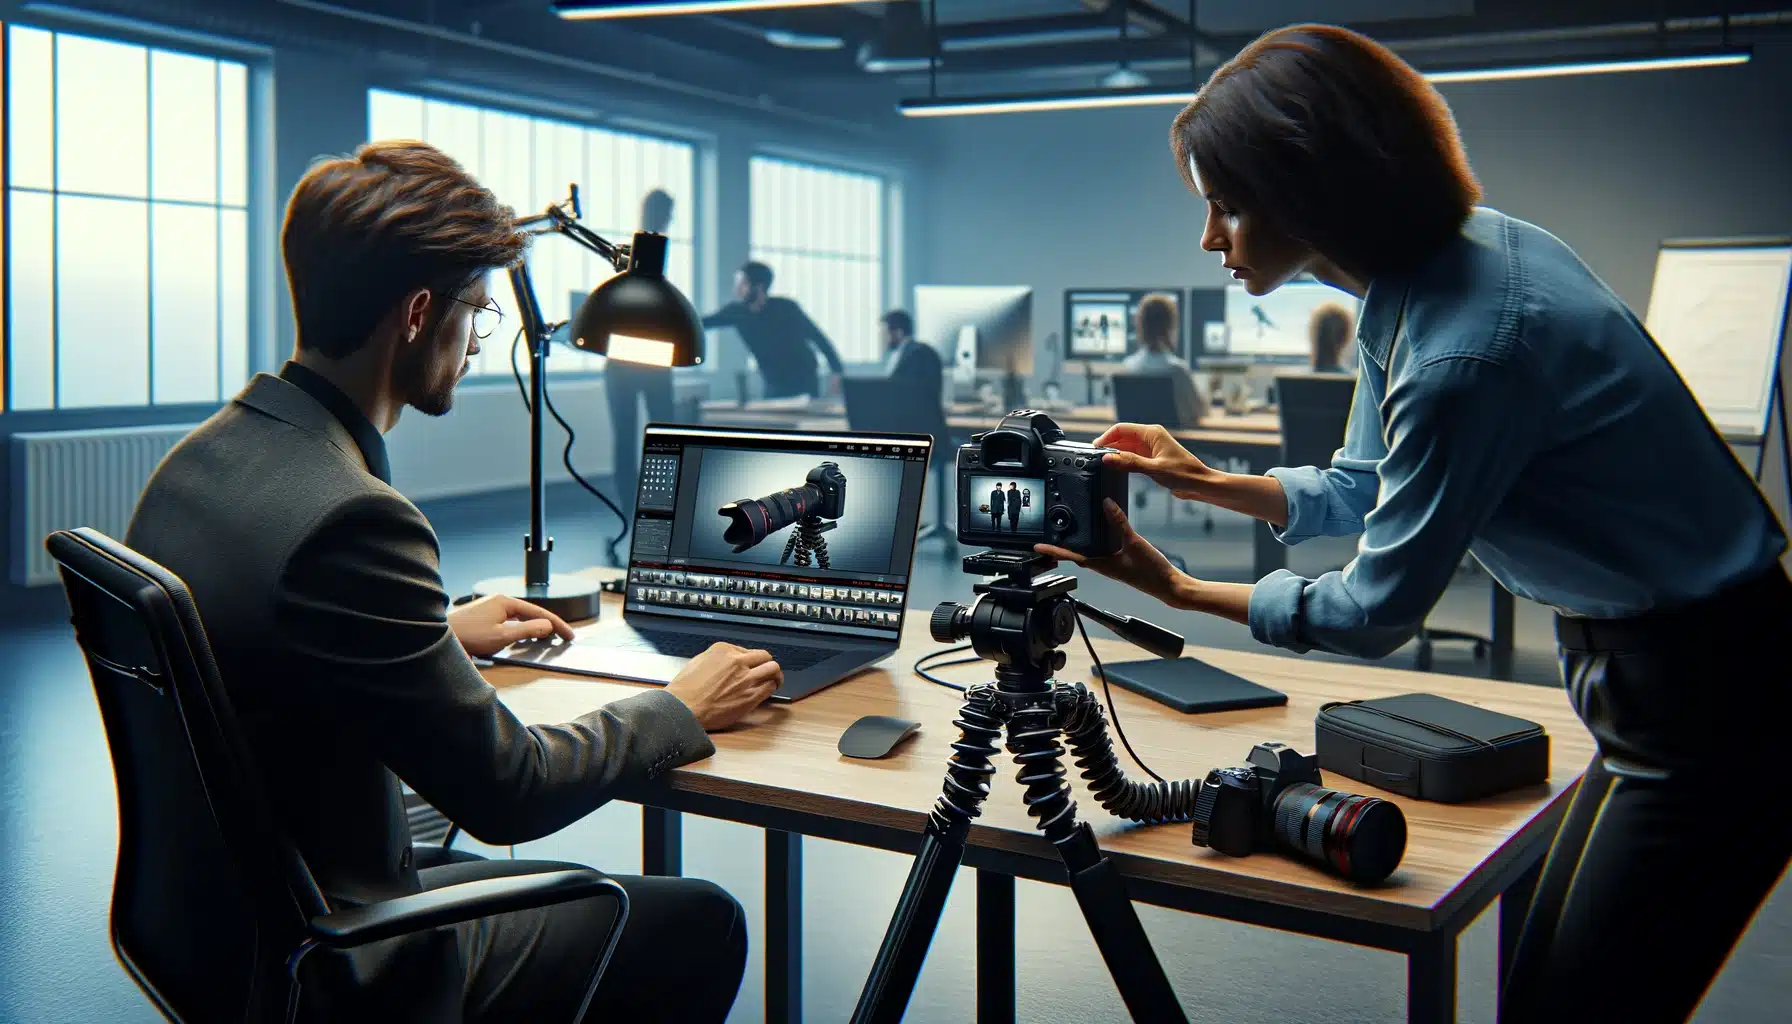
Table of Contents
Essential Gear for Tethered Shooting
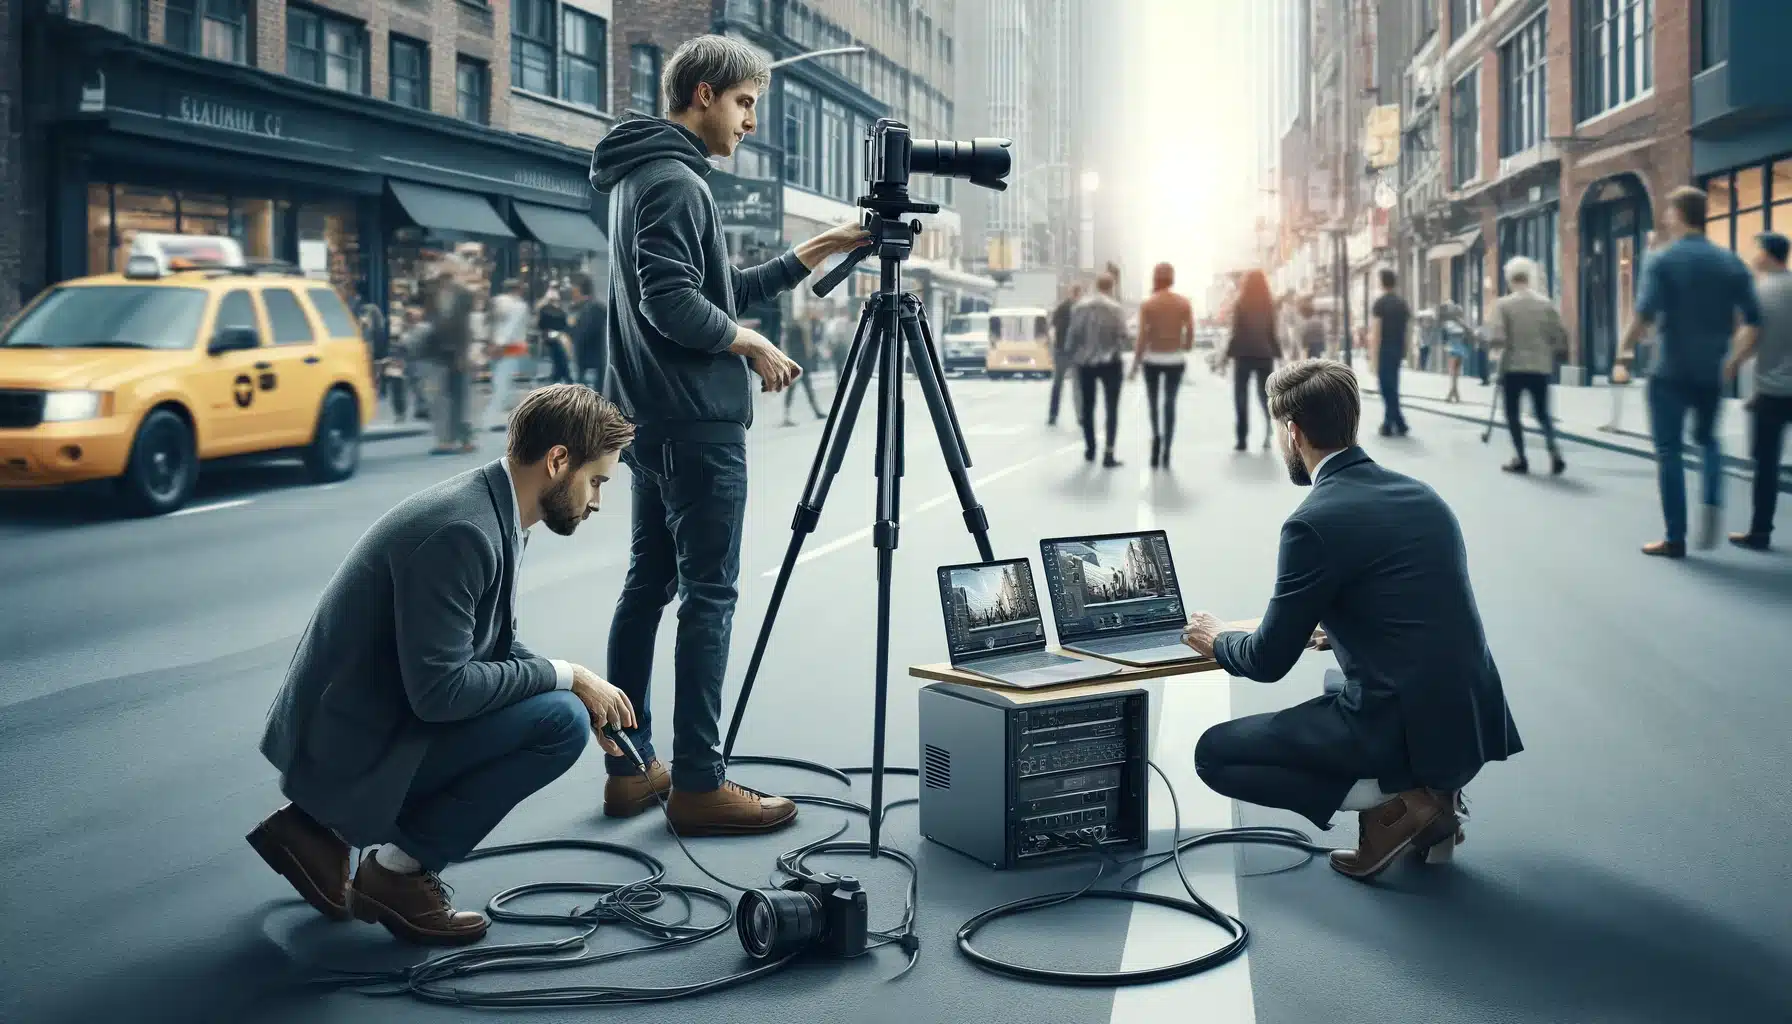
Before you wonder how to use camera tethering, you need to pick the right tools. Using the correct equipment helps you avoid common problems such as poor photograph transfer, interruptions, or compatibility issues with your devices.
- Camera Port: Begin by identifying the type of port your camera has. Most modern photoing devices have USB-C or USB-A ports.
- Length: Pick a wire that is long enough to move around freely. Typically, cables around 15 feet long are sufficient.
- Software Compatibility: Ensure that the tool you choose supports your camera model and is compatible with your operating system, whether it's Windows or macOS.
- RAM: More RAM allows your PC to run linking apps smoothly without slowing down. 8GB of RAM is a minimum, but 16GB or more is recommended for high-resolution files.
- Storage: High-resolution image files take up a lot of space. Ensure your device has ample storage or an external hard drive.
How to Use Camera Tethering via Cable: A Step by Step Tutorial
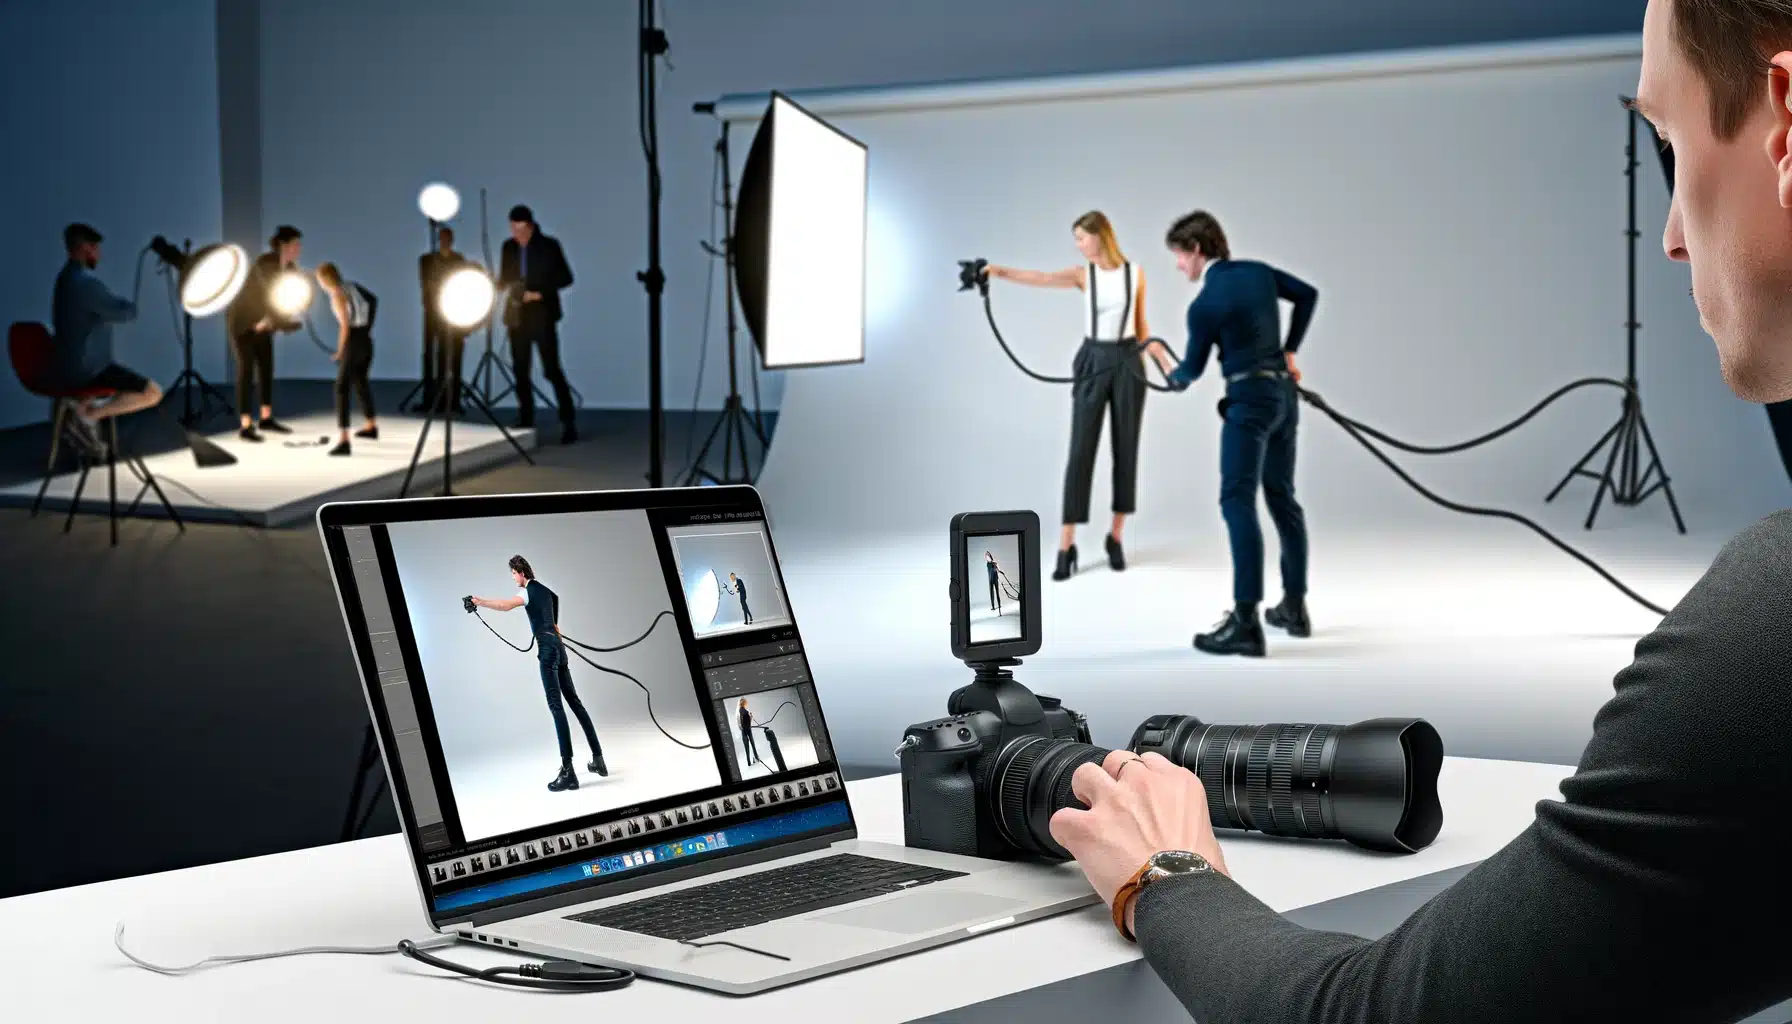
Connecting your camera to a PC makes photo shoots easier to manage while making necessary adjustments to the shots on the go. This boosts both productivity and creativity in professional experience. Follow this step by step tutorial on how to tether a camera using a wire.
- Setup and Install: Start by gathering your equipment, your camera, a compatible wire, and a PC. Also install tethering tool on your computer, from your camera’s brand or popular choices like Lightroom Classic or Capture One.
- Plug the Cable: Once the gear is ready, turn off your picturing device. Plug one end of the connecting cord to your camera and the other end to your laptop. Now, turn it on.
- Open the Tethering Software: Launch the program you installed earlier. Make sure that the tool recognizes your camera. If everything is set up correctly, you should see your camera listed in the tool.
- Create a New Session: Most tethering apps ask you to create a new session. Here, you can name your session and pick where to save the photos.
- Take a Test Shot: Click a picture and you should see it appear on your PC monitor right away, if everything is working well.
- Review and Adjust: Look at the test photograph on your PC. Check if you need to adjust the lighting or any other setting.
- Start tethered Shooting: Keep taking shots and making live adjustments as needed.
A Quick Guide on How to Use Camera Tethering Wirelessly
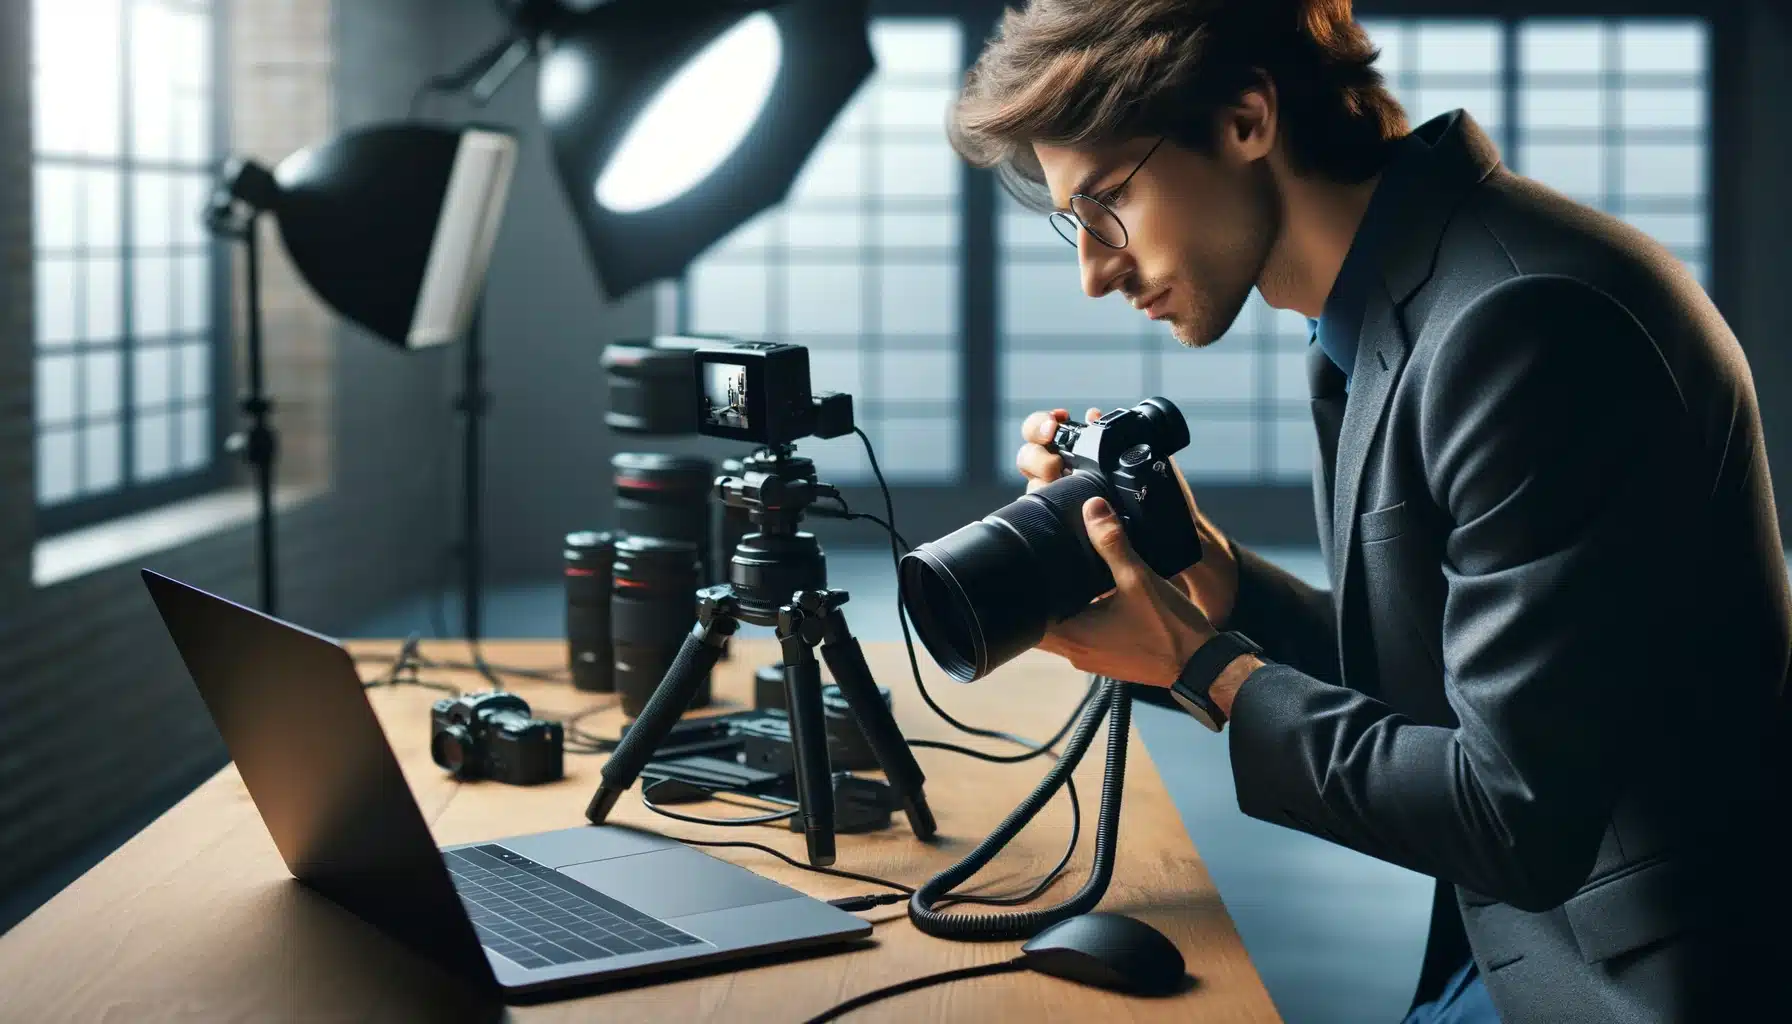
Wireless linking is a fantastic way to avoid the hassle of wires. This alternate method allows you to link your camera using Wi-Fi instead of a wire. This means you can send pictures directly to your device as soon as you take them.
- Set up Wireless Connection: Some cameras have built-in Wi-Fi that lets you link to your computer wirelessly. Go into your menu and click the Wi-Fi button to turn it on.
- Connect to Your Computer: On your PC, find the Wi-Fi network created by your camera and join to it using the password you set.
- Launch Software: Open your tethering program and select your camera from the list of available devices to link it.
Pro Tip: Search different cameras for different situations to see which cameras are best for landscape and which are best for other types of photography.
Troubleshoot Common Tethering Issues
Even with a perfect setup, you might face several issues that can hinder your tethering work. Below is a table that outlines common tethering problems, their potential causes, and suggested solutions to help you quickly resolve these issues.
| Common Issue | Potential Cause | Suggested Solution |
|---|---|---|
| Camera Not Connecting | Incompatible wire or incorrect setup | Check wire compatibility and ensure proper connection. Restart both devices. |
| Slow Transfer Speeds | Low-quality wire or interference | Use a high-quality cable and ensure a clear line of sight for wireless setups. Switch from wireless to wired connection if persistent. |
| Intermittent Disconnections | Loose connections or power issues, tool glitches | Secure all connections and ensure battery is fully charged. |
| Images Not Displaying | Tool’s settings not configured properly. Issues with the destination folder | Double-check tool settings for automatic photograph display. Verify folder permissions and storage capacity. |
Camera Tethering Software Options
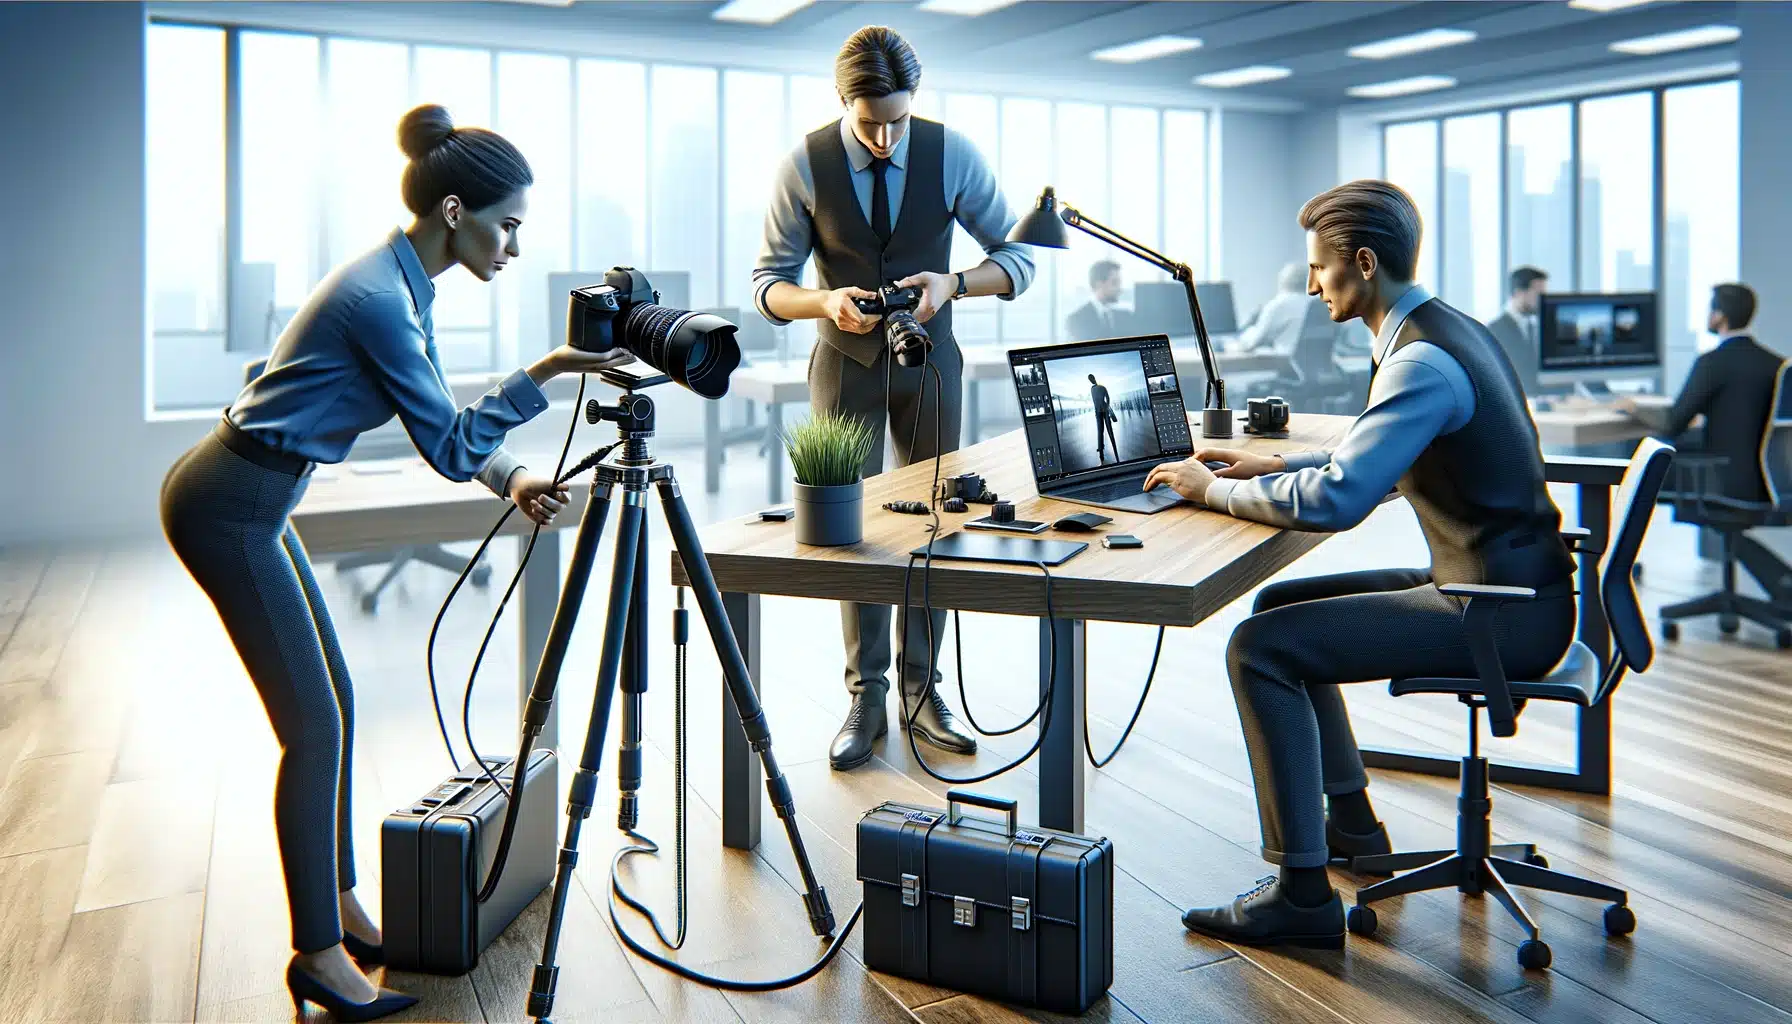
Choosing the right software option is a key part of the camera tethering setup. Different software options cater to different needs, whether you’re looking for simplicity, advanced features, or flexibility in your photography workflow.
Adobe Lightroom Classic
Lightroom Classic is a favorite among users for camera tethering. It’s easy to use and integrates well with Adobe’s suite of editing tools, making it a solid choice for beginners. Lightroom allows real-time adjustment and direct import into your library, streamlining the process from capture to edit.
Pro Tip: Learn Lightroom tethering as well to further enhance your skillset.
Capture One Pro
Capture One Pro is highly regarded for its snap quality and color editing capabilities. This tool is a bit more advanced, offering more detailed control over pictures. It’s especially popular in professional studio environments where precise color and detail are necessary.
Canon EOS Utility
The Canon EOS Utility is a dedicated tool for Canon users, designed to facilitate easy tethering. It allows photographers to link their Canon EOS to a PC either via USB or wirelessly. This utility is great for remote camera control ideal for studio setting.
Smart Shooter 4
Smart Shooter 4 focuses specifically on tethering and camera control. It offers customizable features that cater to photographers who need to manage every aspect of their devices from their computer. This makes it particularly useful for controlled environments like product photography or scientific applications where precision is critical.
Wireless Tethering Options
For wireless tethering, software option like CamRanger provide a way to link to other display devices over Wi-Fi. This setup is ideal for people who need to work and move around simultaneously, such as in wedding photo shoot.
Benefits of Tethering in Professional Photo Shoots
Tethering images to a larger display significantly enhances professional photography by offering instant feedback and increased control over the process. Here are some notable benefits of connecting it in professional settings.
1. Immediate Image Review
Photographers use the connecting technique essentially to view their shots live on a larger display as soon as they click the shutter button. This immediate feedback ensures quick checks on focus, double exposure, and composition. It also supports real-time collaboration with clients, allowing for on-the-spot adjustments to meet their expectations and quickly develop pictures for print.
2. Enhanced Creativity
With tethering, you can directly adjust lighting and composition based on the pictures displayed on their laptops. This capability not only boosts the quality of the photographs but also allows creative experimentation.
3. Efficient Workflow
Integrating camera tethering setup into the workflow simplifies the entire photography process. You can immediately identify and tag the best shot, significantly cutting down working hours. Additionally, since photos are saved directly to the PC, it ensures immediate backup, enhancing data security and saving valuable time.
Comparing Wired and Wireless Camera Tethering
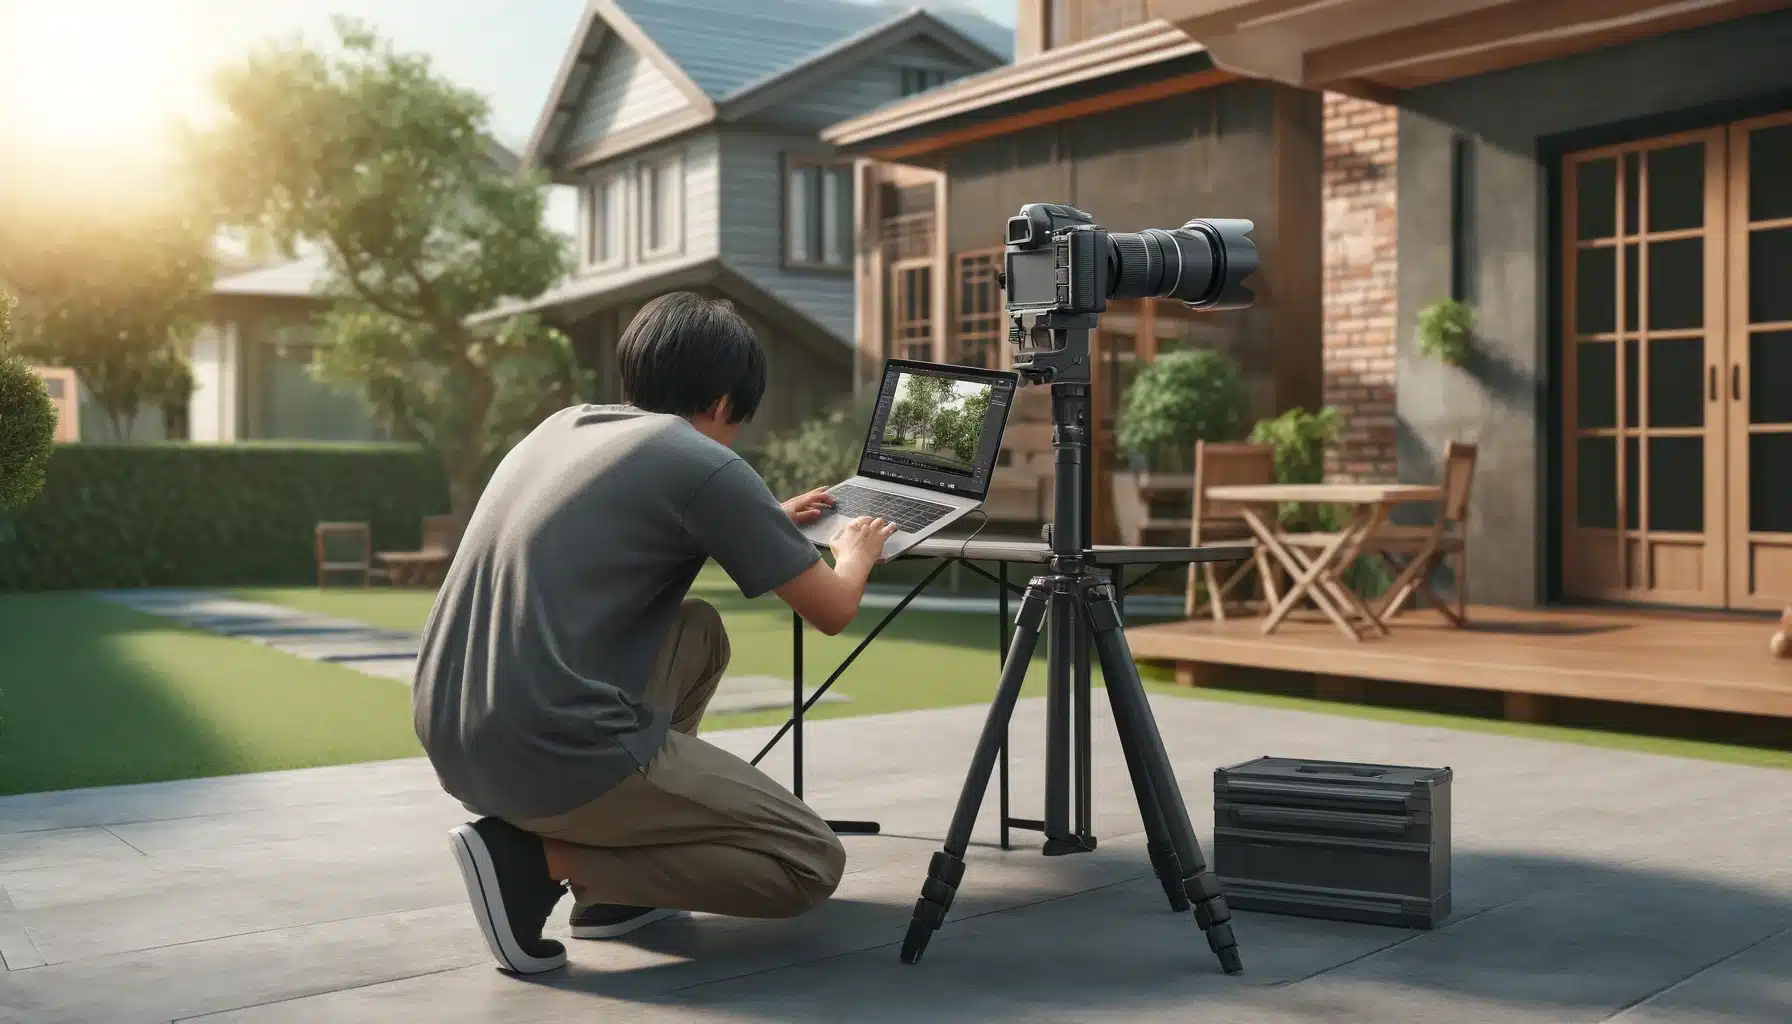
When deciding between wired and wireless camera tethering setup, it’s essential to understand the key differences that could impact your photoing experience. Here’s a table outlining the primary contrasts:
| Feature | Via Wire | Wirelessly |
|---|---|---|
| Connection Stability | High stability with fewer interruptions | Potential for interruptions due to signal loss |
| Mobility | Limited by the length of the wire | High mobility without physical restrictions |
| Setup Complexity | Simple plug-and-play setup | May require configuration of wireless network |
| Speed of Transfer | Typically faster, offering immediate feedback | Can be slower, depending on network strength |
| Equipment Needed | Requires a USB cable | Requires wireless transmitter or built-in Wi-Fi |
| Cost | Generally lower cost for cables | Higher cost due to additional wireless equipment |
| Safety | Risk of tripping over wires | Safer with no loose wires around |
Pro Tip: Learn Photoshop’s essential tools to make your workflow even better.
FAQs on How to Use Camera Tethering
How to connect camera with tether?
To link a camera with tether, first ensure it supports tethering and install any necessary software from the manufacturer. Link the camera to your computer using a USB cable. Open your photo management tool to establish the connection and start transferring images.
What is camera tethering?
Camera tethering is when you link it directly to a computer or tablet using a cable or wirelessly. This setup allows you to see photos on a larger display immediately after taking them. It is commonly used in professional photography for better photograph control.
Can you shoot video tethered?
What are the benefits of shooting tethered?
It offers immediate image viewing in larger monitor, which is great for making on-the-spot adjustments. It helps in managing files more efficiently by directly saving them to a computer. Tethered shooting also facilitates better collaboration with clients and team members during photo shoots.
Conclusion
I’ve always found that using camera tethering streamlines my photography workflow. By connecting my camera directly to a bigger screen, I can instantly see the images I capture and make necessary adjustments on the fly. For instance, during a recent portrait session, I had my camera directly connected to my phone, which is great for long exposure phone photography, which helped me quickly adjust lighting and camera settings based on the live feedback.
If you’re looking to learn more about how to use camera tethering or improve your photography skills, check out our courses. We offer detailed Photoshop Course and Lightroom Course that can help you boost your skills and creativity.
Have a nice photoshoot!
Course
Light Effect Photoshop
Lightroom Course 2025
Adobe Photoshop Course 2025
Photo Editing Course
Get the latest version of Photoshop & Lightroom

