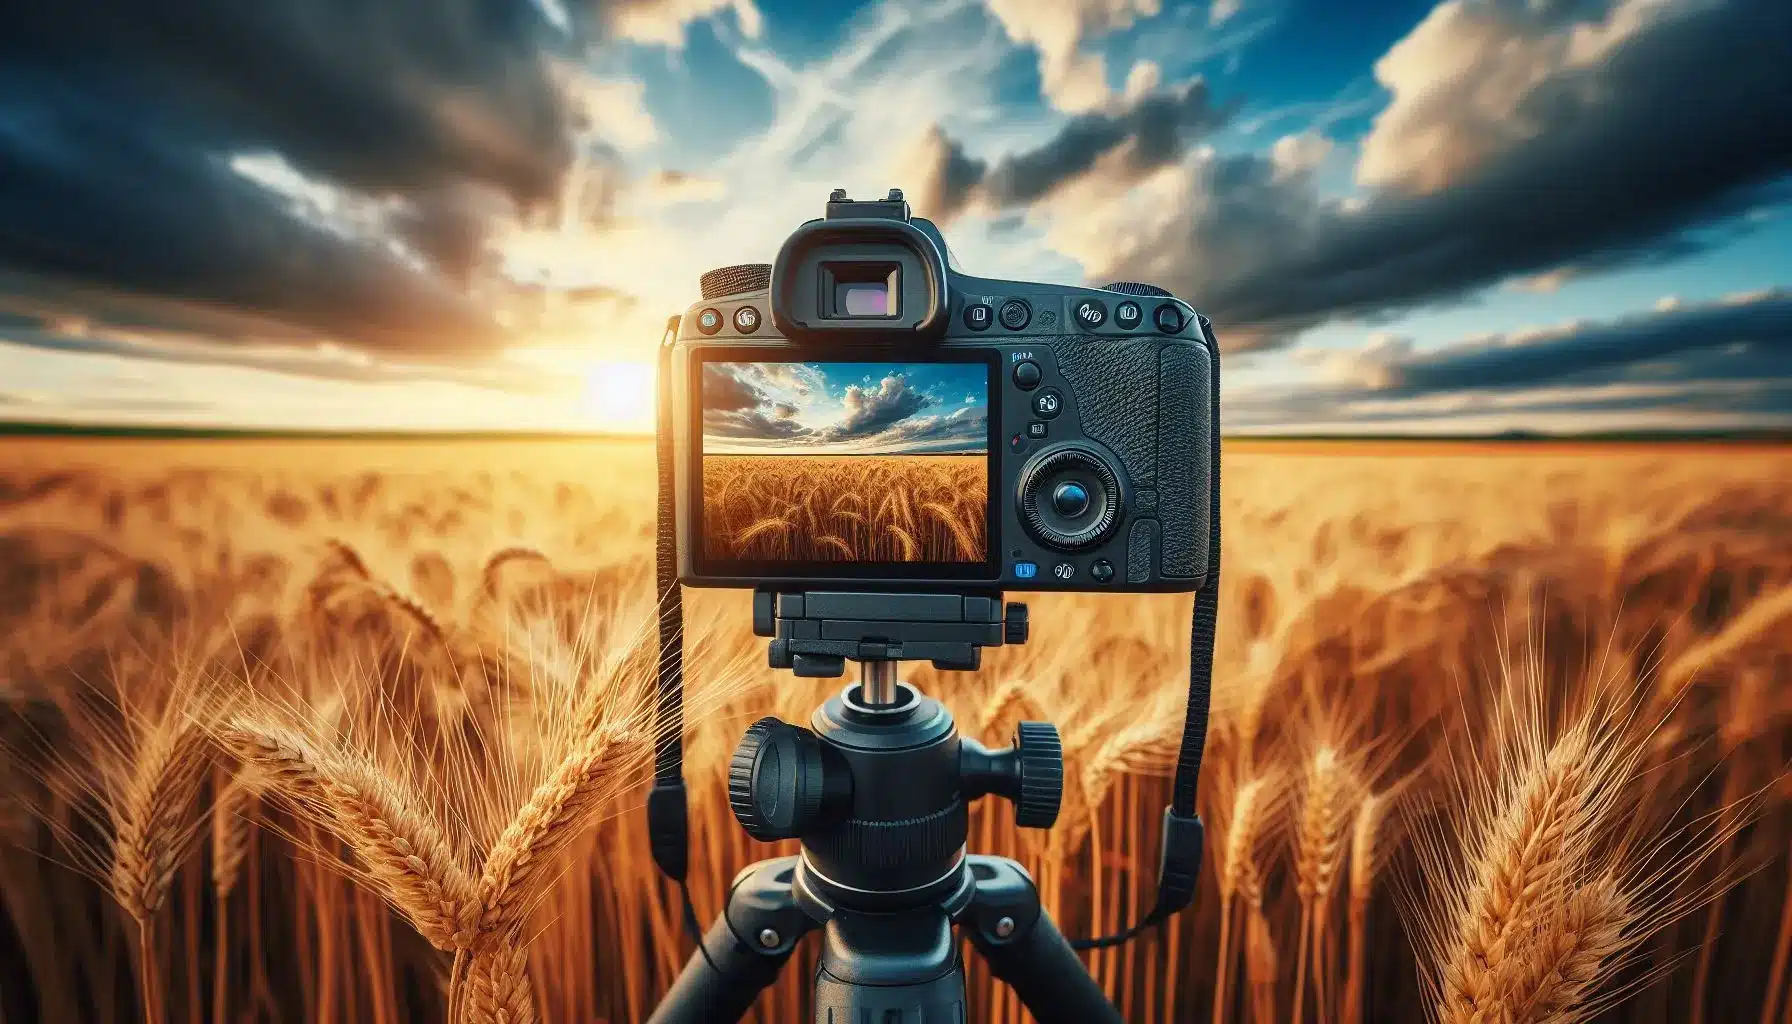
Nailing the perfect shot is all about timing, and in photography, that means mastering shutter speed. Ever wondered how to freeze a runner mid-stride or capture the silky flow of a waterfall? It’s all in the shutter speed, and Adobe Lightroom gives you the power to fine-tune it with precision. As an expert photographer, I’m here to show you how to use Lightroom Shutter Speed techniques to control and transform your snaps. Let’s dive into the techniques that will take your photography from ordinary to extraordinary.
Table of Contents
Freezing Motion with Fast Shutter Speed
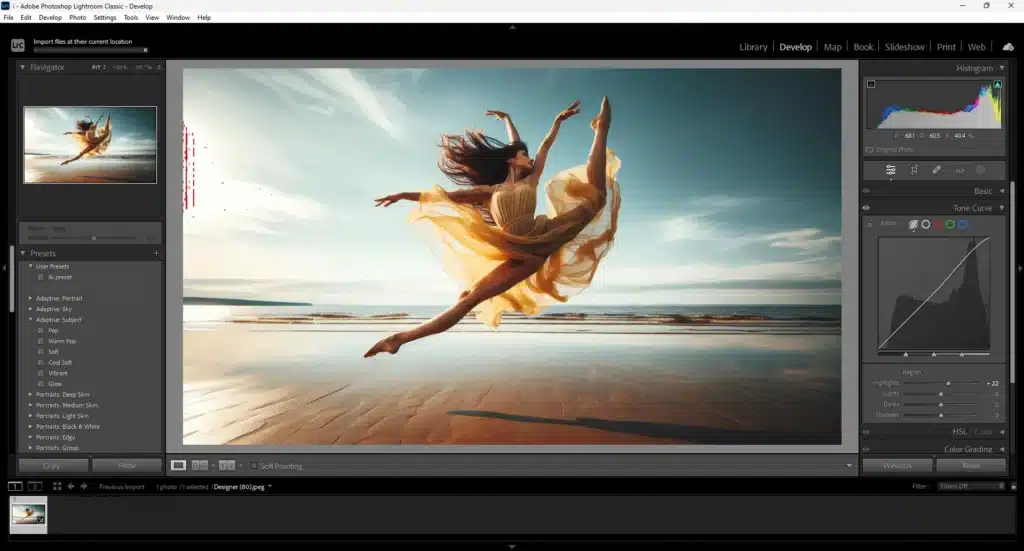
Freezing motion in photography is a technique that allows you to capture sharp and detailed photos of fast-moving subjects by using a fast shutter speed. This is particularly useful in sports, wildlife, and action photography, where the objective is to eliminate motion blur and preserve the clarity of the moving subject.
Understanding Shutter Speed for Freezing Motion
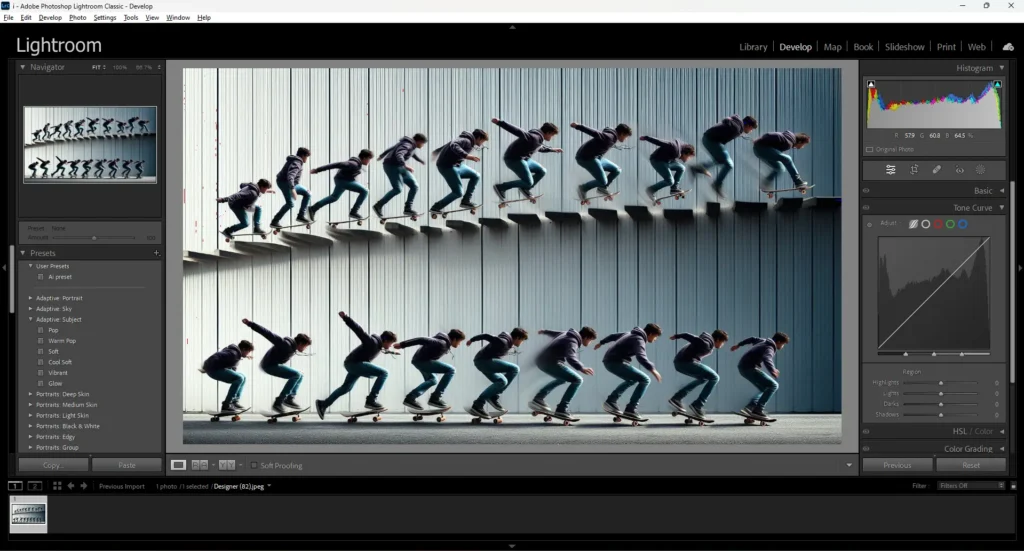
Basic Concept: Shutter speed refers to the duration for which the camera’s sensor is exposed to light. A fast shutter speed (e.g., 1/1000th of a second or faster) reduces the time light hits the sensor, effectively “freezing” the motion of your subject.
Common Shutter Speed Ranges:
- 1/250 sec: Suitable for capturing kids playing or general activities with moderate movement.
- 1/500 sec: Ideal for sports like soccer, where players move quickly.
- 1/1000 sec or faster: Necessary for high-speed action, such as motorsports or birds in flight.
- 1/4000 sec: For extremely fast-moving objects like race cars or hummingbirds.
Practical Tips for Freezing Motion
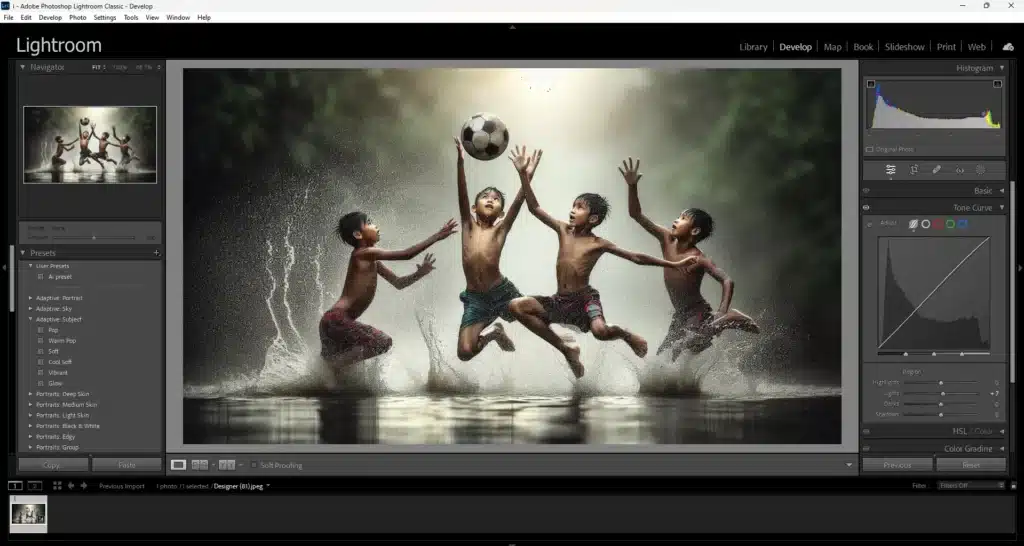
Selecting the Right Mode: Start with Shutter Priority mode (often denoted as ‘S’ or ‘Tv’ on the camera dial) where you set the shutter speed, and the camera modes automatically adjusts the aperture. For more control, switch to Manual mode to fine-tune both shutter speed and aperture.
Balancing Exposure: Since fast shutter speeds limit light, you may need to:
- Open the Aperture: Use a wider aperture (low f-stop number) to allow more light in. Be cautious, as this can reduce the depth of field, making it harder to keep your entire subject in focus.
- Increase ISO: Raising ISO increases the sensor's sensitivity to light, but be aware of potential noise and graininess in the image. Modern cameras handle high ISO adjust well, but it's always a trade-off between brightness and image quality.
Using Burst Mode: To maximize your chances of getting the perfect shot, switch to burst mode (continuous shooting). This allows you to capture movement like multiple frames in quick succession, increasing the likelihood that you’ll freeze the action at the perfect moment.
Challenges and Solutions
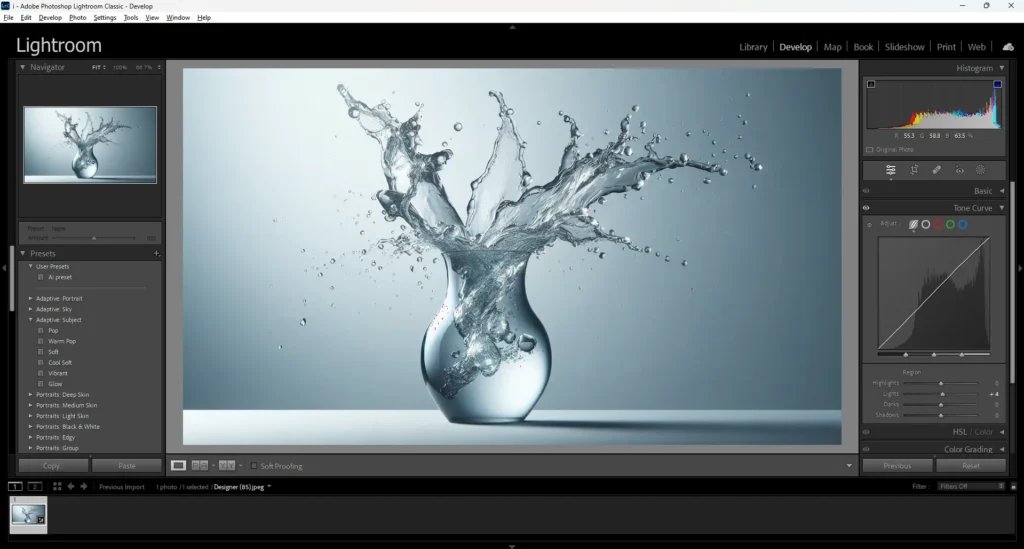
- Low Light Conditions: Fast shutter speeds can result in underexposed images in low light. Solutions include using a wider aperture, increasing ISO, or adding external lighting conditions. In some cases, using a flash can help, but be mindful of your camera's flash sync speed, which limits how fast the shutter can operate while still being illuminated by the flash.
- Panning Technique: For certain types of action shots, like car races, a slight panning technique can help maintain sharpness in the subject while creating a dynamic blur background, emphasizing the speed of the movement.
By understanding how to adjust your camera settings for freezing motion, you can capture sharp, dynamic images that highlight the intensity and speed of your subject, whether it’s an athlete in action, a bird in flight, or any fast-moving scene.
Bringing motion to photos with slow shutter speeds
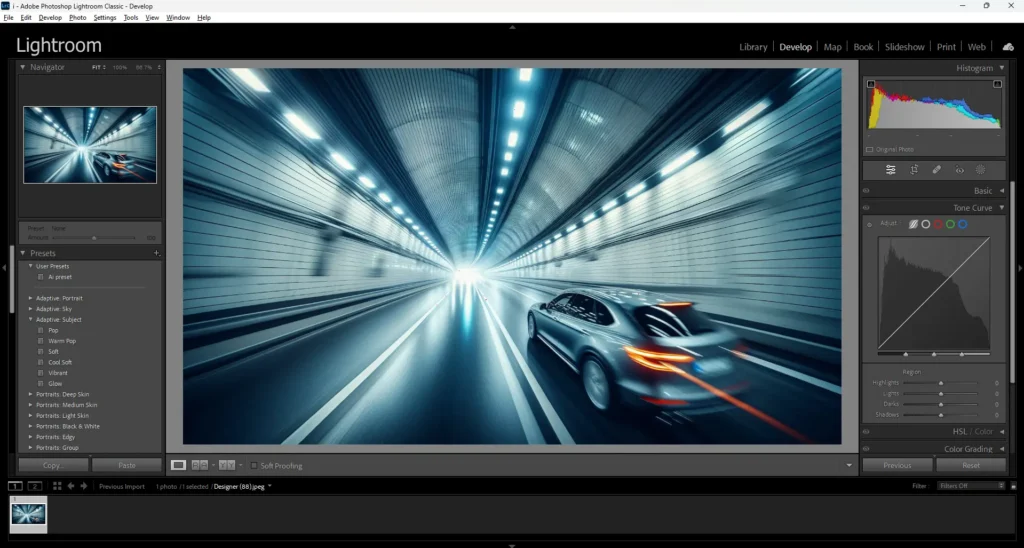
Utilizing in photography allows you to creatively capture the essence of motion in a way that fast shutter speeds cannot. This technique is perfect for conveying movement in a static image, adding a dynamic and artistic touch to your photos. Whether you’re photographing flowing water, light trails, or panning with a moving subject, mastering slow shutter speed photography can produce stunning and unique results.
Understanding Slow Shutter Speeds
Definition and Basics: A slow shutter speed means the camera’s shutter remains open longer, allowing more light to reach the sensor. These results in a longer exposure time, during which any moving elements in the frame will appear blurred, creating a sense of capture motion.
Common Slow Shutter Speed Ranges:
- 1/30 sec to 1/60 sec: Often used in low-light conditions or to capture slight movement in scenes like people walking.
- 1/15 sec to 1 sec: Ideal for more pronounced motion blur, such as capturing the flow of water in a river.
- 1 sec or longer: Typically used for extreme motion blur effects, light painting, or capturing star trails.
Creative Techniques for Slow Shutter Speed Photography
Motion Blur:
- Description: Motion blur occurs when the camera’s shutter is open long enough to capture the movement of subjects within the frame. This technique is particularly effective for street photography, where people, vehicles, or animals are in motion, adding life and energy to the scene.
- How to Achieve: Start with a shutter speed of around 1/30 sec and adjust depending on the amount of blur you desire. A tripod is often necessary to keep the stationary elements sharp while the moving subjects blur.
Panning:
- Description: Panning involves moving the camera along with the subject's movement, keeping the subject in focus while blurring the background. This is commonly used in sports or wildlife photography to emphasize the speed of the subject.
- How to Achieve: Use a shutter speed between 1/15 sec and 1/60 sec. Follow the subject smoothly with the camera, releasing the shutter while continuing to move. This technique requires practice but can produce dramatic, dynamic images.
Light Painting:
- Description: Light painting is a creative use of slow shutter speeds to capture trails of light in a dark environment. By moving a light source, such as a flashlight or sparkler, in front of the camera, you can create intricate patterns and shapes.
- How to Achieve: Set your camera on a tripod, select a shutter speed of 5-10 seconds, and use a light source to draw in the air. These long exposures will capture the light’s path against the dark background, producing mesmerizing effects.
Capturing Flowing Water:
- Description: Slow shutter speeds can transform the look of moving water, making it appear smooth and silky. This is often seen in photos of waterfalls, rivers, or ocean waves.
- How to Achieve: Use a shutter speed of 1-2 seconds, combined with a narrow aperture (high f-stop value) and low ISO to avoid overexposure. A tripod is essential to keep the surrounding landscape sharp while the water blurs into a soft glow, flowing texture.
Tips for Effective Slow Shutter Speed Photography
- Use a Tripod: To prevent camera shake and ensure that only the moving elements in your scene are blurred, a tripod is essential.
- Experiment with Exposure: Slow shutter speed photography often requires balancing aperture photography and ISO to get the correct exposure. Don’t be afraid to experiment with different settings to find the look that best captures your vision.
- Add Interesting Background Elements: Including static elements like trees, buildings, or mountains in the background can add depth and contrast to the motion blur, making the picture more compelling.
By mastering slow shutter speeds, you can introduce a new level of creativity and expression into your photography, capturing the beauty of motion in a way that standard fast shutter speeds cannot achieve.
How is Shutter Speed Different from ISO Sensitivity and Aperture
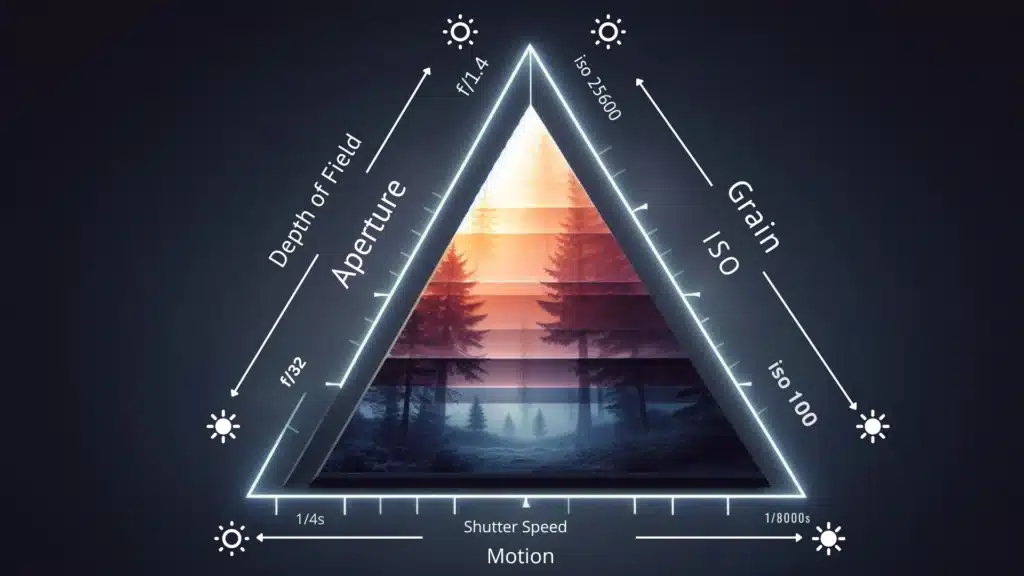
Understanding the differences between shutter speed, ISO sensitivity, and aperture is crucial for mastering photography. Here’s a concise comparison of Shutter Speed, ISO Sensitivity, and Aperture:
| Aspect | Shutter Speed | ISO Sensitivity | Aperture |
|---|---|---|---|
| Definition | Time the sensor is exposed to light | Sensor’s sensitivity to light | Size of the lens opening |
| Measured In | Seconds or fractions (e.g., 1/1000s, 5s) | ISO numbers (e.g., ISO 100, 3200) | F-stop numbers (e.g., f/1.8, f/16) |
| Primary Effect | Controls brightness via exposure time | Affects image brightness and noise | Controls brightness via light entry size |
| Secondary Effects | Affects motion blur (fast = freeze, slow = blur) | High ISO increases noise, low ISO reduces noise | Affects depth of field (wide = shallow, narrow = deep) |
| Creative Uses | Freeze action or create motion blur | Shoot in low light, control noise | Isolate subjects or keep scenes sharp |
| Considerations | Risk of camera shake at slow speeds | High ISO can add noise | Wide apertures require precise focus, narrow apertures can reduce sharpness |
Let’s explain this difference in detail:
Shutter Speed
- Function: Shutter speed controls how long the camera’s shutter remains open, allowing light to hit the sensor. It is measured in seconds or fractions of a second (e.g., 1/1000s, 1/30s).
- Effect: A fast shutter speed (e.g., 1/1000s) freezes motion, making it ideal for action shots. A slow shutter speed (e.g., 1/30s or longer) allows for motion blur, which can be used creatively to show movement, such as in flowing water or light trails.
ISO Sensitivity
- Function: ISO measures the camera sensor's sensitivity to light. A lower ISO (e.g., 100) is less sensitive and results in cleaner images with less noise. A higher ISO (e.g., 1600) increases sensitivity, allowing for brighter exposures in low-light conditions, but at the cost of more noise or grain in the image.
- Effect: ISO is particularly useful in low-light situations where you need to brighten the picture without slowing down the shutter speed or opening the aperture too wide. However, the trade-off is increased noise, which can affect photo quality.
How They Work Together
These three settings must be balanced to achieve the desired exposure in photography. For instance, in a low-light scenario:
- You might need to increase the ISO to make the sensor more sensitive to light.
- Use a slower shutter speed to allow more light to reach the sensor.
- Open the aperture wider to let in as much light as possible.
However, each adjustment has its trade-offs:
- Increasing ISO might introduce noise.
- Slowing down the shutter speed can cause motion blur.
- Widening the aperture decreases the depth of field, potentially blurring parts of the image you want in focus.
By understanding and manipulating shutter speed, ISO sensitivity, and aperture, you gain creative control over your photography ideas, allowing you to capture images exactly as you envision them.
Frequent Asked Questions about Lightroom Shutter Speed

How do I see shutter speed in Lightroom?
To view the shutter speed of your photos in Adobe Lightroom, follow these steps:
- Open the Library Module: Start by navigating to the Library module in Lightroom. This is where you can view and manage all your imported photos.
- Select Your Photo: Click on the image for which you want to check the shutter speed. This will bring up a larger preview of the photo.
- Access Metadata: In the right-hand panel, find the Metadata section. This panel displays detailed information about the selected image.
- View Shutter Speed: Look for the shutter speed value listed among other settings. You'll find it alongside details such as ISO, aperture, and focal length. The shutter speed is typically displayed in seconds or fractions of a second (e.g., 1/500 or 1s).
By checking this information, you can better understand how your camera settings influenced the final image and make informed adjustments in your future shoots.
How do I adjust the shutter speed?
Adjusting the shutter speed is a crucial step in capturing the perfect photograph, but it must be done directly on your camera before you take the shot. Here’s how you can adjust the shutter speed using your camera settings:
Set Your Camera to Shutter Priority or Manual Mode:
- Shutter Priority Mode (Tv or S Mode): In this mode, you select the desired shutter speed, and the lightroom camera automatically adjusts the aperture to achieve proper exposure. This mode is useful when you want to control freeze action.
- Manual Mode (M Mode): In Manual mode, you have full control over both the shutter speed and aperture. This mode allows for precise adjustments, giving you complete creative control over your exposure settings.
Adjust Shutter Speed:
- Using the Mode Dial: Turn the mode dial on your camera to either Shutter Priority (Tv/S) or Manual (M) mode.
- Change the Shutter Speed: Use the camera’s control dial or buttons to adjust the shutter speed. The shutter speed is typically displayed as a fraction of a second (e.g., 1/500 or 1/30) or in whole seconds (e.g., 1s).
Check the Exposure:
- Viewfinder or LCD Screen: As you adjust the shutter speed, monitor the exposure information on your camera’s viewfinder or LCD screen. Ensure that the exposure meter indicates the desired level of exposure for your shot.
- Take the Photo: Once you’ve set the shutter speed to your liking, compose your shot and take the photograph.
By adjusting the shutter speed directly on your camera, you can control the amount of motion blur or sharpness in your images, enhancing the overall quality and impact of your photography.
Can you change the shutter speed on Lightroom?
No, you cannot change the shutter speed in Lightroom. Lightroom is a post-processing software that allows you to edit photos after they’ve been taken, but it doesn’t allow you to alter the original exposure settings like shutter speed. Shutter speed must be set when you take the photo using your camera.
How do I speed edit in Lightroom?
To speed up your editing in Lightroom, you can:
- Use Presets: Apply predefined settings with a single click.
- Utilize Auto Sync: Edit one photo and apply the same adjustments to multiple selected photos.
- Learn Keyboard Shortcuts: Familiarize yourself with common shortcuts to navigate and edit more quickly.
- Use Quick Develop in the Library module for basic adjustments without switching to the Develop module.
Conclusion

In my own photography journey, mastering the balance between shutter speed, ISO, and aperture has been a game-changer. I vividly remember a time when I was trying to capture a hummingbird in mid-flight. Despite using a fast shutter speed to freeze its wings, I noticed that my images were coming out underexposed. It wasn’t until I adjusted the ISO and opened up the aperture that I achieved the perfect shot. This experience reinforced the importance of understanding how these three elements work together to control exposure and the creative possibilities they unlock. If you’re eager to take your photography skills to the next level, then join our comprehensive Lightroom Course and Photoshop Course.
If Lightroom Shutter Speed article has helped you, then Like and Share it with your friends
Have a nice photoshoot!
Read more about: Photo Editing with Lightroom and Photoshop


