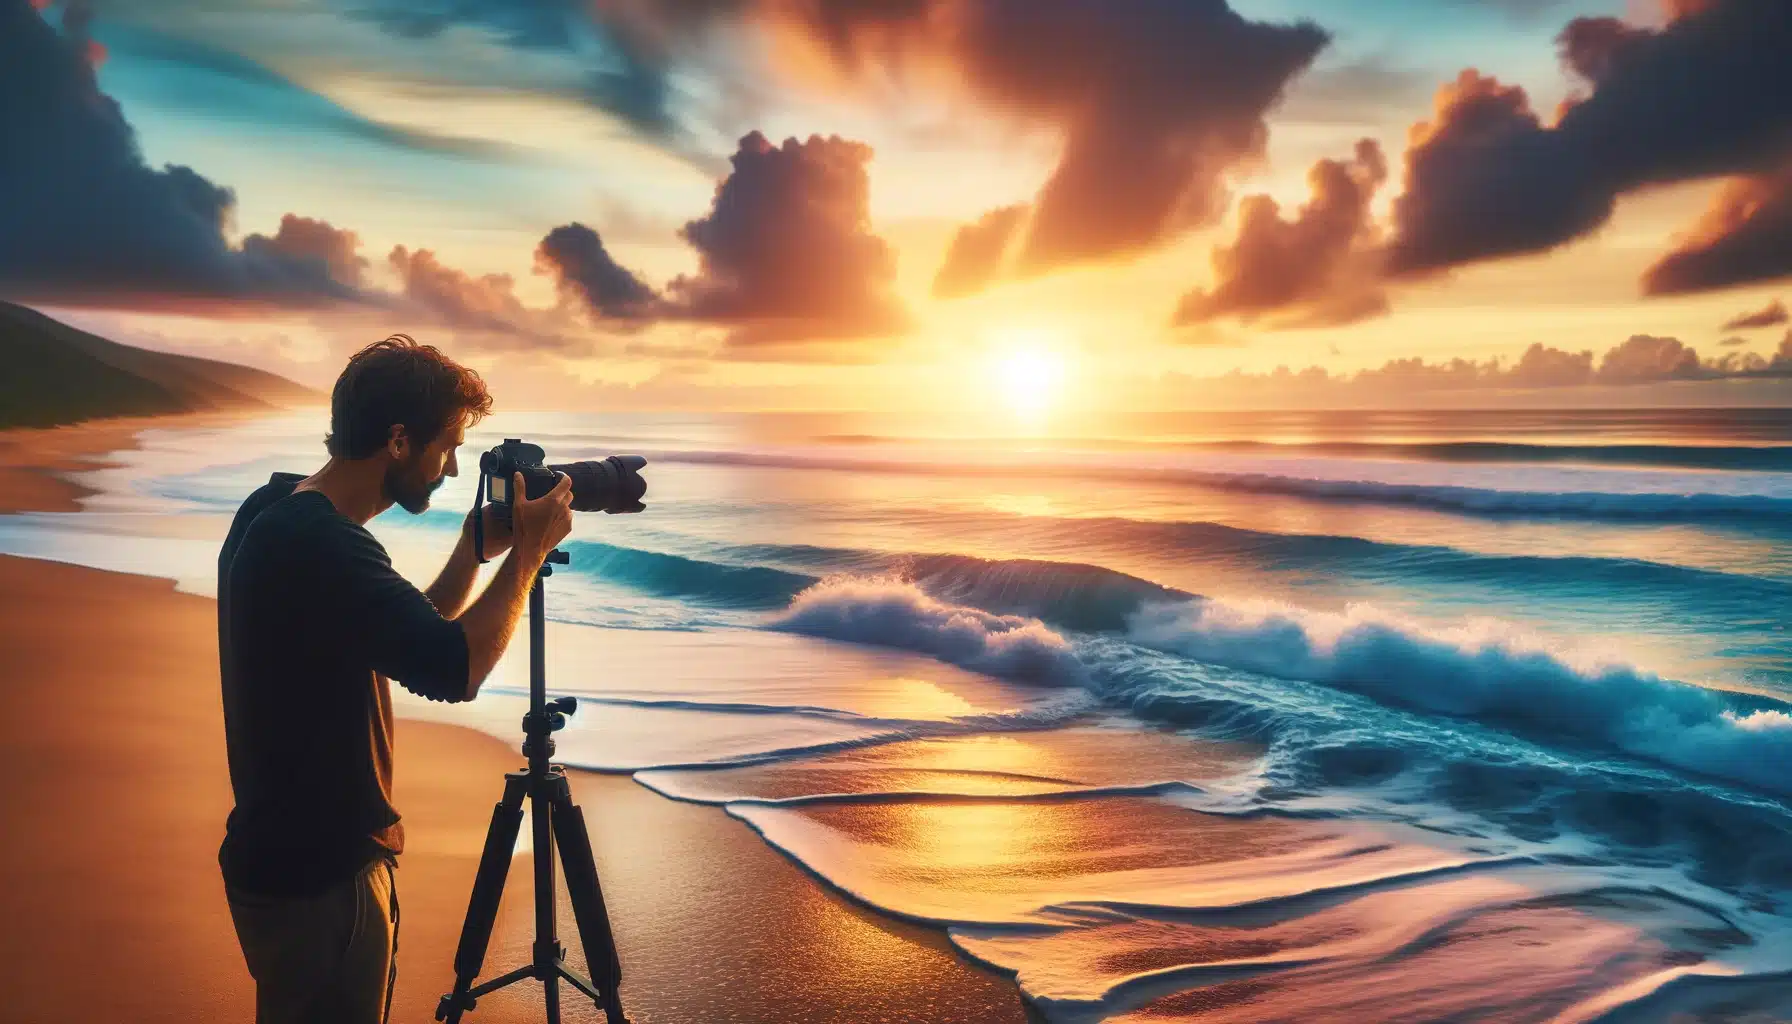
Seascape Photography Tips: Master the Art of Ocean Photography
Seascape Photography Tips: Master the Art of Ocean Photography
Introduction to Seascape Photography Tips
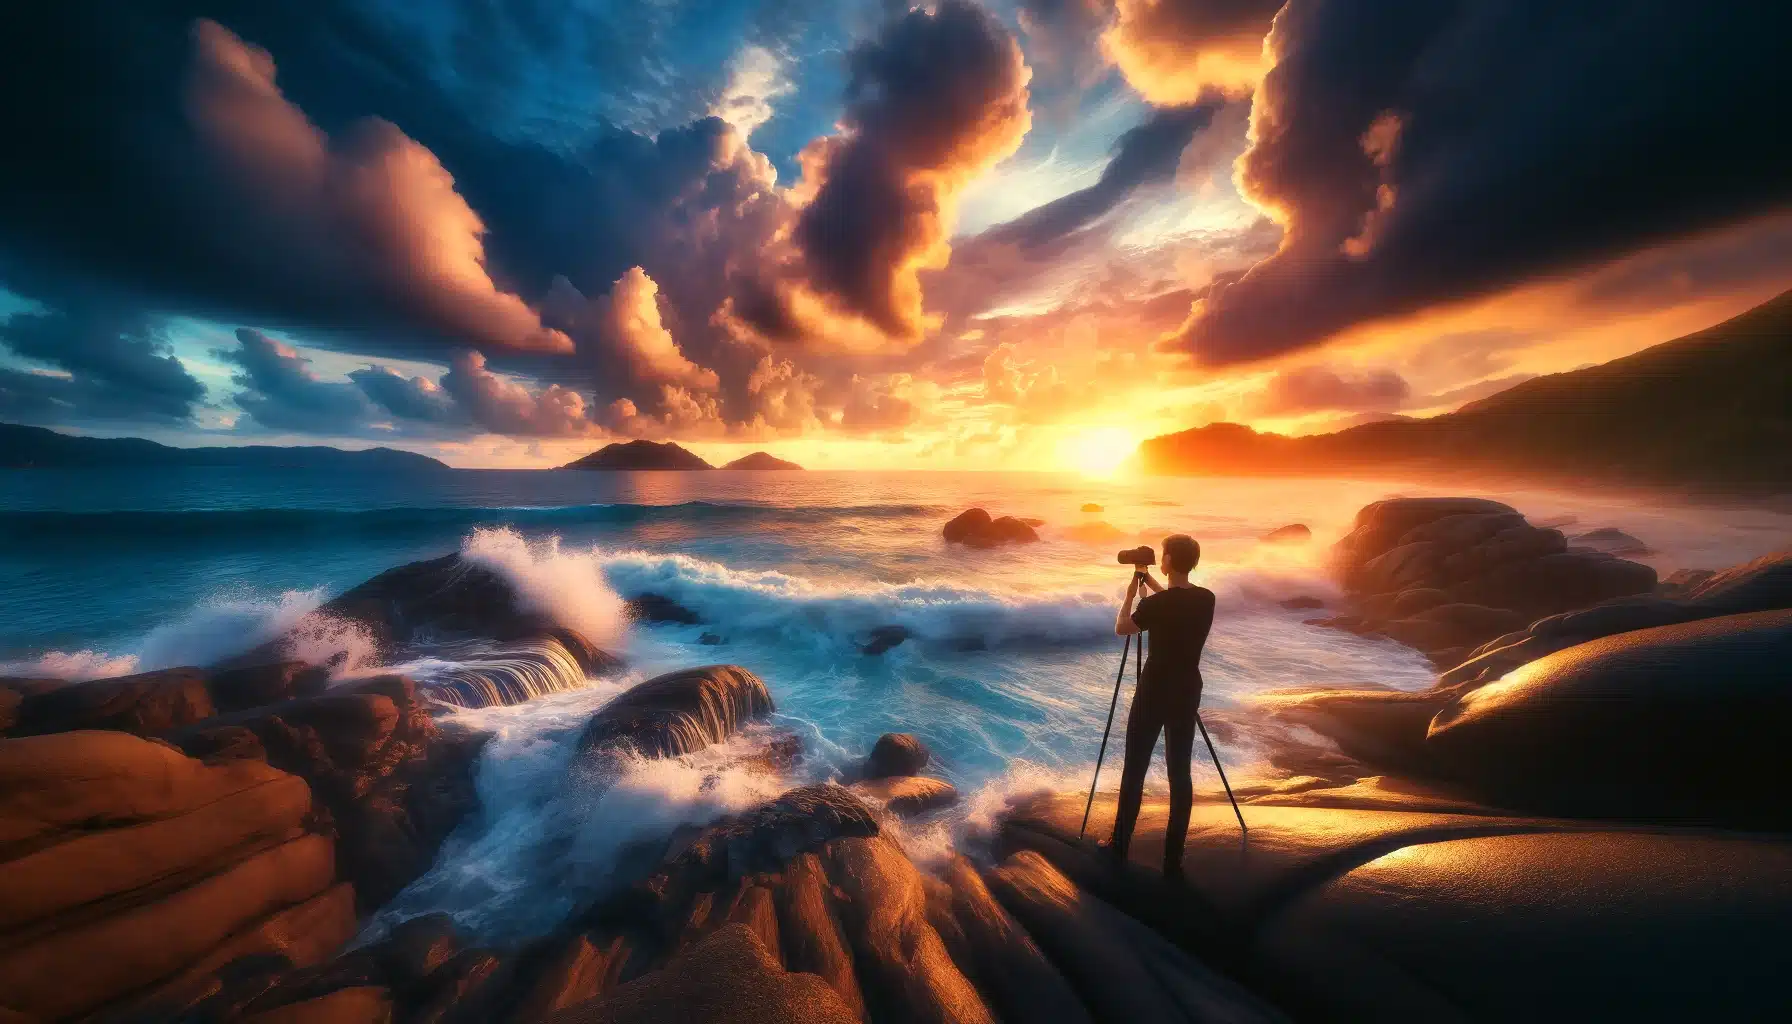
Seascape photography or beach photography is a specialized genre of landscape photography that focuses on capturing the beauty and dynamics of the ocean and coastal environments. This type of photography often involves capturing scenes that include the sea, beaches, cliffs, and other marine elements. Unlike typical landscapes, seascape photography tips are characterized by the ever-changing nature of water, light, and weather conditions, making each shot unique and challenging.
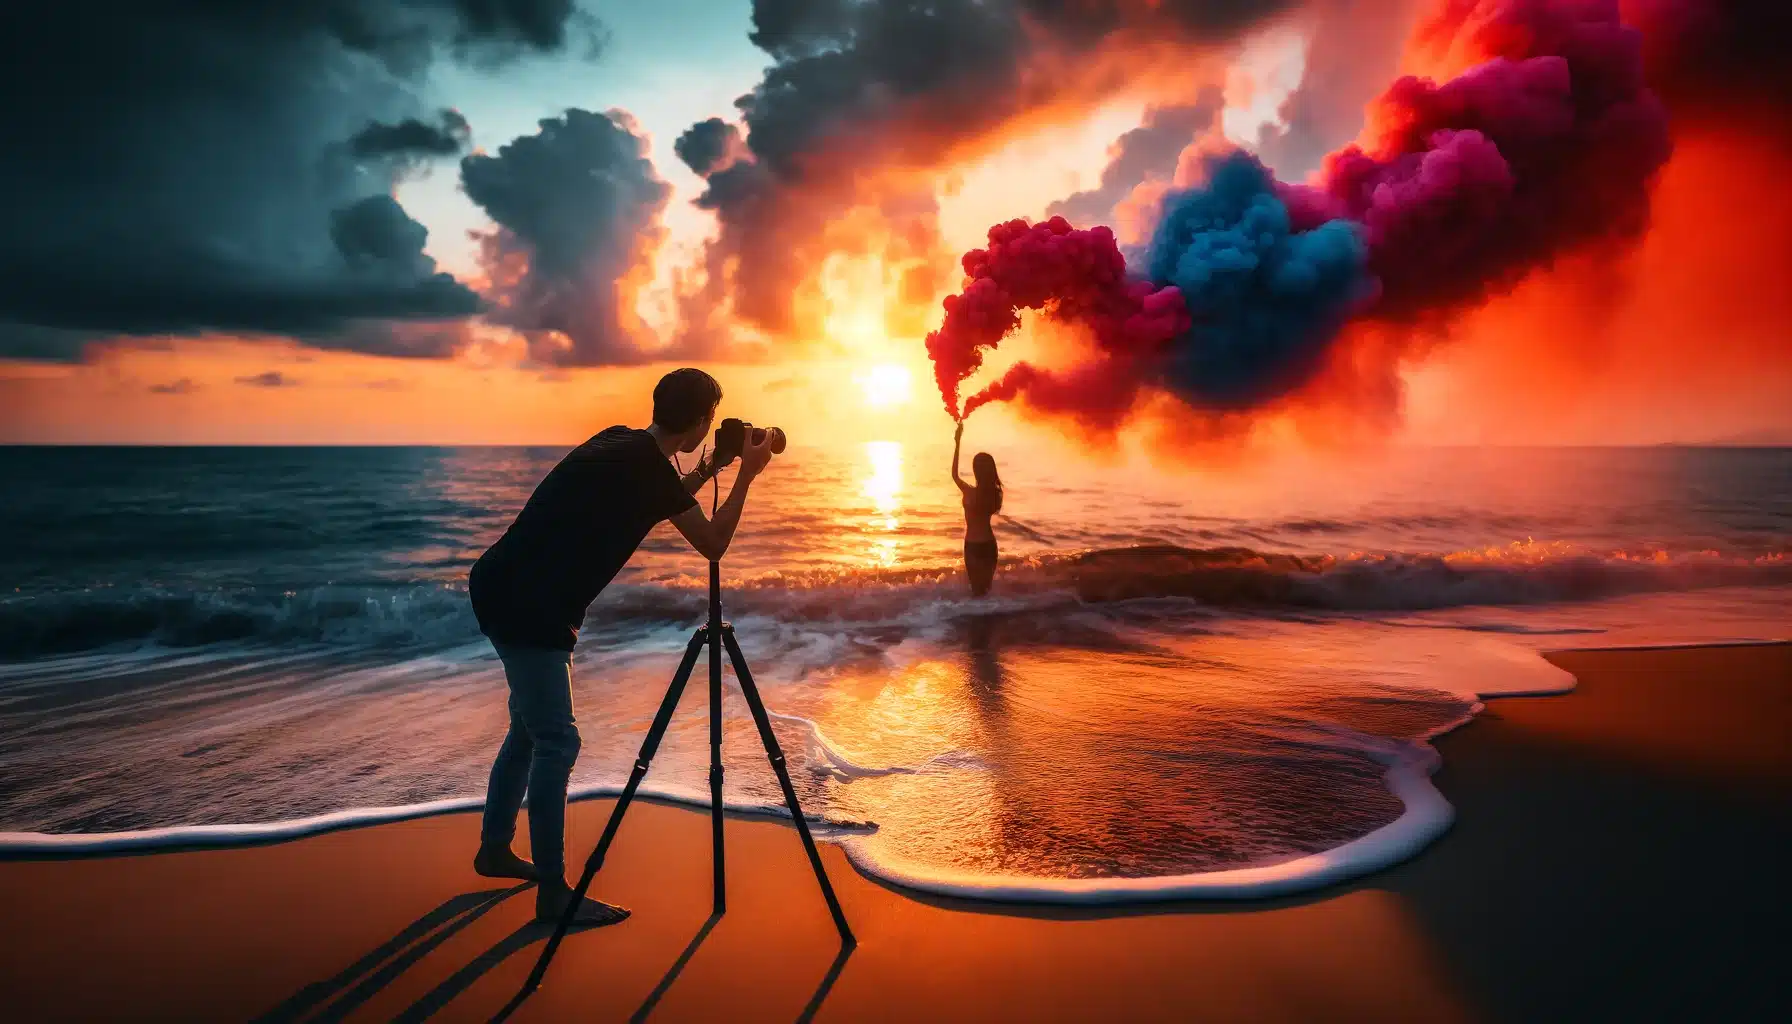
For example, a photographer might visit the rugged coastlines of Big Sur, California, to capture the dramatic interplay between crashing waves and rocky outcrops at sunset. By using long exposure techniques, the photographer can create a smooth, ethereal effect on the water, highlighting the serene yet powerful essence of the seas. This approach not only showcases the natural beauty of the seascape but also evokes a sense of peace and awe in the viewer.
Table of Contents
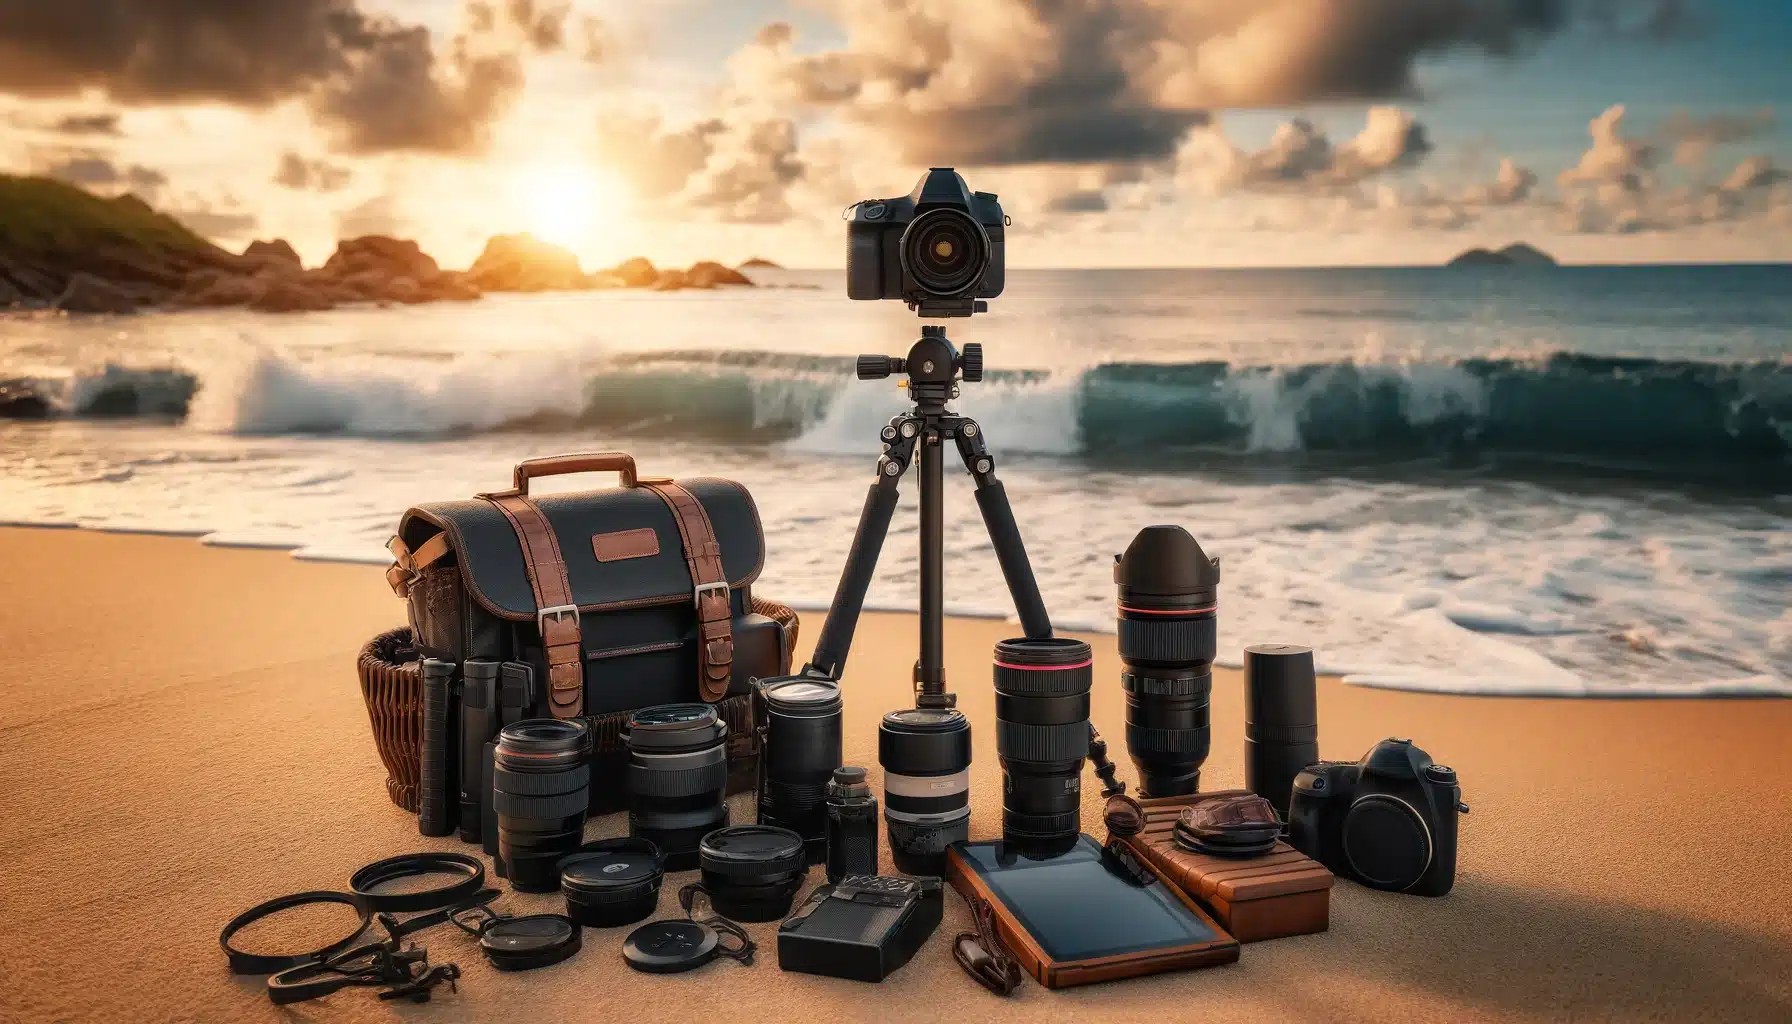
Essential Gear for Seascape Photography
1. Camera and Lenses
A good camera is on top in our beach photography tips. DSLRs and mirrorless cameras with high resolution and weather sealing are ideal. For lenses, start with a wide-angle lens to capture expansive scenes. A telephoto lens is also useful for isolating details and distant subjects, providing versatility in your shots.
2. Sturdy Tripod
A strong tripod is essential to keep your camera steady, especially for long exposure shots. Choose a tripod made of durable materials like carbon fiber, which is lightweight yet sturdy. Ensure the tripod can withstand water and sand, as these elements are common in coastal environments.
3. Filters
Filters can enhance your beach photography significantly. A neutral density (ND) filter helps manage exposure during bright conditions, allowing for long exposures to smooth out water. A circular polarizing reduces glare and enhances colors, especially useful when capturing water and skies.
4. Remote Shutter Release
Using a remote shutter release minimizes camera shake during long exposures. It helps you take sharp, clear photographs without physically pressing the shutter button. Many cameras have built-in timers, but a remote is more convenient and reliable for shoreline settings.
5. Protective Gear
Protecting your equipment is crucial. Use lens hoods to shield against spray and sand. Waterproof camera bags are essential to keep your gear dry. Always carry a cleaning kit, including microfiber cloths and lens cleaners, to remove saltwater and sand from your equipment.
One of the key thing is mastering your shutter speed. For silky smooth water effects, use long exposures (1/4 second or longer). This technique blurs the motion of the water, creating a dreamy, misty effect. A neutral density (ND) filter can help manage the light during long exposures. For crisp, detailed shots of crashing waves, use a fast shutter speed (1/1000 second or faster). This will freeze the motion, capturing the power and energy of the vastness.
The golden hours, shortly after sunrise and before sunset offer the best lighting for beach photography. During these times, the sun casts a warm, soft glow, enhancing colors and creating beautiful shadows. Midday light can be harsh, but it can also create vibrant blue skies and clear water. Overcast days provide diffused light, which can be perfect for reducing glare and capturing moody, dramatic scenes.
Mind the Tides
Understanding the tide schedule is crucial. High tide can create dynamic waves and perfect water reflections, while low tide reveals tidal pools, rocks, and other foreground elements. Always check tide charts before heading out and plan your shoot according to the tide’s behavior to ensure you capture the scene you envision.
Seascape Photography Tips Focus on Composition
Effective composition is essential in seascape photography. Use the rule of thirds to place the horizon and key elements off-center. Leading lines, such as waves or shorelines, guide the viewer’s eye through the image. Experiment with different perspectives, such as shooting from low angles to emphasize the front or from high vantage points to capture a sweeping view of the coast.
Incorporate Foreground Elements
Adding interesting front elements can give depth to your photographs. Rocks, driftwood, shells, or tidal pools can serve as focal points that draw the viewer’s eye into the scene. These elements also add texture and scale, enhancing the overall composition and making the photograph more engaging.
Use a Polarizing Filter
It can significantly improve your seascape photos. It reduces reflections and glare on the water, enhances the colors of the sky and sea, and can make clouds stand out more vividly. This is particularly useful when shooting during the brighter parts of the day or when you want to capture the rich blues of the ocean.
Protect Your Gear
Saltwater and sand can be detrimental to your camera equipment. Use a lens hood to shield your lens from spray, and always carry a cleaning kit to wipe off any moisture or sand. Consider using a rain cover for your camera if you’re capturing close to splashing waves.
Experiment with Different Perspectives
During beach photography, don’t limit yourself to eye-level shots. Try capturing from different heights and angles. A low angle can make waves look more imposing and front elements more prominent. Shooting from a cliff or a high vantage point can provide a dramatic overview of the coastline. Each perspective offers a unique way to capture the essence of the seascape.
Edit Thoughtfully
Post-processing is an essential part of creating stunning photos. Use software like Lightroom or Photoshop to enhance colors, adjust exposure, and remove any unwanted elements. Pay attention to the balance of light and shadow, and consider converting some images to black and white for a dramatic effect. The key is to enhance the natural beauty of the scene without over-editing.
Best Times and Weather Conditions for Seascape Photography
The best times for seascape photography are during the golden hours, which are the periods shortly after sunrise and just before sunset. During these times, the sunlight is softer and warmer, creating beautiful colors and long shadows that add depth and dimension to your photos. Additionally, the low angle of the sun can enhance textures and details in the water and along the shoreline, making these times ideal for capturing stunning seascapes.
Weather conditions play a significant role in seascape photography. Overcast days can produce diffused light, reducing harsh shadows and glare, and creating a moodier atmosphere. Stormy weather, with dramatic clouds and rough seas, can result in powerful and dynamic images, but it requires caution and preparedness. Calm, clear days are perfect for capturing reflections in the water and for long exposure shots that smooth out the brine’s surface.
Time of Day
Lighting
Conditions
Best For
Sunrise
Soft, warm light
Calm or slightly windy
Warm tones, reflections
Midday
Bright, harsh light
Clear skies
Vibrant colors, clear water
Sunset
Warm, golden light
Calm or slightly windy
Dramatic skies, silhouettes
Overcast
Diffused, soft light
Cloudy skies
Moody, even lighting
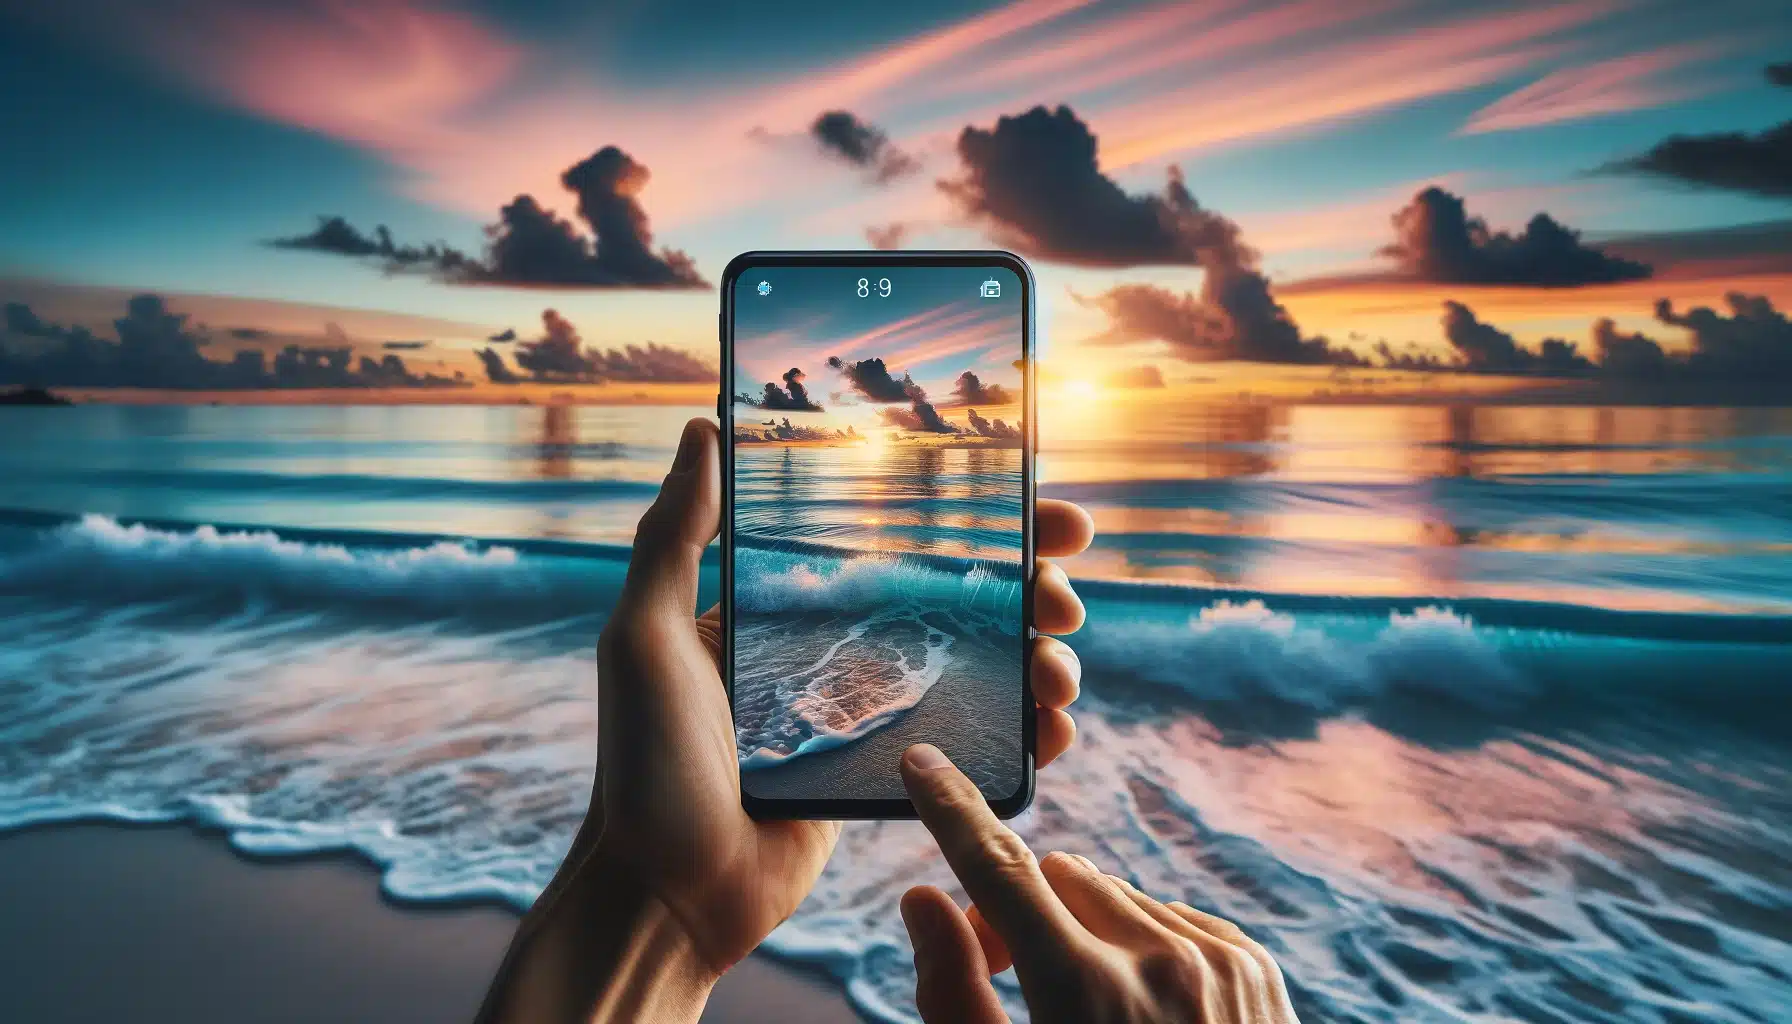
Seascape Photography Tips When Using Smartphones
Optimize Camera Settings
Use HDR Mode: This helps in capturing a wider range of light and shadows, perfect for seascapes with bright skies and dark waters. HDR mode combines multiple exposures to create a balanced image, enhancing details in both highlights and shadows.
Adjust Exposure: Tap on the screen to focus, then adjust the exposure slider to ensure your photo isn’t too bright or too dark. Proper exposure is crucial for capturing the nuances of the sea and sky.
Stabilize Your Phone
Use a Tripod: A small, portable tripod can help keep your phone steady, especially for long exposure shots. Stability is essential for sharp images, particularly in low light or when using slow shutter speeds.
Use a Remote Shutter or Timer: Avoid touching the phone to reduce shake. Using a remote shutter or setting a timer ensures that pressing the button doesn’t blur your shot.
Leverage Smartphone Features
Panorama Mode: Use this mode to capture wide, sweeping views of the coastline. Panoramas are great for conveying the vastness of the seas and the expanse of the sky.
Night Mode: If shooting during poor light conditions, use the night mode feature to capture clearer images. Night mode long exposure photography combines multiple exposures to enhance detail and reduce noise in dark scenes.
Burst Mode: Capture the perfect wave or moment by using burst mode to take multiple shots in quick succession. This increases your chances of getting the best possible shot during dynamic scenes.
Post-Processing
Use Editing Apps: Apps like Lightroom Mobile, Snapseed, and VSCO offer powerful editing tools to enhance your seascape photographs. These apps allow you to fine-tune exposure, contrast, and color balance, making your images stand out.
Adjust Key Elements: Focus on adjusting brightness, contrast, and color saturation to make your photos pop. Small tweaks can dramatically improve the overall look and feel of your images.
Remove Unwanted Elements: Use spot healing brush or cloning tools to remove distractions like people or litter from your seascape. Clean, uncluttered photographs often have a stronger visual impact.
Recommended Camera Settings for Seascape Photography
Seascape Photgraphy Tips for ISO
For the best image quality, keep the ISO as low as possible, typically around ISO 100 to ISO 200. Low ISO settings minimize noise and produce the sharp images. When shooting in dim light or aiming for long exposures, using a low ISO is essential to maintain clarity and detail in your seascapes. However, if the light is very low and you don’t have a tripod, you may need to increase the ISO to avoid blurry images due to camera shake.
Aperture
Choosing the right aperture depends on the desired depth of field and the lighting conditions. For seascape photography, a common range is between f/8 and f/16. This range provides a good depth of field, keeping both the front and background in focus. Using a smaller aperture (higher f-number) ensures more of the scene is sharp and detailed, which is particularly important in landscape photography.
Shutter Speed
Shutter speed dramatically affects how water motion is captured. For smooth, silky water effects, use long exposures (1/4 second to several seconds). This technique blurs the water, creating a dreamy effect. A neutral density (ND) filter can help extend the exposure time during bright conditions. For capturing sharp, detailed waves, use a fast shutter speed (1/1000 second or faster). This freezes the motion, capturing the energy and texture of the water.
Beach Photography Tips White Balance
White balance settings can significantly influence the mood and color accuracy of your seascape photographs. Auto white balance is generally reliable, but you can manually adjust it based on the lighting conditions. For sunrise or sunset, use the “Daylight” or “Cloudy” preset to enhance warm tones. In overcast conditions, the “Cloudy” or “Shade” preset can add warmth and richness to your images. Adjusting white balance in post-processing also offers greater control over the final image.
Marine Photography Techniques for Long Exposure
It is a popular technique in seascape photography for creating smooth, ethereal water effects. To achieve this, use a shutter speed longer than 1 second. A sturdy tripod is essential to keep the camera stable. Additionally, using an ND filter can help manage light, allowing for longer exposures even in bright conditions. Combine this with a low ISO and a small aperture to maintain image quality.
Focus Settings
Manual focus is often preferred for seascape photography to ensure precise control over what elements are sharp in the image. Autofocus can struggle with the moving water and changing light conditions. Focus about one-third into the scene to achieve a balanced depth of field, ensuring both the front and background are in focus.
Additional Settings
Exposure Compensation: Adjust exposure compensation to ensure the scene is properly lit, especially in high-contrast situations.
Metering Mode: Use evaluative or matrix metering for balanced exposures across the entire scene.
Drive Mode: Use a remote shutter release or the camera’s timer function to minimize camera shake during long exposures.
Technical Information Table
Setting
Recommended Value
Purpose
Additional Notes
ISO
100-200
Minimize noise, maintain image quality
Increase only if necessary to avoid blur
Aperture
f/8 – f/16
Deep depth of field
Keeps foreground and background in focus
Shutter Speed
1/1000s (fast) / 1s+
Capture motion: freeze waves / smooth water
Use ND filter for long exposures
White Balance
Auto, Daylight, Cloudy
Correct color balance
Adjust based on lighting conditions
Long Exposure
1 second or longer
Create smooth, ethereal water effects
Use tripod and ND filters
Seascape Photography Tips for Editing Beach Photos Professionally
Editing RAW files gives you the highest quality and most flexibility. RAW files capture more data than JPEGs, allowing you to adjust exposure, white balance, and colors without degrading the image quality. Import your RAW files into your editing software to begin.
2. Adjust Exposure and Contrast
One of best seascape photography tips is to begin by adjusting the overall exposure to ensure the image is well-lit. Use the contrast slider to add depth and make the highlights and shadows stand out. Fine-tuning these settings can bring out the dynamic range in your seascape.
3. Enhance Colors
Seascape photography often benefits from vibrant colors. Increase the vibrancy and saturation to make the blues of the ocean and the hues of the sky pop. Be careful not to overdo it, as too much saturation can make the image look unnatural. Use the HSL (Hue, Saturation, and Luminance) sliders to target specific colors and adjust them to your preference.
4. Sharpen Details
Sharpening enhances the clarity and detail in your seascape. Use the sharpening tool to bring out textures in the water and any other focal points in your image. Adjust the amount, radius, and detail sliders to get the desired level of sharpness without introducing noise.
5. Reduce Noise
Even with a low ISO setting, noise can still be present, especially in the shadows. Use noise reduction tools to smooth out any graininess while preserving as much detail as possible. Balance the noise reduction and detail sliders to maintain a natural look.
6. Correct Lens Distortion
Know lens correction for seascape photography tips. Correcting distortion is essential for maintaining straight lines and a natural perspective. Use the lens correction tool to fix any bending or warping caused by your lens. This step ensures that horizons and other straight lines appear accurate
7. Apply Graduated Filters
Graduated filters can enhance the sky and water separately. Apply graduated filters to darken the sky and bring out details in the clouds. Another graduated filter can be used to brighten or add contrast to the water. These adjustments help balance the exposure across the image.
8. Enhance Sky and Water
Use selective editing tools to separately enhance the sky and water. For the sky, adjust the highlights and shadows to bring out more detail and texture. For the water, enhance the reflections and waves to add a sense of motion and depth.
Creative Composition Techniques for Beach Photography
Rule of Thirds
The rule of thirds is a fundamental principle in beach photography. Imagine dividing your frame into nine equal parts with two horizontal and two vertical lines. Position key subjects along these lines or at their intersections to create balanced and visually appealing compositions. This technique helps in drawing the viewer’s eye naturally to the most important parts of the image.
Leading Lines
Leading lines guide the viewer’s gaze through the image, creating a sense of depth and direction. In beach photography, these lines can be naturally occurring, such as shorelines, waves, or even footprints in the sand. Use these lines to draw attention to the main subject and create a dynamic flow within the image.
Foreground Interest
Incorporating interesting subjects in the foreground can add depth and context to your shoreline scenes. Objects like rocks, driftwood, or seashells can serve as focal points, providing a sense of scale and enhancing the overall composition. This is one of the essential seascape photography tips to make your images more engaging.
Symmetry and Reflections
Symmetry can create a striking visual effect, especially when the sea is calm and reflective. Position your camera to capture the perfect mirror image of the scene in the water. This technique works well during sunrise or sunset when the colors are vibrant and the water is still, adding a surreal quality to your beach photography.
Ocean Photography Advice for Framing
Use natural frames to draw attention to the main subject. This could be anything from overhanging tree branches to rock formations or even architectural structures like piers. Framing helps in isolating the subject and creating a more focused composition, making the image more compelling.
Negative Space
Negative space refers to the empty or open areas around your subject. Utilizing negative space can emphasize the main subject and create a minimalist and clean look. In beach photography, vast expanses of sand or water can serve as effective negative spaces, highlighting the simplicity and beauty of the scene.
Patterns and Textures
Shoreline environments are rich with patterns and textures, from the ripples in the sand to the waves and clouds. Capturing these details can add an interesting layer to your compositions. Look for repeating shapes or unique textures that can create a visually appealing image.
Perspective and Angles
Experimenting with different perspectives can drastically change the look and feel of your images. Try shooting from a high vantage point to capture a sweeping view of the coastline, or get close to the ground for a more intimate perspective. Changing your angle can reveal new aspects of the scene and add variety to your beach photography.
Table of Composition Techniques
Technique
Description
Effect
Rule of Thirds
Divide frame into 9 parts, place subjects
Balanced and appealing composition
Leading Lines
Use natural lines to guide the viewer
Creates depth and direction
Foreground Interest
Include objects in the foreground
Adds depth and context
FAQs Related to Seascape Photography Tips
How to Photograph Seascape?
Find a location with interesting features such as rocks or cliffs and arrive early to scout and plan your shots. Use a sturdy tripod and a wide-angle lens to capture expansive scenes, experimenting with different perspectives. Pay attention to tides and weather to enhance the mood and composition of your photos.
What Shutter Speeds for Seascapes?
For smooth water effects, use a shutter speed between 1/4 second and several seconds, utilizing a neutral density filter if necessary. To capture sharp, detailed waves, opt for a fast shutter speed around 1/500 to 1/1000 second. Adjust based on the desired visual effect.
How Do You Take Good Pictures of the Sea?
Shoot during the golden hours for the best light, and use the rule of thirds for balanced compositions. Incorporate foreground objects like rocks or seaweed to add depth. Adjust your settings for either smooth water effects or detailed wave captures.
What Shutter Speed is Needed for Ocean Waves?
For capturing sharp, detailed ocean waves, use a fast shutter speed between 1/500 and 1/1000 second. For a smooth, dreamy effect, select a shutter speed of 1/4 second or longer and use a neutral density filter if needed. The choice depends on the effect you want to achieve.
Conclusion
Seascape imaging is a rewarding yet challenging pursuit that requires patience, practice, and creativity. I remember one early morning shoot at Cannon Shoreline, Oregon, where I struggled to capture the perfect shot. The tide was high, and the waves were unpredictable, but by applying thesetactics and experimenting with different settings, I managed to capture a stunning image that truly conveyed the power and beauty of the ocean.
For those looking to enhance their skills further, I highly recommend checking out our Photoshop course and Lightroom course. These tutorials offer comprehensive guides and tutorials that can take your beach photographyto the next level. Whether you’re a beginner or an experienced photographer, mastering these editing tools will allow you to bring your seascape photos to life and achieve professional-quality results.
If this article has helped you, then Like and Share it with your friends
$2,061.00Original price was: $2,061.00.$1,061.00Current price is: $1,061.00. 27641
Download Your Free Guide Now!
Discover the secrets of photography with our printable guide! Master essential techniques like aperture, shutter speed, and ISO to create stunning images. Get your free printable PDF now and start turning your snapshots into masterpieces!