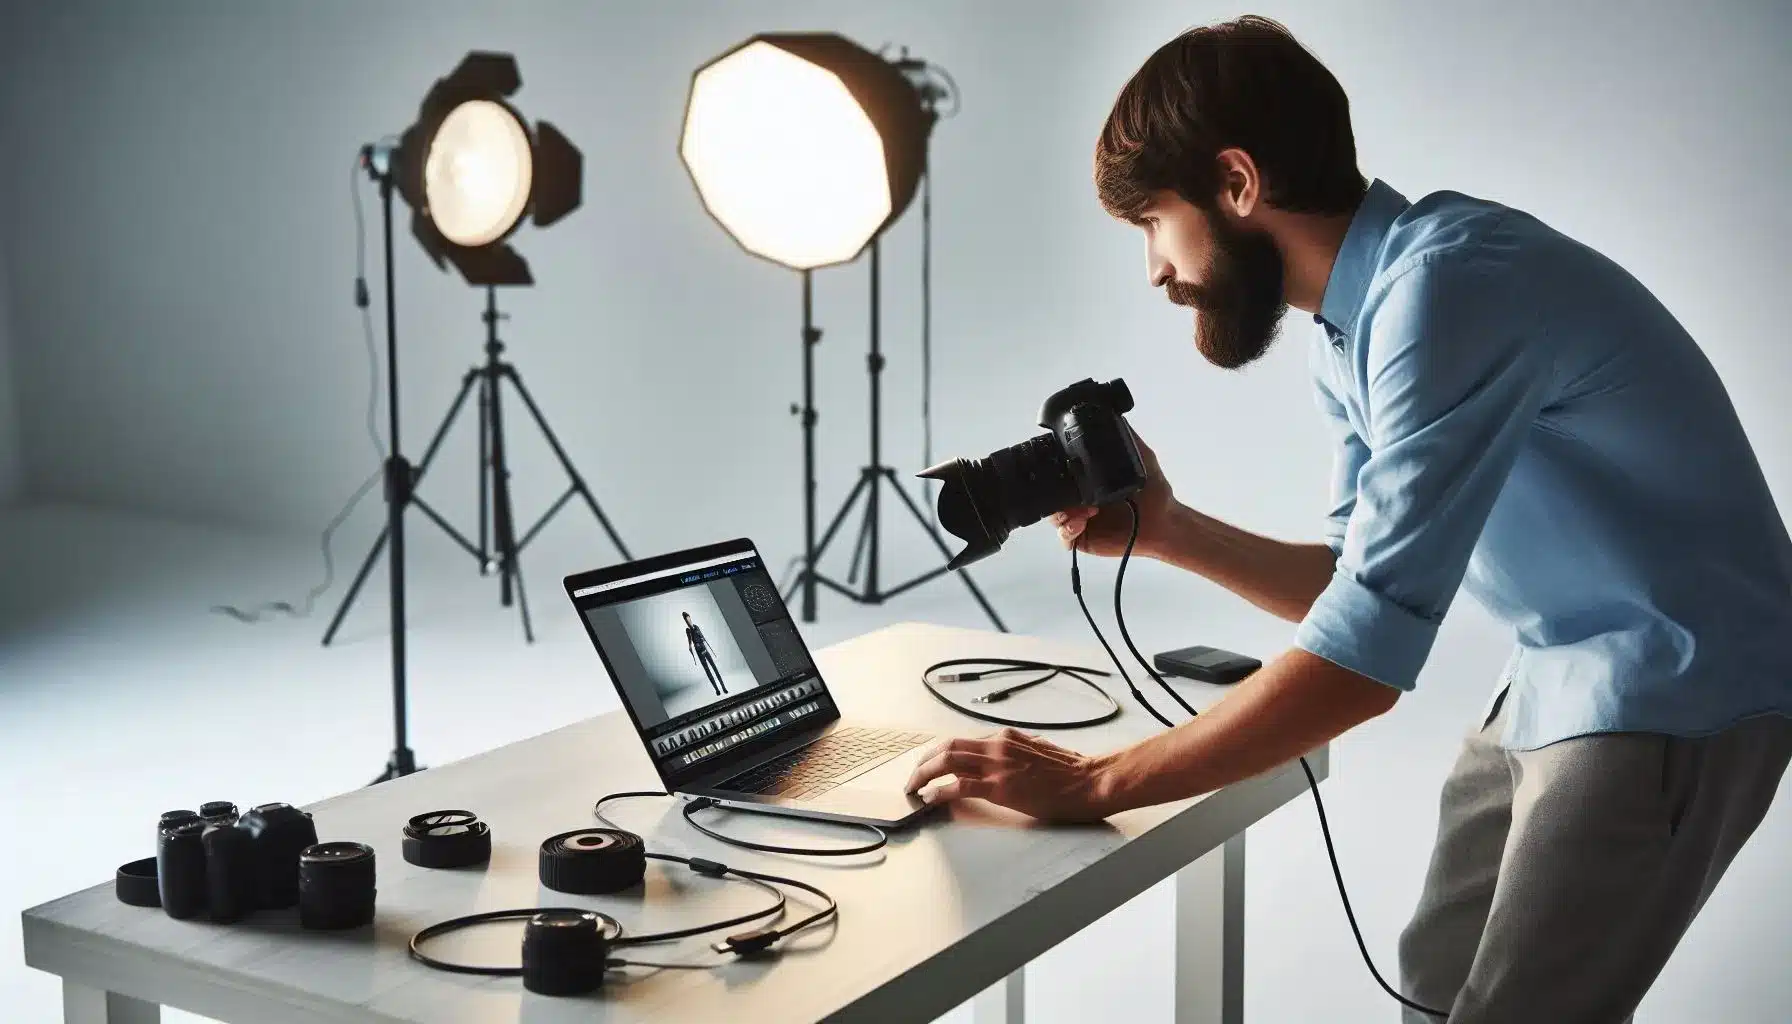
As an expert photographer, I know that capturing the perfect shot is only half the battle. What truly sets professionals apart is the ability to refine every detail on the spot, ensuring the final image is flawless. That’s where Lightroom Tethering comes into play. Imagine connecting your camera directly to Lightroom and seeing your shots instantly, ready for immediate editing photos. Whether you’re in a workshop or out in the field, tethering offers the convenience of real-time feedback, making it a game-changer for those of us who demand precision and efficiency. In this blog, I’ll show you how to set up Lightroom Tethering and maximize its potential to elevate your photography experience.
Table of Contents
How To Start A Lightroom Tethering Photoshoot
Camera tethering to Lightroom during a photoshoot offers numerous advantages, such as immediate image review, efficient workflow management, and the ability to make on-the-spot edits. Here’s a step-by-step guide on how to start a tethering photoshoot with Lightroom, including tips for Lightroom and best practices to ensure a smooth experience.
Check Compatibility and Prepare Equipment

- Camera Compatibility: Ensure that your camera is compatible with Lightroom’s tethering features. Adobe new features provide a list of supported camera, primarily Nikon and Canon models.
- USB Cable: Use a high-quality, long USB cable (12-15 feet recommended) to connect your camera settings to your computer. Ensure the cable is securely connected to avoid disconnections during the shoot.
- Computer Setup: Aperture adobe Lightroom Classic create or select a catalog where you want your photos to be saved. This setup is crucial for organizing your photographs as they are captured.
Start Tethered Capture Settings in Lightroom
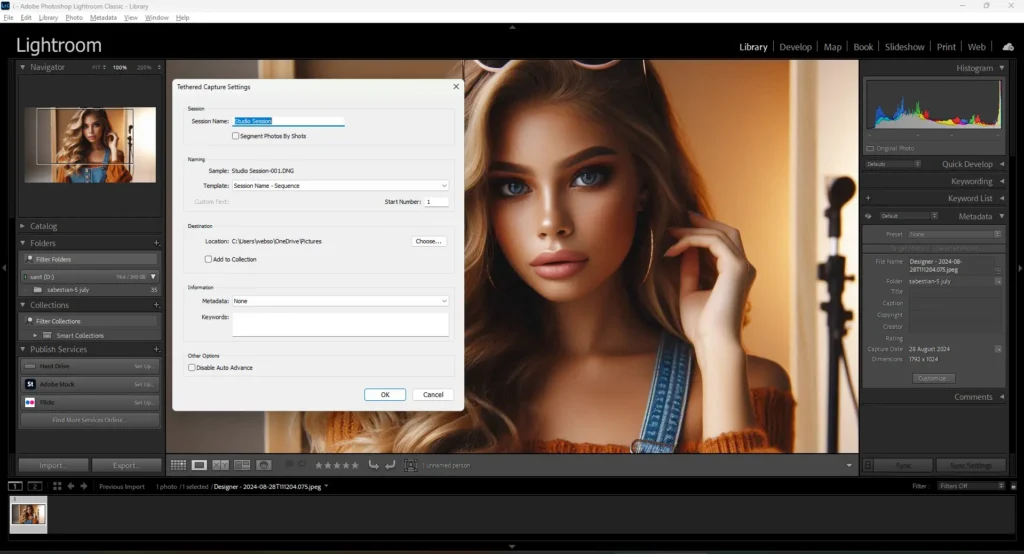
- Initiate Tethered Capture Settings: In Lightroom, navigate to File > Tethered Capture > Start Tethered Capture. A dialog box will appear where you can name your session, choose a destination folder, and apply metadata setting such as copyright information.
- Camera Detection: Once you’ve set your preferences, turn on your camera, and Adobe Lightroom should automatically detect it. You’ll see a black bar displaying your particular camera model setting at the top of the Lightroom interface.
Conduct the Photoshoot
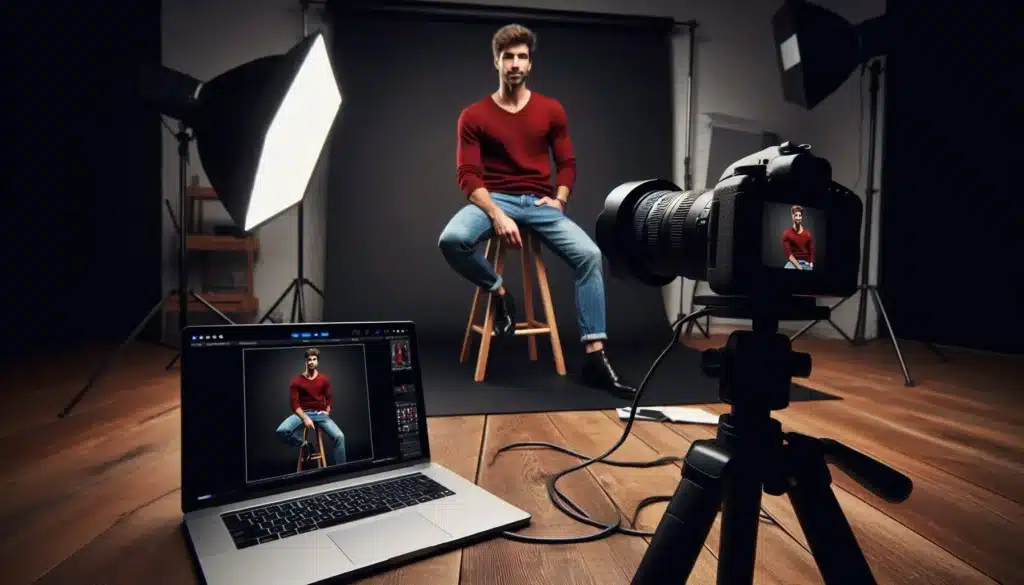
- Real-Time Image Display: As you take photos, they will instantly appear in your Lightroom catalog. This immediate feedback allows you to make necessary adjustments to lighting, focus, zoom in and composition. To zoom in on Photoshop, simply use the Zoom Tool by pressing 'Z' or hold down 'Alt' (Windows) or 'Option' (Mac) and scroll your mouse wheel.
- On-the-Spot Edits: Lightroom allows you to apply develop settings to your images as they are imported. You can quickly adjust exposure, white balance, and other settings to ensure you’re capturing the best possible images.
- Client Collaboration: Tethered shooting is excellent for client shoots, as it allows clients to view images in real-time and provides feedback, ensuring their satisfaction with the final results.
Benefits of Tethering
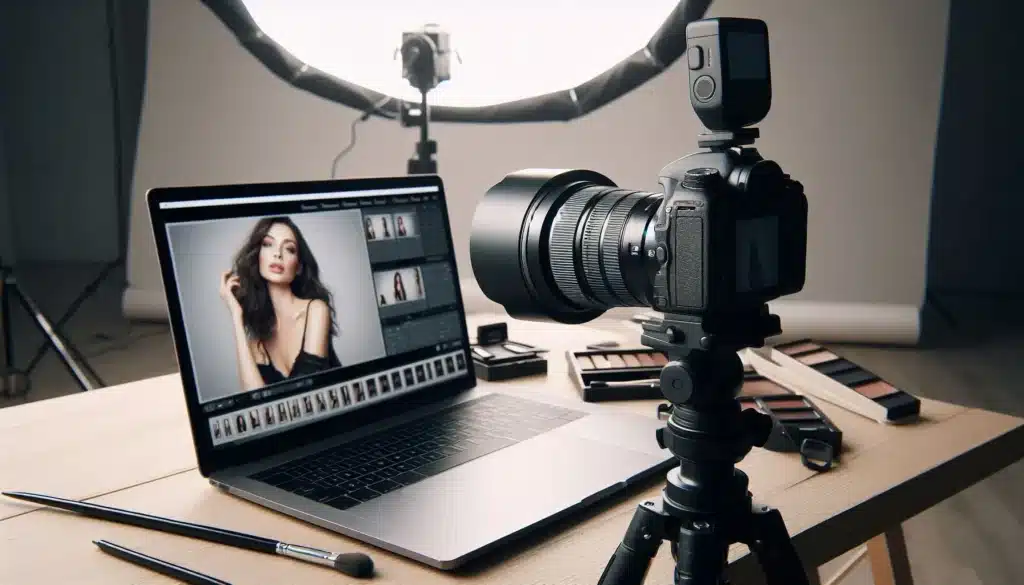
- Immediate Feedback: Review images on a larger screen immediately after capture, allowing for precise adjustments and reducing post-processing time.
- Improved Workflow: Organize images as they are captured by adding them to specific collections within Lightroom, and apply keywords and metadata on the go for better catalog management.
- Instant Backup: Save your photos directly to both your camera’s memory card and your computer, ensuring a backup is always available during the shoot.
By following these steps and tips, you can make the most of Lightroom’s tethering feature, enhancing both the quality and efficiency of your photoshoots.
Lightroom Tethering in Lightroom vs Lightroom Classic
Tethering in Lightroom and adobe Lightroom Classic offers different image experiences tailored to various types of photographers and workflows. Understanding the distinctions between these two versions is crucial for making the most out of your tethering sessions. Here’s a detailed comparison table that outlines the key differences between Lightroom vs Lightroom Classic.
| Feature | Lightroom (Cloud-Based) | Lightroom Classic (Desktop-Based) |
|---|---|---|
| Tethering Support | No native tethering support. Primarily designed for mobile and cloud-based workflows. | Full tethering support, ideal for studio shoots with real-time image transfer. |
| Platform Focus | Cross-platform (desktop, mobile, web), designed for on-the-go editing and cloud storage. | Desktop-focused, with advanced editing and organizational tools, no cloud dependency. |
| Image Storage | Stores images in Adobe Creative Cloud with automatic syncing across devices. | Images are stored locally on your computer, offering full control over file management. |
| Editing Features | Simplified editing tools suitable for quick adjustments on the go. | Comprehensive editing suite with advanced features like virtual copies and history panel. |
| Speed and Performance | Dependent on internet speed due to cloud reliance; may be slower for large files. | Faster performance for high-volume shoots as everything is managed locally. |
| Target Audience | Hobbyists and mobile photographers who need accessibility across multiple devices. | Professional photographers who require robust tethering and advanced editing capabilities. |
| Backup and Syncing | Automatic cloud backup and syncing across all devices. | Manual syncing; backups must be handled locally unless integrated with Creative Cloud. |
| Supported Cameras for Tethering | Not supported. | Supports a wide range of cameras including Nikon, Canon, and with plugins, Sony. |
Platform and Accessibility
- Lightroom Classic is a desktop-focused app ideal for professional photography. It offers robust tethering and advanced organizational essential tools for photographers who store images locally.
- Lightroom (Cloud-Based), also known as Lightroom CC, is designed for mobility and accessibility across devices. However, it lacks native tethering support, limiting its use in settings where real-time image transfer is essential.
Tethering Capabilities
- Lightroom Classic: Fully supports tethering with a wide range of cameras, allowing instant image transfer and on-screen review—ideal for professional shoots needing detailed checks.
- Lightroom (Cloud-Based): Lacks native tethering support, making it less suitable for studio work. However, images can still be imported after shooting, fitting more mobile or casual setups.
Image Syncing and Storage
- Lightroom Classic: Tethered images are stored locally, giving you full control over file management and quick access for editing, ideal for handling large file without internet dependency.
- Lightroom: Images sync to Adobe’s Creative Cloud, offering convenience across devices. However, the absence of local tethering limits real-time image review during shoots.
Editing and Workflow
- Lightroom Classic: Features advanced editing tools and third-party plugin integration, allowing you to apply presets and organize photos during tethered shoots, enhancing your workflow.
- Lightroom: Offers a simpler interface but lacks the advanced editing tools of Lightroom Classic, making it less ideal for detailed adjustments during tethered shoots.
Who Should Use Which?
- Lightroom Classic: Best for professionals needing advanced tethering, local storage, and detailed editing—perfect for studio environments and high-volume shoots.
- Lightroom: Ideal for hobbyists or mobile photographers who value cloud storage and accessibility across devices, though it lacks tethering support.
If tethering is essential, choose Adobe Lightroom Classic. For a mobile, cloud-based approach, Lightroom is better suited to your needs.
FAQ about Lightroom Tethering

Can you use Lightroom to tether?
Yes, Adobe Lightroom Classic supports tethering, allowing instant image viewing as they’re captured. However, the cloud-based Lightroom lacks tethering, making it less ideal for work.
What is the main advantage of using Capture One over Lightroom when tethering?
Capture one outshines Lightroom in tethering with faster, more stable connections, essential for professional shoots. It also offers advanced color grading and broader camera model support, including direct tethering with Sony cameras.
What is the shortcut for tethering in Lightroom?
In Lightroom Classic, the shortcut for starting a tethered capture session is:
- Mac: Command + T
- Windows: Ctrl + T
This shortcut will bring up the tethered capture dialog, allowing you to set up your session quickly.
Can Lightroom tether Sony?
Lightroom Classic now supports tethering software for Sony camera settings through the use of the Smart Shooter plug-in. This integration allows Sony users to enjoy a stable tethered workflow within Lightroom Classic, although it requires additional setup compared to other brands like Canon and Nikon camera.
Conclusion: Lightroom Tethering

As a photographer, choosing the right tethering software is crucial. For instance, Lightroom Classic helped me spot a focus and zoom issue during a shoot, saving time and ensuring flawless images.
If you’re looking to elevate your photography skills and make the most out of your updated Photoshop and Lightroom tutorials, I highly recommend diving deeper into our Lightroom Course or Photoshop Course.
If Lightroom Tethering article has helped you, then Like and Share it with your friends
Have a nice photoshoot!
Read more about: Photo Editing with Lightroom and Photoshop


