| Aspect | Early Morning | Late Afternoon | Forests and Parks | Mountain Areas |
|---|
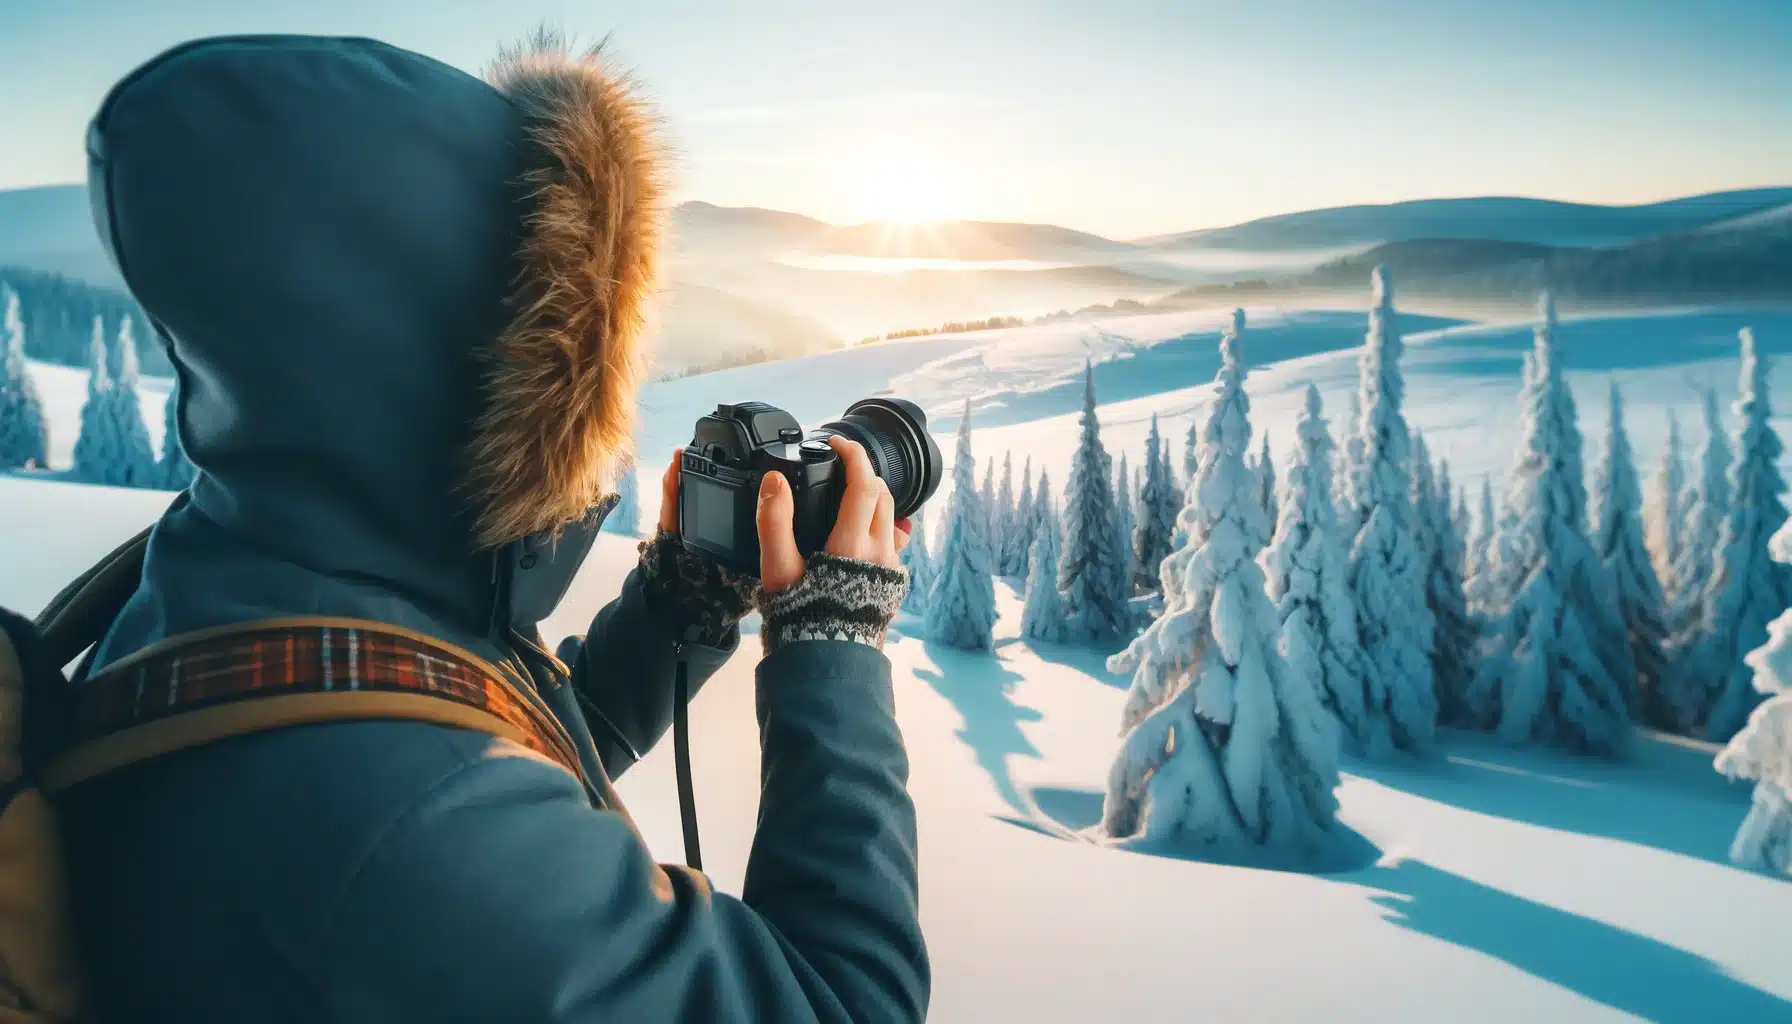
| Illumination | Soft, golden glow; fewer shadows | Warmer, golden tones; long shadows | Gentle, filtered sunlight through trees | Clear air; stunning panoramic views |
| Atmosphere | Calm and quiet; fresh snow undisturbed | Tranquil with beautiful sunset colors | Peaceful; natural elements like trees and animals | Majestic; often with breathtaking snow-capped peaks |
| Foot Traffic | Minimal, fewer disturbances | Minimal, fewer disturbances | Varies; usually quiet in the morning | Can be busy; less crowded early or late in the day |
| Temperature | Coldest part of the day, dress warmly | Warmer than morning but still chilly | Generally sheltered from wind | Can be very cold and windy |
| Unique Features | Sparkling, pristine snow; animal tracks | Beautiful shadows and colors of sunset | Snow-covered trees; quiet paths | Dramatic landscapes; potential for avalanches |