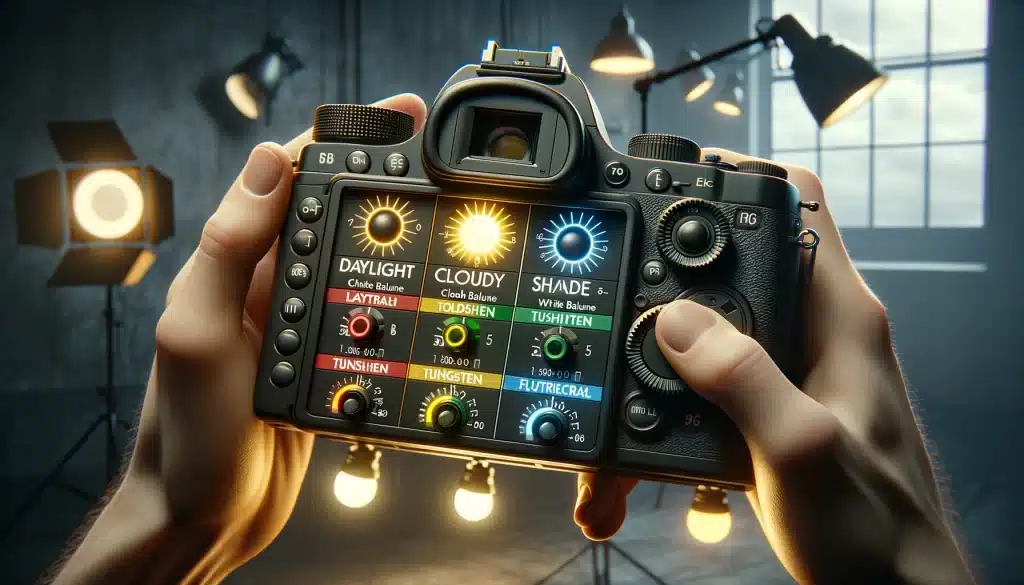
| Lighting Condition | White Balance Setting | Kelvin Value | Effect on Photo | Use Case |
|---|---|---|---|---|
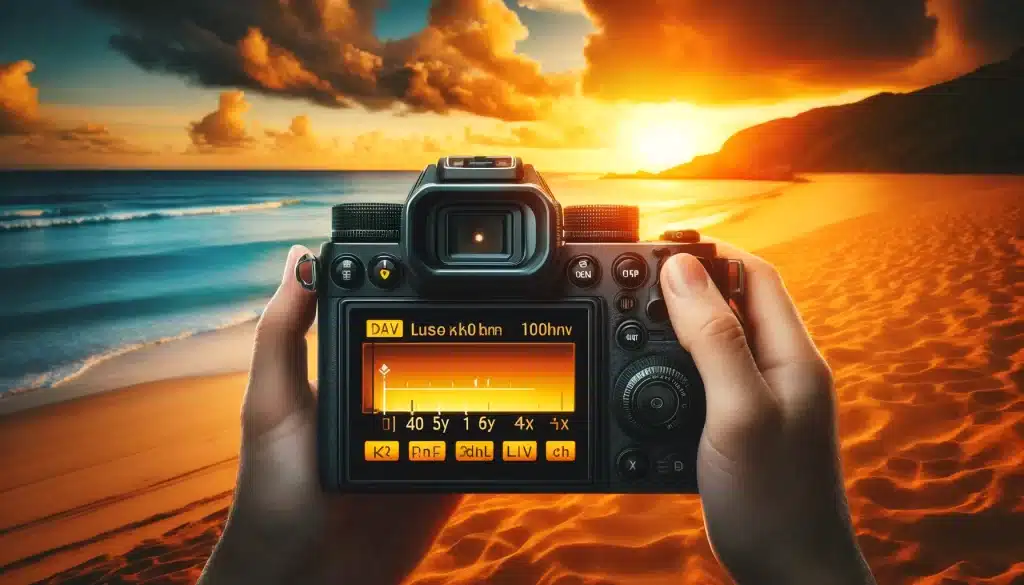
| Daylight | Daylight | 5500 K | Neutral | General outdoor photography in sunny conditions |
| Cloudy | Cloudy | 6500 K | Adds warmth | Enhancing warmth in overcast conditions |
| Shade | Shade | 7500 K | More warmth | Balancing the bluish tint in shaded areas |
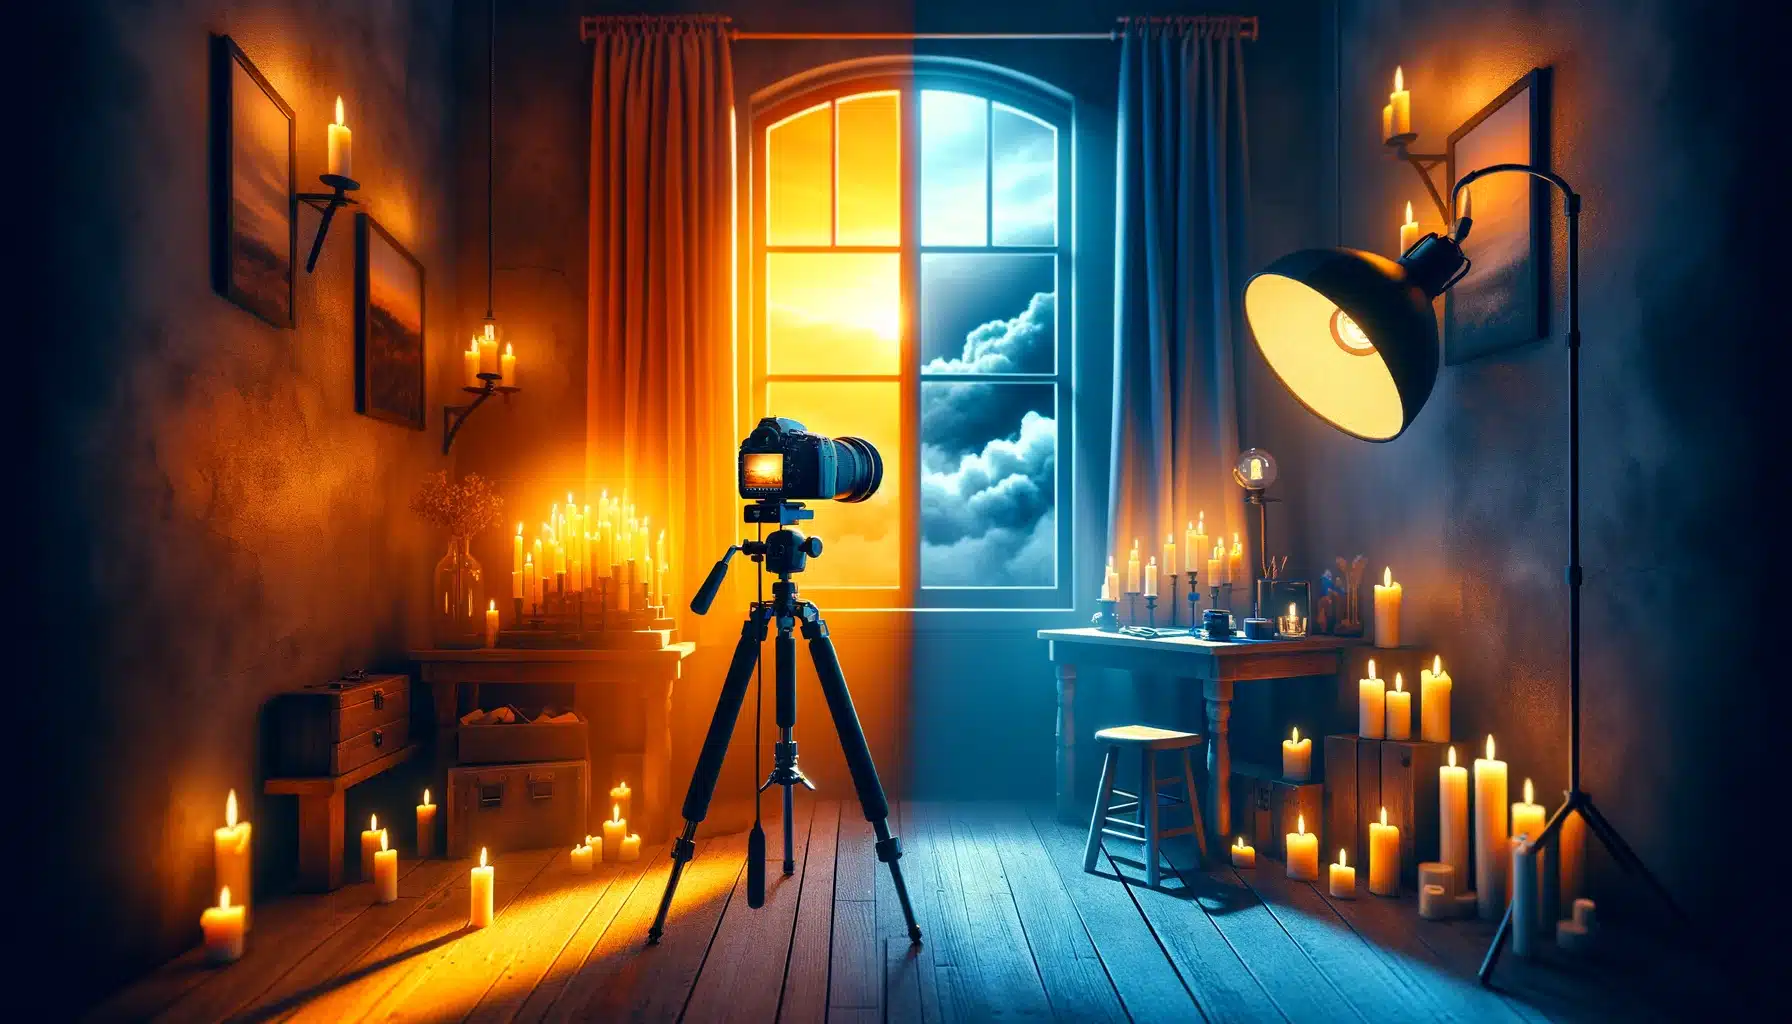
| Tungsten (Incandescent) | Tungsten | 3200 K | Cools down | Indoor photography with yellow light bulbs |
| Fluorescent | Fluorescent | 4000 K | Neutralizes green | Correcting the green hue of fluorescent lamps |

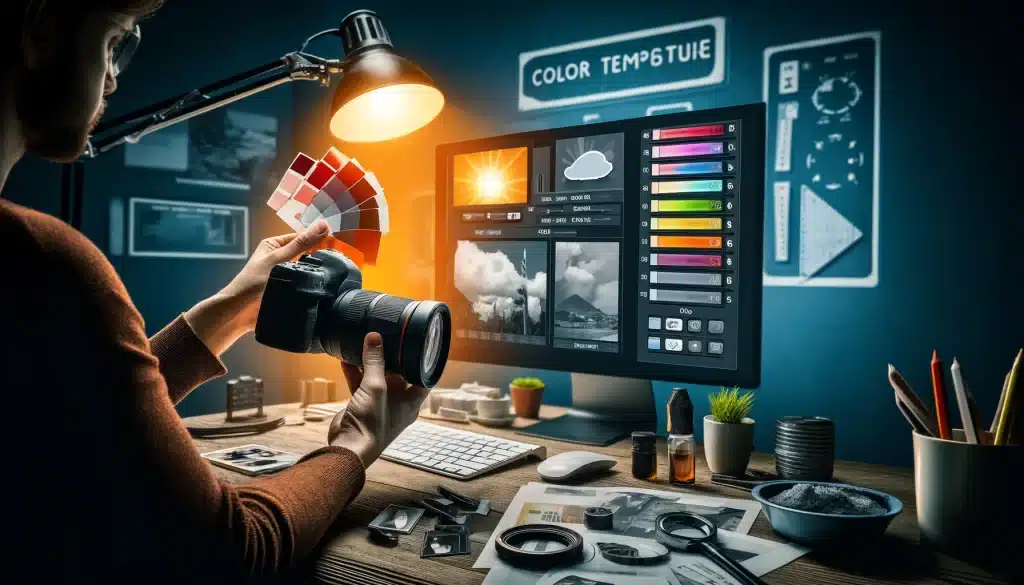

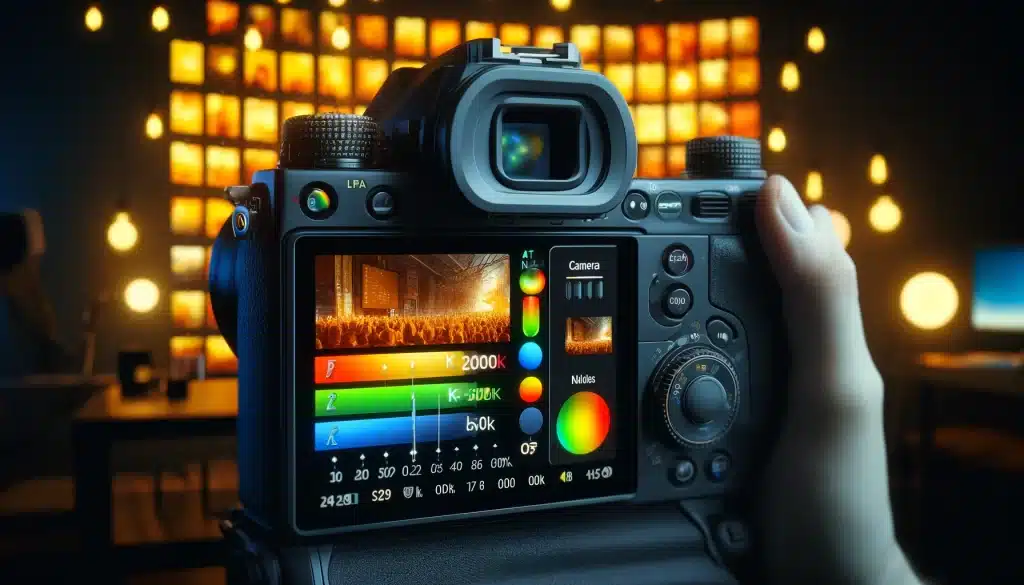
| Kelvin Value | Light Appearance | Typical Conditions | Effect on Photos | Suggested Use |
|---|---|---|---|---|
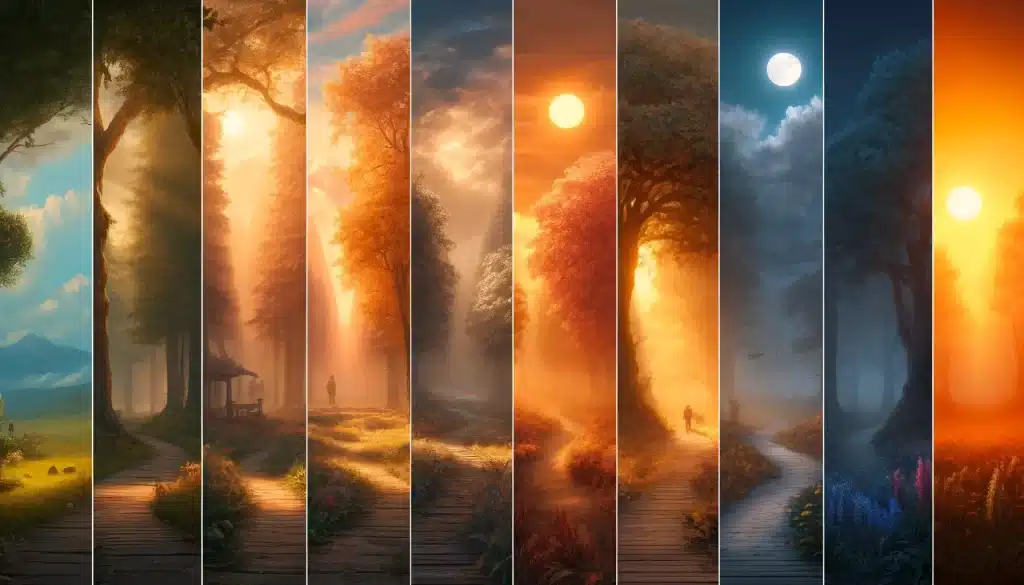
| 2000 K | Very Warm | Candlelight | Intimate, warm glow | Indoor events, romantic settings |
| 3500 K | Warm | Household bulbs | Cozy, yellowish hue | Home interiors, restaurants |
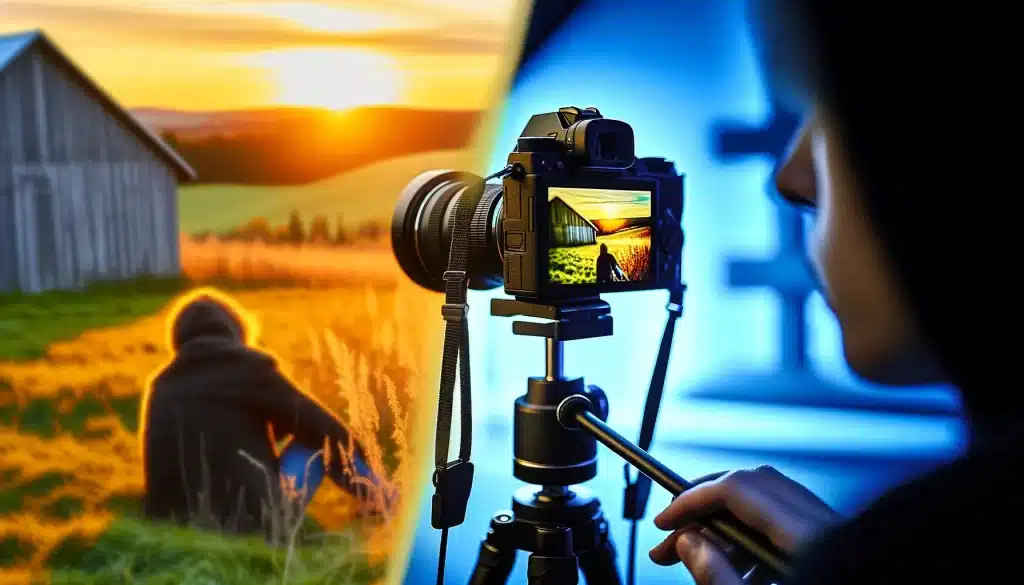
| 5000 K | Neutral | Morning/Evening light | Balanced, true colors | Landscapes, street scenes at dawn/dusk |
| 6500 K | Cool | Overcast sky | Slightly bluish tint | Overcast outdoor conditions |
| 8000 K | Very Cool | Shade or heavily clouded sky | Pronounced blue tone | Artistic shots with a cold feel, snowy scenes |