Introduction to Long Exposure Landscape Photography
Long exposure landscape photography is a technique where images are taken over an extended period. This method makes moving elements like rivers, waterfalls, and stars appear smooth and dreamy. Many photographers love long exposure photography because it transforms scenes in a way that our eyes cannot naturally perceive. It creates a magical and ethereal look, perfect for capturing the beauty of nature and urban environments in a unique manner.
In this article, we will explore all aspects of long exposure. We will discuss the essential tools you need, how to properly set up your equipment, and the best techniques to achieve breath-taking results. You will also find tips on editing your images to enhance their beauty and answers to common questions that beginners often have. This comprehensive guide will help you master the art of creating extended exposure photographs, enabling you to produce pictures that stand out.
Table of Contents
Essential Equipment for Long Exposure Landscape Photography
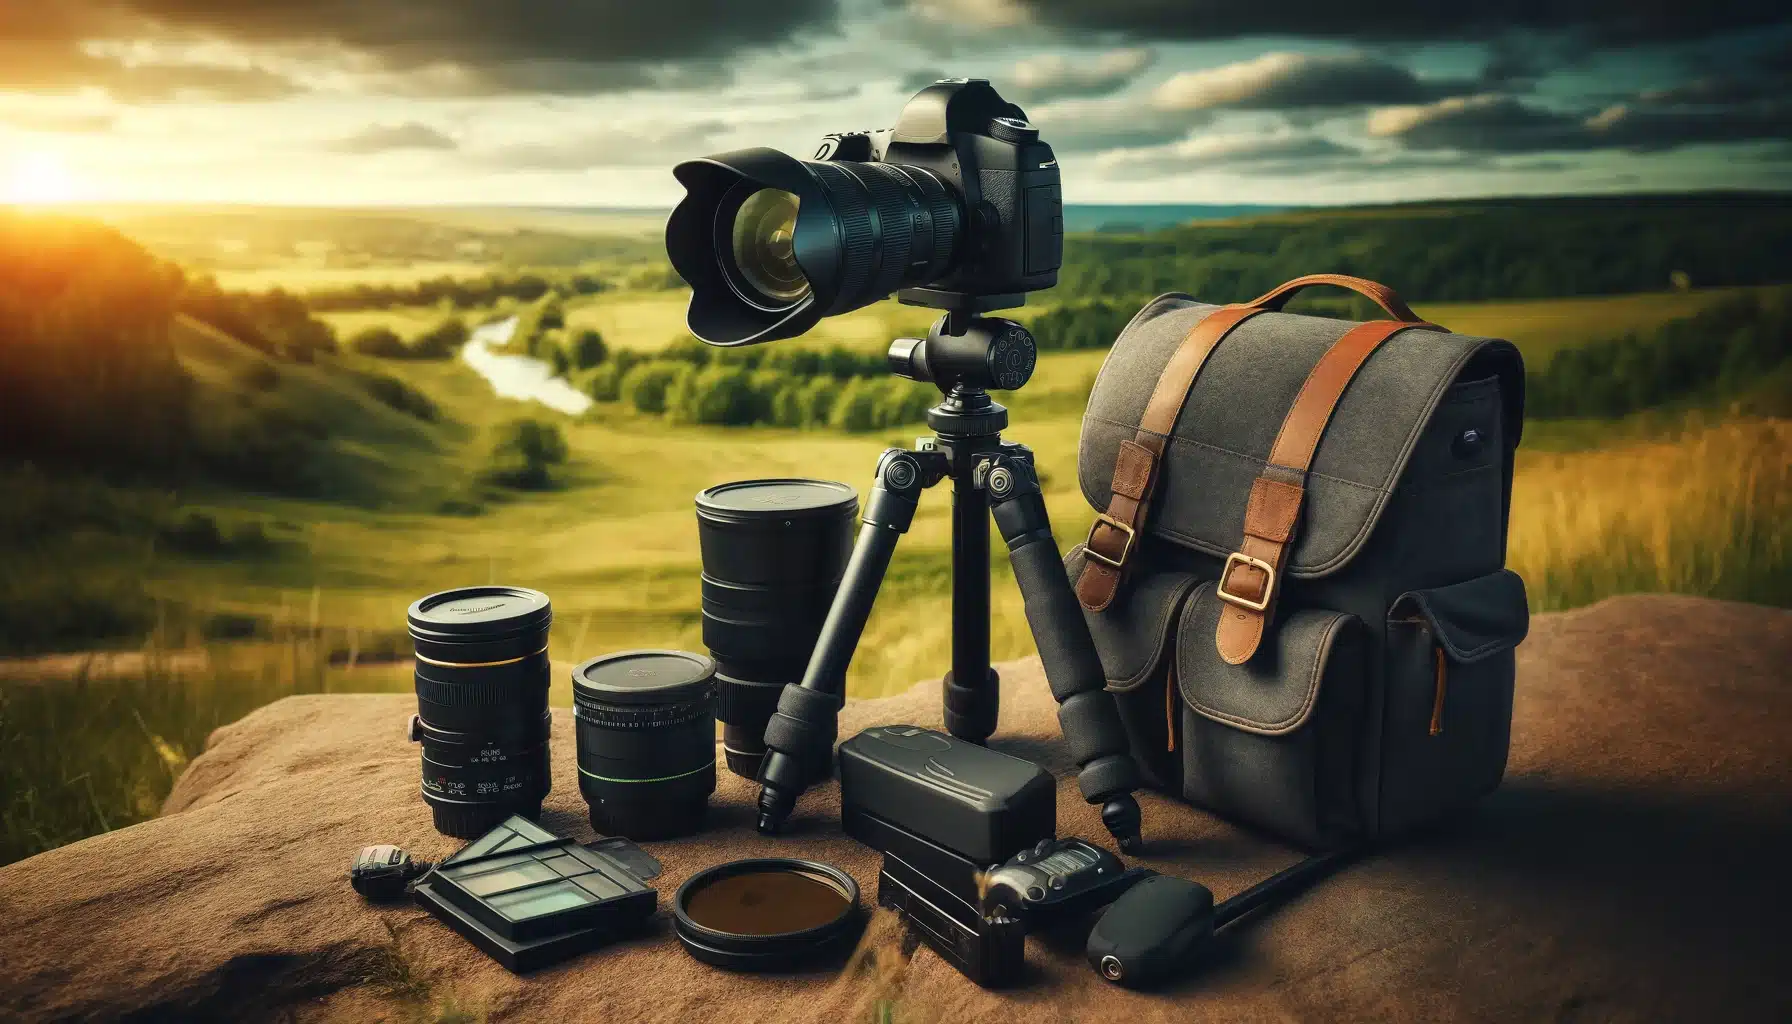
For long exposure photography, having the right equipment and accessories is crucial. The proper tools help you capture beautiful and clear pictures, making the whole process easier and more enjoyable.
Camera and Lenses
A good camera is the heart of long exposure photography. Most photographers use either DSLR or mirrorless cameras that allow you to manually control settings such as shutter speed, aperture, and ISO. For example, using a camera with a “Bulb” mode lets you take very long exposures beyond the usual 30-second limit found in most cameras. Lenses also play a key role.
Tripod
A tripod is a must-have for long exposures where the camera needs to stay completely still for several seconds, or even minutes. Any small movement can cause the photo to blur. A sturdy tripod ensures that the camera remains stable, even if there is a breeze. For instance, using a portable yet strong tripod like a carbon fiber model can be beneficial.
Remote Shutter Release
To avoid camera shake, it’s best to use a remote shutter release. This device lets you take pictures without touching the camera. Some modern cameras come with built-in features that allow you to use a smartphone app as a remote. However, traditional wired or wireless remote shutter releases are also very effective. It comes handy when shooting difficult angles or in tricky weather conditions.
ND Filters for Long Duration Photography
Neutral Density (ND) filters are essential for long exposure photography, especially during the day. These filters act like sunglasses for your camera, reducing the amount of light that enters it. This reduction allows you to use slower shutter speeds without overexposing your photos.
Other Helpful Tools
Besides the main equipment, several other tools can enhance your experience. Keeping your lens clean is important, so always carry a smooth cloth. Long exposure shots use more battery power, so having spare batteries ensures you don’t miss any shots. Additionally, extra memory cards are useful because long exposures can take up more storage space due to larger file sizes.
Best Lenses for Long Exposure Landscape Photography
Choosing the right lens is crucial for long exposure landscape photography and can greatly impact the look of your images. Different landscape lenses offer unique benefits and are suitable for various situations.
Wide-Angle
Wide-angle lenses are highly popular in landscape photography. They allow you to include more of the scene in your frame, making them ideal for capturing expansive vistas. A 16-35mm lens is a great choice for this type of photography. This range provides a broad view while maintaining sharpness and minimal distortion.
Standard Zoom
Standard zoom lenses, such as the 24-70mm, offer versatility and flexibility. These lenses are great for both wide shots and tighter compositions. They allow you to adjust the focal length, making them convenient for dynamic shooting conditions. For example, when photographing a cityscape like Chicago, you can easily switch from capturing a broad skyline to zooming in on specific architectural details.
Prime Lenses
Prime lenses with fixed focal lengths are known for their superior picture quality. A popular choice is the 50mm prime lens, which provides sharp, high-quality images with excellent depth of field control. Prime lenses are also typically faster, meaning they have wider maximum apertures, which is useful in lower illumination conditions.
Telephoto Lenses for Long Exposure Landscape Photography
Telephoto lenses, such as the 70-200mm, are ideal for capturing distant subjects. These allow you to isolate specific elements within a landscape, creating a compressed perspective that can add drama and focus to your images. This approach is particularly useful when you want to emphasize specific features in a vast landscape.
Tilt-Shift Lenses
Tilt-shift lenses offer unique creative possibilities in time-exposure photography. These lenses allow you to control the plane of focus and correct perspective distortions. This is particularly useful for architectural photography, where maintaining straight lines is essential.
Macro Lenses
While not commonly used for broad landscapes, macro lenses can add unique elements to your landscapes by allowing you to focus on small details. A macro lens is perfect for capturing the intricate details of insects, flowers, or textures in nature. This approach can add depth and interest to your overall portfolio.
Understanding and Choosing the Right ND Filter for Long Exposure Landscape Photography
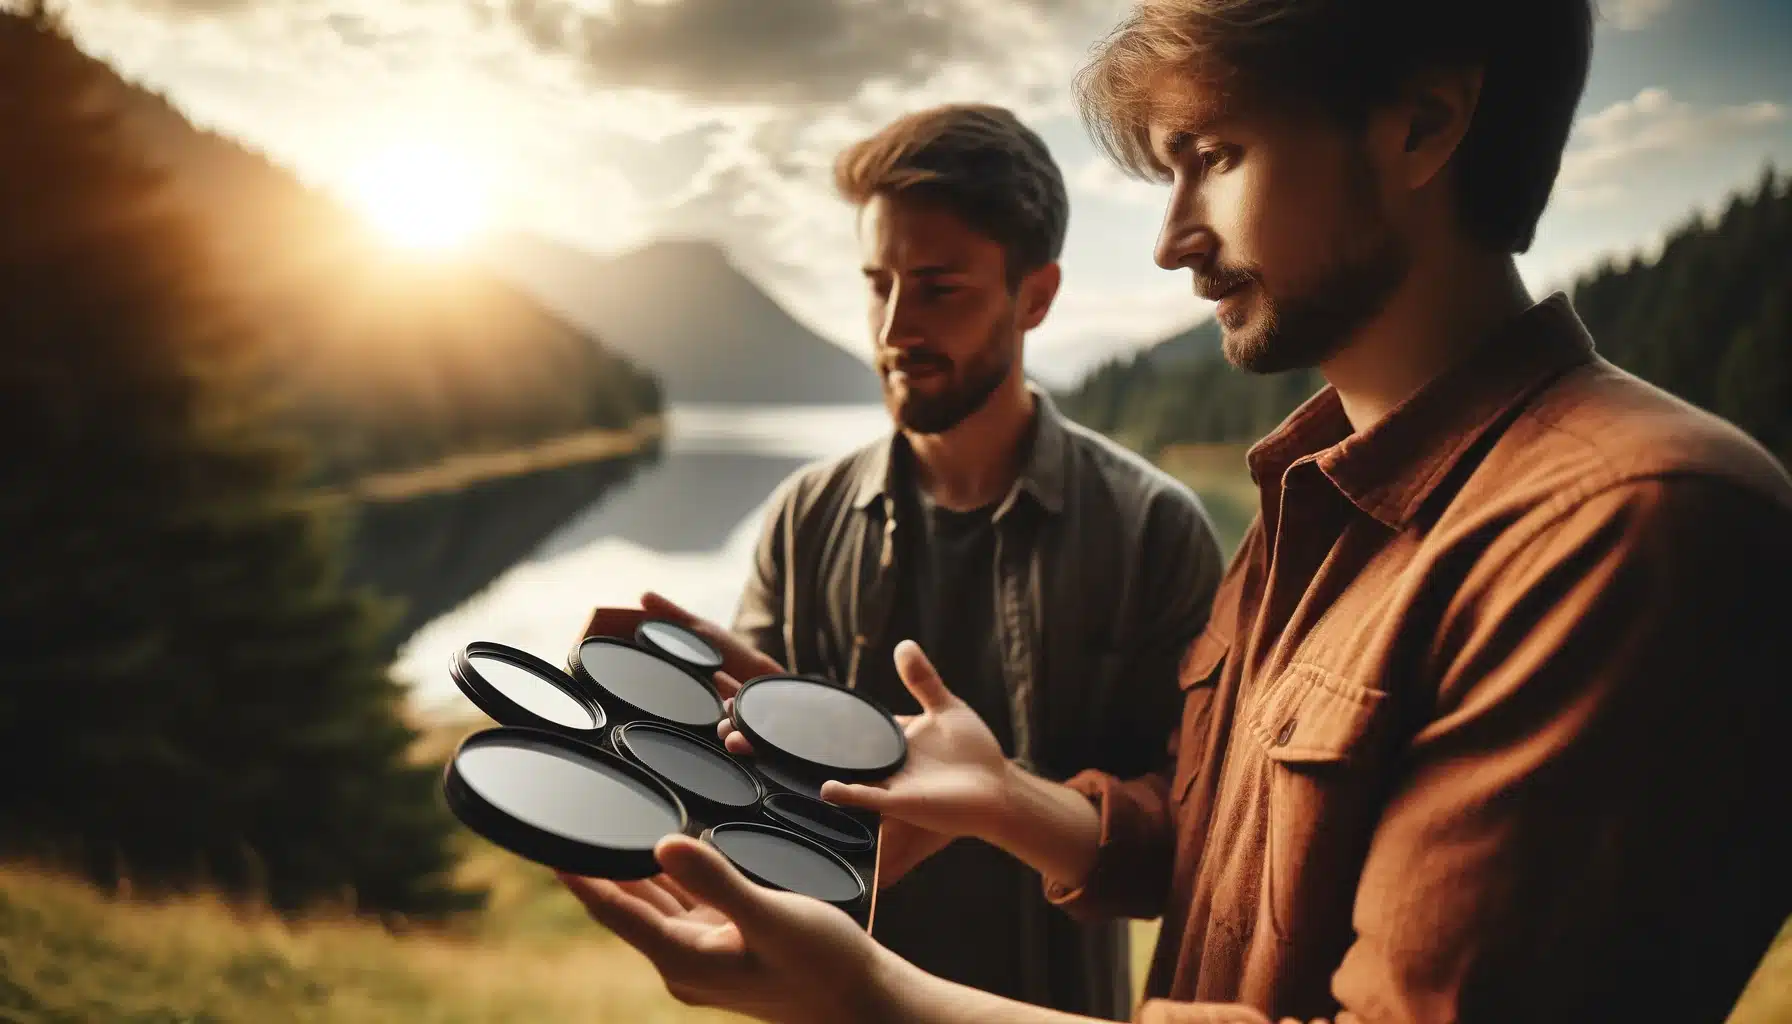
Neutral Density (ND) filters are vital tools in long exposure photography. They allow you to take long exposures even during the day by reducing the amount of light that enters the camera. This way, you can use slower shutter speeds without overexposing your image.
What Are ND Filters?
ND filters act like sunglasses for your camera. They come in different strengths, measured in stops. The more stops, the darker the filter. For example, a 3-stop ND filter lets in less light than a 1-stop filter. This is useful for creating the dreamy, smooth look in long exposure landscape photography.
When the sun is bright, your photo can become too bright. This is where an ND filter helps. By reducing the brightness, it blurs anything moving in your image by using a slower shutter speed. This results in a balanced and well-exposed photo even during the day.
Choosing the Right ND Filter
Selecting the correct ND filter depends on the effect you want and the lighting conditions. A 3-stop ND filter is good for mild light reduction. It’s useful on cloudy days or early mornings. For stronger light, like midday sun, a 10-stop ND filter is more effective. This filter allows you to slow down your shutter speed significantly, perfect for very bright conditions.
For example, if you want to achieve silky water photography at noon, a 10-stop ND filter will help you get a perfect shot without overexposing. If it’s early evening and the illumination is softer, a 6-stop ND filter might be enough to achieve the desired effect.
Benefits of ND Filters
ND filters open up creative possibilities in long exposure landscape photography. They enable you to photograph in conditions that would otherwise be too bright. This flexibility allows you to experiment with different timings of the day and lighting conditions. For instance, you can record the soft, blurred motion of waves on a sunny beach or the flowing headlights of cars in a busy city at night.
Camera Settings for Long Exposure Landscape Photography
To craft stunning long exposure landscape shots, the right settings are essential. Understanding how to adjust ISO, aperture, and shutter speed will help you achieve the best results. This section covers the key adjustments you need to know.
1. ISO
ISO controls the sensitivity of your camera’s sensor to brightness. For long exposure landscape photography, it’s best to use a low ISO setting. A lower ISO, like ISO 100, reduces noise and keeps your images clean and sharp. High ISO values can introduce graininess, which is undesirable for long exposures.
Example: When shooting a forest during the day, set your ISO to 100. This low setting will help you maintain the quality of the image even if you need a longer exposure duration.
2. Aperture
The aperture controls how much light enters the camera and affects the depth of field. For long exposure shots, a value between f/8 and f/14 is typically ideal. This range provides enough depth of field to keep the landscape in focus while allowing you to use slower shutter speeds.
Example: If you are photographing a cityscape at night, adjust your aperture to f/11. This setting will ensure that both the foreground and background are in focus, creating a sharp photo throughout.
3. Shutter Speed
Shutter speed is crucial in long duration photography as it determines how long the camera sensor is exposed to light. Longer shutter speeds blur dynamic elements like sea or clouds, creating a dreamy effect. The exact speed you need depends on the effect you want and the amount of light available.
Example: To photograph smooth, flowing grass in a windy field, start with a shutter speed of 5 second. If the grass isn’t as smooth as you want, increase the shutter speed to 10 or 20 seconds.
Comparing Shutter Speeds for Different Effects
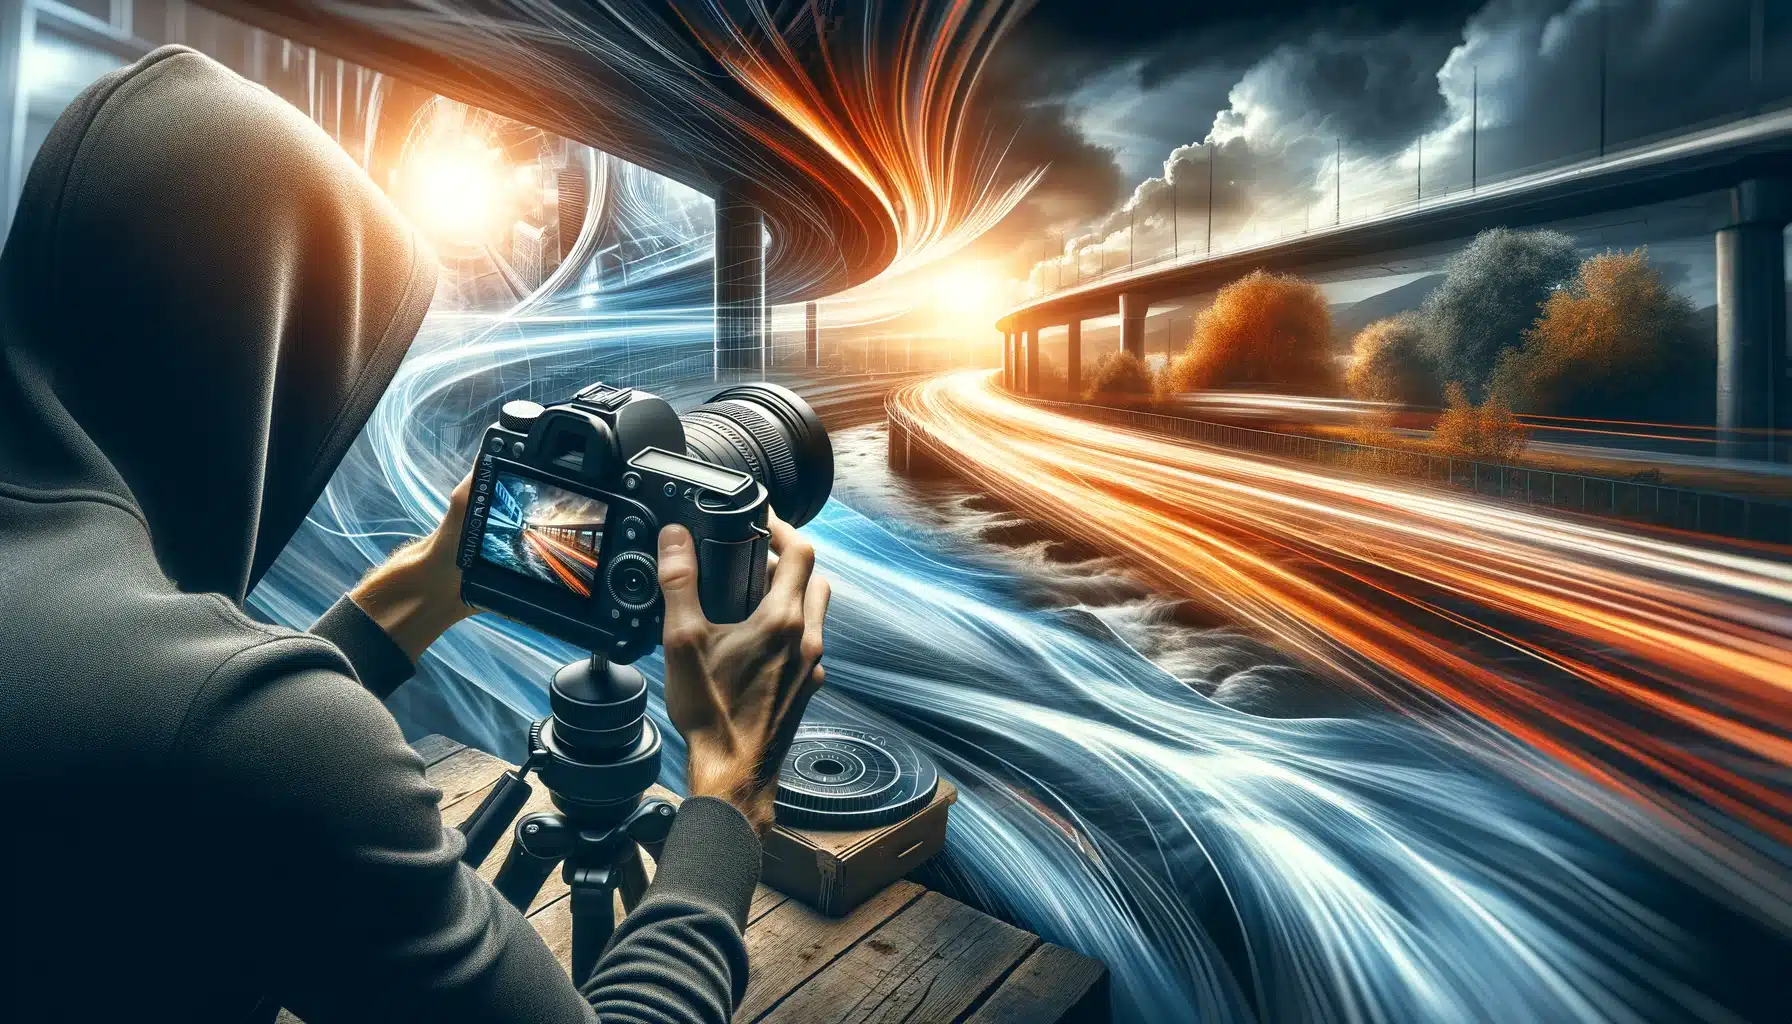
Shutter speeds in long exposure photography can create various effects, transforming everyday scenes into extraordinary images. This table helps you understand how different speeds impact your photographs. Learn these shutter speed secrets to make your editing in Lightroom and Photoshop easier.
| Shutter Speed | Effect Description | Example Scene |
|---|---|---|
| 1/30 to 1 second | Minor blur of moving elements, adding a sense of motion. | People walking, gentle waves |
| 1 to 5 seconds | Smooths out water surfaces, little motion in lights or clouds. | Rivers, traffic at dusk |
| 5 to 30 seconds | Creates silky water effects, significant motion in lights, smooth clouds. | Waterfalls, busy streets at night |
| 30 second to 1 minute | Very smooth water and cloud streaks, longer motion in lights, capturing more detail. | Ocean shores, star movement |
| 1 to 5 minutes | Extremely smooth skies, long motion in lights, and stars. | Cityscapes with traffic, star movement |
| Over 5 minutes | Dreamy, almost surreal quality to water and sky, very long motion in lights, and star arcs. | Star movement, very busy traffic scenes |
Long Exposure Landscape Photography - A Step-by-Step Guide
Creating beautiful long exposure landscape photos involves several steps to achieve the desired effect. Follow this guide to master long exposure photography.
- Choose Your Subject and Timing: First, decide what you want to photograph. Subjects like rivers, oceans, and skies are perfect choices. Early morning or late evening provides soft light, making it easier to manage exposure times.
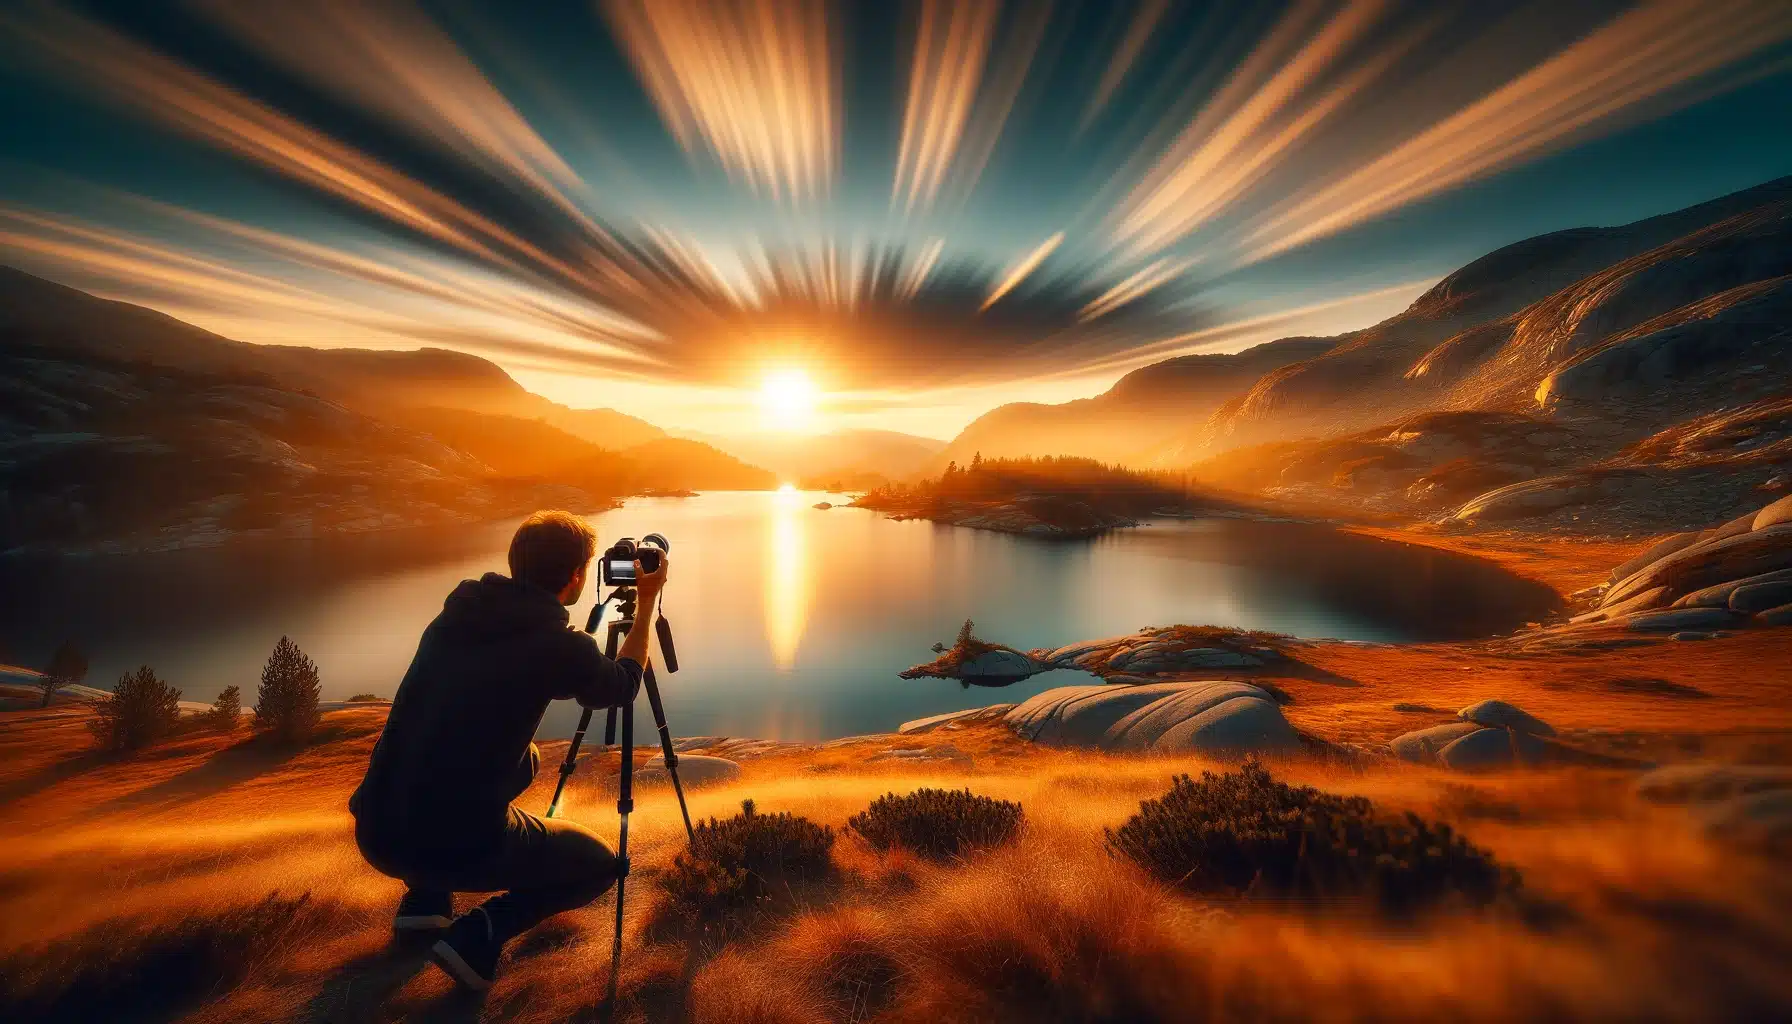
- Set Up Your Equipment: Start by setting up your tripod on a stable surface. This prevents any shake and keeps your photo clear. Secure your camera and ensure it is tightly locked. Double-check that everything is steady before you begin.
- Attach the ND Filter: Next, attach your ND filter to the lens. Choose an ND filter based on the light conditions. For a sunny day, use a 10-stop ND filter. Screw the filter onto your camera carefully or slide it into the holder system, making sure it’s firmly in place.
- Compose Your Shot: Now, compose your image. Look for elements that will move during the exposure, like sea waves. Use the rule of thirds to place these elements in a balanced way. For example, place the horizon along the top third of the frame if photographing a beach. Include rocks in the foreground to add depth. Adjust the angle to photograph the waves.
- Use Manual Mode: Use the manual mode to control the exposure. Choose an aperture between f/8 and f/14 to ensure a deep depth of field. Start with low ISO of 100 to minimize noise. Then, adjust the shutter speed to a few seconds and adjust based on the test shots.
- Bulb Mode: For exposures longer than 30 seconds, switch to Bulb mode. This mode keeps the shutter open as long as you press the button. Use a remote shutter release to avoid shaking. Determine your aperture and ISO, then hold the shutter button for your desired duration. For instance, hold for 2 minutes to capture star trails.
- Take Test Shots: Take a few test shots to check the exposure. Review the histogram to make sure highlights and shadows are balanced. Adjust the shutter speed if necessary. For example, if your initial shot is too bright, increase the exposure time by a few seconds. If it’s too dark, decrease the exposure. Continue to adjust until you achieve the desired effect.
- Review and Edit: After taking your shots, review them on the camera’s screen. Finally, transfer your images to a computer and use editing software like Lightroom or Photoshop to enhance them. Adjust the brightness, contrast, and colors to bring out the best in your pictures.
Best Time for Long Exposure Landscape Photography
Choosing the right timing to shoot long exposure landscapes can greatly impact the quality of your photographs. The ideal times are usually when the light is soft and the atmosphere is vibrant.
Golden Hour
The golden hour is the period shortly after sunrise and just before sunset. During this hour, the light is soft and warm, creating beautiful shadows and highlights. In a city like Chicago, shooting during the golden hour can turn an ordinary cityscape into a magical scene. The soft glow reflects off buildings and streets, adding a warm glow to the composition. This hour of day is also less crowded, making it easier shoot without interruptions.
Blue Hour
The blue hour occurs just before sunrise and after sunset. The horizon is deep blue, and there is a soft, diffused shine that is perfect for long exposure landscape photography. This time of day provides a unique color palette that can add a mystical quality to your pictures. For instance, capturing a forest during the blue hour can make the trees look almost ethereal, with a soft glow that enhances the overall mood.
Night
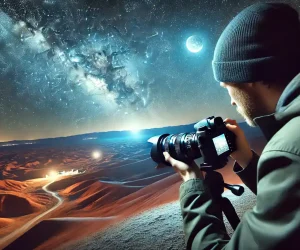
Shooting at night requires longer exposures, which can reveal details that are not visible to the naked eye. With the right conditions, you can produce stunning images of the nightscape, including stars and the Milky Way. For example, capturing a mountain range under a clear night sky can result in an image where the stars form beautiful patterns, adding a sense of wonder and vastness.
Check out these long exposure tips for night photography to make the process easier.
Overcast Days
While overcast days don’t seem ideal for other types of photography, they offer unique benefits for long exposure landscape photography. The clouds act as a natural diffuser, softening the light and reducing harsh shadows. This makes it easier to achieve smooth, balanced exposures. This type of glow is especially good for capturing the textures and patterns in urban landscapes.
Creative Tips for Long Exposure Landscape Photography
Long exposure landscape photography allows for unique and artistic interpretations of natural and urban scenes. Here are some creative tips to help you get the most out of this technique.
Experiment with Different Times of Day
The time of day can greatly affect the outcome of your long exposure shots. Early morning and late afternoon provide soft, diffused light that can enhance the dreamy quality of your images. Shooting during these times can help avoid harsh shadows and blown-out highlights. For example, photographing a forest at dawn can craft a mystical atmosphere with soft, glowing mist.
Use Reflections for Added Depth
Incorporating reflections can add depth and interest to your long exposure landscape photography. Look for bodies of water like lakes or puddles that reflect the sky or surrounding landscape. This can create a mirror-like effect that doubles the visual elements in your frame. For instance, a mountain reflected in a still lake can produce a striking and symmetrical composition.
Play with Light Sources at Night
Night landscape photography opens up many creative opportunities with long exposures. Artificial lights from buildings, cars, and street lamps can make dynamic and vibrant scenes. Experiment with different illumination sources to add interest to your compositions. Capturing the motion of headlights on a busy street can add a sense of energy and movement to your landscapes.
Include Dynamic Elements
Incorporate dynamic elements in your long exposure shots to add interest and movement. Finds scenes with flowing rivers, swaying trees, or passing clouds. These elements will blur over the exposure period, creating a sense of motion and life in your image. For example, photographing a field of tall grass on a windy day can record the gentle waves of grass moving in the breeze.
Try Different Angles and Perspectives
Changing your angle or perspective can dramatically alter the look of your long exposure landscape photography. Get low to the ground to emphasize foreground elements or climb to a higher vantage point to shoot sweeping vistas. Experimenting with different perspectives can reveal new and exciting compositions. For instance, photographing a cityscape from a rooftop can provide a unique view of the urban environment below.
Comparing Long Exposure Landscape Photography Techniques
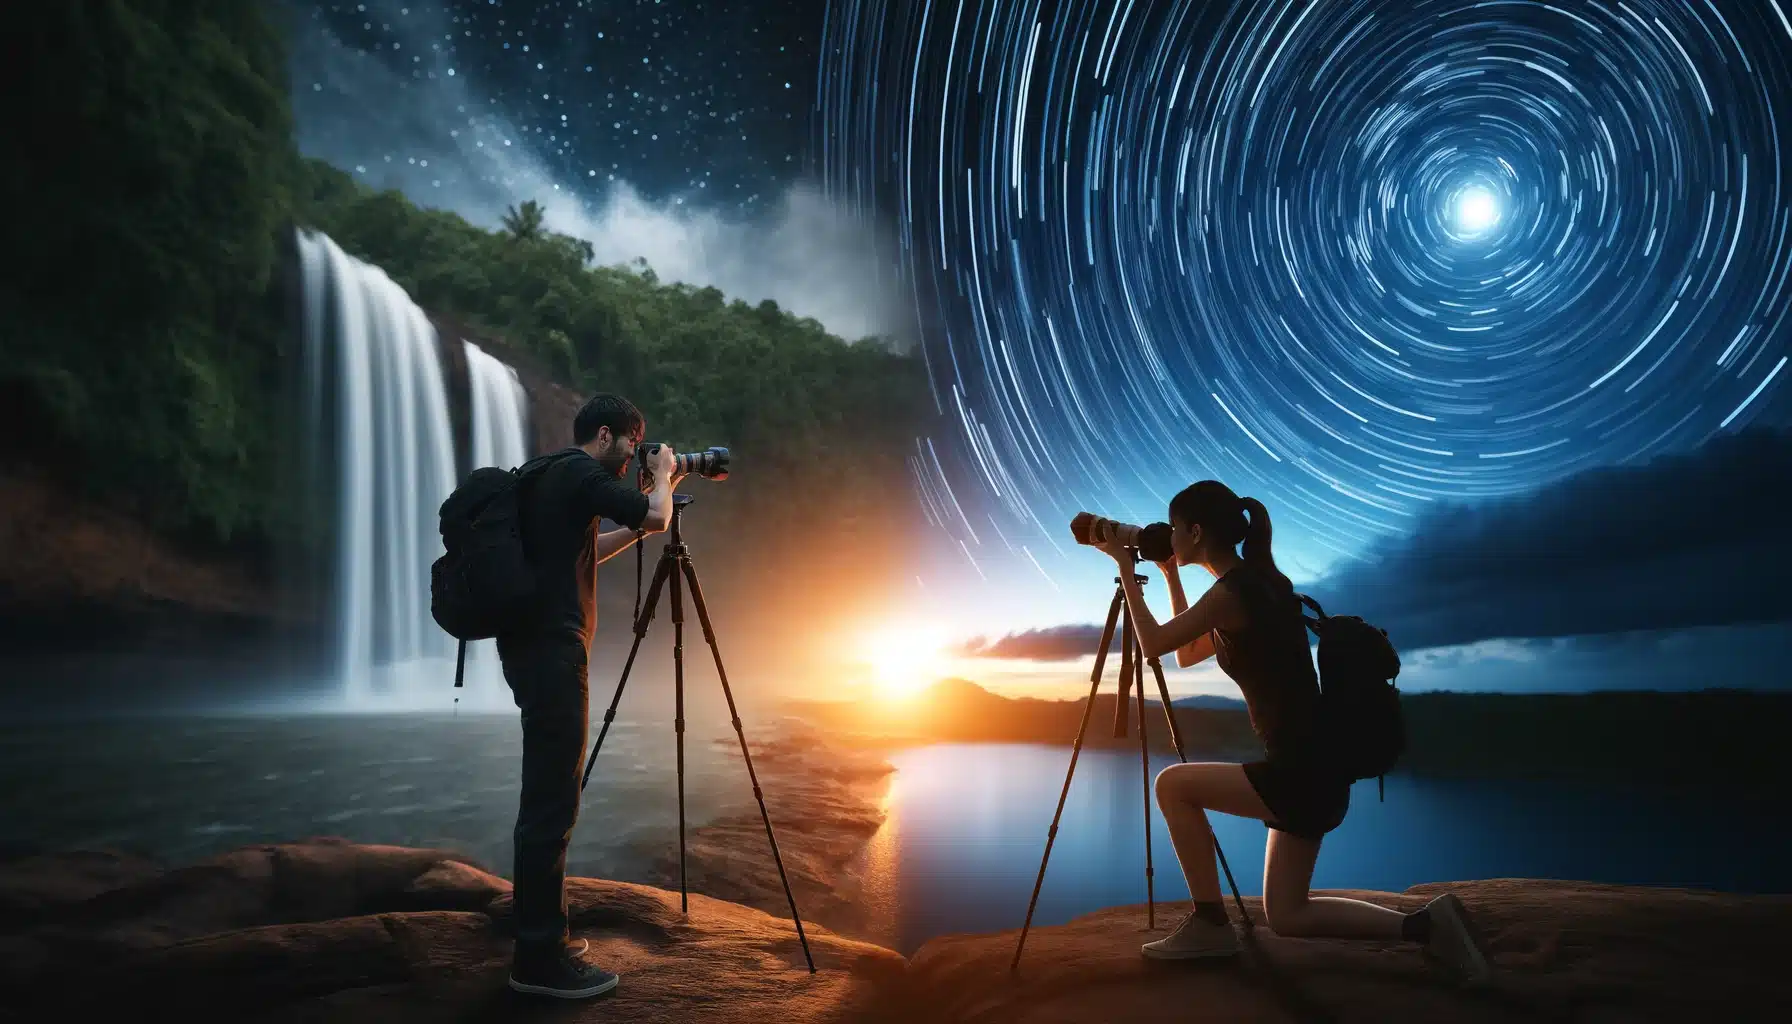
Long exposure photography can be applied in various ways to achieve different artistic effects. This table compares several techniques and their outcomes to help you understand how to use each method effectively.
| Technique | Description | Example Scene | Result |
|---|---|---|---|
| Silky Water Effect | Uses slow shutter speeds to smooth out water surfaces. | Waterfalls, rivers, ocean waves | Creates a soft, flowing appearance |
| Star Trails | Records the motion of stars over a period of time. | Night sky, rural areas away from city lights | Forms circular patterns of stars |
| Light Painting | Involves moving a light source while the shutter is open. | Dark rooms, outdoor night scenes | Produces intricate light designs and shapes |
| Ghosting | Blurs subjects that move while keeping stationary objects sharp. | Crowded streets, busy markets | Shows motion blur of people, clear background |
| Steel Wool Photography | Spins burning steel wool while capturing the sparks. | Open fields, beach areas | Creates dramatic, fiery light patterns |
| Panning | Follows a moving subject with a slow shutter speed. | Running animals, moving vehicles | Blurs the background, keeps the subject sharp |
| Long Exposure Portraits | Uses long exposures with minimal subject movement for unique effects. | Portrait sessions in controlled environments | Adds artistic blur to the background |
| Cloud Streaks | Records the movement of clouds across the sky. | Open landscapes, mountain ranges | Creates streaks in the sky |
Benefits of Long Exposure Landscape Photography
Long exposure photography offers numerous benefits that can transform your landscape pictures into stunning works of art. This technique allows you to craft unique and captivating visuals that show the essence of motion and time.
1. Enhanced Image Quality
One of the main benefits of long exposure landscape photography is the enhanced image quality. By a slow exposure can turn the flowing water into a glassy surface that add a dreamy quality to your images. For example, photographing a waterfall with a slow exposure creates a soft, flowing look that is visually appealing and emphasizes the beauty of the scene.
2. Creative Effects
Long exposure photography opens up a world of creative effects. This technique allows you to experiment with different effects that are not possible with short exposures. For instance, capturing light trails from cars in a busy city like Chicago can add dynamic and vibrant elements to your compositions.
3. Capturing Motion
Another significant benefit of long exposure photography is its ability to capture motion. By using slow shutter speeds, you can show the movement of elements like water, clouds, and even people. This adds a sense of dynamism to your pictures and makes them more engaging.
4. Low Light Capabilities
Long exposure photography is particularly useful in low light conditions. By allowing more light to reach the sensor, you can capture detailed and well-exposed images even in dark environments. This makes it ideal for night photography, where you can photograph extraordinary night scenes.
5. Empahsizing Details
This technique also helps in highlighting details that are often missed with shorter exposures. Long exposure photography allows you to capture intricate patterns and textures, adding depth and dimension to your pictures. For example, photographing a forest with a slow exposure can reveal the delicate movements of leaves and branches, creating a sense of life and motion in the scene.
6. Versatility in Different Conditions
Long exposure landscape photography is versatile and can be used in various weather conditions. Whether it’s a bright sunny day or an overcast afternoon, this technique allows you to adapt and create artistic images. For instance, using ND filters on a bright day can help you achieve the desired exposure, allowing you to capture smooth water and dramatic skies.
Challenges in Long Exposure Landscape Photography
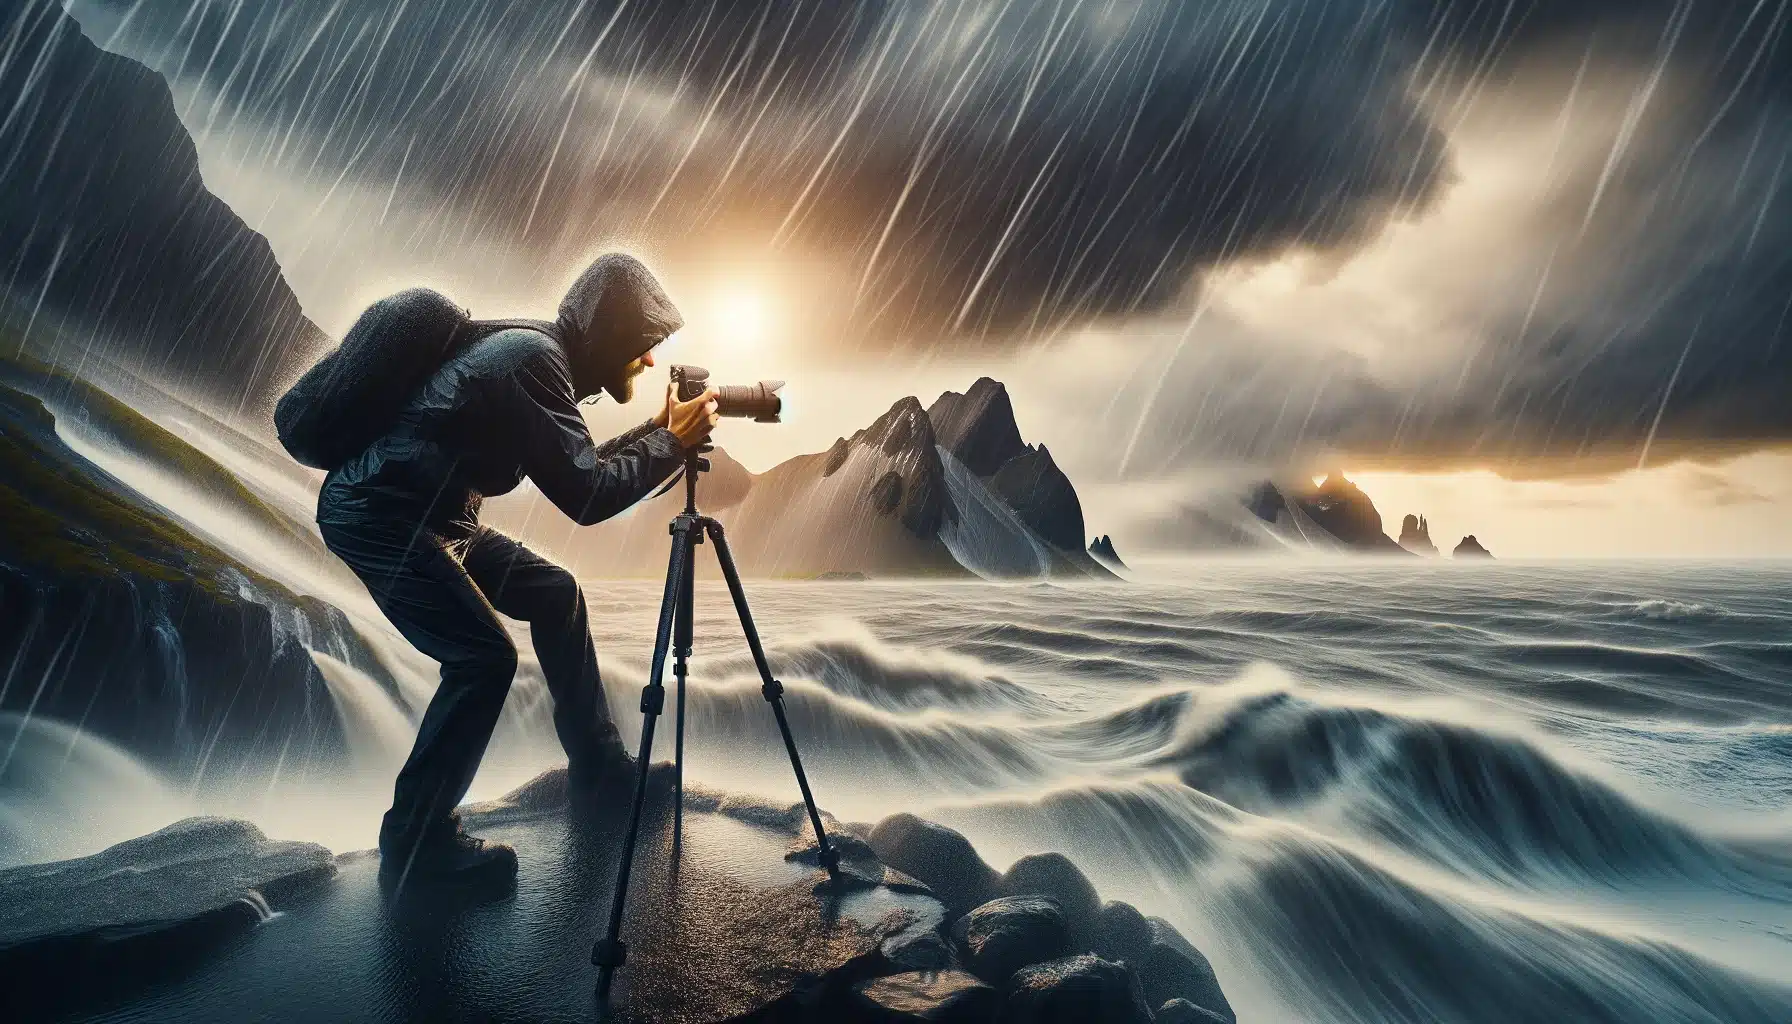
Long exposure landscape photography can produce stunning pictures, but it also comes with a few challenges. Understanding these challenges can help you prepare and improve your photography skills.
Stability Issues
Stability is one of the main challenges in long exposure photography. Even a minor shake can ruin a photo by making it blurry. Windy conditions can make it difficult to keep your setup steady. Using a sturdy tripod is essential, but sometimes, additional measures are needed. For example, in windy conditions, hanging a weight from the tripod can help stabilize it.
Long Exposure Calculations for Long Exposure Landscape Photography
Calculating the correct exposure for long exposure landscape photography can be complex. This is particularly true when using ND filters. For example, if you are using a 10-stop ND filter, you need to extend the exposure significantly, which can be tricky to calculate accurately without experience. Apps and exposure charts can help with these calculations, but it still requires practice to get it right.
Weather Conditions
Weather conditions can greatly affect long exposure photography. Overcast days can provide diffused light, which is beneficial, but rain or snow can complicate things. Shooting in the snow requires protecting your equipment and dealing with water droplets on the lens. Wind can also be a problem, as it can cause unwanted blur in your pictures.
Technical Difficulties in Long Exposure Landscape Photography
Technical issues can also arise, such as battery life and storage. Long exposure shots can drain batteries quickly, especially in cold weather. Having extra batteries is essential. Additionally, long exposures can take up more storage space due to larger file sizes.
Focus Issues During Long Exposure Landscape Photography
Achieving sharp focus in long exposure photography can be difficult. Using autofocus in low light or with ND filters can be unreliable. Switching to manual focus and focusing on a key element in the scene is essential. For instance, focusing on a prominent feature like a rock or tree and then locking the focus can help ensure the rest of the image remains sharp.
Equipment Malfunction
Equipment malfunctions can also pose significant challenges. For example, ND filters can sometimes create color casts that need to be corrected in post-processing. Tripods can break or become unstable, especially in rough terrains. Ensuring that your gear is in good condition and having backups can help manage these risks.
Post-Processing Challenges
Post-processing long exposure images can be challenging since they can introduce noise. Noise reduction software can help, but it can also reduce the sharpness of the image. Balancing noise reduction while maintaining picture quality is crucial.

Frequently Asked Questions About Long Exposure Landscape Photography
Long exposure landscape photography can be a complex yet rewarding technique. Below, we address some frequently asked questions to guide you through the essentials of long exposure photography.
How do you take long landscape photos?
To take long landscape pictures, you need to use a slow shutter speed to capture motion over a period. First, place your tripod on a stable surface to keep your camera steady. Attach an ND filter if shooting in bright conditions. Switch to manual mode and adjust your ISO to a low value, like 100. Adjust the aperture to control the depth of field, usually between f/8 and f/14. Use a remote shutter release or the camera’s timer to avoid shaking. Take test shots to check the exposure and make adjustments as needed.
What ISO setting for long exposure?
For long exposure photography, a low ISO setting is ideal, typically 100 or 200. A low ISO reduces noise, resulting in clarity and sharpness. High ISO value can introduce graininess, especially in dark areas. If you are shooting at night or in very low light, you might need to increase the ISO slightly, but try to keep it as low as possible to avoid noise.
How do you set exposure for landscape photography?
Setting exposure for landscape photography involves balancing three key parameters: aperture, shutter speed, and ISO. Start by selecting a low ISO, like 100, to reduce noise. Adjust the aperture between f/8 and f/14 to achieve a deep depth of field, ensuring both the foreground and background are clear. Adjust the shutter speed to control how much light hits the sensor. In bright conditions, you might need a faster shutter speed, while in low light, a slower speed is necessary. Use a light meter or take test shots to check the exposure. Adjust these settings until you achieve a well-balanced image. For long exposure landscape photography, use ND filters to help control light and achieve longer exposures.
What is the benefit of long exposure photography?
Long exposure photography offers several benefits that enhance the visual appeal of your images. It allows you to record motion, creating smooth and dreamy. This technique is excellent for highlighting details and adding depth to your landscape scenes. Additionally, it encourages creativity, allowing you to experiment and develop a unique photographic style. This approach transforms ordinary scenes into extraordinary works of art.
Conclusion
Long exposure landscape photography has transformed the way I see the world. I remember my first successful shot of stars, struggling to get the right exposure. After many tries, I finally captured the stars forming beautiful arcs across the night sky. It felt magical. This experience taught me the importance of patience and experimentation. By understanding how to manage stability, exposure, and composition, you can produce pictures showing the beauty of motion and time.
If you want to master long exposure photography and improve your skills, I highly recommend our courses. Our Photoshop Course and Lightroom Course will help you enhance your pictures with professional editing techniques. Join us today and take your photography to the next level!
Have a nice photoshoot!
Learn more about Photography Techniques:


