Image Distortion and How to Fix it? | A Comprehensive Guide
Image Distortion and How to Fix it? | A Comprehensive Guide
Introduction to Image Distortion and How to Fix It
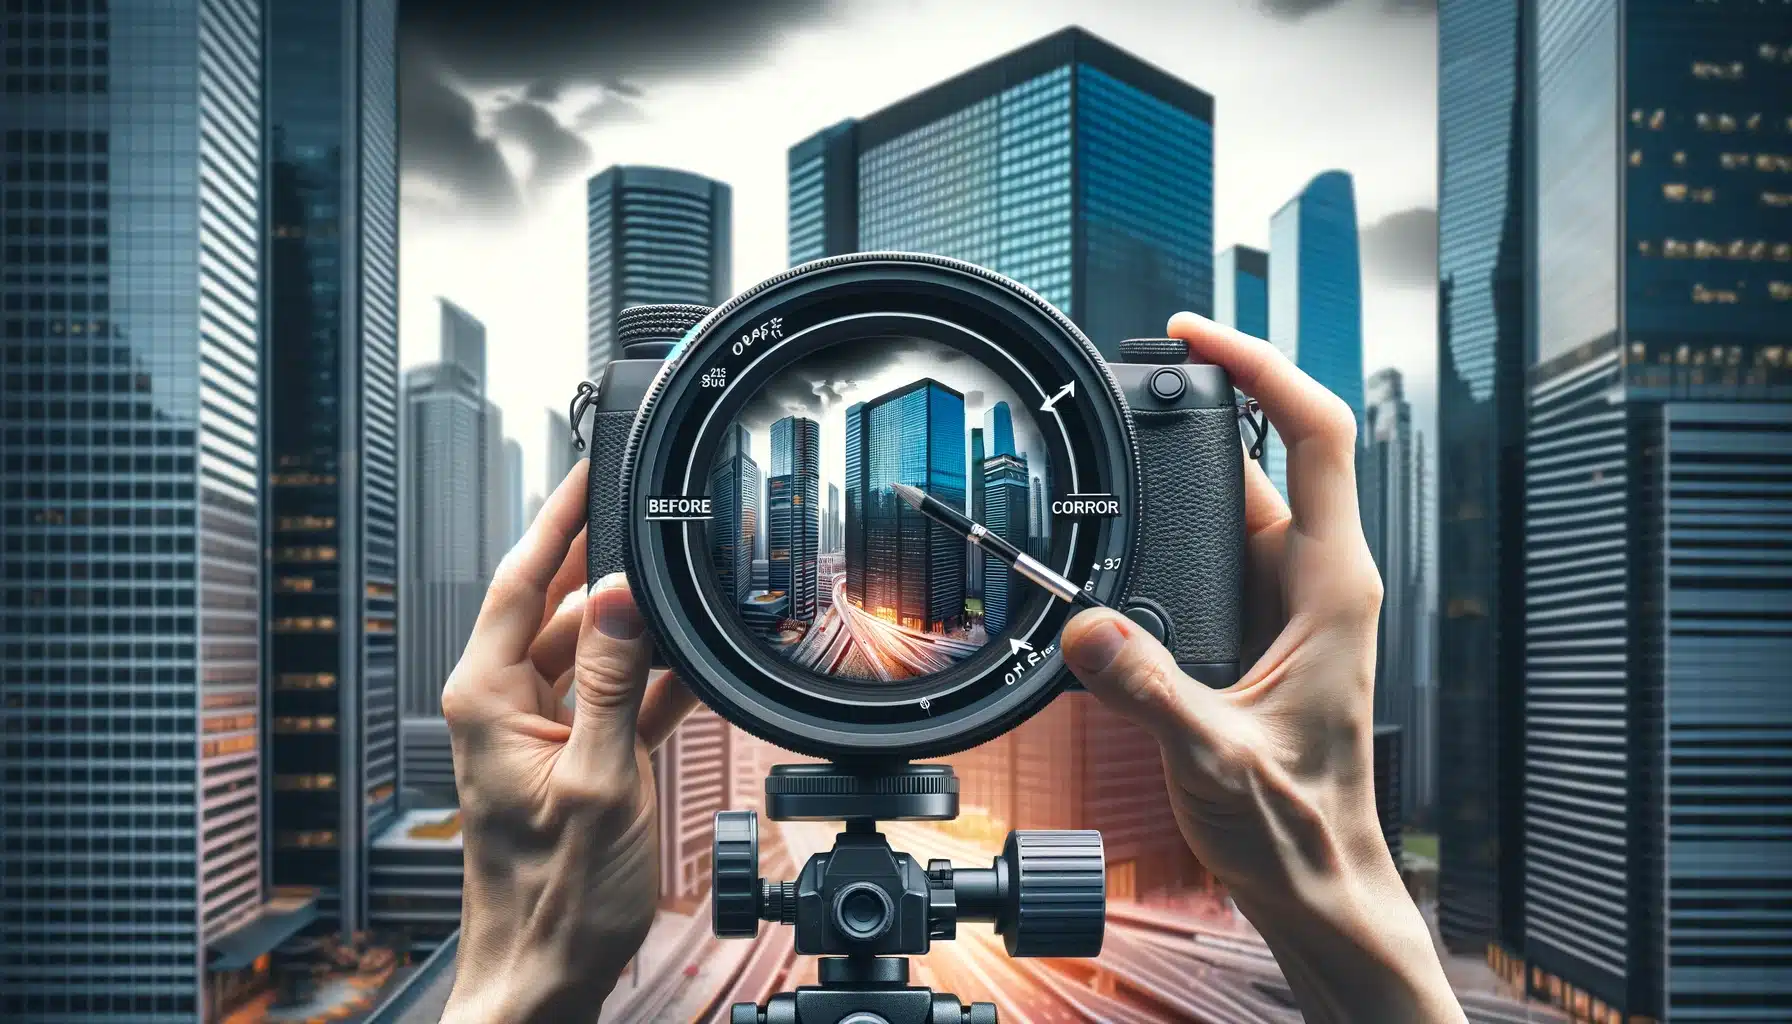
Have you ever snapped a photo only to find that it looks warped or bent? Learning image distortion and how to fix it has become a must-have thing for the tech-enthusiasts. Whether you need strategies to fix image distortion, learn about image distortion correction, or simply understand how to correct image distortion, this guide will provide you with the necessary insights and tools.
We’ll also explore various methods and tools to correct image distortion effectively especially in Adobe Photoshop. From simple adjustments to sophisticated edits in software like Photoshop, we’ll cover all the bases. By the end of this guide, you’ll have all the knowledge needed to ensure your shots always look their best, perfectly capturing what you see.
Table of Contents
What Is Image Distortion and How to Fix It?
Understanding what image distortion is and why it’s crucial to fix it is the first step in mastering digital photography and image editing.
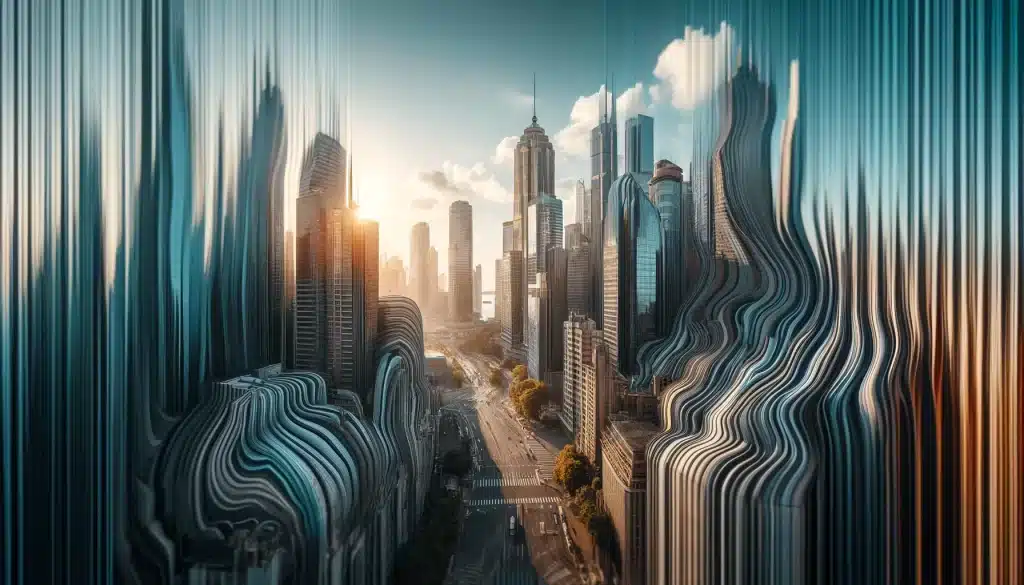
Definition and Explanation: Image distortion occurs when a photo does not accurately represent its subject, due to factors like lens quality, angle, or processing software. This phenomenon can significantly affect the fidelity of the image.
Visual Examples: Consider a photo where a straight lamppost appears curved. This is a classic example of optical distortion, highlighting why it’s important to fix image distortion for accuracy in representation.
Importance of Correcting Photo Distortion
Impact on Visual Accuracy: Distorted images can misrepresent important details, which is critical for artistic integrity and practical applications, such as in real estate photography or amazon product photography.
Professional Necessity: For professionals, the ability to correct image distortion is essential. Accurate imagery in fields like architectural photography or precision advertising directly impacts the credibility and effectiveness of the work.
Understanding Image Distortion Correction
Gain a deeper understanding of the various types of image distortion and how to fix it by exploring the root causes. Read below to learn about effective image distortion correction techniques!
Types of Distortion
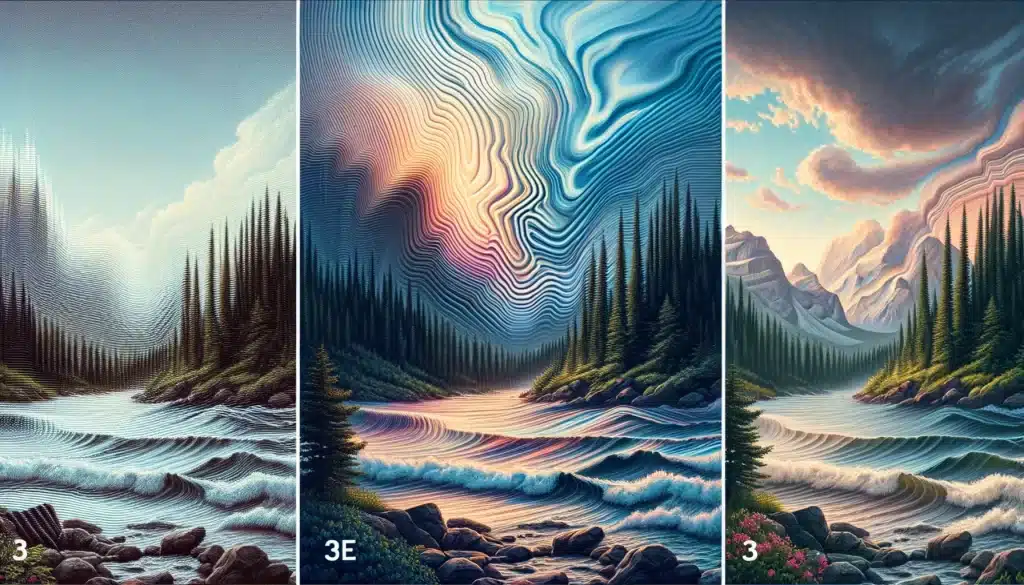
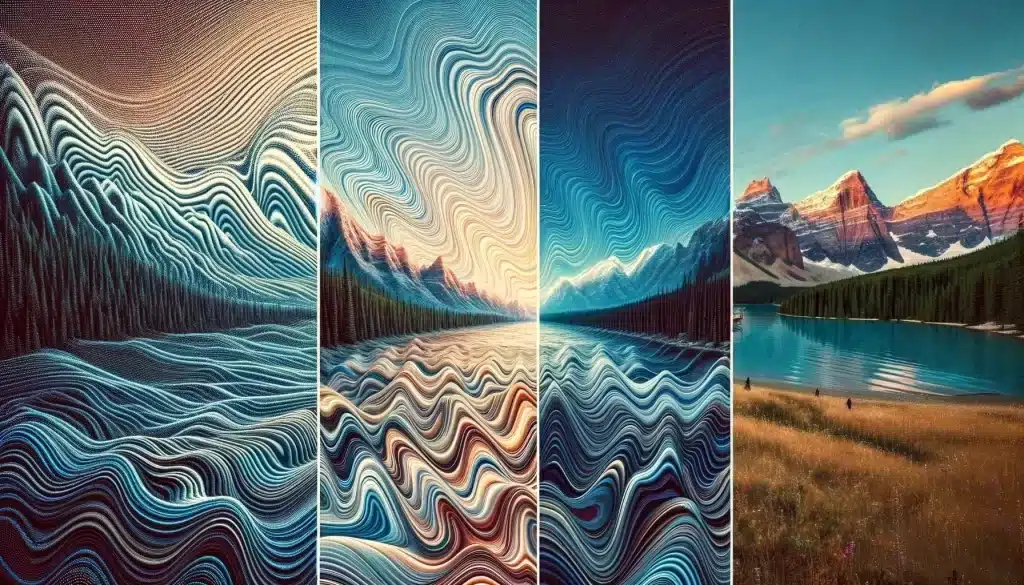
Barrel: Visible as an outward bulge, particularly common in images taken with wide-angle. Correcting this deformation is crucial for architectural andlandscape photography where straight lines are pivotal.
Pincushion: This deformation makes images appear pinched at the center and is often seen with telephoto lenses. Understanding how to correct image distortion of this nature is vital for portrait photography and wildlife photography.
Mustache: A complex falsification that combines elements of both barrel and pincushion distortions. It is particularly challenging because it varies across the image field, requiring advanced correction techniques.
Why Image Distortion Happens?
Lens Quality: Higher incidences of alteration are found in lower-quality ones due to their lack of sophisticated optical correction. Learning how to manage this through image distortion correction techniques is key for improving quality.
Camera Settings: Incorrect adjustments can exacerbate the natural warp, especially in wide-angle and zoom scenarios. Photographers must amend their settings to minimize these effects and correct Image distortion.
Common Causes of Image Distortion
Explore why images sometimes don’t look distorted and learn how to go through Image Warping Repair:
Low-Quality Lenses
Cheap ones can distort your snaps, making straight lines appear curved or wavy. Imagine taking a photo of a square window and it looks like it’s bulging out. Check the original quality of your lens. If it’s a low-quality lens, think about getting a better one. You can also use software to fix image distortion until you can upgrade your lens.
Sensor Size
Smaller sensors often exaggerate unwanted distortions, especially in less expensive ones. Photographing a tall building might result in the building appearing tilted or leaning. Opt for a device with a larger sensor to get clearer, more accurate pictures. Test different devices to see which one gives you the least distortion.
Light Conditions
Extreme lighting conditions can deceive sensor, leading to parts of your image looking stretched or compressed. A photo shot against the sun might end up with odd shadows and highlights, distorting the look. Avoid low-light photography and also shooting photographs with the light source directly in front or behind your view. Change your device’s adjustments to better manage the light and avoid harsh shadows or highlights in view.
Subject Placement
Positioning of subjects in your frame can greatly affect how they appear in the final photo. Placing a person near the edge of a wide-angle shot can make them appear unnaturally stretched. Try to keep important subjects towards the center of your frame. After taking a photo, review it. If the bend is visible, reposition your subject or change your angle. Use editing tools to subtly amend the edges of your grainy photos or where deformation is most apparent.
This section provides a deeper look into the common causes of image distortion, offering practical tips and easy-to-follow steps for both technical and environmental solutions to Correct Image distortion. These strategies help in image distortion correction, ensuring your RAW format photo files turn out as intended.
How to Correct Image Distortion?
Discover step-by-step methods to fix the common issue of image distortion, ensuring your snapshots look as intended. Try these photo distortion adjustment methods now!
Fix Image Distortion via Software Solutions
Software tools are a reliable choice for correcting image distortions. Photoshop, for instance, offers a robust set of features to handle various types of distortions:
Photoshop is widely used by professionals and hobbyists to fix photographic errors, including distortions caused by lens flaws. Here’s how you can use Photoshop to fix image distortion:
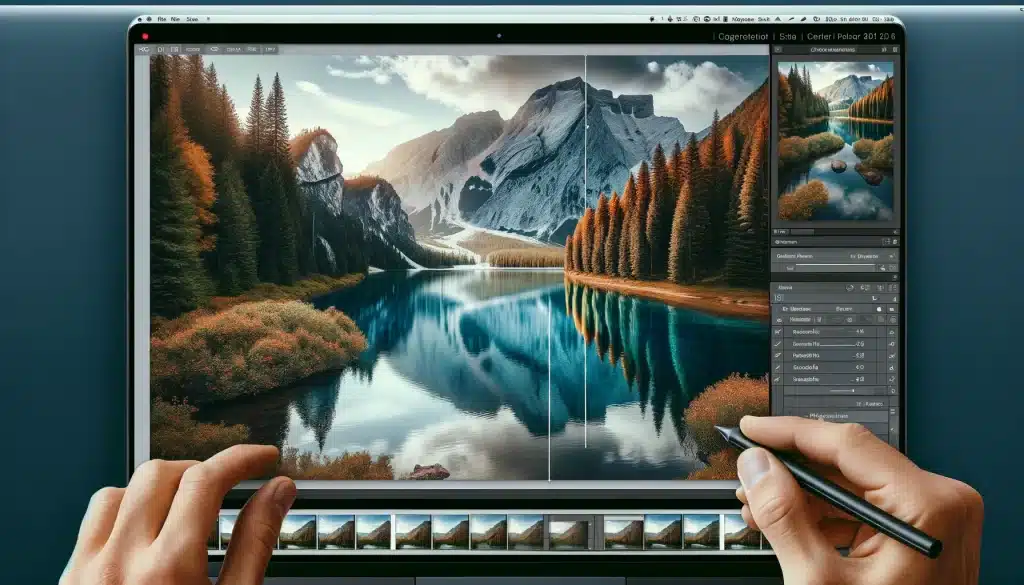
Step 1. Open the group of distorted files in Photoshop tool. Navigate to the ‘Filter’ menu and select ‘Lens Correction’. This opens a new window with various adjustments that can regulate distortions.
Step 2. In the Lens Correction window, you’ll see options to fix geometric distortion, remove chromatic aberration, and fix vignette. Use the sliders under the ‘Geometric Distortion’ section to compensate for the barrel or pincushion distortion.
Step 3. After adjusting the sliders, preview the file to ensure the deformation has been corrected to your satisfaction. Make additional tweaks if necessary.
Step 4. Once satisfied, click ‘OK’ to apply the corrections, and then save your image.
For those who might not have access to Photoshop, here’s how to deal with fixing picture distortion:
GIMP and Lightroom also provide tools for image distortion correction. In GIMP, you can use the ‘Lens Distortion’ filter to adjust your images. The process involves loading your image into GIMP, selecting the filter from the ‘Distorts’ submenu under ‘Filters’, and then using the sliders to fix the distortion.
Adjusting settings can prevent some distortions from occurring in the first place, especially if you understand the limitations of your equipment:
Adjust Settings to Correct Image distortion
Modern cameras often come with built-in correction features that can be activated through their settings menu. To use these:
Before shooting, navigate to the settings and look for options like ‘Lens Correction’ or ‘Distortion Correction’. Enable these features, which will automatically adjust the lens characteristics to reduce distortions. Test shoot a few images to see how effectively the distortion is corrected by your camera settings.
Choice of Lens
The quality of the lens greatly affects the level of deformation in photos. High-quality lenses are specifically designed to minimize optical flaws:
Invest in ones which are known for low distortion. Research and read reviews to find ones that perform well in terms of minimizing distortion. Test different in various shooting conditions to understand how they handle distortion. Once you find a lens that meets your needs, use it as your primary lens for situations where deformation is typically a concern.
How to Fix Camera Distortion
After exploring image distortion and how to fix it, learn how to prevent and correct distortion right from your camera. Adjusting your camera settings can help minimize deformation before it even happens.
Enable Distortion Control Option
Open your camera’s menu and look for the ‘Lens Correction’ or ‘Distortion Control’ setting. Turn this setting on. This tells your camera to automatically fix image distortion when it takes a picture. Take a test photo file of a building or a fence to check if straight lines still look bent. If they do, you may need to correct other settings too.
This helps prevent warp from ruining your pictures. By setting up your camera properly, you can make sure your pictures come out looking great from the start.
Mastering the prevention of image warp can dramatically enhance the accuracy and aesthetic of your pictures.
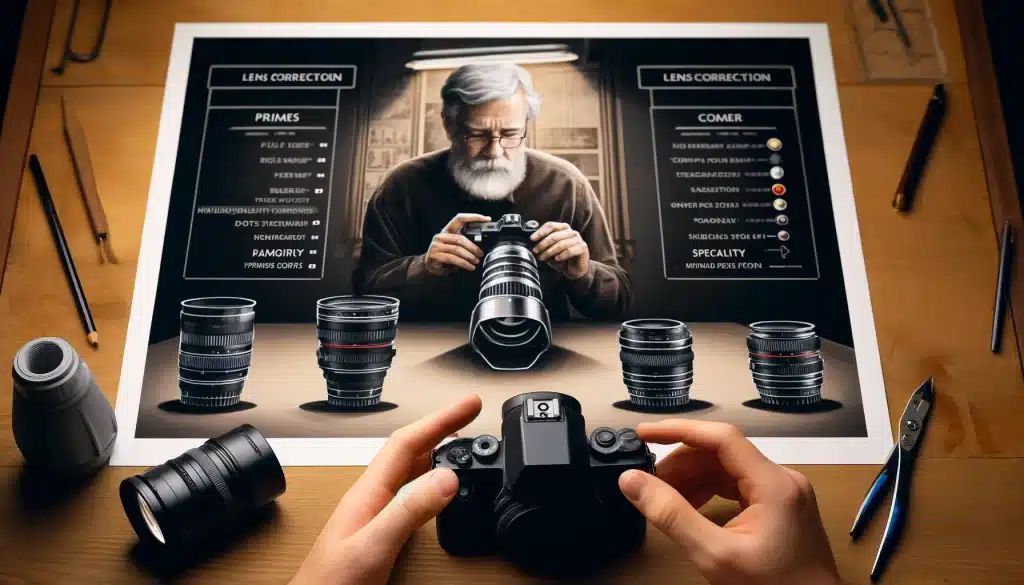
Tip #1 Choosing the Right Lens
The lens you use has a major impact on the level of deformation in your pictures. Opt for lenses with a reputation for minimal distortion to ensure cleaner, more accurate images.
Prime vs. Zoom Lenses: Let’s explore prime vs. zoom lenses! Prime lenses often provide sharper images with less distortion compared to zoom lenses. They are particularly effective in situations where detail and accuracy are crucial, such as in product photography or detailed landscape photography shots.
Lens Quality Matters: Investing in higher-quality lenses can significantly reduce distortion. High-quality lenses are designed with better optics that improve various aberrations and distortions inherent in cheaper lenses.
Tip #2 Advanced Camera Techniques
Beyond equipment, the technique plays a crucial role in reducing distortion.
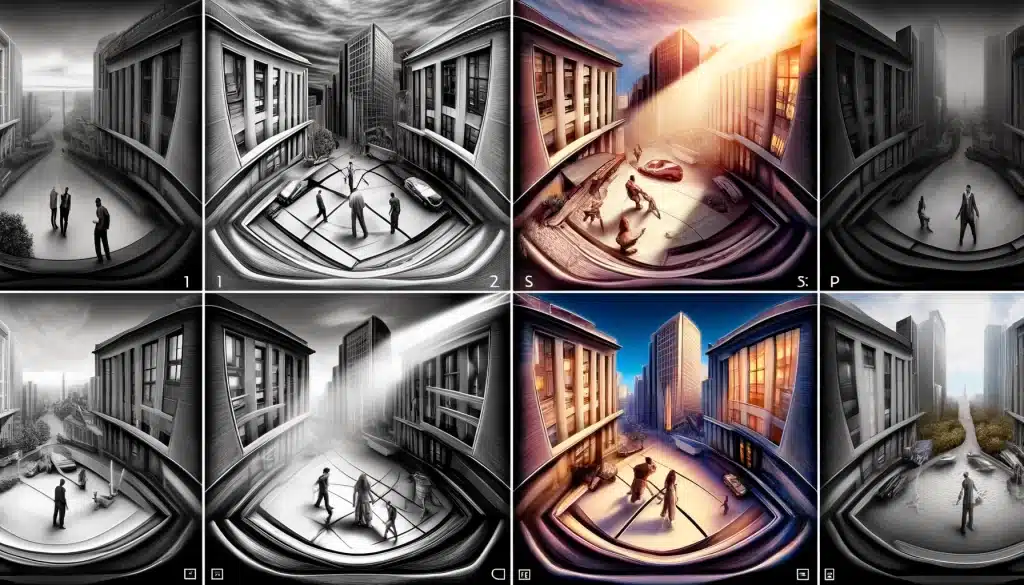
Strategic Subject Placement: Place key subjects away from the edges of the frame where misrepresentation is most pronounced, especially when using wide-angle lenses.
Shooting Angle and Distance: Avoid shooting from angles that can exaggerate perspective distortion. For example, shooting buildings from a lower angle with a wide-angle lens can lead to converging vertical lines, making the top look narrower than the base.
Tip #3 Regular Camera Maintenance
Keeping your camera and lenses well-maintained is crucial for preventing issues that can lead to distortion.
Routine Cleaning: Regularly clean your lens and camera sensor to avoid issues that can exacerbate distortion, such as dust or smudges that can affect the path of light entering the lens.
Periodic Checks and Adjustments: Periodically check your equipment for any issues that could affect picture quality, such as lens alignment or deteriorating lens elements, and have these issues addressed by a professional if necessary.
Tip #
Strategy
Key Actions
Tip #1
Lens Selection
Choose prime lenses for less distortion.
Invest in high-quality lenses.
Tip #2
Camera Settings
Activate in-camera correction.
Keep camera level using a tripod.
Tip #3
Shooting Techniques
Position key subjects centrally.
Avoid low angles with wide lenses.
Tip #4
Equipment Maintenance
Clean lenses regularly.
Conduct periodic checks and adjustments.
Frequently Asked Questions About Image Distortion Correction
Now that we’ve explored various techniques and tools to address image distortion, let’s answer some common questions related to image distortion and how to fix it!
How is distortion corrected?
Distortion in photos can be fixed using special tools found in camera or photo editing software. When you use a camera, sometimes there’s a setting that fixes distortion as you take pictures. In photo editing programs like Photoshop, you can use a tool that helps make everything look straight and neat again. This is done by adjusting sliders until the picture looks right.
What is Image Distortion?
Image distortion occurs when elements in a photograph do not accurately represent their real-world appearance, often due to lens characteristics or shooting techniques. Common forms include barrel and pincushion distortion, which cause images to bulge or pinch at the center, respectively, and perspective distortion, which can make objects appear unnaturally large or small.
How to Fix Image Distortion in Photoshop?
To fix image distortion in Photoshop, use the Lens Correction filter found under the Filter menu. This feature allows for both automatic and manual adjustments of distortion. Adjust the distortion sliders in the custom settings.
How to Correct Distorted Images?
To correct distorted images, use photo editing software equipped with distortion correction tools. Open the image, apply a lens correction filter, and modify the settings to reduce distortion effects. Gradually tweak the settings while observing the changes to ensure the image retains a natural look, then save the corrected version.
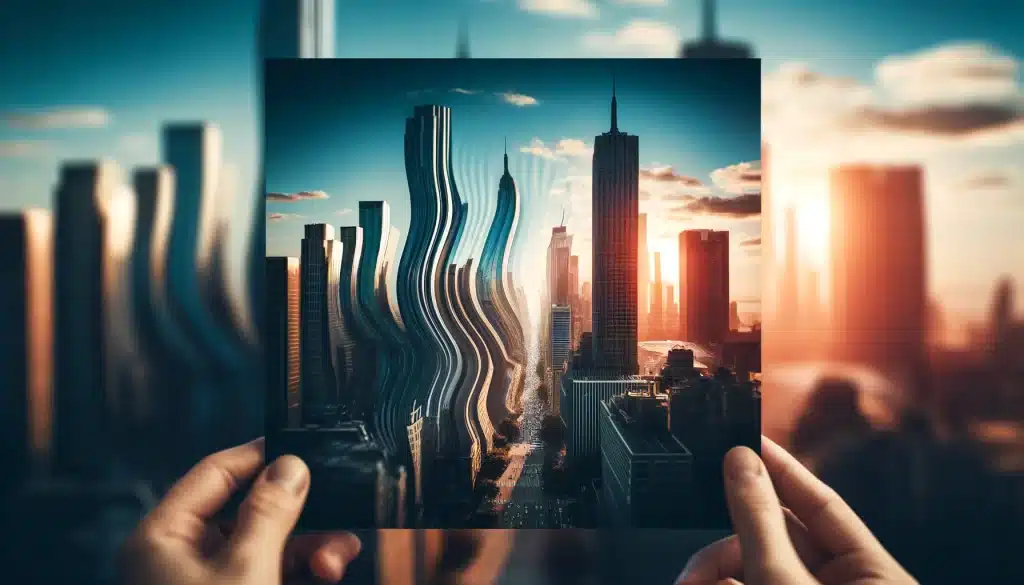
In my journey with photography, I’ve often faced the challenge of image distortion and had to learn how to fix it to ensure my RAW photos look just as I envisioned. Once, while photographing a tall skyscraper, I noticed the lines weren’t straight due to lens distortion. Using the techniques I’ve shared, like adjusting settings in my camera and editing in Photoshop, I was able to correct the image distortion and was thrilled with the straight, professional-looking result.
If you’re eager to dive deeper and master the skills of image distortion and how to fix it, our courses on Photoshop tool and Lightroom tool provide detailed, step-by-step guidance on image distortion correction and much more. Whether you’re looking to fix image distortion or enhance your photo editing skills, these courses are designed to help you succeed. Join our Photoshop Course and Lightroom Course now. Check them out today to start perfecting your photographs!
If this article has helped you, then Like and Share it with your friends!
Discover the secrets of photography with our printable guide! Master essential techniques like aperture, shutter speed, and ISO to create stunning images. Get your free printable PDF now and start turning your snapshots into masterpieces!