How to Photograph a Lunar Eclipse: Tips for Capturing the Moon in All Its Glory
How to Photograph a Lunar Eclipse: Tips for Capturing the Moon in All Its Glory
Introduction to How to Photograph a Lunar Eclipse
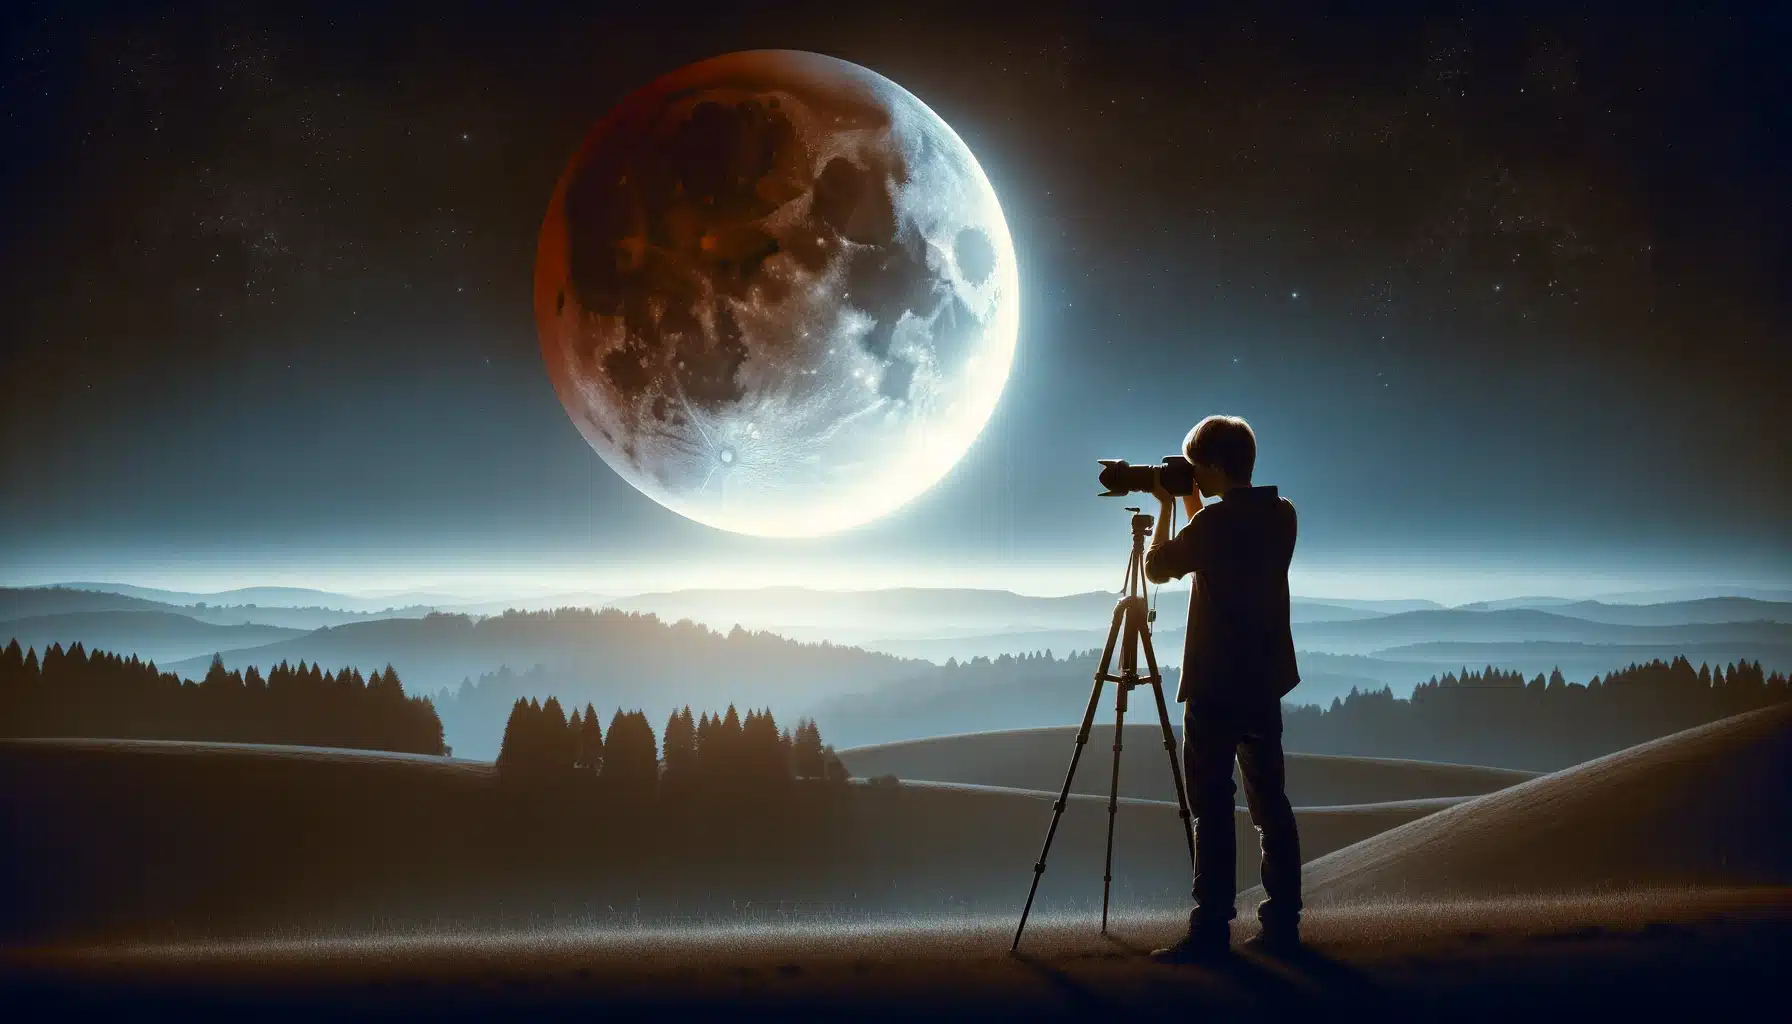
When you want to learn how to photograph a lunar eclipse, it’s like learning to take a special kind of moon picture. Imagine you have a camera, and you want lunar eclipse photography as it plays hide and seek with the Earth’s shadow. Moon eclipse photos are not just any regular pictures; they’re magical moment when the moon changes colors and look different from how we usually see it.
Taking pictures of a lunar eclipse is part of astrophotography, a fun way of using your camera to capture stars, planets, and other cool things in the sky. You don’t have to be a grown-up or a professional to do this; with some simple tips. Remember, it’s all about enjoying the moment and seeing the moon in a new, exciting way!
Table of Contents
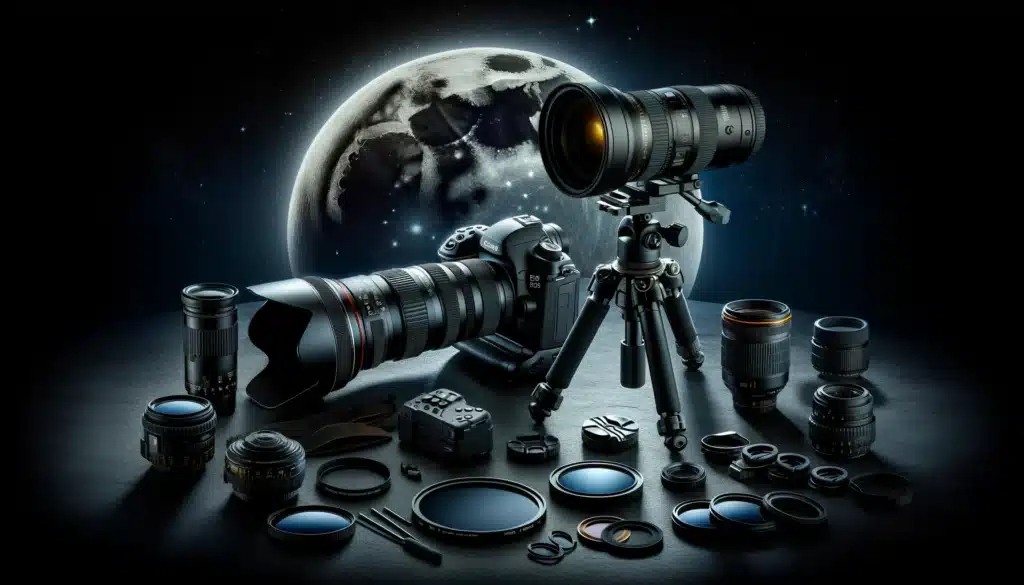
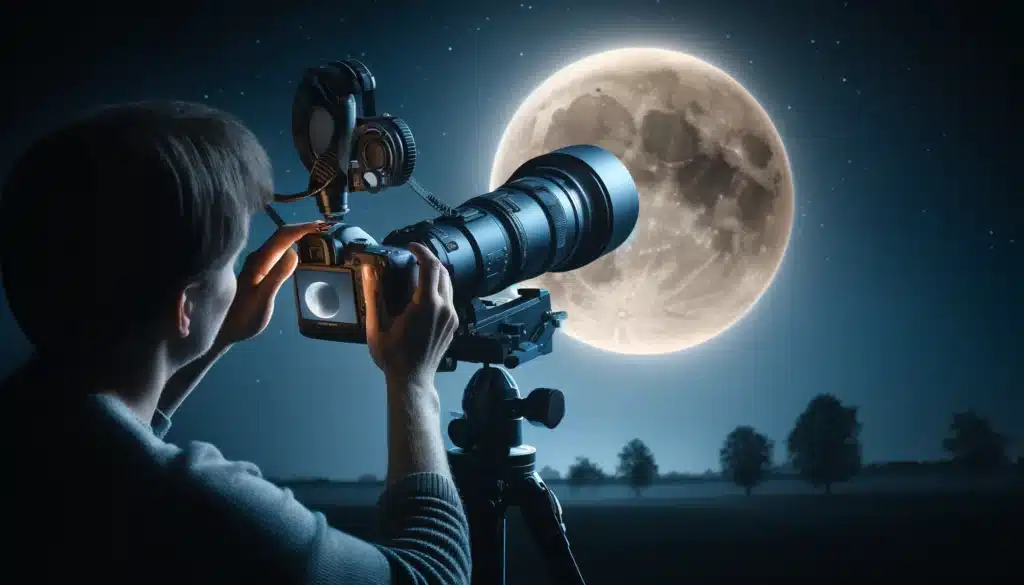
How to Photograph a Lunar Eclipse: Essential Equipment for Lunar Eclipse Photography
Techniques for Lunar Eclipse Photography
First, let’s talk about the camera. Not just any camera will do; you need one that lets you change the settings. This is because during lunar eclipse photography, the moon can be very bright or very dark, and you need to be able to adjust how your camera sees it.
Understanding Long Exposure
A really important setting on your camera is called long exposure. This means the camera takes a longer time to take a photo. It’s like holding your eyes open longer in a dark room so you can see more. With long exposure, your camera sees more of the moon’s cool colors and details during the eclipse.
Using a Tripod for Stability
You’ll also need a tripod. Why? Because holding a camera steady for a long time is super hard, especially if you’re shivering a bit in the cool night air or if you’re excited! A tripod is like a stool that helps your camera stay perfectly still so the photographs don’t come out blurry.
Choosing the Right Lens
Now, let’s talk about lenses. For lunar eclipse photos, a zoom lens that can zoom in really far is awesome. It lets you get close-up pictures of the moon, even if it’s way up high in the sky. If you’re using a zoom lens, you can play with something called depth of field. This means you can make the moon look sharp and clear while the sky around it looks soft and blurry. It makes the moon pop out like it’s right in front of you!
Filters and Other Accessories
Sometimes, the light from the moon can be really bright, making it hard to see all the cool details. To help with this, photographers use filters. Filters are like sunglasses for your camera; they help it not get overwhelmed by too much light.
How to Shoot a Lunar Eclipse: Preparing to Photograph a Lunar Eclipse
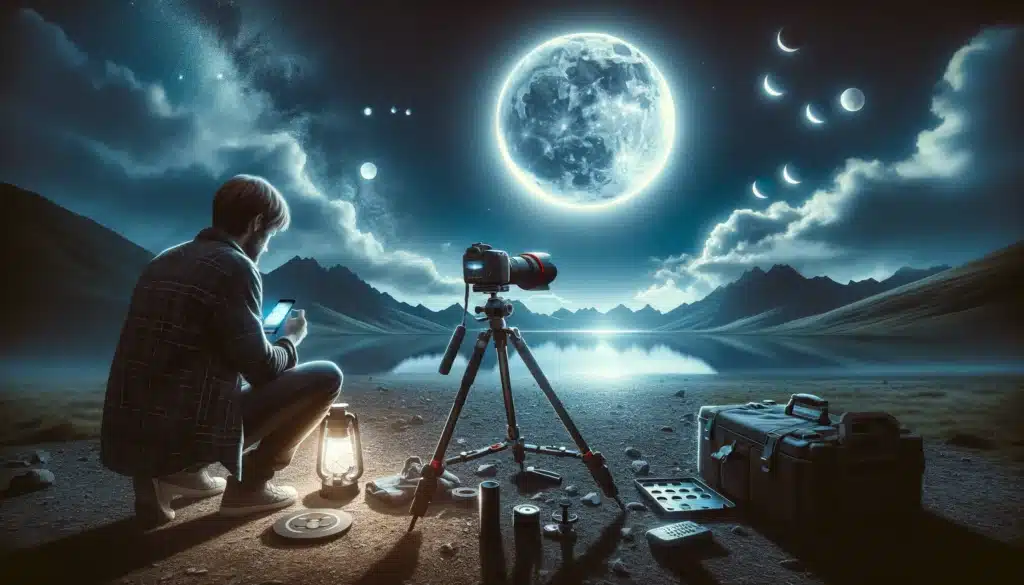
Before you start taking pictures of a lunar eclipse, there are some fun and important steps you need to take. It’s like getting ready for a big adventure where you’re the hero with a camera!
Choosing the Best Time and Place
First, you need to know when and where you can see the lunar eclipse. Not every place on Earth can see it at the same time, so it’s a bit like a treasure map to find out where you should be. You check a weather app on a phone or computer. Once you know where and when it happens, find a spot where there are no bright lights. Dark places are best for seeing the moon clearly!
Setting Up Your Camera
Now, let’s set up your camera. You want to make sure you have all your tools like your tripod and camera ready. If you like taking portrait ideas of people or pets with the moon in the background, this can be a really fun time to try that. Just imagine how cool it would be to have a photo of someone you like with the moon changing colors behind them!
Try HDR Mode
Before the eclipse starts, practice taking some photographs. Try different settings on your camera to see what looks best. You can even practice on the moon before the eclipse begins to make sure everything is just right. This is a good time to try out HDR imaging if your camera has this setting. HDR stands for High Dynamic Range, and it helps to make the dark parts and the bright parts of your picture look really good together.
Creative Captures and Final Checks
As the eclipse approaches, think about how you can make your photos stand out. Maybe you can find an interesting silhouette, like a tree or a building, to frame against the moon. Or you could create a time-lapse video of the moon’s changes during the eclipse, which would be an awesome project to show your friends or family! Lastly, double-check your camera’s focus and settings one more time.
Optimal Camera Settings for ISO, Shutter Speed, and Aperture
How to Photograph a Lunar Eclipse In a Better Way
When you’re all set to take moon eclipse photos, knowing the right settings on your camera is super important. This is like making sure your spaceship has the right dials set to reach the moon!
Balancing LightSensitivity
ISO is your camera’s sensitivity to light. For moon eclipse photos, you want to keep the ISO low, around 100 or 200, to avoid grainy images. A low ISO is perfect because it keeps your pictures smooth and clear, especially in the dark parts of the eclipse.
Shutter Speed
Shutter speed determines how long your camera’s shutter is open to catch light. For moon eclipse photos, a slower shutter speed is needed because the moon gives off less light during an eclipse. Start with a shutter speed of about 1 second and adjust as needed based on how bright or dark the moon appears.
Aperture affects how much of your photo will be in focus. Starting with an aperture setting of f/11 is a good choice for lunar eclipses. This setting helps keep the entire moon sharp and detailed in your photographs.
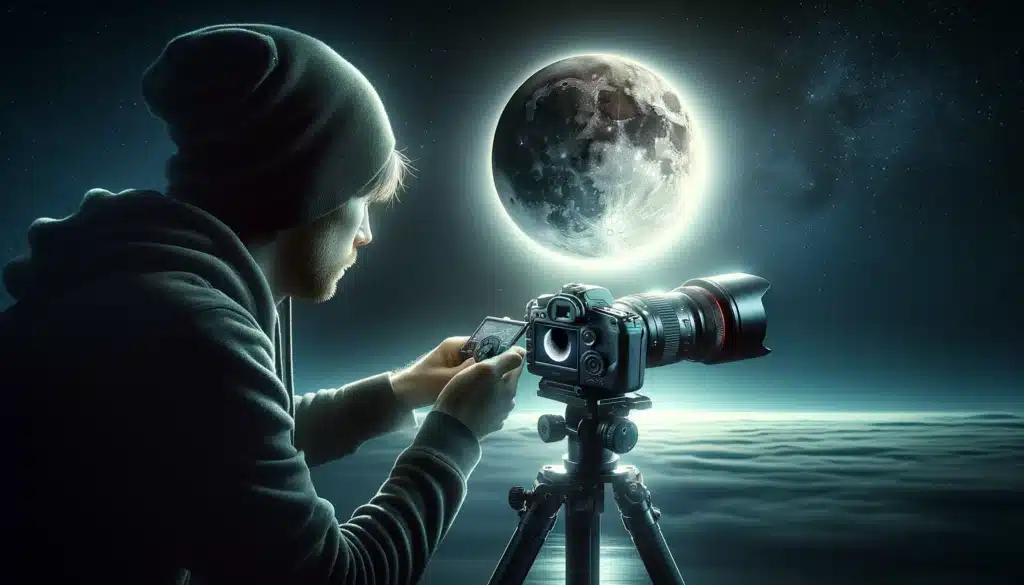
Ensuring Sharp Images
Always set your focus manually. During a lunar eclipse, auto-focus may struggle because of the low light levels, so switching to manual focus will help ensure that the moon stays sharp in your shots. Always clean your camera lens before shooting to ensure clearer, crisper images. If you’re experimenting with lighting on the foreground, using softbox lighting can help illuminate any objects or scenery in front of the moon without being too harsh.
Here’s a quick table with additional settings and tips for Guide to Photographing a Lunar Eclipse:
Setting
Recommended Value
Reason
White Balance
Daylight
Helps maintain natural moon colors.
Exposure Compensation
-1 to -2 stops
Adjust to prevent the moon from appearing too bright..
Metering Mode
Spot Metering
Ensures accurate exposure on the moon itself.
Drive Mode
Single Shot
Prevents camera shake and preserves battery life during long shoots
Tips for Capturing Lunar Eclipse with a DSLR Camera
Setting Up Your Camera for Lunar Eclipse Photography
Choosing the Perfect Lens: For lunar eclipse photography, using a telephoto lens is ideal because it allows you to zoom in on the moon, making it fill more of the frame and capturing greater detail. Select a lens with at least 200mm focal length for best results.
Using a Telescope for Enhanced Detail: If you have access to a telescope, you can attach your DSLR camera to it using a special adapter. This setup allows you to get extremely detailed image of the lunar surface during the eclipse. The increased magnification can reveal the subtle layers of the moon’s penumbral shadow, enhancing the depth and texture of your photo.
Enhancing the Moon's Details
Understanding Color Temperature: The moon’s color can vary during an eclipse, so adjusting the color temperature setting on your DSLR can help take the true colors of the event. A cooler color temperature can enhance the bluish hues of the shadowed moon, while a warmer setting brings out the reddish details during totality.
Using Backlighting Techniques: When the moon is in partial eclipse, experimenting with backlighting can reveal stunning details of the lunar surface that are not visible in direct light. This technique highlights the edges and craters, adding depth to your images.
Tips for Snapping Moon Eclipse Photos
Capturing Different Phases: Try to capture various stages of the eclipse, from partial to total phase. Each stage offers a unique look, from the initial bite taken out of the moon to the dramatic totality.
Experiment with Composition: Don’t just focus on the moon. Include some foreground elements like trees, buildings, or landscapes to give context to your lunar eclipse photography. Composition can make your photographs more interesting and give a sense of scale.
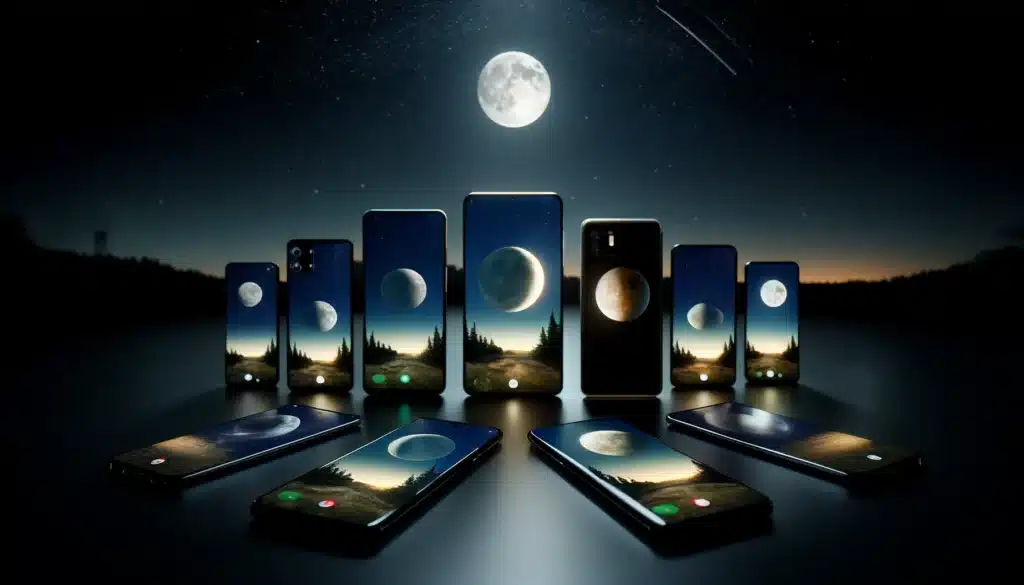
Smartphones can be quite effective to answer the question like How to photograph a lunar eclipse with the right techniques and equipment. Smartphones today come with advanced capabilities that make it possible to take stunning moon eclipse photos even in low-light conditions.
iPhone 15 Pro Max
The iPhone 15 Pro Max is designed with an advanced camera system suitable for low-light conditions. keeping the ISO low and adjusting exposure to prevent overexposure of the moon. Focus manually at infinity for clear, crisp images of the lunar eclipse, and consider using camera tethering to avoid shaking the phone.
Samsung Galaxy S24 Ultra
The Samsung Galaxy S24 Ultraexcels in capturing moon eclipse photos with its high-resolution sensors and powerful processing capabilities. Like with the iPhone, use a tripod for stability and adjust settings manually. Focus on minimizing light pollution at your location to enhance the clarity and detail of the lunar eclipse in your photographs.
Google Pixel 8 Pro
The Google Pixel 8 Pro is renowned for its astrophotography capabilities, making it ideal for capturing the nuances of a lunar eclipse. It has specific settings for low-light photography that help maintain detail without noise. Adjust the red hues to get the color changes during the eclipse, enhancing the dramatic effect.
OnePlus 11T Pro
The OnePlus 11T Pro is another great option for moon eclipse photos, its dedicated night mode that optimizes low-light settings automatically is great. However, for more control, switch to manual mode and adjust the exposure, and white balance to better capture the dark shadows and bright highlights of the lunar eclipse.
Here is some additional smartphone list for those interested in high-quality imaging capabilities, including lunar eclipse photography.
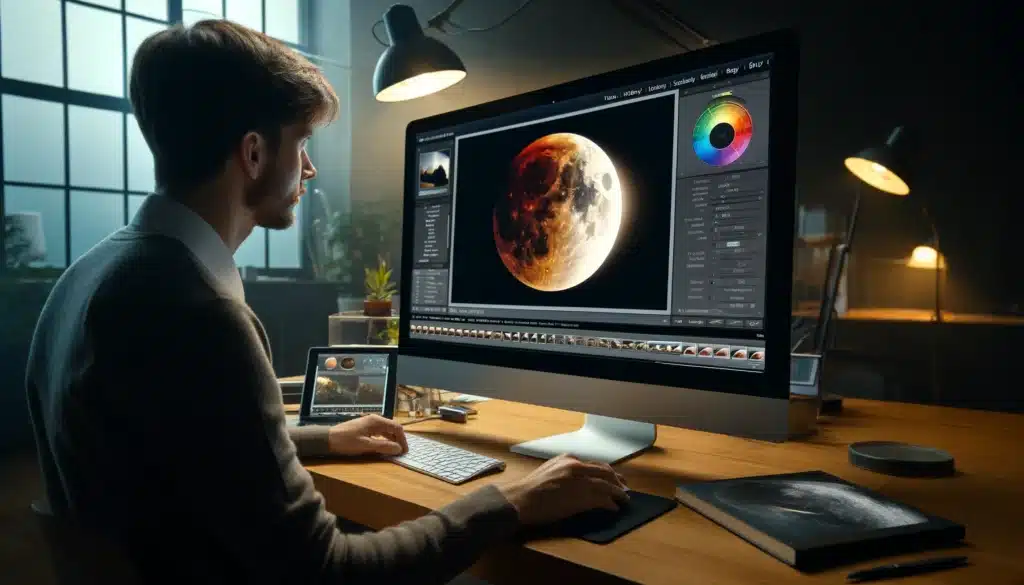
After capturing images of a lunar eclipse, you can make them even better by using software like Adobe Lightroom and Adobe Photoshop.
Using Adobe Lightroom
Start by adjusting the exposure and contrast to bring out the details of the moon’s surface. Adobe Lightroom is great for tweaking the colors to reflect the true tone of the eclipse, and for sharpening the image to make it clearer. It application is easy and you can edit your picture easily.
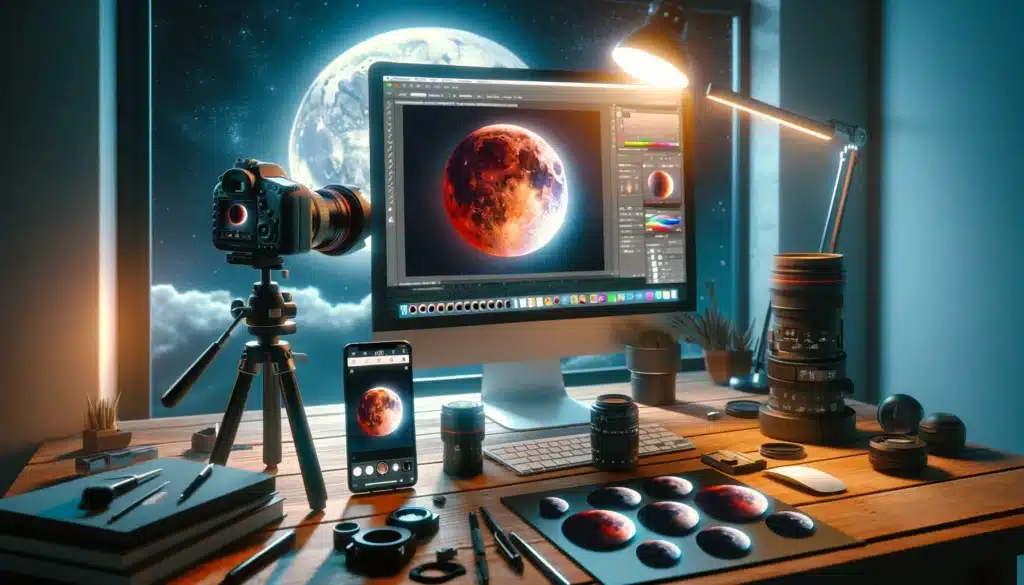
Using Adobe Photoshop
Adobe Photoshop is perfect for more detailed edits. You can remove any unwanted blemishes in the sky or enhance specific parts of the moon. It’s also useful for layeringdifferent images to create a composite that captures the full progression of the eclipse. It is one of the perfect softwares such as Lightroom for editing.
Utilizing Noise Reduction Tools
Noise reduction is crucial when refining lunar eclipse photos, especially since shooting in low light can increase noise. Utilize software tools designed specifically for noise reduction to smooth out the graininess without compromising the sharpness of the lunar details. These tools can help maintain the quality of the image while enhancing its clarity.
Applying Selective Color Enhancement
To make certain features of the moon stand out, use selective color enhancement techniques. This method allows you to isolate and adjust specific colors within the image, making the unique colors of a lunar eclipse more vivid and pronounced. This can be particularly effective for emphasizing the dramatic red and orange hues that appear during the totality phase of an eclipse.
Frequently Asked Questions
How to capture a lunar eclipse with a phone?
Use a tripod to stabilize your phone and prevent blurry photographs. Adjust your phone’s camera settings to manual mode, setting a low ISO and long exposure to capture the dim light. Enhance the photo using an app with editing capabilities for better clarity.
What camera setting is best for eclipse?
For eclipses, set your camera to manual mode with a low ISO, around 100-200, to minimize grain. Use a slow shutter speed to capture the limited light, and choose a small aperture like f/11 to keep the moon sharp and clear.
When can a lunar eclipse be photographed?
Lunar eclipses can be photographed during their occurrence, which is typically during a full moon. Check an astronomical calendar for precise times in your area to plan for clear skies and minimal light interference.
How do you shoot an eclipse DSLR?
Attach a high-quality telephoto lens to your DSLR and mount it on a tripod for stability. Use a slow shutter speed, a small aperture, and a low ISO setting to get detailed shots of the eclipse phases. Adjust focus manually to ensure the moon is crisp.
Concluding our exploration of capturing the lunar eclipse, I recall using my Nikon to secure a breathtaking view of the moon during the last eclipse. Adjusting the exposures manually allowed me to capture a special layer of color and detail that truly brought the celestial event to life. Such experiences reinforce the joy and value of mastering these skills.
For those inspired to further explore and enhance their skills, I highly recommend our detailed courses on Adobe Lightroom and Photoshop. Dive deeper into advanced editing techniques and turn your captures into art by enrolling in our Photoshop Course and Lightroom Course. Join us, and transform your view of the world above!
If this article has helped you, then Like and Share it with your friends!
$2,061.00Original price was: $2,061.00.$1,061.00Current price is: $1,061.00. 27635
Download Your Free Guide Now!
Discover the secrets of photography with our printable guide! Master essential techniques like aperture, shutter speed, and ISO to create stunning images. Get your free printable PDF now and start turning your snapshots into masterpieces!