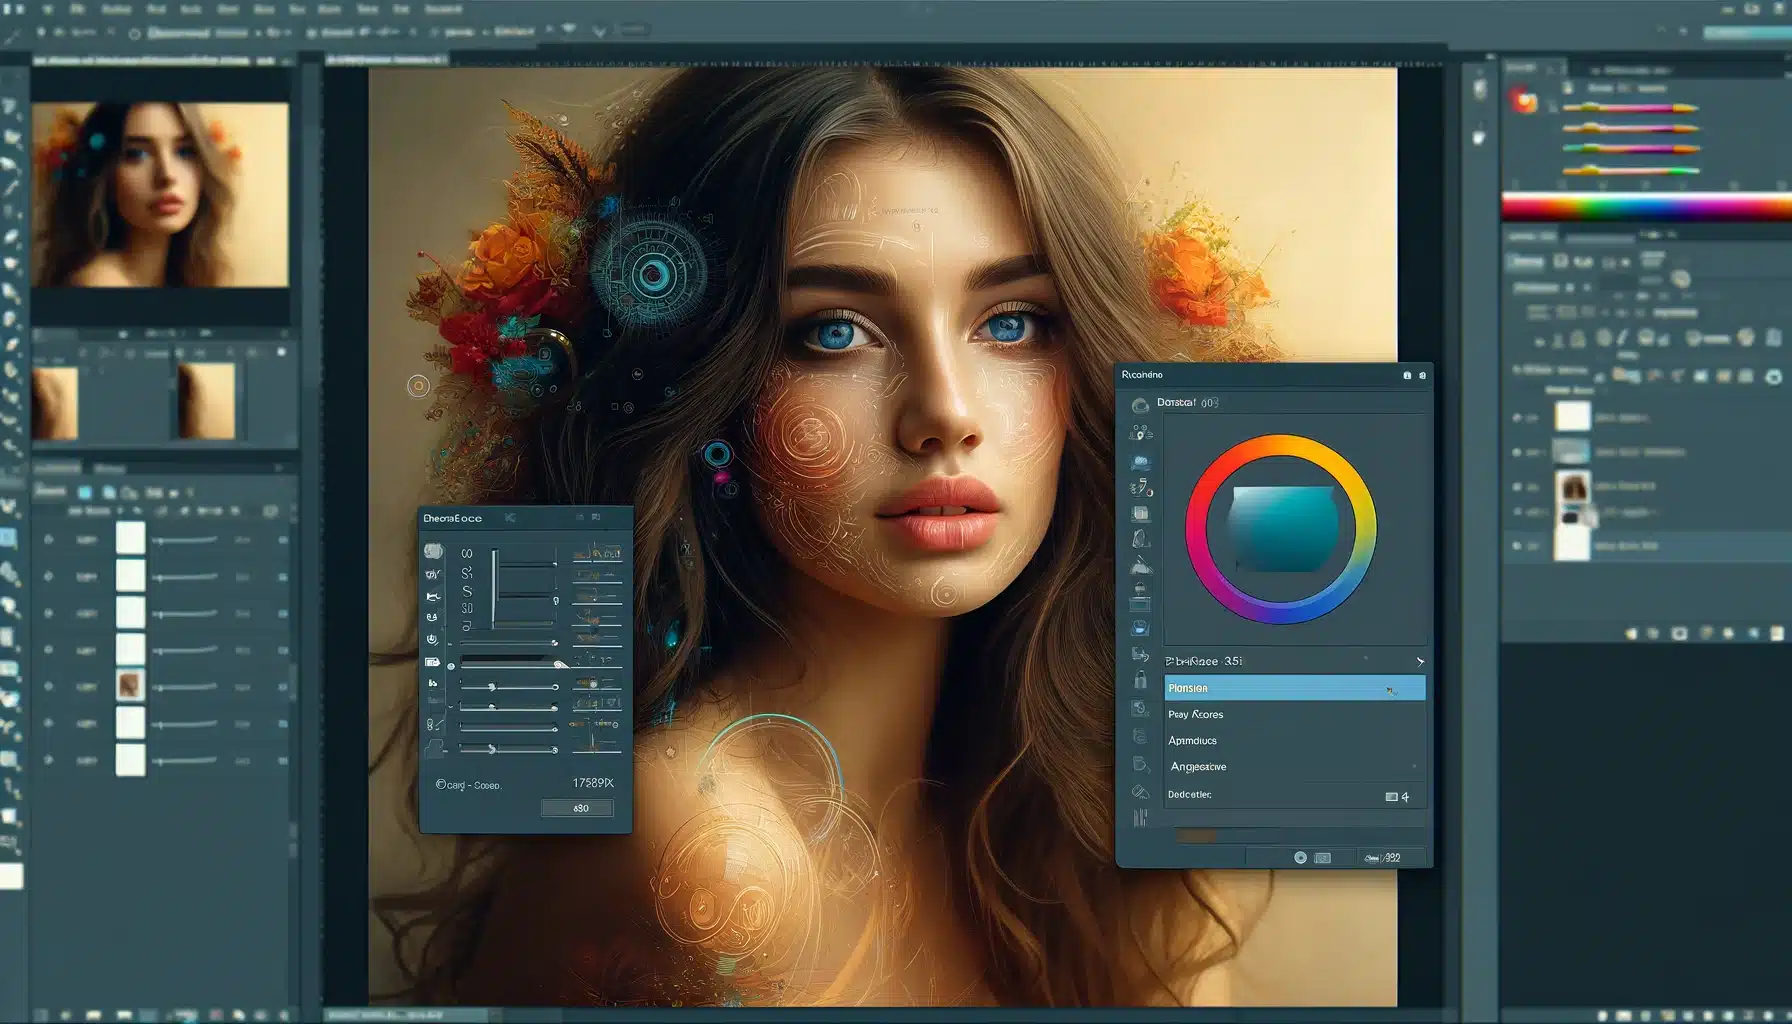
Focus stacking in Photoshop has emerged as an essential approach for photographers desiring to achieve a higher level of detail and depth in their images.
This method, which involves the blending of multiple photos with different focuspoints, results in a single image that’s sharp across the entire scene.
With the advent of digital photography tools like Photoshop and Lightroom, achieving this result is more attainable than ever before. Recent statistics show an increasing number of professional photographers are incorporating focus stacking into their workflows.
The process can involve several steps including selecting your layers, aligning them accurately, and then blending them seamlessly.
The complexity may seem daunting at first glance but fear not! We’ll guide you through each step with precision and clarity. So let’s dive right into understanding how we can master this powerful photo editing method using Adobe.
Table of Contents
Mastering Focus Stacking in Photoshop
Transitioning from a single photo to a series of combined photographs, focus stacking is a powerful method for achieving razor-sharp detail across your entire subject.
Whether you’re working on macro, landscape, or product photography, this method is essential for pictures where crisp detail is paramount.
Understanding Focus Stacking
To truly grasp the concept of focus stacking, consider it akin to layering transparent sheets, each with a different portion of your scene in sharp relief.
By meticulously merging these layers, you create a final photograph where every element is in perfect clarity. This method is particularly beneficial when dealing with subjects that have intricate details spread across various planes of focus.
Begin by capturing a series of photographs with varying focus points.
Use software like Photoshop to arrange and blend these pictures seamlessly.
Employ editing tools to fine-tune the final composite for a natural look.
Benefits of Using Focus Stacking in Photoshop
The advantages of applying focus stacking in your editing workflow are significant. Not only does it allow for unparalleled depth of field in your photos, but it also affords you the flexibility to highlight textures and details that might otherwise go unnoticed.
Achieve a greater depth of field without compromising on aperture settings.
Isolate and accentuate intricate details for a more impactful image. Maintain high picture quality by avoiding diffraction, which can occur at smaller apertures.
Step-by-Step Guide to Focus Stacking
A systematic approach to focus stacking ensures that you don’t miss critical steps in creating your composite photograph. Here’s a simple guide to help you through the process:
Secure your camera on a tripod to maintain a consistent shooting position.
Capture a sequence of images, adjusting the focus point incrementally.
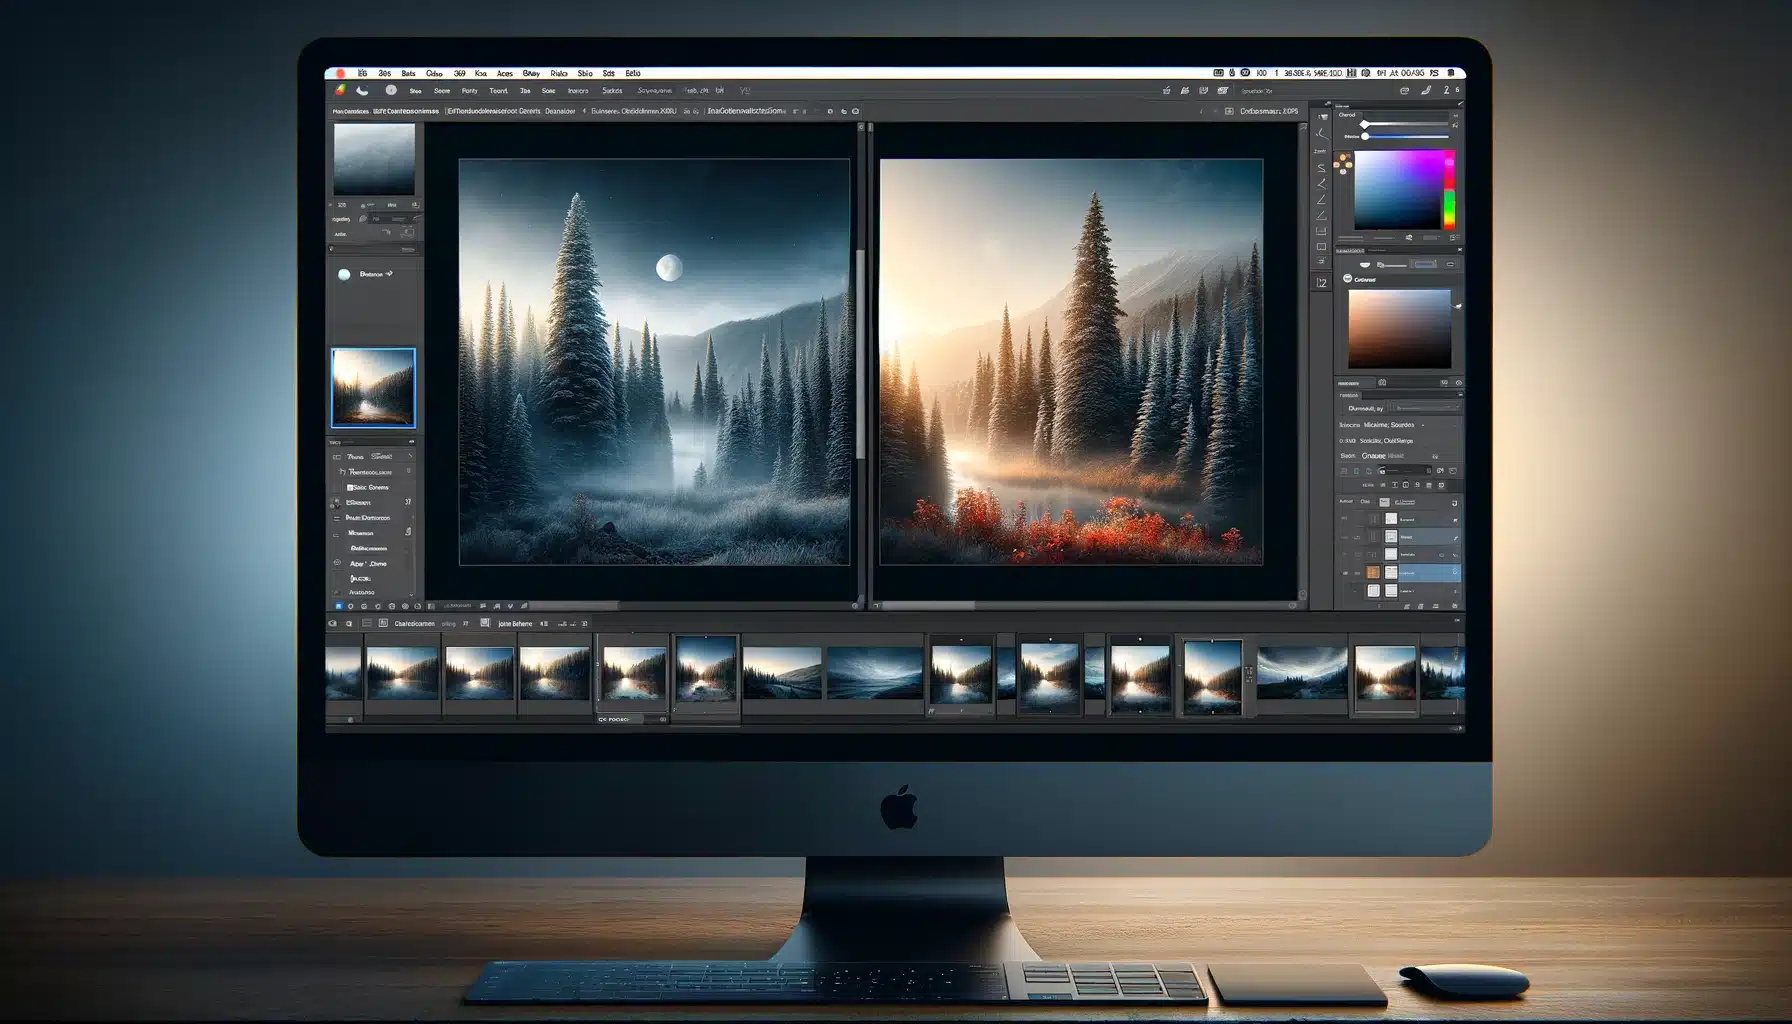
Import your pictures into Photoshop and use the auto-align feature to ensure each layer matches up perfectly.
Utilize the auto-blend function to merge the sharp areas of each layer.
Manually inspect and touch up any areas where the blend isn't seamless.
Preparing Your Images for Stacking
Before diving into the more technical aspects of focus stacking, it’s essential to ensure your photos are primed for the process. This preparation phase is pivotal, as it sets the foundation for a seamless stacking workflow.
Selecting Suitable Images for Focus Stacking in Photoshop
When choosing pictures for stacking, clarity is key. Opt for pictures with minimal movement and consistent lighting and depth to maintain uniformity across the sequence. Here are a few pointers to consider:
Consistency in Exposure: Ensure each frame has the same exposure settings to avoid discrepancies in brightness and contrast.
Steady Subjects: Subjects should remain static throughout the shooting sequence to prevent ghosting during stacking.
Overlapping Focus: Each picture should have overlapping focus points to ensure a smooth transition between the stacked areas.
Consider using the Selection Tools in Photoshop to isolate and review the sharpness of different areas within your pictures.
Pre-Stack Editing Tips
Before you stack, a touch of pre-editing can go a long way in refining the final result. Focus on these editing aspects:
Color Correction: Adjust white balance and color consistency for a uniform look across all layers.
Retouching: Clean up any sensor dust or imperfections to avoid magnifying these in the stacked image.
Non-Destructive Editing: Use adjustment layers to preserve the original image data for possible tweaks after stacking.
For further editing techniques, the tutorial on how to add shapes in Photoshop offers insights into non-destructive editing practices.
Additionally explore specific techniques such as how to edit astrophotography to further enhance your knowledge.
Executing Focus Stacking in Photoshop
To master focus stacking, a photographer must go beyond the basics and refine their approach. It’s about blending precision with creative vision.
Let’s delve into advanced methods to perfect your stacked images, ensuring every detail from the nearest to the farthest point is in razor-sharp clarity.
Layering Images for Optimal Stacking
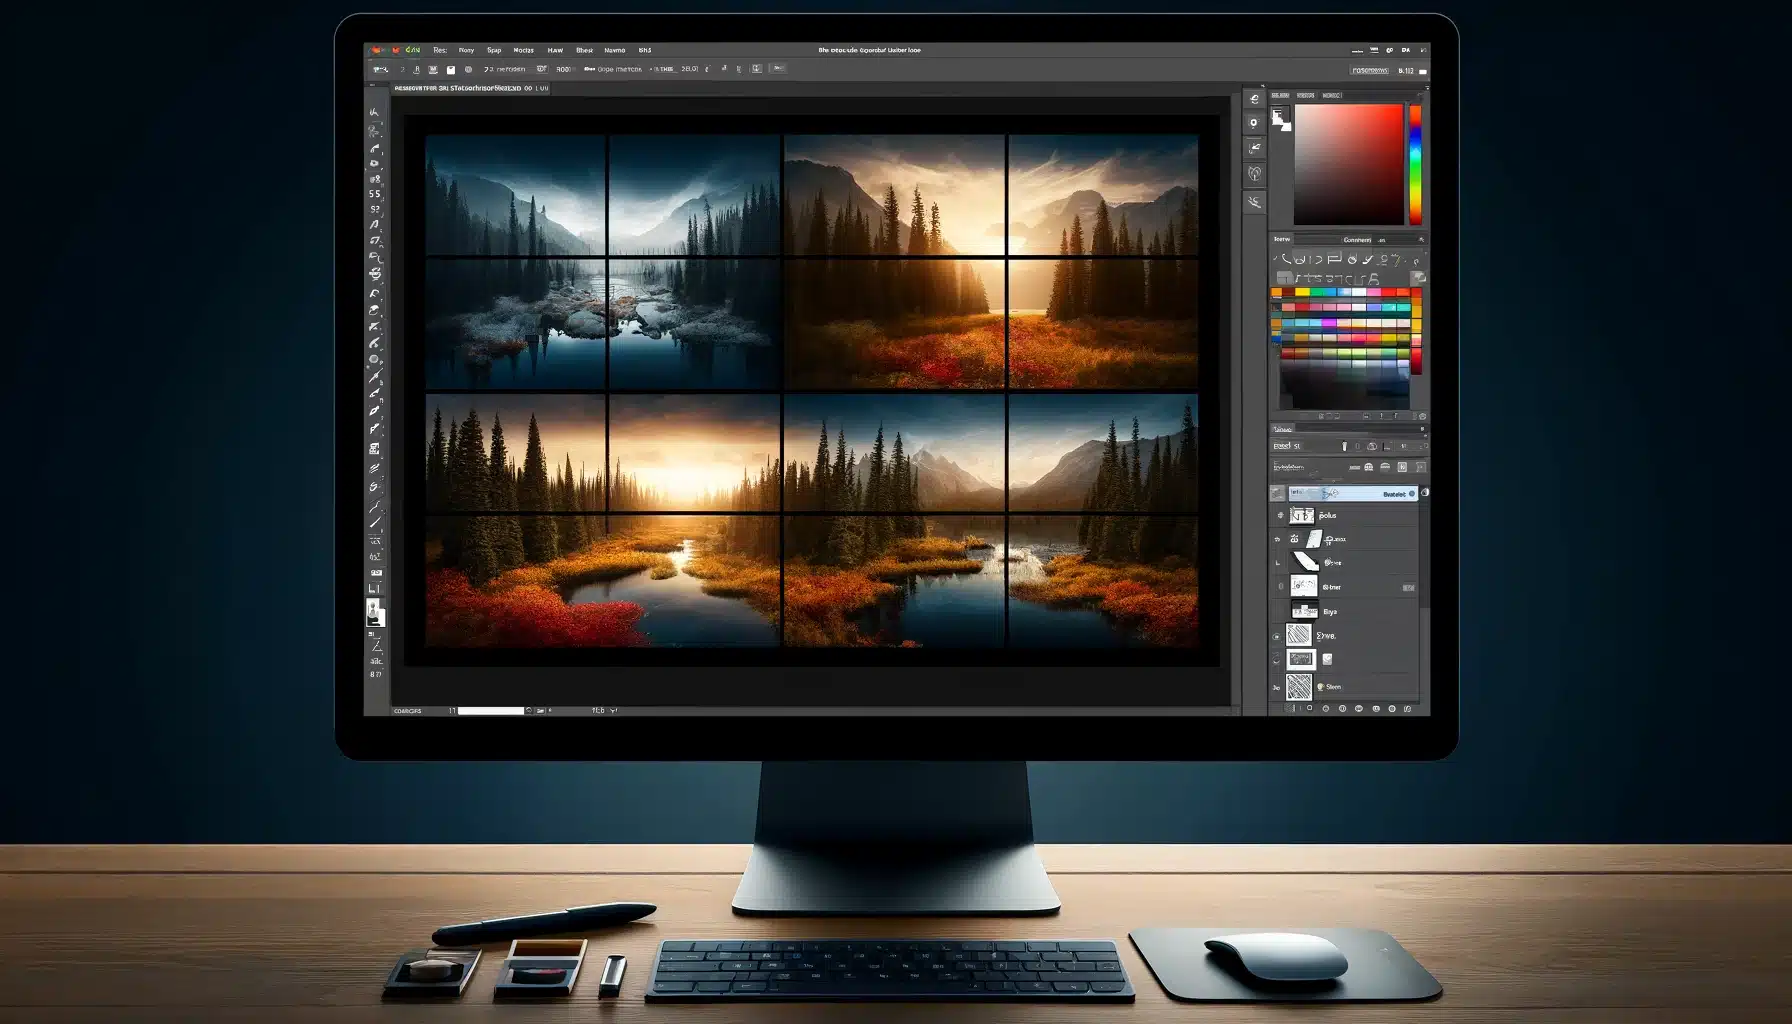
The key to successful stacking lies in the meticulous layering of your captures. Begin by arranging your series of shots in Adobe Photoshop, ensuring each layer corresponds to a different focal point. Here’s a step-by-step approach:
Arrange your sequence of captures as individual layers.
Inspect each layer, ensuring they are perfectly in line.
Use the Auto-Align feature if necessary, but double-check manually for any discrepancies.
Look for any gaps in focus and add additional layers if needed.
Once satisfied, proceed to blend the layers for a seamless final image.
Remember to keep an eye on the edges of your frames, as they can sometimes shift during the alignment, potentially leading to a less than perfect outcome.
Using Auto-Align and Auto-Blend Functions
For those who value efficiency, Photoshop’s Auto-Align and Auto-Blend functions are a godsend. These powerful tools can save time and streamline your workflow:
Start by selecting all your stacked layers.
Navigate to 'Edit' and select 'Auto-Align Layers' to ensure each shot is perfectly matched up.
Once arranged, head back to 'Edit' and choose 'Auto-Blend Layers' for a uniform and sharp composite.
Inspect the result for any anomalies and touch up manually if needed.
Auto-Align and Auto-Blend are especially useful when working with a large number of captures, but it's always wise to review the automated results for precision.
Manual Adjustments for Precision
While automation is helpful, manual adjustments can bring your focus stacking to new heights. Precision is paramount, and sometimes a hands-on touch is required:
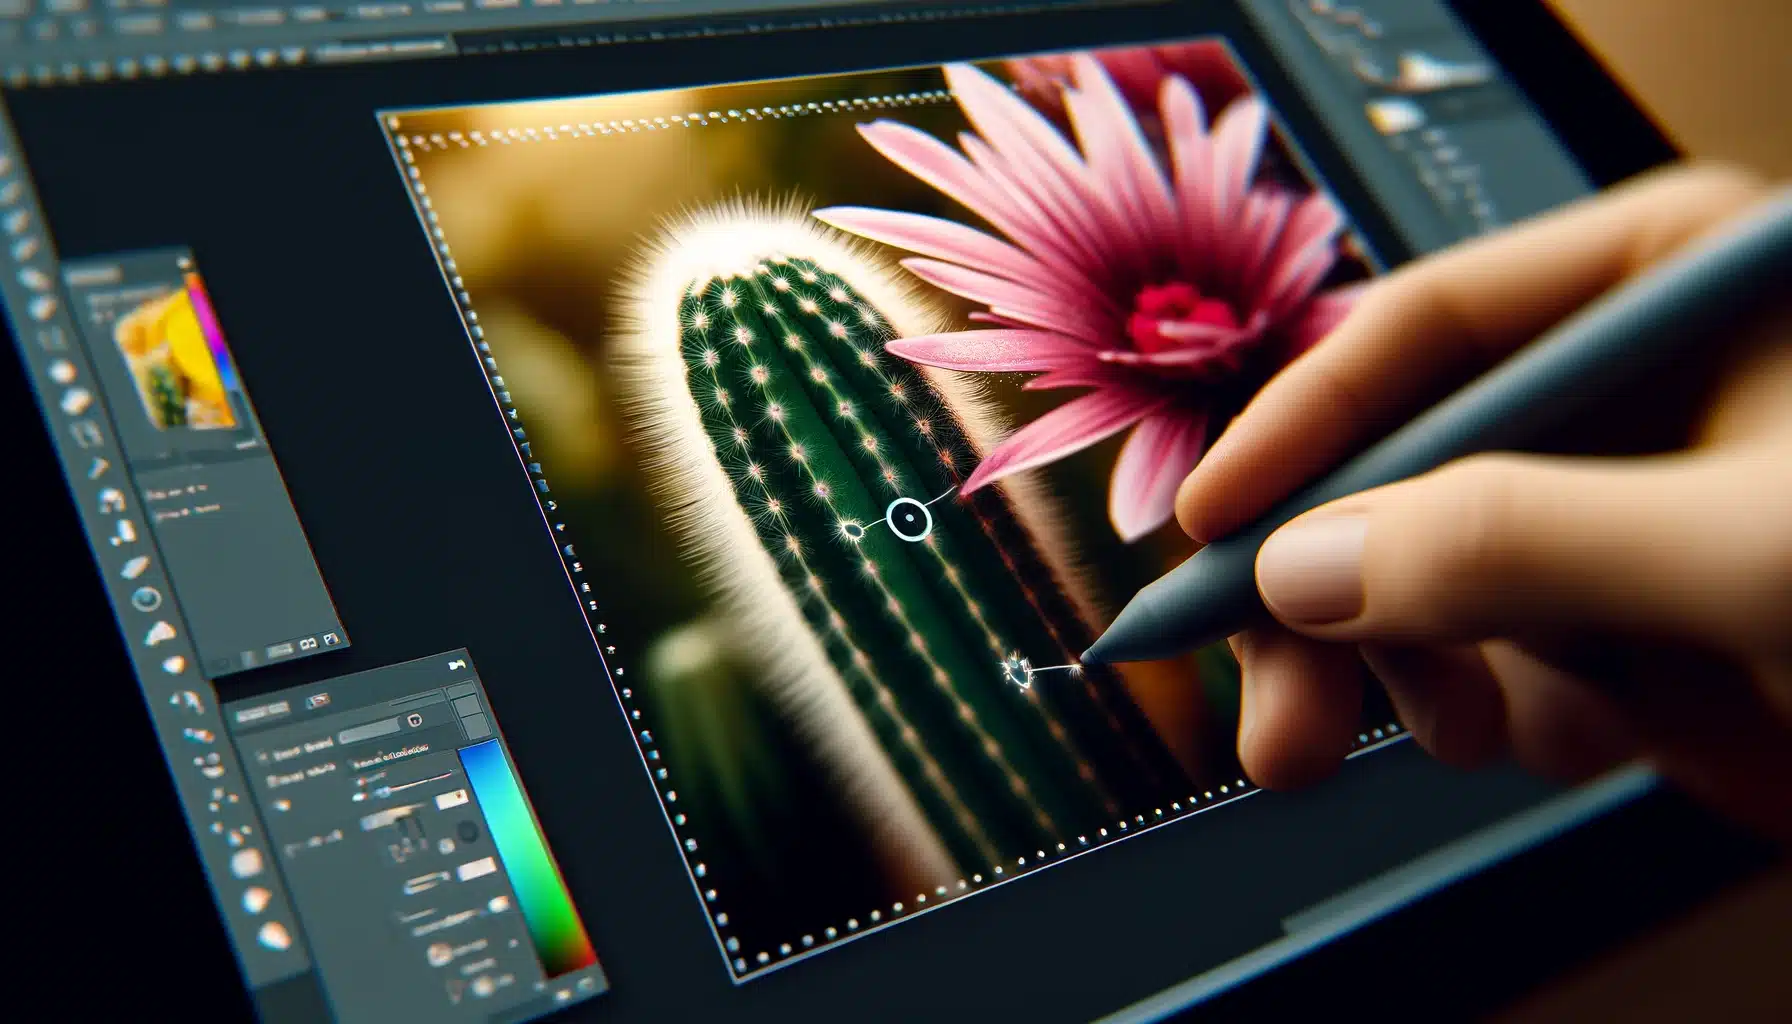
Zoom in closely and cycle through each layer, looking for any misalignment or focus issues.
Use layer masks to manually blend the focus points, painting in sharpness where needed.
Adjust the opacity of your brushes to achieve a subtle and natural transition between layers.
If necessary, utilize the selection tool to isolate and correct specific areas.
Taking the time for manual adjustments ensures that your final image will display the utmost clarity throughout.
Whether it’s capturing the intricate details of a macro scene or ensuring a landscape is sharp from front to back, focus stacking is a approach that can elevate your photography to professional levels.
With practice, patience, and a keen eye for detail, the results can be nothing short of spectacular.
Advanced Focus Stacking Strategies in Photoshop
As we delve further into the realm of post-processing, it’s essential to build upon the foundation of focus stacking. In this next segment, we’ll explore advanced tactics that can take your composite imagery to new heights.
Let’s navigate through the intricacies of handling complex stacks, refining edge details, and troubleshooting common issues that might arise during the stacking process.
Handling Complex Stacks with Photoshop
When dealing with a series of shots that have varying focus points, it’s not just about arranging and blending. It’s about managing the complexity of the task to maintain the integrity of your final image. Here are steps to ensure your complex stacks come out impeccably:
Begin by meticulously examining each frame, confirming that all intended areas are captured in at least one frame with the desired focus.
Utilize the 'Selection Tools in Photoshop' to isolate and correct any discrepancies between frames.
Employ the 'Quick Selection tool in Photoshop' to refine the selections, ensuring a smooth transition between the focused areas.
For pictures with intricate details or overlapping elements, consider manually blending portions by using layer masks and a soft brush to paint in sharpness where required. Remember to consistently save your progress, as the files can become quite large when working with a few high-resolution pictures.
Refining Edge Details
Refine edges are critical for a realistic composite. Here’s how to refine the edges within your stack:
Zoom in close to the edge areas and create a detailed selection around them.
Apply a slight feather to the selection to avoid harsh lines that can appear artificial.
Adjust the contrast of the edges using 'Curves' or 'Levels' to ensure they match the surrounding areas.
If certain edges don't blend well, consider using the 'Clone Stamp' or Healing Brush tools to manually correct these areas.
Troubleshooting Common Stacking Issues
Sometimes, despite our best efforts, stacking can present issues. Here’s how to identify and fix some common problems.
Issue
Description
Solution
Ghosting
This occurs when elements move between shots
Re-align the layers or manually blend them using a layer mask.
Misalignment
Even with ‘Auto-Align’, some pictures may not line up perfectly.
Use ‘Transform’ tools to adjust the position manually.
Varying Colors or Exposure
There may be discrepancies in color and exposure across layers.
Match the color and exposure across all layers by using adjustment layers like ‘Hue/Saturation’ or ‘Exposure’.
Loss of Detail in Shadows or Highlights
Details in shadows or highlights may be lost in the process.
Utilize ‘Shadow/Highlight’ adjustments to recover details without affecting the rest of the image.
These advanced strategies for focus stacking in Photoshop will help you overcome obstacles and achieve a seamlessly stacked image.
With practice and patience, your post-processing skills will allow you to bring out the full potential of your photographs.
Post-Focus Stacking Enhancements
After meticulously arranging and blending your photographs to achieve that perfect depth of field through stacking, it’s time to fine-tune the final composite to make your imagery pop.
The following steps will guide you through refining the sharpness, color, and contrast to showcase your work at its best.
Adjusting Contrast and Clarity
Enhancing the contrast and clarity of your composite can bring out the details and make your image more dynamic. Here’s how you can achieve this:
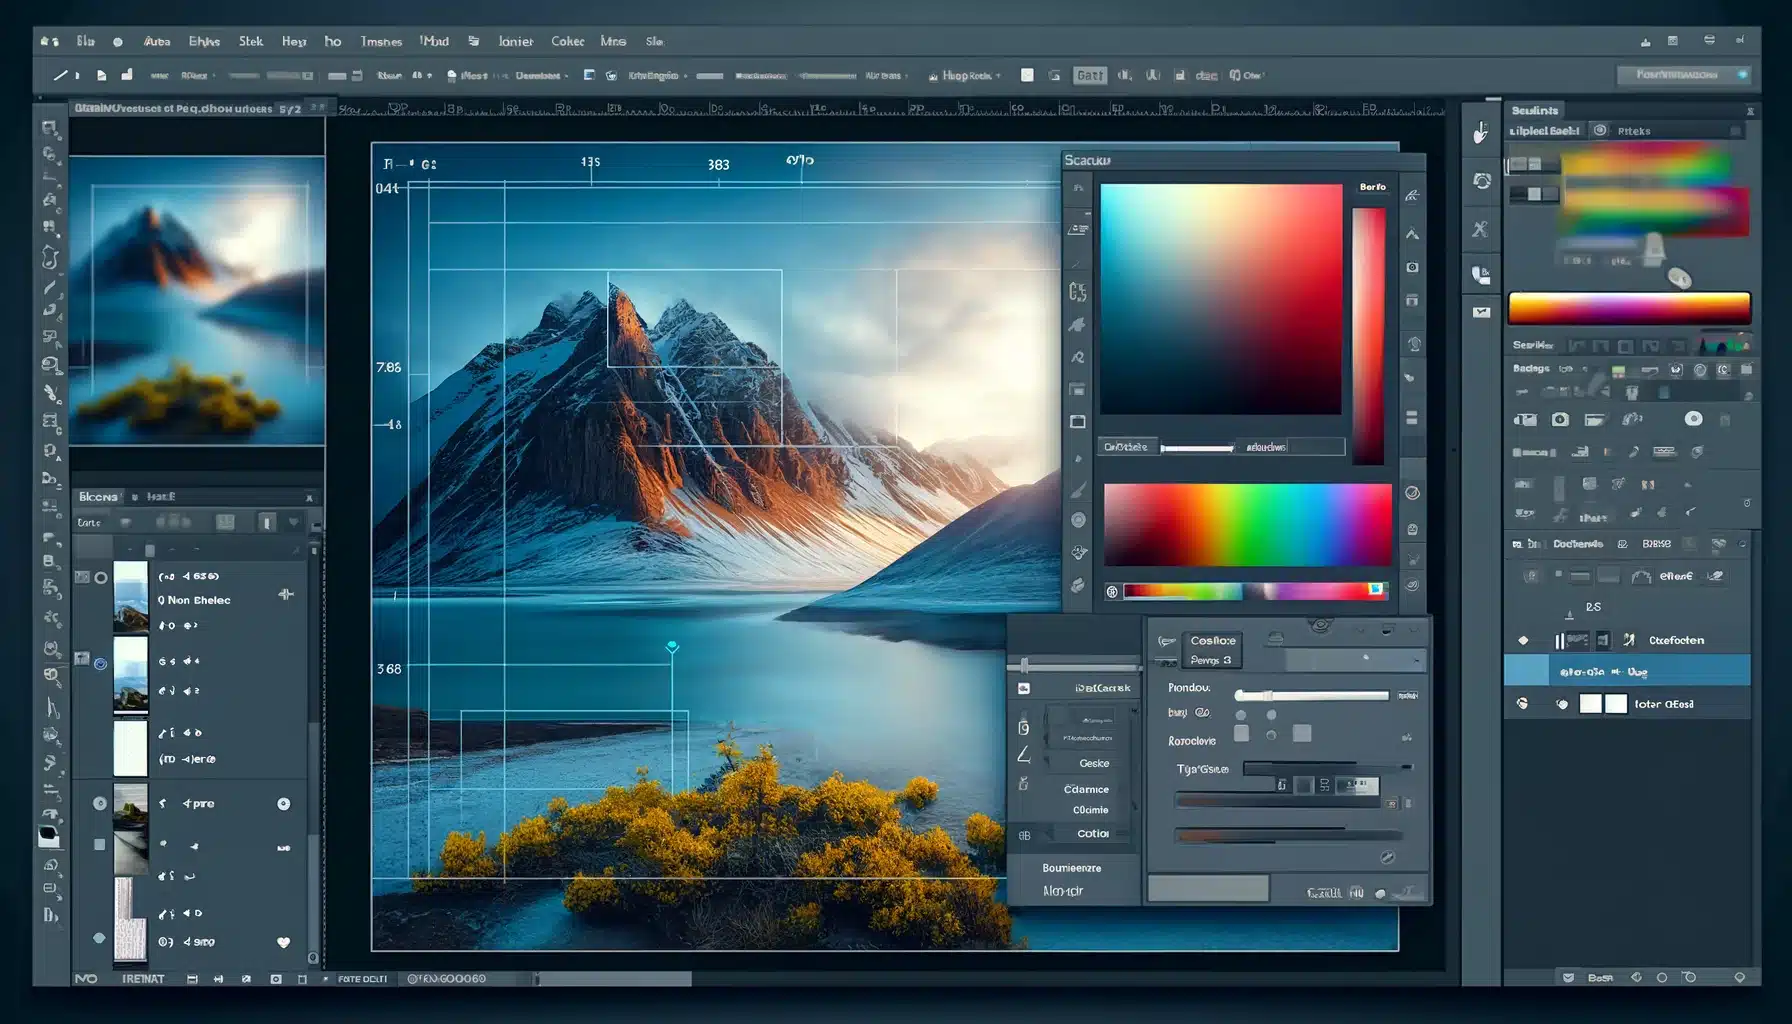
Begin by selecting the 'Curves' adjustment layer to modify the contrast. A slight S-curve can add punch to your image without overdoing it.
To improve clarity, use the 'Clarity' slider in Adobe Camera Raw or Lightroom. This targets the midtones, enhancing details without affecting the overall sharpness.
If your composite needs a bit more texture, the 'Texture' slider is a subtle way to enhance finer details. Remember to use these adjustments sparingly to avoid introducing unwanted noise or artifacts.
Color Correction Post-Focus Stacking in Photoshop
Color correction is essential to ensure the colors in your focus stacked image reflect the scene accurately. Follow these steps to correct color imbalances:
Use the 'Color Balance' tool to adjust the color tones in the shadows, midtones, and highlights.
For specific color tweaks, the 'Hue/Saturation' adjustment layer allows you to target and adjust individual colors. When working with natural scenes, consider enhancing greens and blues to give a more vibrant, lifelike quality to foliage and skies.
To maintain color consistency, use the 'Eyedropper' tool to sample colors from a neutral area and apply it to the areas that need correction.
Focus Stacking for Different Photography Genres
As photographers explore the vast potential of focus stacking, it becomes evident that this approach can be tailored to suit various genres of photography. Each genre presents unique challenges and opportunities for utilizing focus stacking to achieve stunning clarity and detail.
Adapting Techniques for Macro Photography
In the realm of macro photography, precision is key. Capturing the minute details of small subjects requires a methodical approach.
Begin by mounting your camera on a sturdy tripod to eliminate any movement.
Use a macro rail to adjust the camera's position minutely between shots.
Set your aperture to ensure the subject remains the focal point against a soft, blurred background.
Take multiple exposures at different focus points, moving incrementally closer to your subject.
In Photoshop, arrange the captures in line and blend them to achieve one image with exceptional detail from the foreground to the background.
Macro photography benefits immensely from focus stacking, allowing photographers to showcase textures and patterns in nature that might otherwise go unnoticed.
Landscape Photography Stacking
Landscape photography often requires a broad depth of field to capture the grandeur of nature. Focus stacking in this genre ensures that from the delicate flowers in the foreground to the majestic mountains in the distance, every element is in sharp focus.
Choose the right time of day for consistent lighting across your shots.
Set your camera to manual focus and take several photos at varying focal points throughout the scene.
Utilize a smaller aperture to maximize the area in focus for each shot.
After stacking in Photoshop, pay special attention to the horizon line to ensure a natural transition between stacked layers.
This method can transform a landscape photograph into a breathtaking scene with edge-to-edge sharpness. Photographers looking to further enhance their skills should also read learning the essential skills of Photoshop..
Frequently Asked Questions
What is Focus Stacking?
Focus stacking is a photographic technique used to extend the depth of field in images.
It involves taking multiple photos of the same scene at different focus distances and then combining these images in post-processing to create a single image with a greater depth of field than any of the individual source images.
How do you focus stack in Photoshop?
To perform focus stacking in Photoshop, follow these steps:
Take Multiple Photos: Capture a series of images of your subject, each focused at a different point. The number of photos depends on how deep you want your depth of field to be.
Open the Images in Photoshop: Load all the images into Photoshop. You can do this by opening Photoshop and using File > Open to select all the images you want to stack.
Create a Smart Object: Once the images are loaded into a single document in layers, select all the layers in the Layers panel, right-click on them, and choose Convert to Smart Object.
Stack the Images: With the Smart Object selected, go to Layer > Smart Objects > Stack Mode > Mean. This blends the layers using a mean stacking mode, which is useful for reducing noise, but for focus stacking, choose Median to get a better depth of field.
How do I combine focus-stacked images?
To combine focus stacked images into a final composite image:
Perform Focus Stacking: Follow the steps above in Photoshop to stack and align your images into a single Smart Object.
Fine-Tuning: Check the stacked image for any areas that need manual correction. You may need to apply layer masks and use tools like the brush tool to manually blend the layers for optimal sharpness across all areas.
Adjusting the Final Image: Apply final adjustments to the composite image, such as color correction, brightness/contrast, or any other enhancements to achieve the desired final look.
Export the Final Image: Once you are satisfied with the image, export it using File > Save As to save your composite in the desired file format and settings.
Personally, delving into focus stacking transformed the way I approach macro photography. I recall one particular instance where I was trying to capture the intricate details of a dewdrop-adorned spider web at dawn.
Using focus stacking, I was able to combine multiple shots, each with a different dewdrop in sharp focus, resulting in an image that truly captured the ethereal beauty of the scene in a way a single photograph could never achieve.
This technique has not only elevated my work but also deepened my appreciation for the meticulous craft of photography.
For those inspired to elevate their own photographic skills through focus stacking, mastering Photoshop, and enhancing your workflow with Lightroom, I highly recommend exploring the courses offered at Photoshop Course and Lightroom Course.
If this article has helped you, then Like and Share it with your friends
Discover the secrets of photography with our printable guide! Master essential techniques like aperture, shutter speed, and ISO to create stunning images. Get your free printable PDF now and start turning your snapshots into masterpieces!