How to Do Astrophotography: Tips, Techniques, and Gear Guide
How to Do Astrophotography: Tips, Techniques, and Gear Guide
Introduction to Astrophotography
Astrophotography is a captivating way to see the black sky’s beauty, offering a unique perspective on the cosmos. It involves photographing celestial bodies like stars, planets, galaxies, and the Milky Way, requiring the top lens and Astrophotography camera. Envision capturing the luminous trails of shooting stars or the detailed constellations from your backyard, bringing the distant universe closer to home.
In the context of photo enhancement, consider Alex, an astrophotography enthusiast who uses Adobe Photoshop to transform his celestial shots. Despite the challenges of light pollution in his urban setting, Alex’s dedication shines through. With his DSLR camera and trivet, he shoots the black sky’s wonders, then uses Lightroom to enhance the colors and details of imaging by enhancing pixel quality, such as the Orion Nebula and the Andromeda Galaxy. This process showcases the transformative power of Lightroom in Cosmic photography, illustrating how it can elevate good photographs into spectacular showcases of the universe’s beauty.
Table of Contents
Getting Started with Astrophotography
Astrophotography is the art of taking photos of the night sky and its wonders, like stars, planets, and galaxies. If you want to start with astrophotography, you’re in for a treat! It’s not just about taking pictures; it’s about connecting with the vast universe and capturing its beauty.
To get started, certain essential equipment is required:
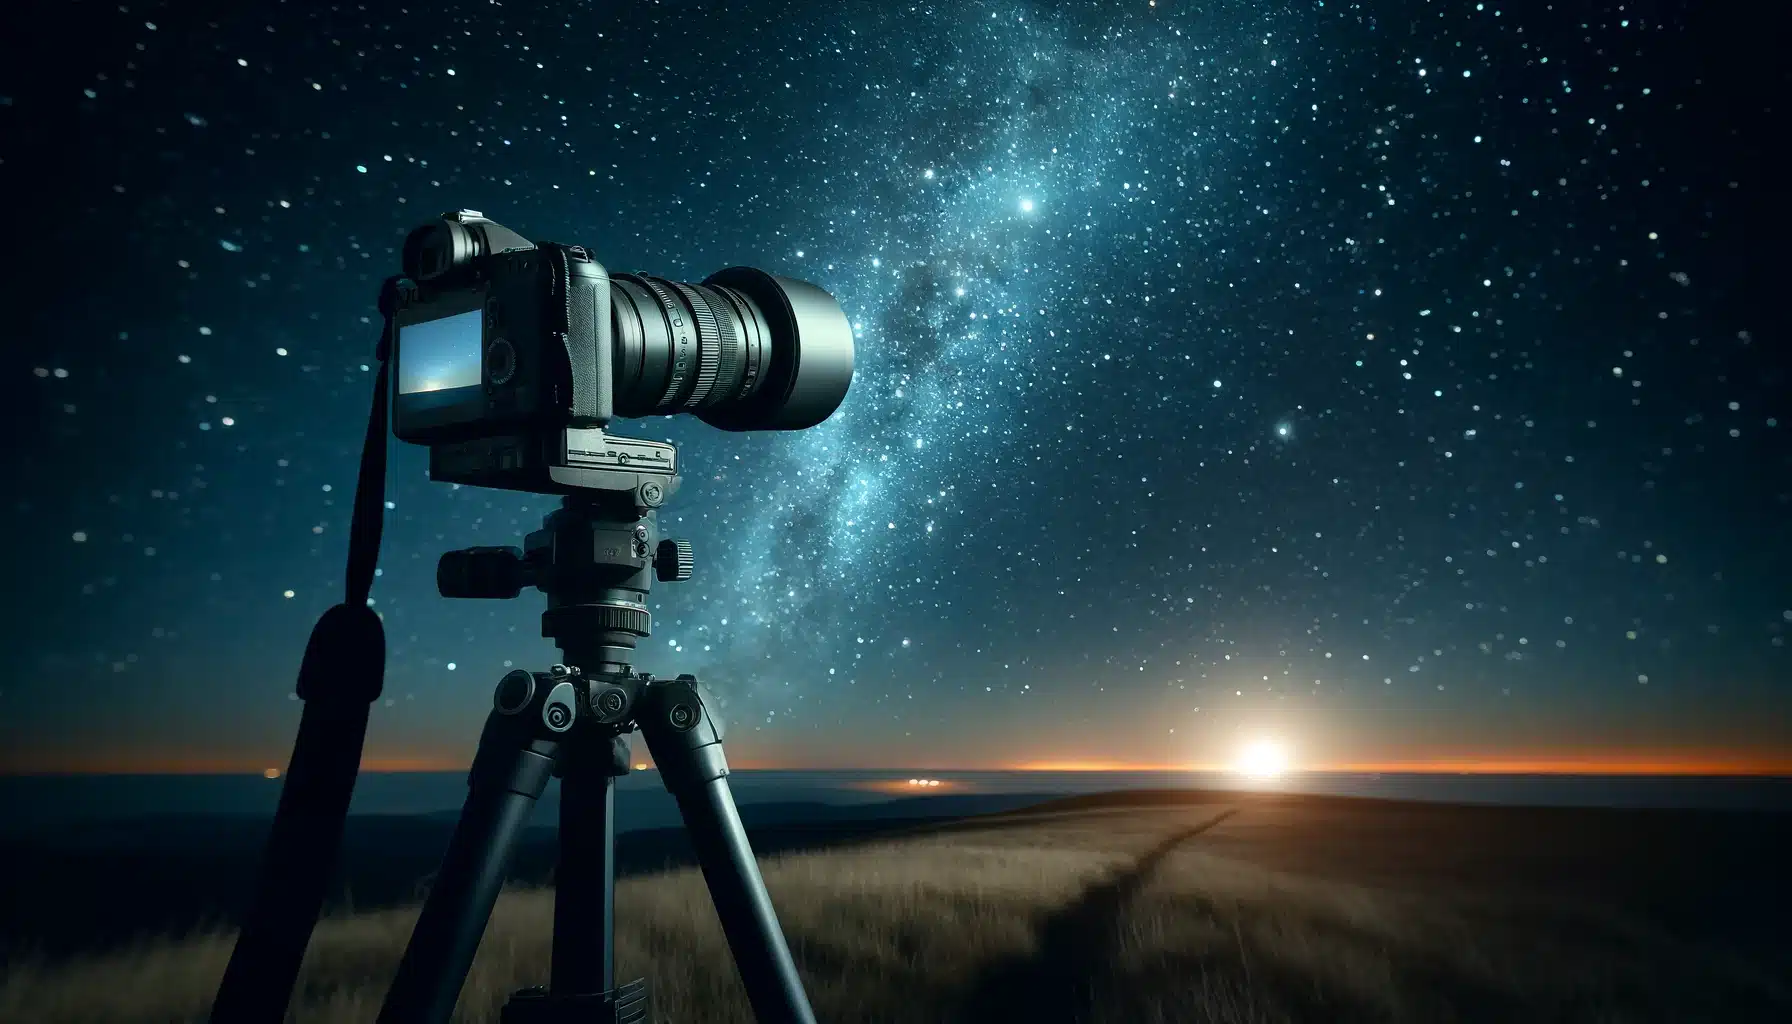
Camera: The heart of your astrophotography setup is the camera. A DSLR or mirrorless camera is ideal because they offer manual controls over exposure settings, allowing you to take the faint light from distant celestial bodies effectively. These cameras are capable of handling long exposures, which are necessary to gather enough light to clearly depict the wonders of the Star-filled sky
Tripod: A tripod is crucial for astrophotography. Because of the long exposure times required to photograph astronomical bodies, even the slightest movement can blur your images. A firm support ensures that your camera remains perfectly still, allowing you to click sharp and clear images of the night sky.
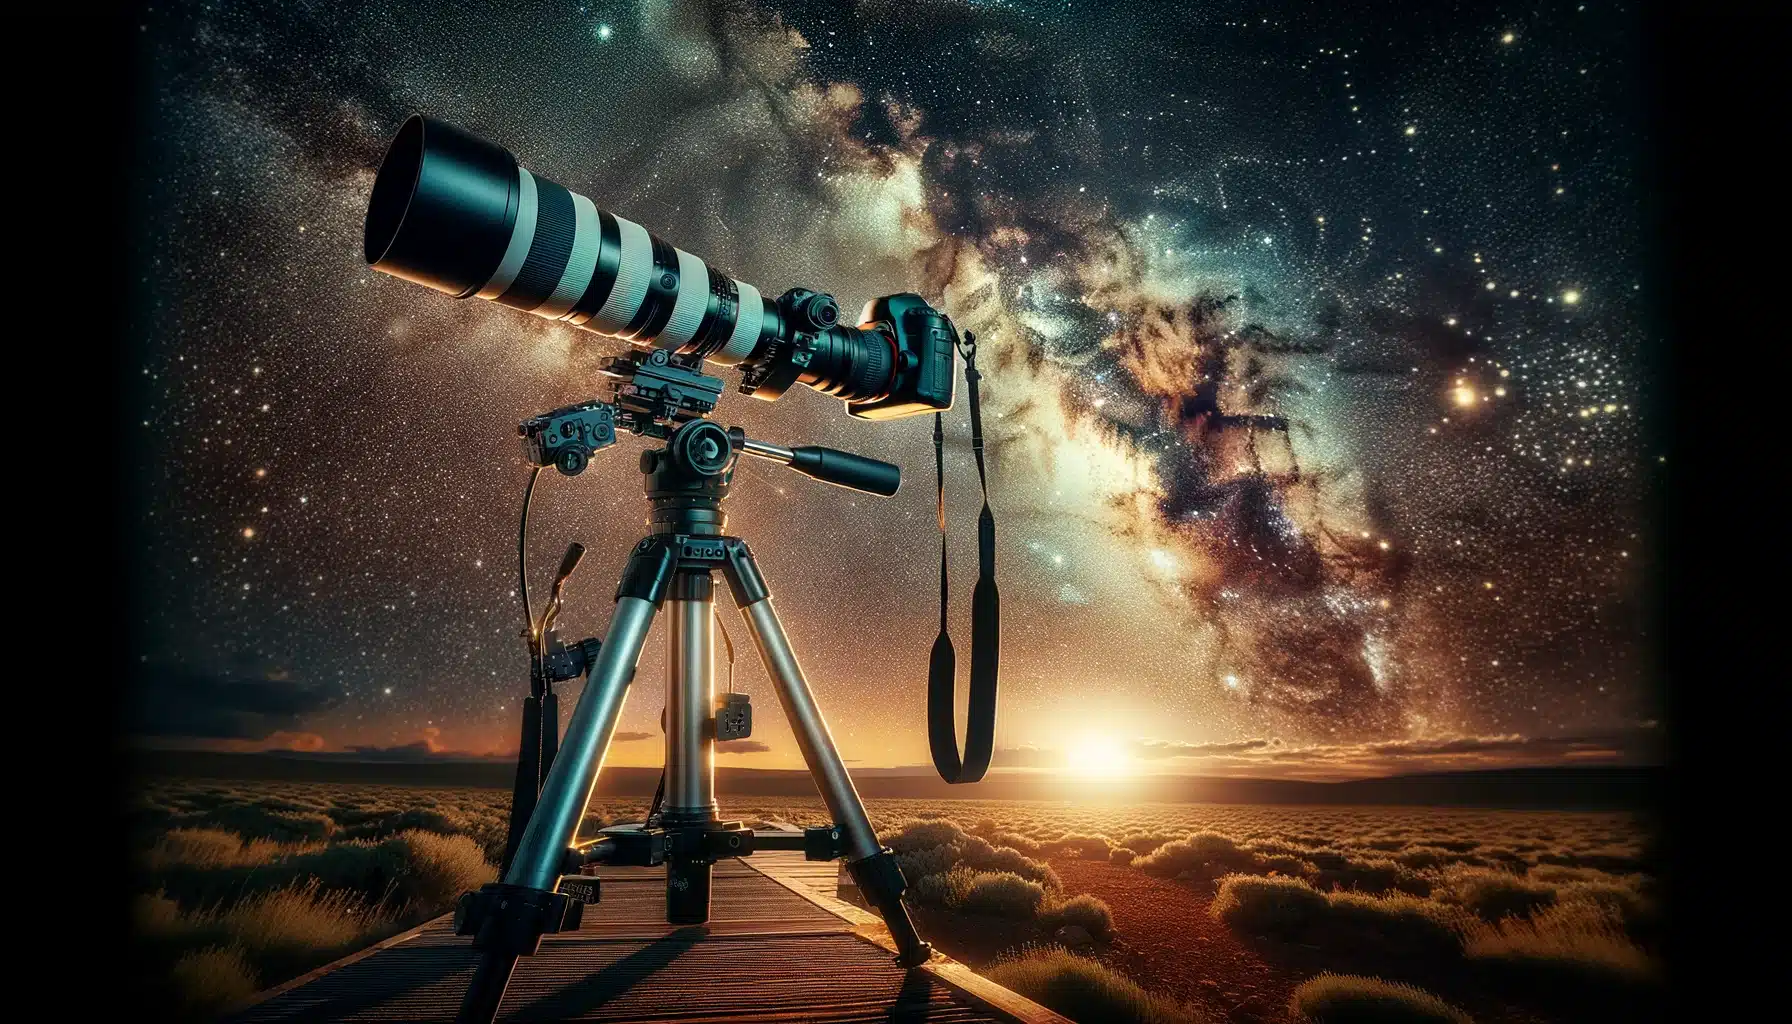
Lens: The choice of lens can greatly affect the pixels of your astrophotography images. A wide-angle lens is the best lens for astrophotography for capturing the vastness of the starry sky and is perfect for shots of the galaxy or large constellations. On the other hand, a telephoto zoom is ideal for zooming in on distant celestial objects allowing you to take detailed images of these objects.
First Steps in Astrophotography
Starting with astrophotography might seem daunting, but with the right approach, you can quickly get the hang of it. Follow these steps to begin your journey:
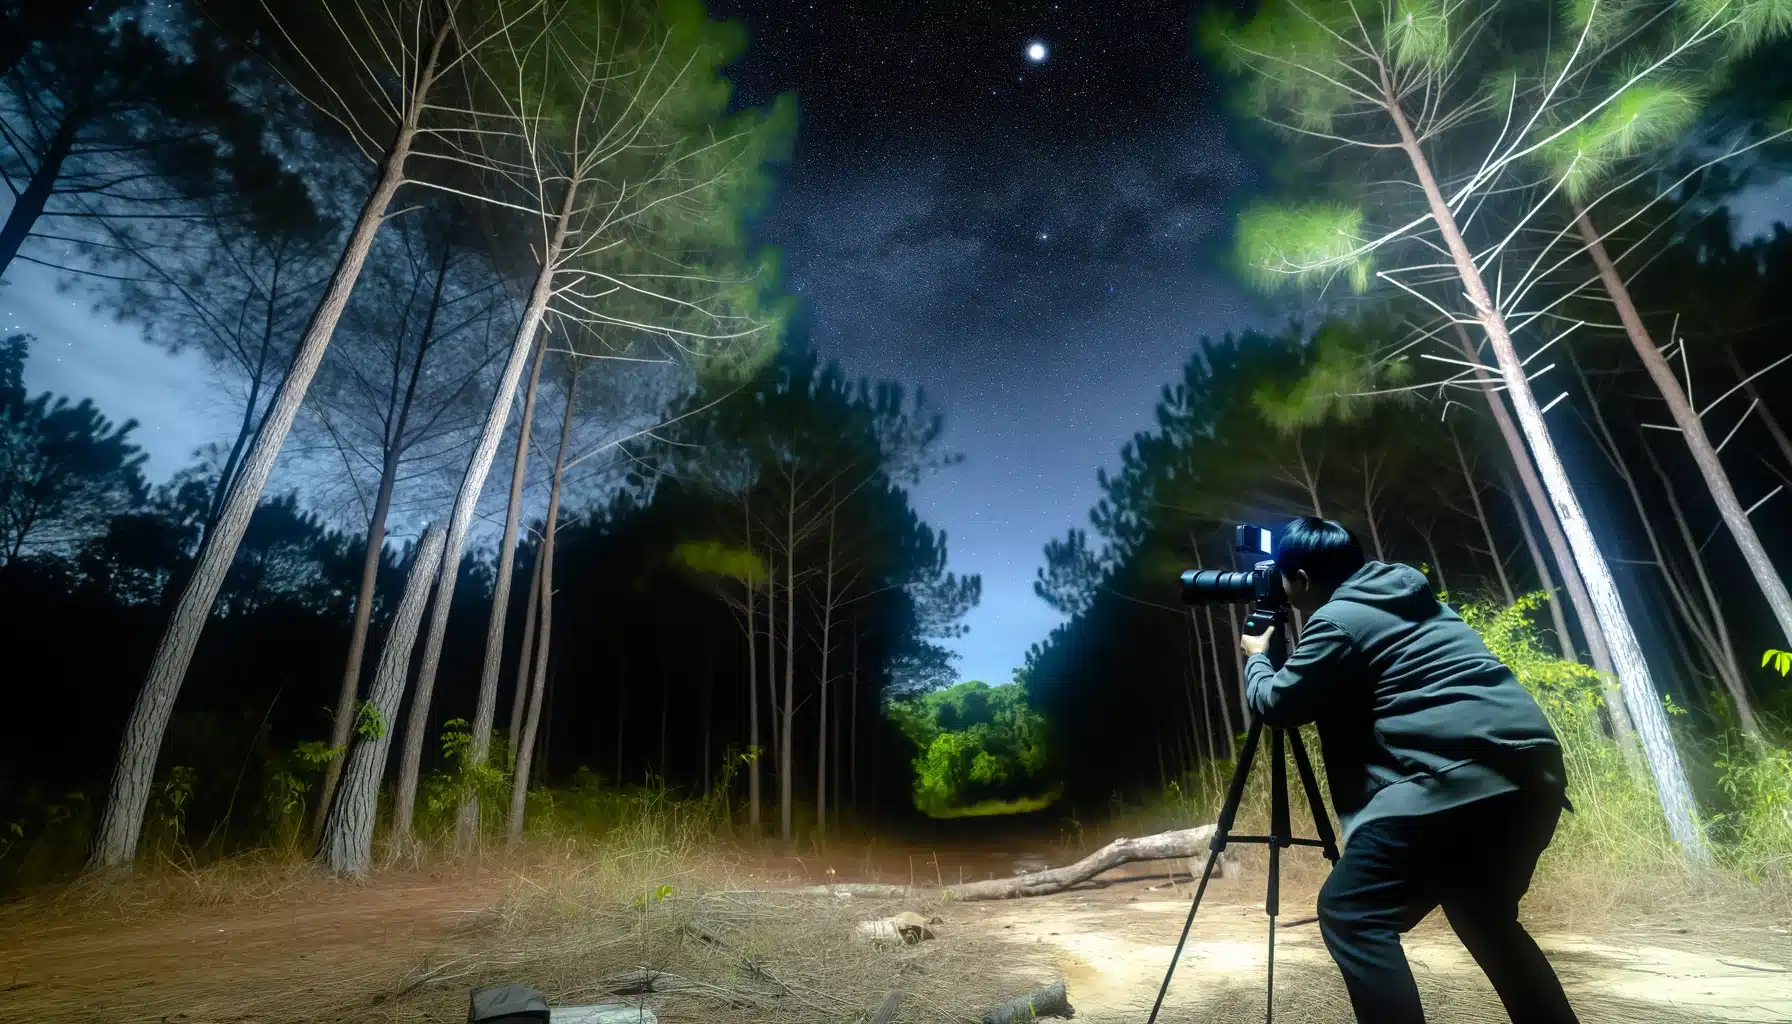
Locate a Dark Spot: The amount of light pollution significantly affects your ability to see and photograph stars. Locations far from city lights offer darker skies, which are ideal for astrophotography. Dark sites allow for better visibility of faint celestial bodies.
Set Up Your Gear: Stability is key in astrophotography. Mount your camera on a consolidated support to prevent any movement. Attach your best lens for astrophotography and set your camera’s focus to infinity to ensure that stars, which are essentially point light sources at vast length, appear sharp in your photos.
Experiment with Modes: There is no one-size-fits-all configurations for astrophotography as conditions can vary greatly. Start with the basic modes suggested above and experiment with different exposure times, apertures, and ISO sensitivity.Try it with your best lens for astrophotography. Take note of how these changes affect your imaging to understand what works suitable for your specific situation and subjects.
Guide to Astrophotography: Understand the Basics
Understanding the basics is your first step in the guide to astrophotography. This fascinating field combines the wonders of the cosmos with the art of photography. Starting with simple lunar shot and other celestial bodies is a great way to get familiar with your equipment and the fundamental techniques of astrophotography.
As you become more comfortable, you can gradually move on to more complex subjects like galaxies or the Milky Way. These things require a better understanding of photographic techniques and celestial mechanics, but the results are incredibly rewarding, offering stunning views of our universe. Following are some important tips for astrophotography.
Plan: Successful astrophotography begins with good planning. Checking the weather and lunar phase is essential, as clear skies and minimal lunar glow provide the optimal conditions for astrophotography. The night, when the moon is not visible in the sky, is ideal because it ensures the darkest skies, allowing faint stars and galaxies to shine through more prominently.
Use a remote Shutter: Camera stability is crucial in astrophotography due to the exposure required for faint light of celestial objects. Any movement can blur the imaging. To avoid shaking the camera, using a remote control or your camera’s timer function can help you take sharp, clear photos without physically touching the camera during exposure.
Capturing the starlit sky through astrophotography can be both thrilling and challenging. Here are some essential techniques to help you take stunning photos of celestial wonders.
Plan Your Shoot
Before heading out, check the weather and lunar phase. Clear, dark skies during a new moon are perfect for astrophotography. Knowing what celestial events are happening, like meteor showers or planetary alignments, can help you plan on shooting.
Setting Up Your Equipment
Make sure your camera is on a tripod to prevent any movement. Use a wide-angle which is the best lens for astrophotography for capturing large parts of the sky or a telescope for detailed shots of the astronomical bodies. Adjust your focus manually to ensure the sharpness of astronomical bodies.
Mastering Camera Modes
Clear photos of the faint light from stars require using the appropriate camera modes. Start with extended shot, about 20-30 seconds, and a bigger aperture. An ISO between 800 and 3200 often works well, but this can depend on your camera and the level of ambient light.
Using Advanced Techniques
As you gain experience, you can explore advanced astrophotography tips and tricks like stacking, where multiple images are combined to enhance detail and reduce noise. Star trackers, using a motorized mount to follow the stars’ movement.
Pro Tip: Learn Photoshop’s and Lightroom’s selection tools in order to make your editing process even easier.
Astrophotography can be a rewarding hobby, allowing you to capture the stunning beauty of the night sky. To succeed, it’s crucial to understand the basic rules that guide this practice. Familiarizing yourself with these guidelines will help you effectively capture the vastness of the cosmos. It also involves consistently practicing and refining your techniques to improve the overall quality of your captures
Choose the Right Equipment
Your camera, lens, and sturdy support are foundational elements in astrophotography. A DSLR or mirrorless camera with manual mode is essential. Use a sturdy trivet to keep your camera stable, and select a lens that suits the celestial objects you wish to see. Investing in the right equipment will greatly enhance your ability to capture clear and detailed celestial scenes.
Understanding Exposure
Long exposure times are necessary to collect enough light from distant stars and galaxies. However, exposures that aretoo extensive can lead to star trails. Balancing exposure time with the earth’s rotation is key to how to do astrophotography. Learning to adjust these settings based on your environment and goals is crucial for achieving crisp and striking cosmic captures.
Focusing on the Stars
Focusing can be tricky in the dark. Set your lens to manual focus and adjust it carefully to ensure the stars appear as sharp points of light rather than blurry spots. This precise adjustment is critical to capturing the intricate details of the night canopy.
Timing and Location
The exceptional astrophotography results come from shooting during the new lunar phase when the sky is darkest. Light pollution should be minimal, so finding a remote location can significantly improve the pixels of your images. Choosing the right moment and location can dramatically affect the quality and impact of your celestial photography, making these elements as crucial as the technical settings on your equipment.
Table: Key Techniques for Capturing Astrophotography
Technique
Modes
Purpose
Tip
Long Exposure
20-30s
Picks more light
Avoid star trails with shorter tracking
Wide Aperture
f/2.8 or lower
Allow more light into the camera
Essential for capturing dim stars and nebulae
High ISO
800-3200
Increase camera sensitivity
Balance ISO to minimize noise while capturing faint details
Manual Focus
Infinity
Ensure stars are sharp
Use live view and zoom in to focusing on a bright star
Dealing with Different Lunar Phases
Understanding the lunar phases is crucial when planning your astrophotography sessions. The moon’s brightness can impact the visibility of celestial bodies in your photos.
New Moon
During a new lunar phase, the sky is darkest, making it the good time for capturing faint things like distant galaxies and nebulae. This phase is perfect for practicing how to do astrophotography by focusing on deep-sky objects with a good astrophotography camera and the best lens for astrophotography.
First and Last Quarter Moon
The first and last quarter phases offer a balance, allowing you to see both the moon and the stars. This phase is excellent for testing different astrophotography modes to see how they affect the visibility of celestial objects.
Full Moon
A full moon is too bright for most astronomical bodies to be visible, but it’s the appropriate time to take the lunar shot. Utilize your astrophotography camera with a telephoto lens to record detailed lunar features.
Table: Lunar Phases and Astrophotography
Lunar Phase
Brightness
Ideal Subjects
Tip
New Moon
Darkest
Galaxies, Nebulae
Use low ISO
First Quarter
Moderate
Moon, some stars
Balance exposure to capture both
Full Moon
Brightest
Moon’s surface
Use shorter exposure, higher aperture
Last Quarter
Moderate
Moon, some stars
Similar to first quarter, adapt settings
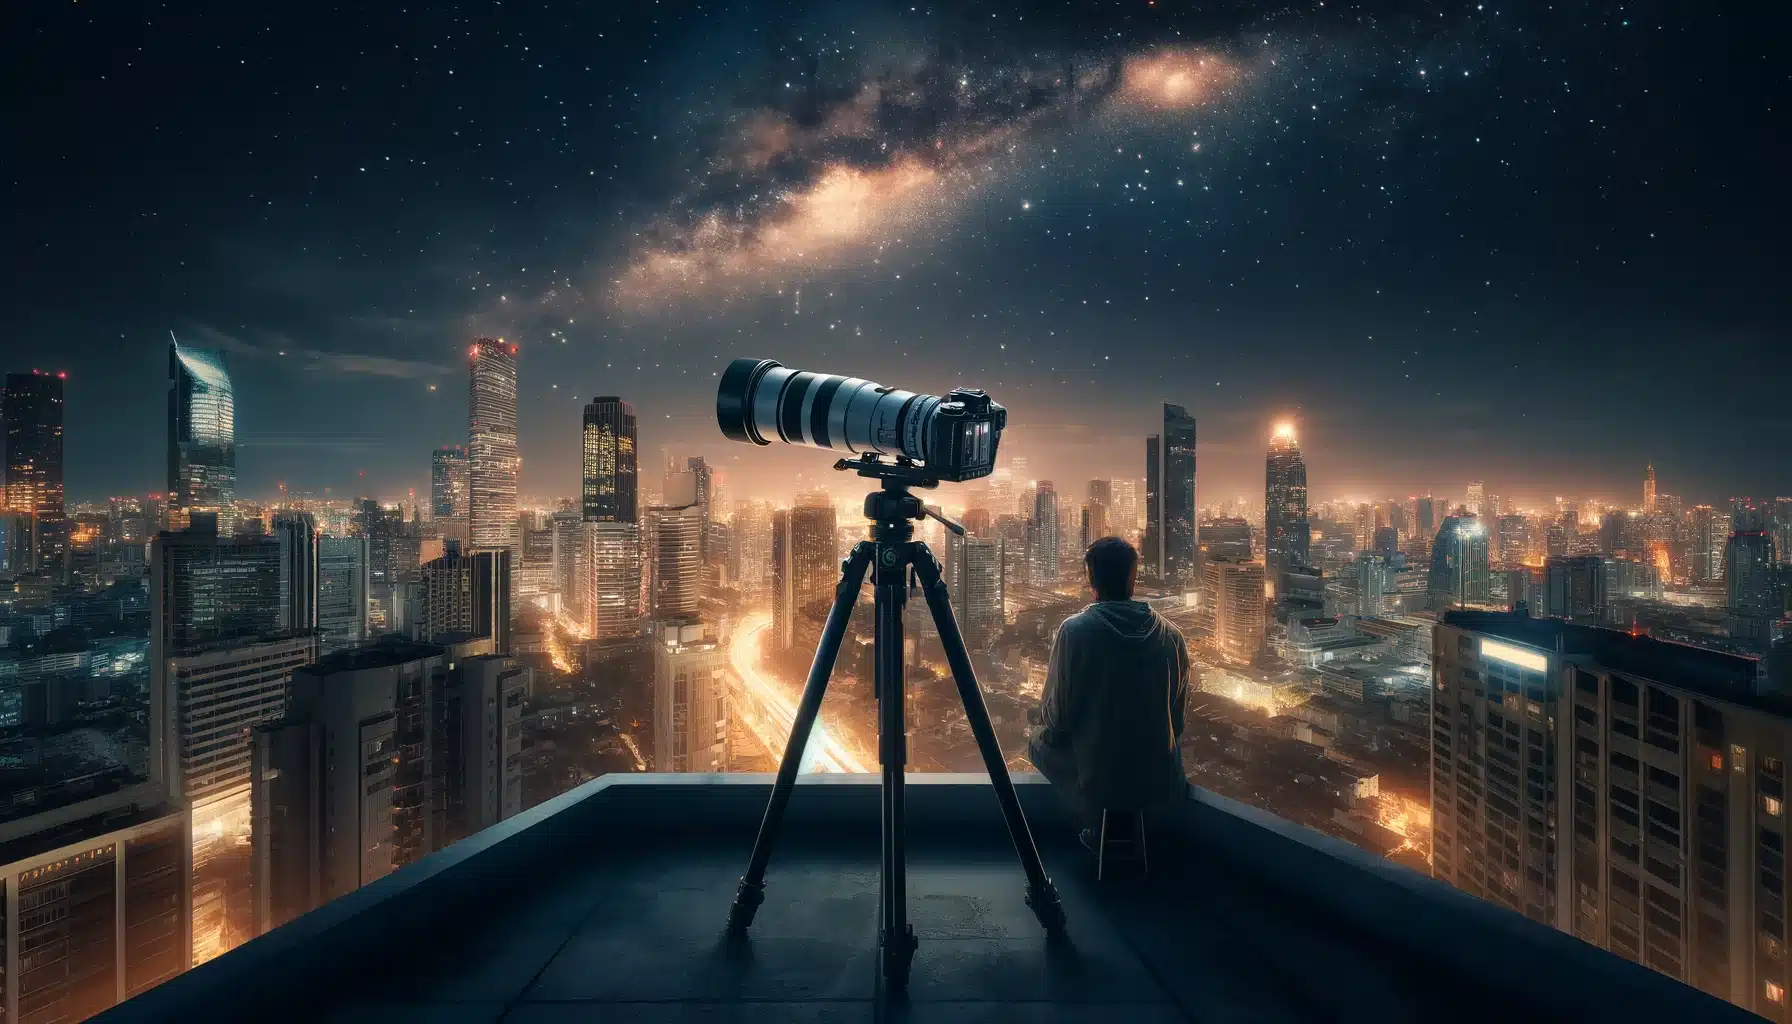
Best Time and Conditions for Astrophotography
Finding the right time and conditions is essential for successful astrophotography. Knowing when to head out with your astrophotography camera can make a significant difference in the pixels of your shots.
Dark Skies: New Moon Nights
The appropriate time for astrophotography is during a new lunar phase when the sky is at its darkest. This phase provides the ideal conditions to record the faint luminosity from distant stars and galaxies. With less lunar glow, you can use your astrophotography camera to its full potential, capturing detailed and clear images of the dark sky.
Clear Weather: Minimal Cloud Cover
Clear skies are crucial for astrophotography. Even the most advanced astrophotography camera and the best lens for astrophotography can’t get clear images through clouds. Check the weather forecast and aim for nights when clear skies are predicted.
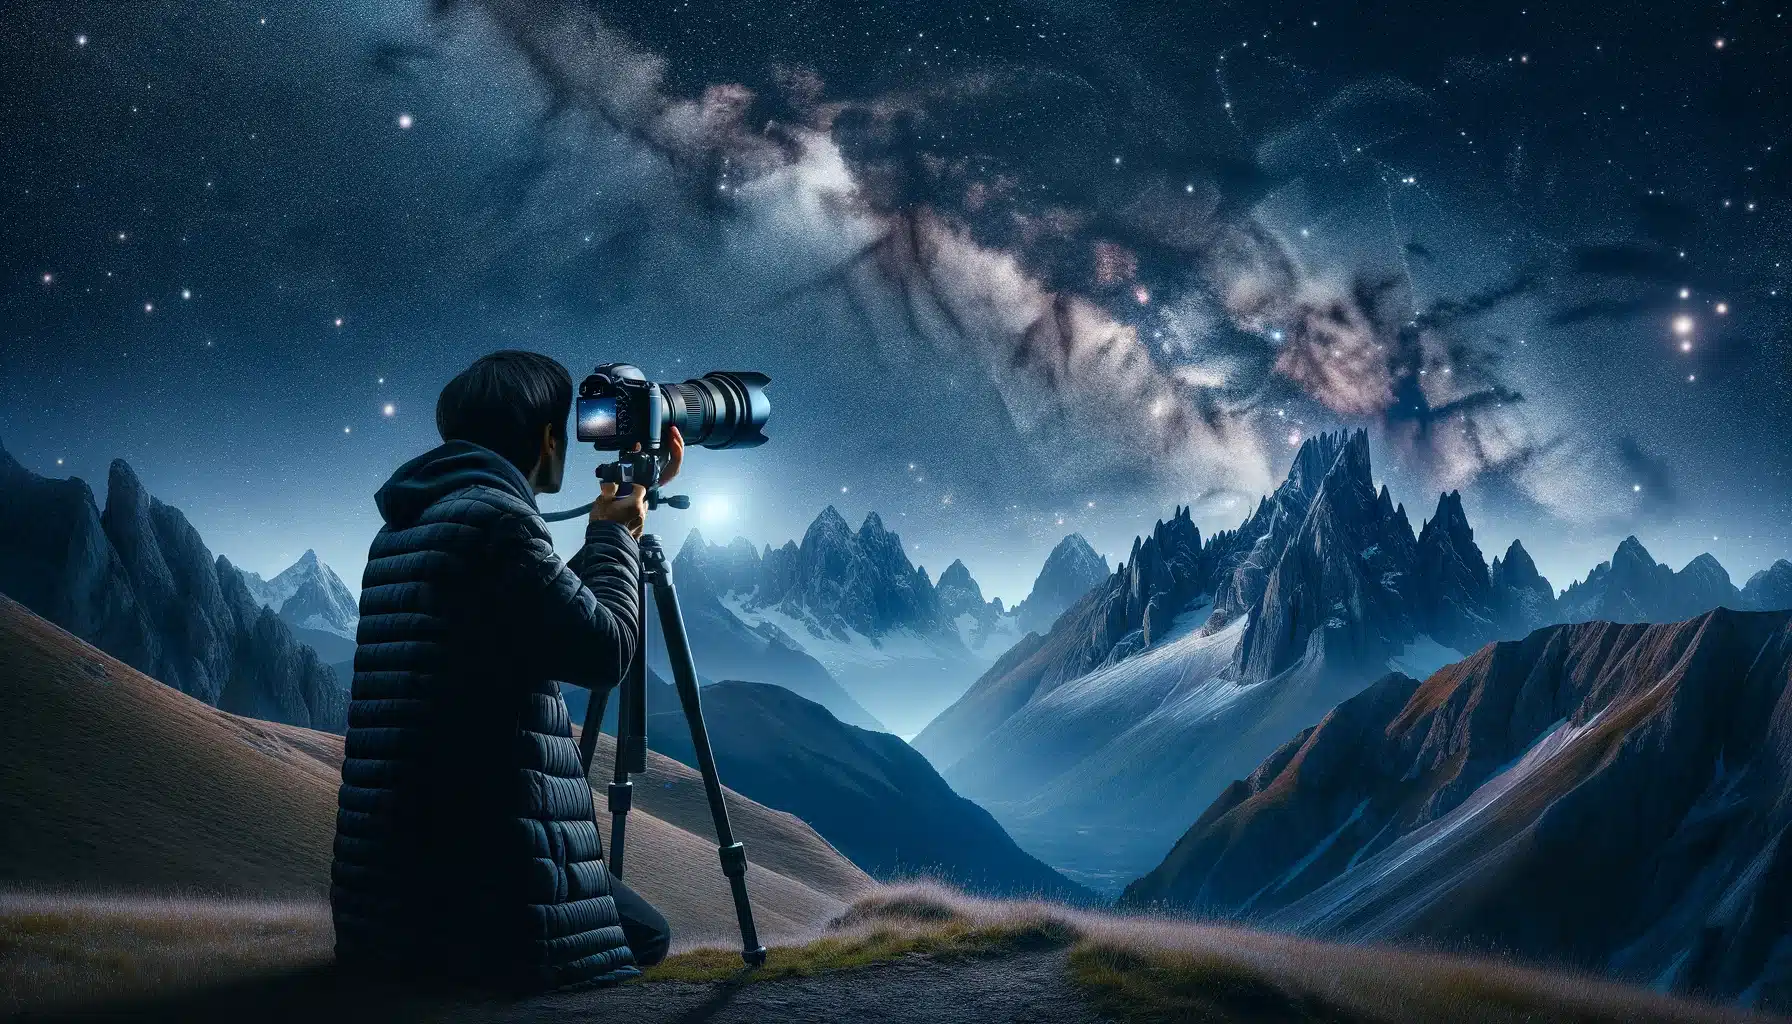
Low Light Pollution: Remote Locations
To get the desirable results, go to a location far from cities where light pollution is minimal. Luminance can greatly affect the astrophotography setting on your camera, making it harder to capture the faint details of cosmic bodies. Remote areas offer darker skies, which are ideal for astrophotography.
Proper Gear Customization
Using the best lens for astrophotography, typically a wide-angle lens for sky views or a fast prime lens for deep sky targets, is crucial. The right astrophotography setting on your camera allows you to get sharp, well-exposed images. A camera stand and a remote shutter release can also help improve your results by reducing camera shake and allowing for longer shots.
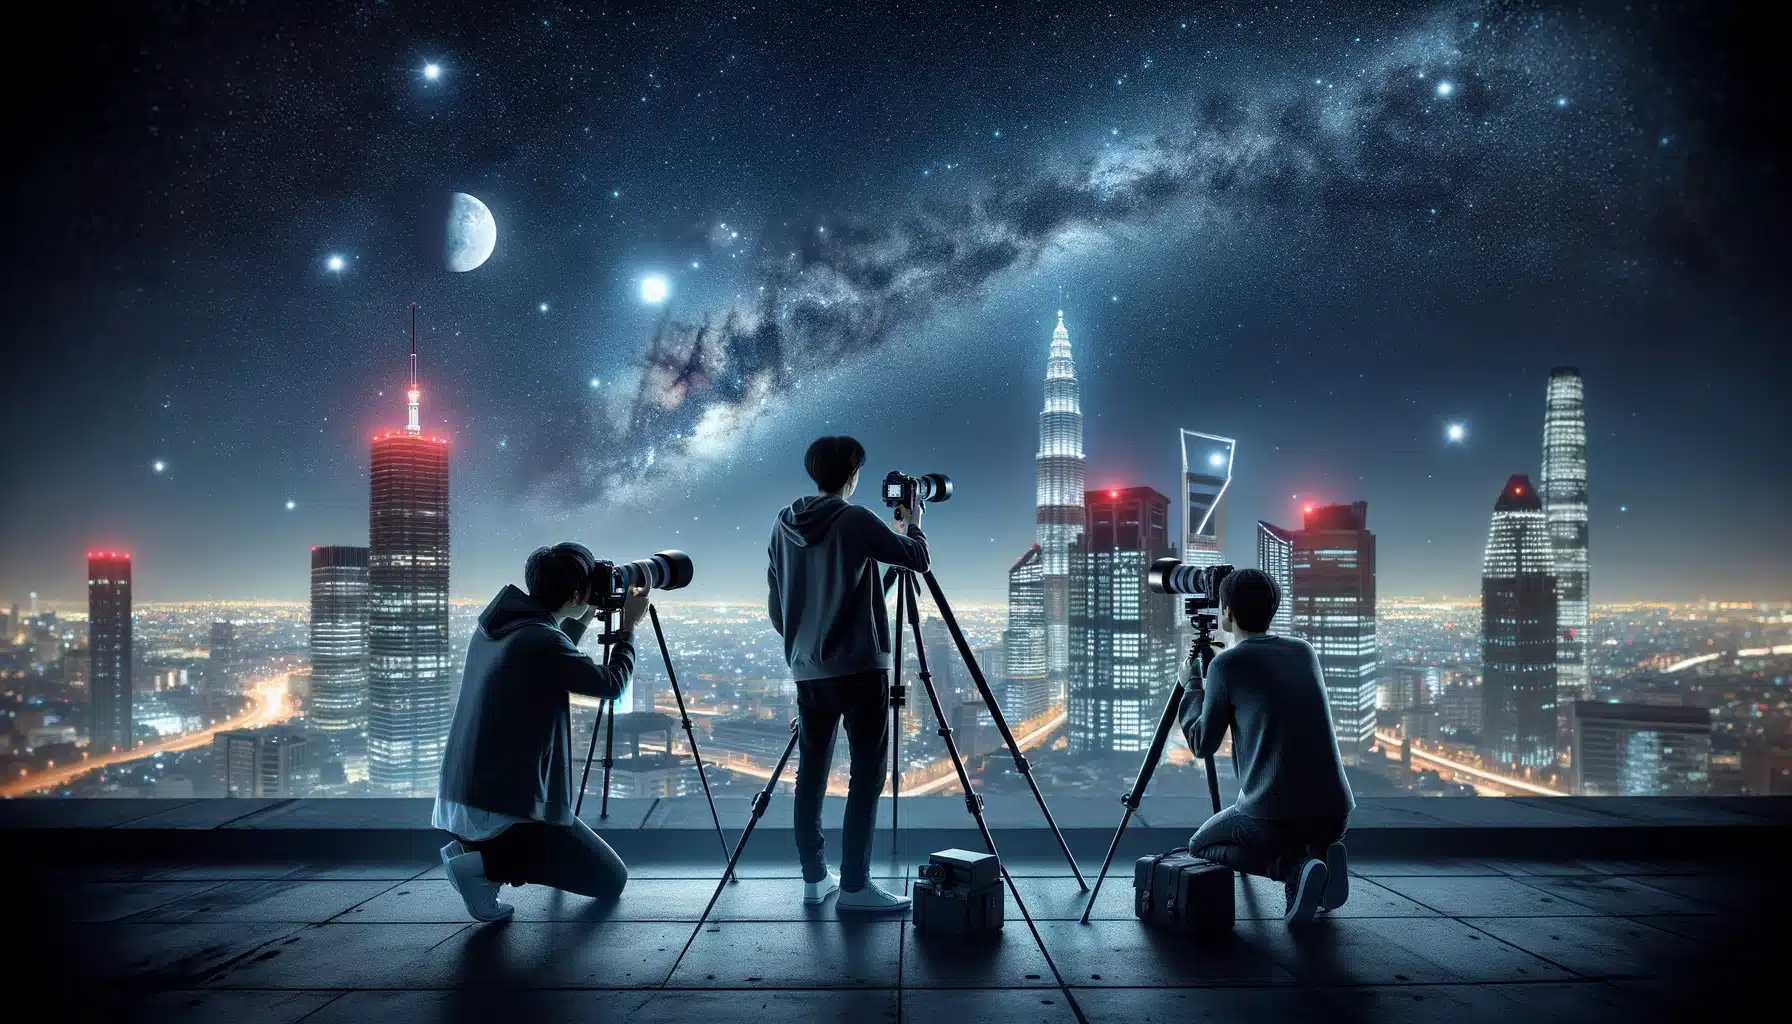
Improving Your Night Sky Photography Techniques
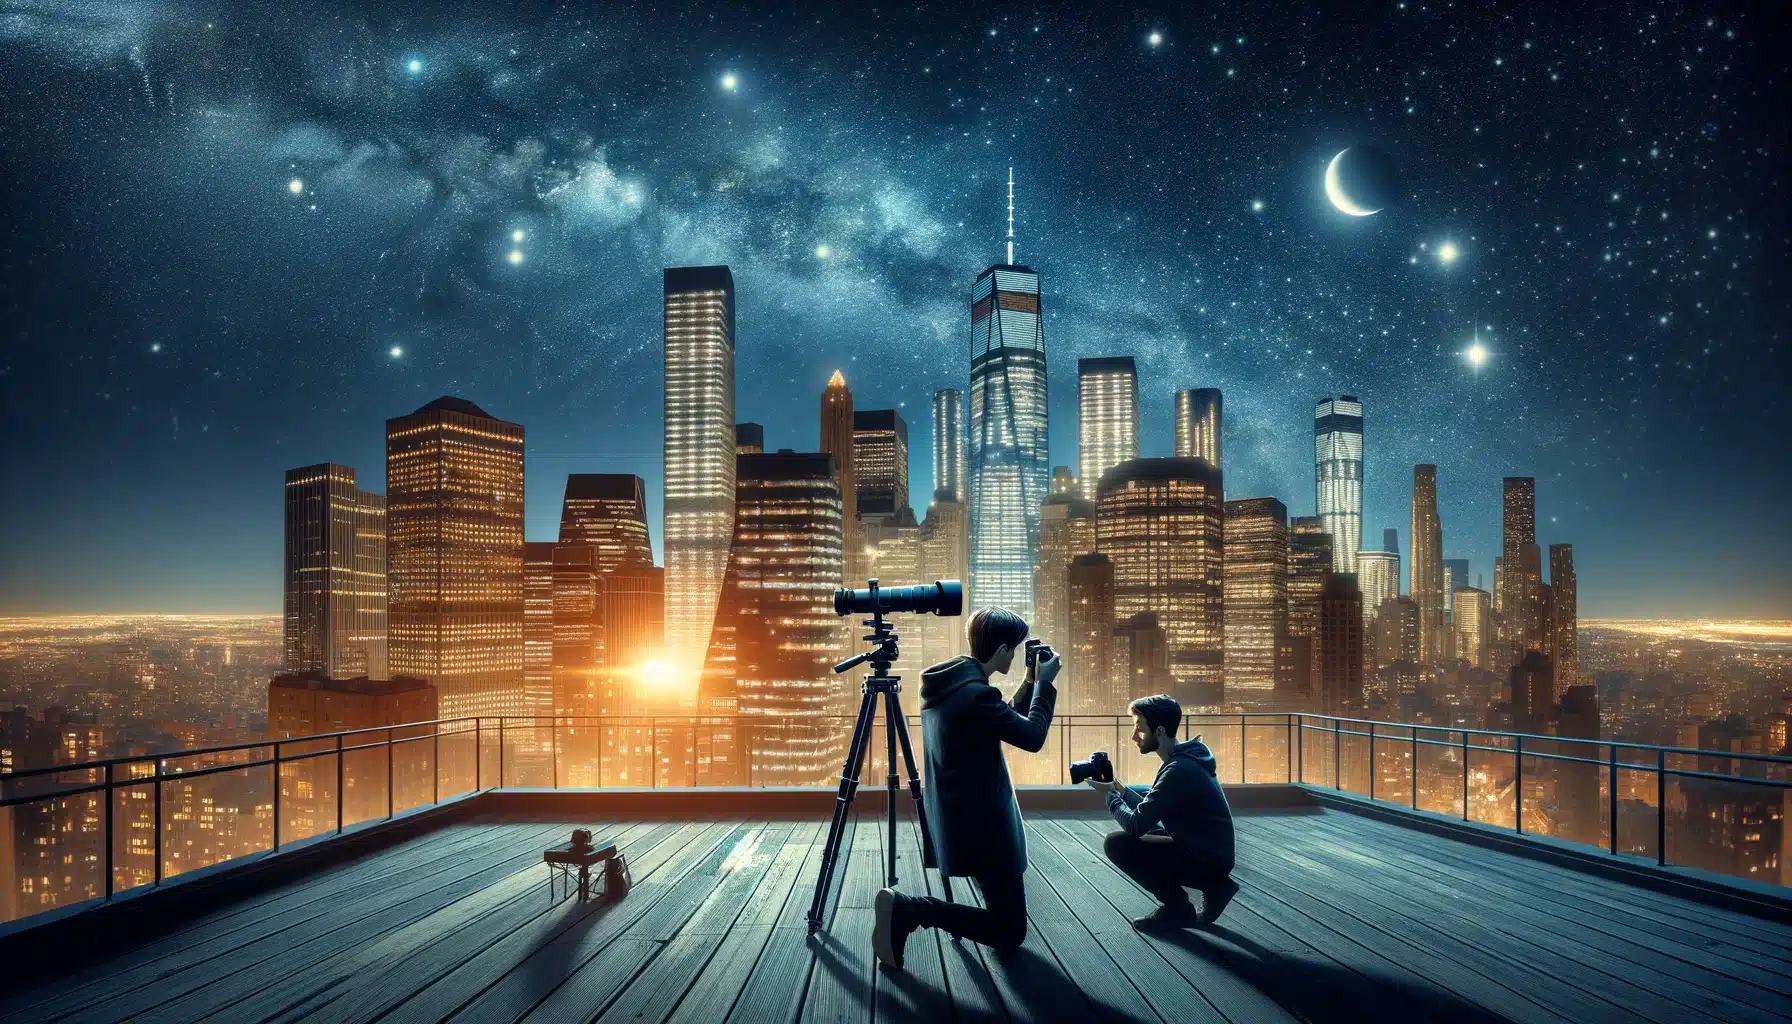
Photographer on a city rooftop at night using equipment to capture the cosmic panorama above an illuminated urban skyline, showcasing cosmology in a city setting. This scene captures the challenge of blending urban illumination with celestial photography. For your article on capturing the night sky, consider including these enriched sections:
Discuss the impact of urban glow on capturing celestial views and methods to locate areas free from urban brightness. This information is crucial for planning where to shoot, ensuring that celestial phenomena are visible and not washed out by metropolitan radiance. Understanding how to mitigate these effects can dramatically improve the clarity and quality of celestial shots.
Planning Your Astrophotography Session
Guidance on scheduling a celestial photography session is vital. This includes checking atmospheric conditions, phases of our celestial neighbor, and cosmic happenings to ensure optimal conditions. Being well-prepared allows photographers to maximize their chances of capturing spectacular celestial events.
Advanced Camera Techniques for Night Sky Photography
Explore advanced astrophotography camera settings and techniques such as bulb mode, focus stacking, and manual focus aids. These techniques can significantly enhance the pixel of sable sky photos.
Post-Processing Astrophotography Images
Post-processing is a critical step in refining celestial captures. Topics like layer stacking, dynamic range enhancements, and hue adjustments are essential for bringing out the intricacies and colors of celestial phenomena in the captures. These techniques help transform raw captures into vivid representations of the night sky.
Troubleshooting Common Astrophotography Problems
Address typical challenges such as dealing with digital noise, achieving sharp focus, and handling equipment issues. Offering solutions to these problems helps photographers smoothly navigate and overcome technical hurdles, ensuring they capture the best possible representations of the night sky.
Astrophotography Projects for Beginners to Advanced
This progression allows photographers to continuously challenge themselves and improve their techniques. Suggest projects that cater to a range of skills, from simple captures of the night canopy to ambitious tasks like capturing distant nebulae, providing a pathway for skill development.
The Role of Software in Astrophotography
In astrophotography, software like Photoshop is crucial for enhancing images captured with the best lens for photography. It allows photographers to refine their shots, adjusting brightness, contrast, and color to reveal the hidden details of the celestial sky. Photoshop’s advanced features also help in stacking images to reduce noise and improve clarity, making it an essential tool for turning good astrophotography shots into great ones.
The Challenges and Skills of Astrophotography
Understanding Equipment Complexity
Astrophotography equipment can be intricate, involving a variety of specialized tools not typically used in everyday photography. This makes the initial learning curve quite steep for newcomers. Navigating the complexities of an astrophotography camera can be daunting. Selecting the right camera involves understanding sensor size, pixel count, and cooling mechanisms to reduce noise.
Mastering the Telescope
Before a photographer can take advantage of a telescope, they must first learn how to set it up and adjust its various components correctly. This foundational knowledge is critical in making the most out of the sophisticated equipment. Utilizing a telescope for astrophotography requires precision and patience. Aligning and focusing the telescope to photograph clear celestial images demands meticulous attention to detail and technical knowledge.
Configuring Astrophotography Settings
It’s crucial for astrophotographers to experiment with different settings during various astronomical events to capture unique aspects of the night sky. Understanding how these settings interact can help in achieving more dynamic and impressive results. Achieving the ideal astrophotography setting is critical. Balancing ISO, aperture, and exposure time can significantly impact the quality of the night sky images, requiring a deep understanding of photographic principles.
Dealing with Environmental Factors
Finding locations with minimal light pollution is as crucial as the technical skills needed for astrophotography. Such environments provide the dark skies essential for capturing the faintest celestial objects. External conditions such as light pollution and weather can hinder astrophotography efforts. Developing strategies to mitigate these challenges is essential for capturing vivid celestial bodies.
Understanding the movements of celestial bodies and how to track them accurately with a motorized mount can dramatically improve the quality of astrophotography images. Incorporating a tracker into the setup can greatly enhance image stability and clarity. Learning to align and operate a tracker correctly is vital for successful long-exposure astrophotography.
Overcoming Technical Hurdles
In astrophotography, it’s crucial to continuously update and tweak equipment settings based on feedback from each session’s images to improve future results. This ongoing refinement process is essential for capturing high-quality astronomical photographs. From focusing challenges with an astrophotography camera to dealing with the steep learning curve of software for image processing, mastering the technical aspects of astrophotography takes time and practice.
The Importance of Persistence
Persistence in astrophotography not only helps in overcoming immediate obstacles but also builds the experience needed to capture rare astronomical events that may occur infrequently. This long-term commitment is often rewarded with spectacular images that are both scientifically valuable and artistically pleasing. The journey in astrophotography is fraught with challenges, from technical difficulties to unpredictable conditions, underscoring the importance of resilience and dedication in this field.
FAQs
How do I start astrophotography for beginners?
Starting astrophotography as a beginner involves learning about the night sky and how to use a camera in low light conditions. Begin with a basic DSLR camera and a sturdy tripod to get long exposure shots of the stars. Practice shooting on clear nights, focusing on easy targets like the moon or bright stars to understand how different settings affect your images.
What do you need for astrophotography?
For astrophotography, you need a camera capable of long exposures, such as a DSLR or a mirrorless camera, and a wide-angle lens for capturing expansive star fields or a telephoto lens for specific celestial objects. A tripod is essential to stabilize your camera for the long exposure times required. Additionally, a remote shutter release can help avoid camera shake when capturing the night sky.
What is the 500 rule of astrophotography?
The 500 rule in astrophotography is a guideline to help photographers avoid star trails in their images. This astrophotography techniques states that to keep stars as sharp points of light rather than streaks, you should set your shutter speed to 500 divided by the focal length of your lens. For example, if you are using a 20mm lens, you should not exceed a 25-second exposure (500/20 = 25).
How is astrophotography done?
Astrophotography is done by mounting a camera on a tripod to ensure stability and using long exposure settings to capture as much light as possible from stars and other celestial bodies. The photographer adjusts the ISO, aperture, and focusing manually to optimize clarity and detail. Post-processing software is often used to enhance these images, pulling out details from the captured light that are not visible to the naked eye.
How do I locate a good location for astrophotography?
Look for locations with dark skies, far from cities to minimize luminosity. Dark Sky Reserves or remote rural areas will be ideal. Using apps or websites that map out light pollution can help you locate the desirable spots.
Conclusion
So, that’s it with mastering Astrophotography with our Astrophotography tutorial for you. In my journey with astrophotography, I’ve found that the right approach, combined with the power of editing software like Lightroom and Photoshop, can transform a simple dark sky into a masterpiece of celestial art. Capturing the intricate dance of the stars and the ethereal glow of distant galaxies has not only deepened my appreciation for the universe but also enhanced my skills in both how to do astrophotography and post-processing. Through practice and patience, I’ve learned to bring out the hidden details and colors of the nocturnal sky, turning each image into a personal discovery of cosmic beauty.
For those looking to embark on this rewarding journey, or aiming to refine their astrophotography skills, exploring comprehensive courses can make all the difference. I encourage you to check out our Photoshop course and Lightroom course. These resources are designed to equip you with the techniques and insights needed to capture and enhance the awe-inspiring beauty of the nightly sky, taking your astrophotography to new heights. Start your journey today and unlock the secrets of the cosmos through your gadgets!
If this article has helped you, then Like and Share it with your friends
Discover the secrets of photography with our printable guide! Master essential techniques like aperture, shutter speed, and ISO to create stunning images. Get your free printable PDF now and start turning your snapshots into masterpieces!