Below is a table that outlines the key tools available, along with their functions and key features.
Familiarizing yourself with these tools will help you make better, more accurate selections in your projects.
Tool
Function
Key Features
Quick Selection
Rapid area selection
Automatically detects edges and similar textures
Object Selection
Precise object isolation
Draws around objects for accurate initial selections
Magic Wand
Selects by color similarity
Identifies and selects areas based on tone and contrast
Lasso Tools
Manual selection
Offers freehand or polygonal tracing for detailed control
Efficiency and Precision
Using the Smart Selection tool in Photoshop means you can easily select complex parts of an image with precision. These tools use advanced algorithms to identify sharp edges, textures, and colors. It’s efficient and user-friendly.
Additionally, the Smart Selection tool works seamlessly with the content-aware fill in Photoshop, allowing you to remove unwanted objects from your images smoothly. Learning Photoshop shortcuts can further enhance your efficiency, speeding up your workflow significantly.
Quick Initial Selection Tool in Photoshop
Object Smart Select Tool in Photoshop
Want more precision? Follow these steps:
Click the object selection tool in the tools panel.
Draw around your main Subject.
The smart algorithms create a neat initial selection.
Tweaking Your Smart Select Tools in Photoshop
Need to tweak your selection? Hold down the shift key while using the quick selection tool in Photoshop to increase your selection. If you mess up, press the left bracket key to size down.
For more advanced editing, you can also use the Patch Tool in Photoshop to seamlessly blend areas, and understanding how to utilize the smart filters in Photoshop can also be useful when enhancing your techniques.
Magic Wand Tool
The magic wand tool in Photoshop is another gem. Click on an area in your image. This tool identifies similar tones and contrasts in the image to make your life easier.
And, for even more refined control, you can use the Dodge and Burn tools in Photoshop to adjust the highlights and shadows in your selected area. Additionally, knowing how to add texture in Photoshop can significantly enhance the depth and realism of your edits.
Lasso Tools
The quick selection tool works like magic. Imagine it as a painter’s brush that knows where you want to paint.
Drag the mouse button over the part of the image you wish to select, and your selection expands to include similar textures and colors.
Pro Tip: This tool is especially useful when dealing with complex selections, such as when you need to replace the color of specific areas in Photoshop.
Understanding how to use different digital cameras can also enhance your photography, making your editing process in Photoshop even more effective.
If you need more control, the lasso tool might be what you need. These methods let you manually trace the dotted line around what you want to select.
Adjusting Existing Selections
What about adjusting your existing selections? Try switching to different selection modes in the options bar. Adding to, subtracting from, or intersecting selections is easy with just a few clicks in the options bar.
For even more precision, consider using the object selection Tool, which can automatically detect and select objects in your image. Additionally, familiarizing yourself with how to fix overexposed photos can be invaluable when adjusting selections and refining your edits.
Getting Started with Smart Select
Alright folks, now that we’ve talked about the smart select tools and how using them with other essential tools in Photoshop saves you time, let’s get started with using them.
Accessing the Smart Select Tool in Photoshop
Firstly, here are the step-by-step instructions on how to access the smart select tool in Photoshop.
Open Photoshop and load your image.
Look on the left side of the screen for the toolbox.
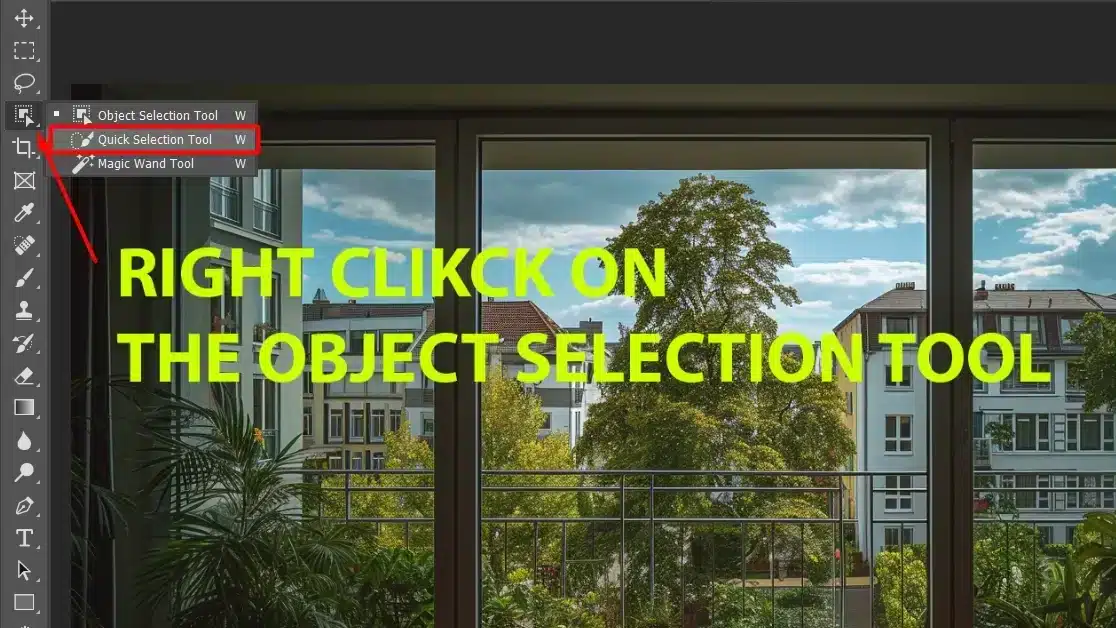
Find the quick selection tool (a little brush icon with a dotted circle). If not visible, look for the object selection tool or magic wand and right-click to reveal hidden tools.
Click on the quick selection tool.
Tool Descriptions
Quick Selection Tool: Handy for creating quick selections in any image.
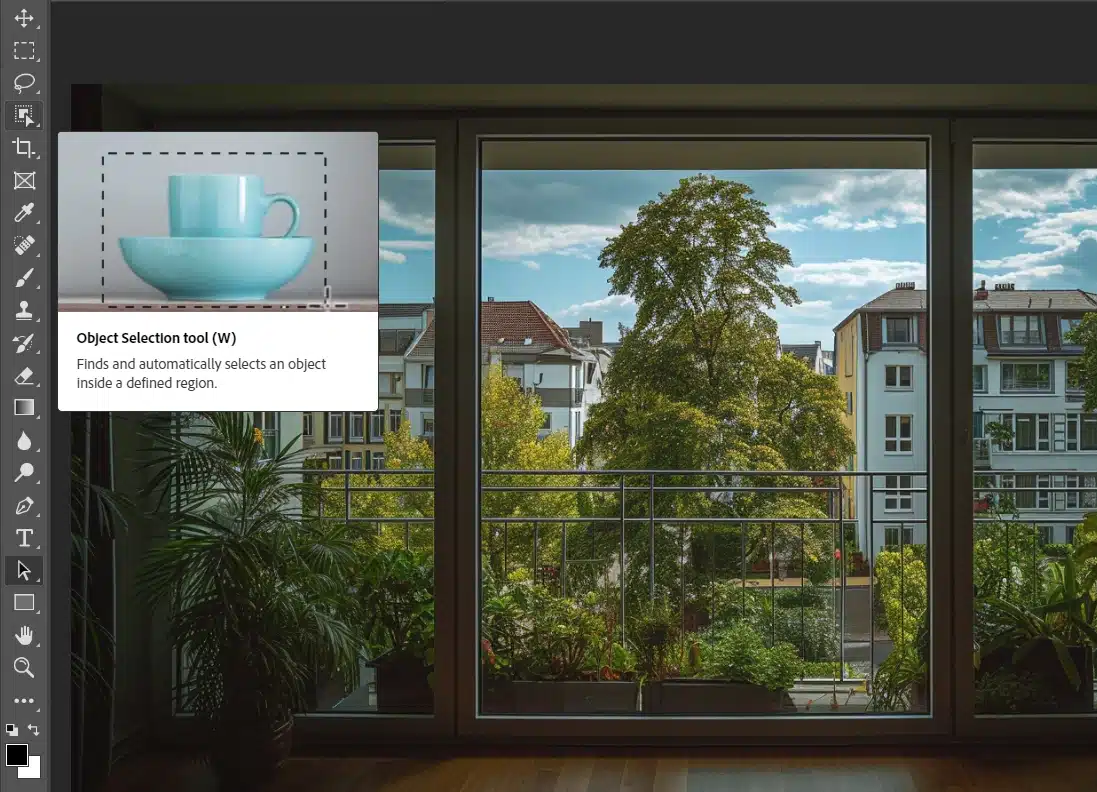
Object Selection Tool: Looks like a rectangle with a cursor arrow inside it. Helps you draw around an object, creating a selection of your main Subject.
Magic Wand Tool: Selects similar-toned areas with one click.
Tip: Use Shift key to add more areas to your selection if needed.
Basic Functions of Smart Select in Photoshop
Now, let’s delve deeper into just how to fully utilize the Smart Select tools in Photoshop.
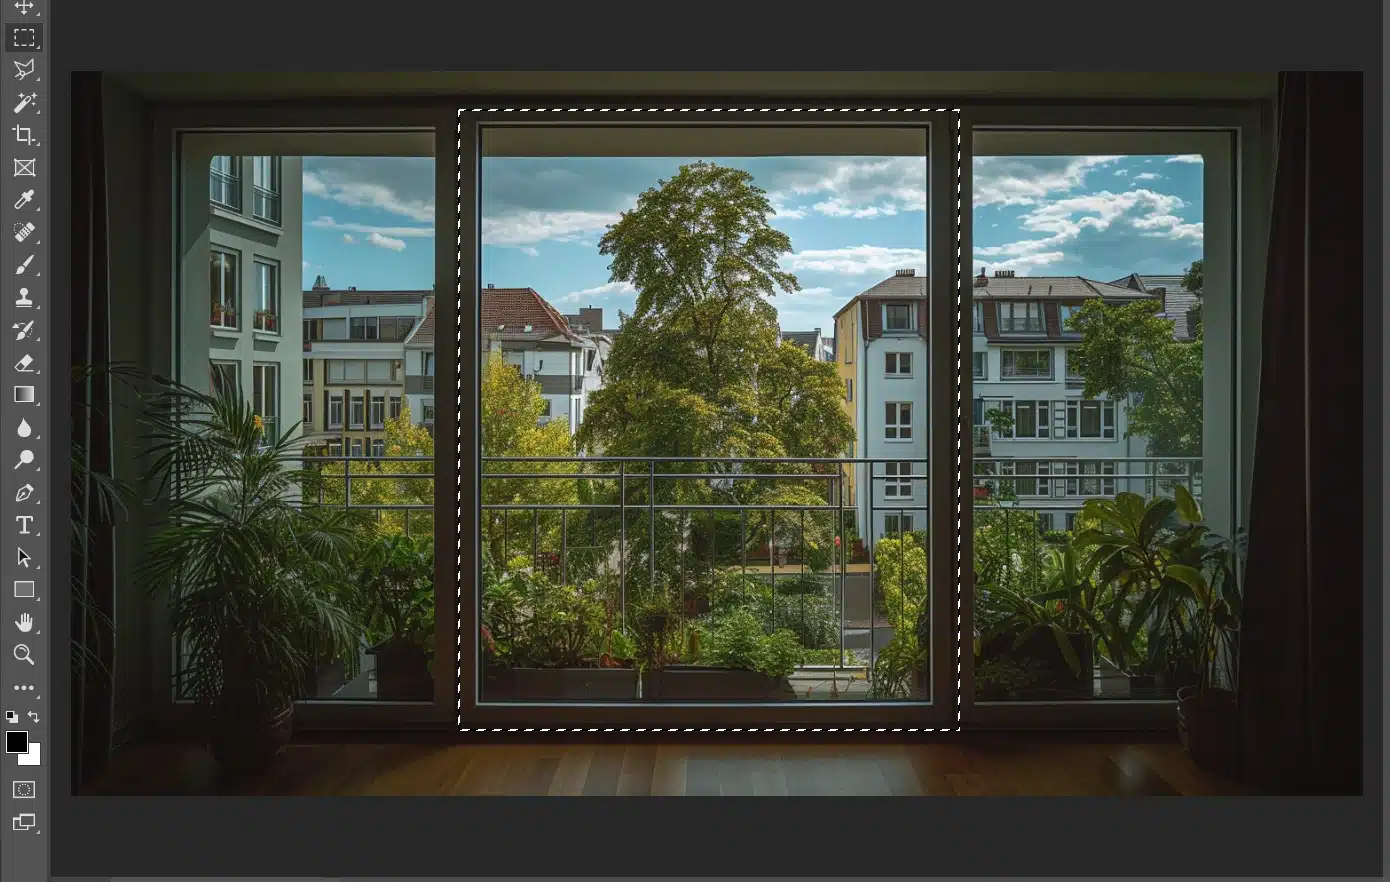
Using the Quick Selection Tool
The quick selection tool works by “painting” the parts of the image you want to select. As you drag the mouse over an area, the tool analyzes texture and color.
If the quick selection brush selects too much, use the subtract from selection feature by pressing the Altkey (or Option on a Mac). This tells the tool to cut out parts of your existing selection.
Pro Tip: Understanding how to zoom in on Photoshop can give you better control when making precise selections. For photographers looking to expand their skills, learning the glossary of photography terms can be incredibly beneficial.
Using the Object Selection Tool
Draw a box around your target area with the object selection tool. The tool creates a neat selection. If it’s imperfect, tweak it by pressing the Shift key to add to the selection or the Alt key to subtract.
For further refining your selections, you can use the Refine Edge tool in Photoshop to smooth and feather the edges.
Refining Your Selection
Switch between selection modes in the options bar:
“Add to selection.”
“Subtract from selection.”
“Intersect with selection.”
Using the Magic Wand Tool
If you prefer something old school, give this tool a try. One click selects similar-toned areas. Find it by right-clicking the quick selection tooloptions bar.
Additionally, knowing how to use the Spot Healing Brush Tool can help you quickly fix minor imperfections in your selected areas
Advanced Techniques
Use adjustment layers to apply effects to your selected regions. Combine this with a layer mask to protect parts of your image.
To move selections around, hit “Select” at the top, then “Invert.” This flips your selected and unselected areas, giving you new creative possibilities.
Pro Tip: Understanding how to use aperture priority mode can enhance your photography skills, allowing you to create well-exposed images. For post-processing, using Gaussian blur in Photoshop can add a soft, dreamy effect to your photos.
Advanced Techniques with Smart Select
Refining Your Selection
You’ve made your initial selection. But, what if it’s not perfect? Let’s fix it.
Sometimes, the quick selection tool grabs too much of the background or leaves out small bits of the object you’re trying to select. Don’t worry; we can fix that.
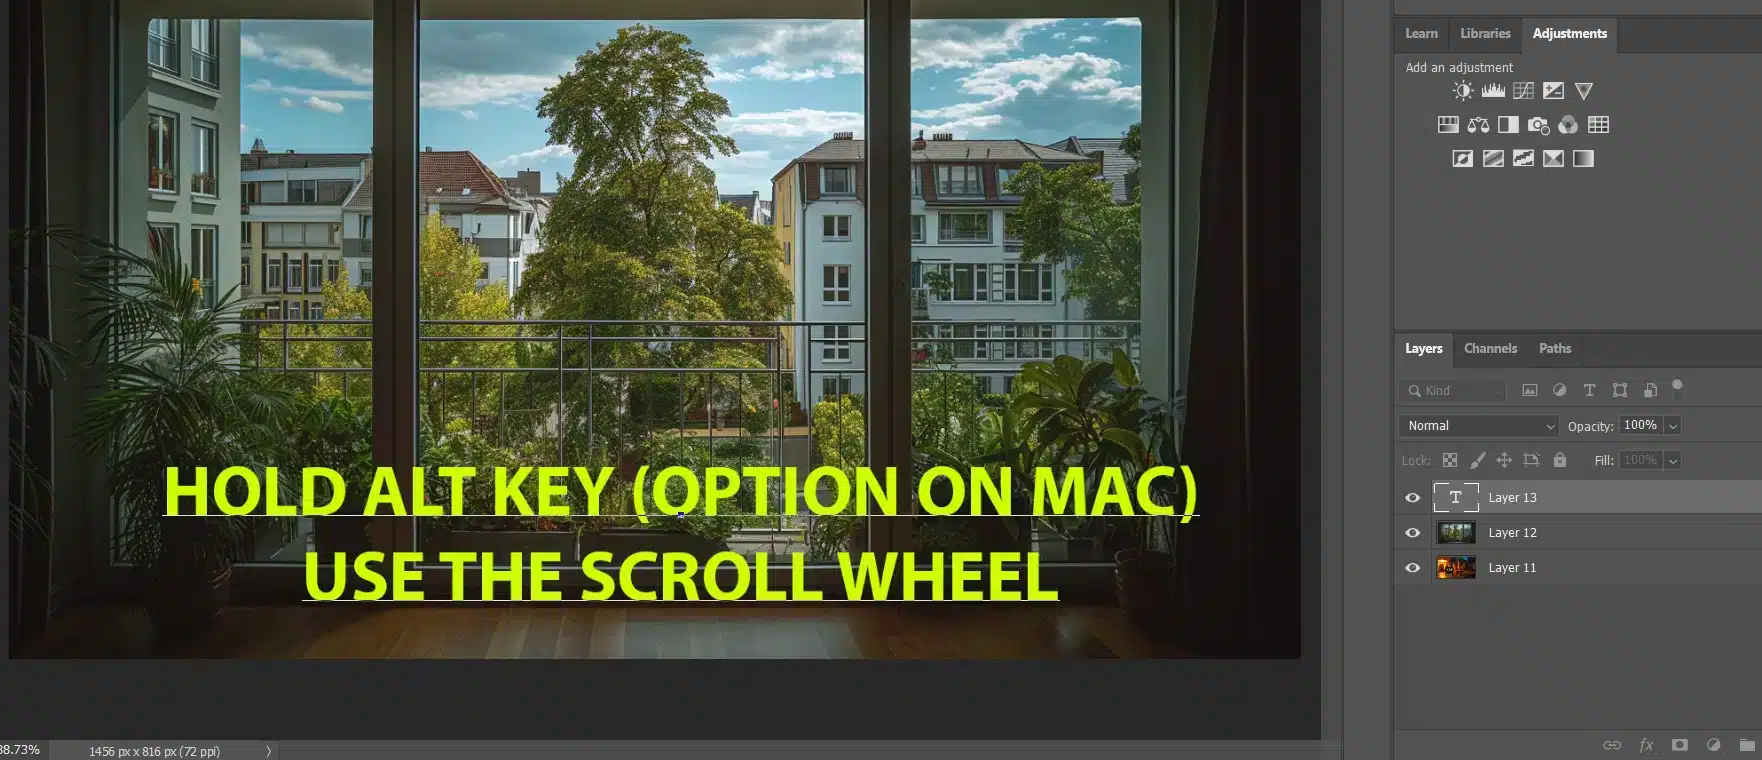
Zooming In
First, zoom in on your image. It’s easier to see the details. Press the Altkey (or Option on a Mac) and use the scroll wheel on your mouse. Look at the edges of your selection. You might see some parts that need refining.
Refining the Selection
To add to your selection, hold the Shift key and continue to paint over the parts you missed.
To remove parts, hold the Alt key and paint over those areas. This is called the subtract from the selection feature.
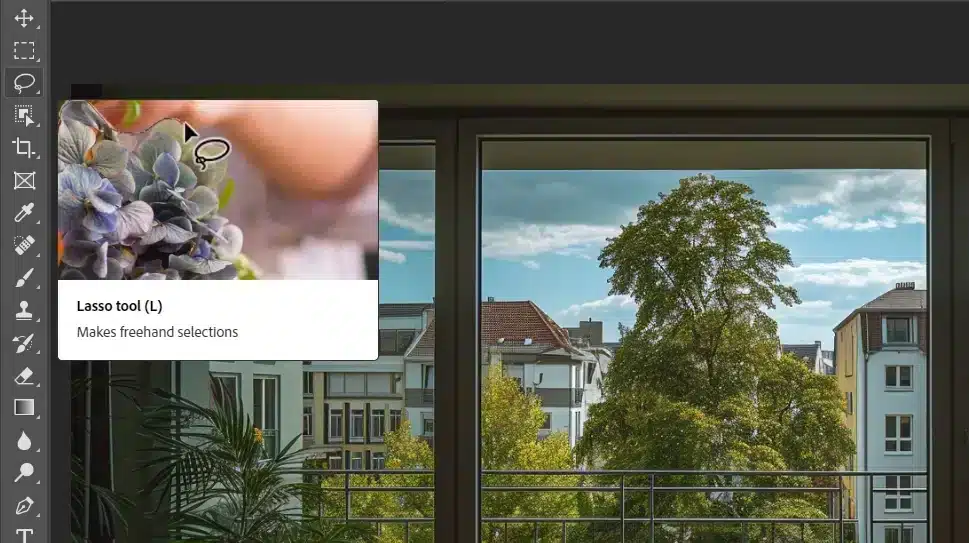
Using the Lasso Tool
If you’re dealing with high contrast areas, consider using the lasso tool to manually shape your selection. For sharper lines, try the polygonal lasso tool. These tools give you ultimate control, although they might be slower. But patience pays off!
Options Bar and Selection Modes
Another way to refine your selection is by using the options bar. Look for the buttons that say “Add to selection,” “Subtract from selection,” and “Intersect with selection.”
These selection modes tweak what you’ve already selected without starting from scratch.
Pro Tip: If you’re editing multiple photos, learning how to batch edit in Lightroom can save you a significant amount of time.
Smoothing Edges
Smooth your edges. Click “Select” and then “Refine Edge.” You can feather, smooth, or even shift the edge of your selection until it looks just right. Overlay the selection on a colored background to see how it contrasts.
Combining Smart Select with Other Tools
You’ve made a nearly perfect selection. But don’t stop there. Combining the quick selection tool with other tools makes your edits even better.
Ever had an issue with one stubborn part of an image not getting selected? Try switching tools:
Switching Tools
Use the magic wand to quickly grab large areas of similar color.
If small parts still need to be finessed, switch back to the quick selection tool.
Adjustment Layers
If your object is complex, use an adjustment layer. Apply effects only to your selections without permanently changing the original image.
It’s like having a safety net! Plus, with layer mask, you can edit the visibility of the layers non-destructively. Use black or white brushes to hide or reveal parts of your layers.
Pro Tip: Incorporating smart objects in Photoshop can further enhance your workflow, allowing for non-destructive editing and the ability to scale, rotate, or apply filterswithout losing quality.
Using Select Subject
Use the select subject feature to make a primary selection, then fine-tune with the quick selection tools.
This method saves time, especially if the Subject is in high contrast with the background. Knowing which tools to use and when makes a big difference.
Manual Adjustment
There’s another option – manual adjustment. After making your initial selection, deselect the parts you don’t need by pressing the Ctrl + D combo. This deselects what’s selected and allows you to start with fresh eyes and new strategies.
Combining these methods ensures cleaner, professional results far beyond what a single selection toolachieves alone. You’ll find yourself experimenting more and becoming quicker at using these tools.
Using Smart Select Tools
Background Removal
Removing backgrounds with the smart select tools is quick when you need just one object in a photo.
Imagine you have an image of your dog but don’t want the messy living room in the background.
The quick selection tool helps you focus on the dog easily.
Steps to Remove Background
Open your image: Open your image in Photoshop.
Select the Quick Selection Tool: Find the quick selection tool in the toolbox. Click on it and start "painting" over your dog. The tool will detect the edges.
Refine the Selection: Don't worry if it misses some parts. Use the add to selection mode to catch missed spots. If it selects too much, hold the Alt key to remove parts.
Clean Up Edges: Switch to the refine edge tool in the options bar. This helps you clean up the edges. Smooth, feather, and shift the edge until it's good. You should see the marching ants around your selection.
Create a New Layer: Press Ctrl+J to duplicate your selection to a new layer. Your dog is now on its own without the cluttered background.
Select Your Subject Photo: Use the quick selection tool to outline the main object. Use the add and subtract modes to fine-tune your selection.
Copy and Paste the Subject: Once your Subject is selected, press Ctrl+C to copy it. Switch to your background image and press Ctrl+V to paste the Subject.
Position and Resize: Use the move tool to position the Subject in your new background. Resize it if needed by pressing Ctrl+T.
Balance Colors: Use the adjustment layer to balance colors between your Subject and background.
Detailed Selections: If you want more detailed selections, use the object selection tool. Draw a box around the area you need, making the process easier.
Select Subject Feature: Try the select subject feature for quick results, especially with high-contrast photos.
Frequently Asked Questions (FAQs)
How do you make a smart selection in Photoshop?
Here is a step by step guide on how to make a smart selection:
Open your image in Photoshop.
Select the Quick Selection Tool from the toolbar or press the shortcut ‘W’.
Click and drag over the area of the image you want to select. The tool will automatically find and follow defined edges in the image.
Adjust the selection by holding down the ‘Alt’ key (Option on Mac) to subtract from the selection or ‘Shift’ to add to the selection.
What is smart select subject in Photoshop?
This feature in Photoshop designed to automatically select the main subject in an image using Adobe’s AI technology.
To use it, simply open your image, click on ‘Select’ in the menu, and then choose ‘Subject’.
Photoshop will then analyze the image and select the main subject for you.
How do I select a specific part of an image in Photoshop?
Here is a step by step guide on how to select specific part:
Open your image in Photoshop.
Choose the Lasso Tool, Polygonal Lasso Tool, or Magnetic Lasso Tool from the toolbar for freehand selections.
Click and drag or click around the specific part you want to select.
For more precision, zoom in to make finer selections or use the ‘Pen Tool’ to create paths that can be converted into selections.
How do I turn off smart select in Photoshop?
If you’re referring to turning off the automatic edge enhancement in selections like the Quick Selection Tool:
Open your image and select the Quick Selection Tool.
In the options bar at the top, uncheck ‘Auto-Enhance’ to turn off the smart selection features.
How to auto select an object in Photoshop?
Go to the toolbar and select the Magic Wand Tool or Quick Selection Tool.
Click on the object you want to select. Adjust the ‘Tolerance’ or use the ‘Add to selection’ option to refine your selection.
The tool will automatically select similar tones and colors based on where you click.
Using the Smart Select feature in Adobe has made my photo editing much easier and faster. These tools help me quickly select and isolate objects with precision, saving me a lot of time.
If you too want to improve your skills, check out my Photoshop Course and Lightroom Course. They offer step-by-step instruction on mastering these tools and more.
By practicing and using these resources, you’ll be able to create stunning images with ease. Happy editing!
If this article has helped you, then Like and Share it with your friends
$2,061.00Original price was: $2,061.00.$1,061.00Current price is: $1,061.00. 27583
Download Your Free Guide Now!
Discover the secrets of photography with our printable guide! Master essential techniques like aperture, shutter speed, and ISO to create stunning images. Get your free printable PDF now and start turning your snapshots into masterpieces!