| Tool Name |
Description |
Best Use |
Shortcut Key |
Pros |
Cons |
| Pen |
Creates precise paths that can be turned into selections. |
Detailed and complex shapes. |
P |
Highly accurate, versatile for complex selections. |
Steep learning curve, time-consuming. |
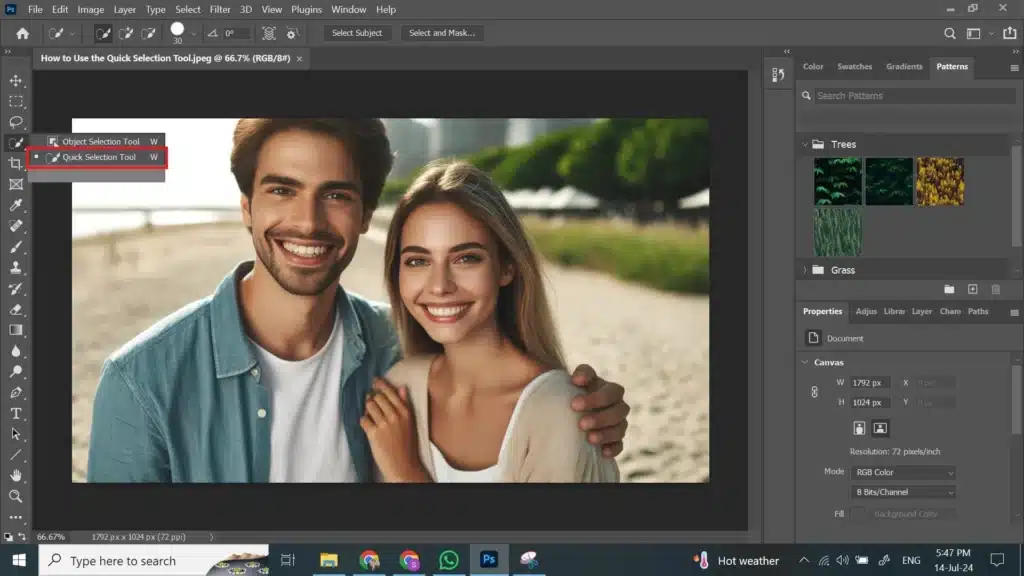
| Object Selection |
Automatically detects and selects objects. |
Complex objects. |
W |
Quick, uses AI to improve accuracy. |
May need manual adjustments. |
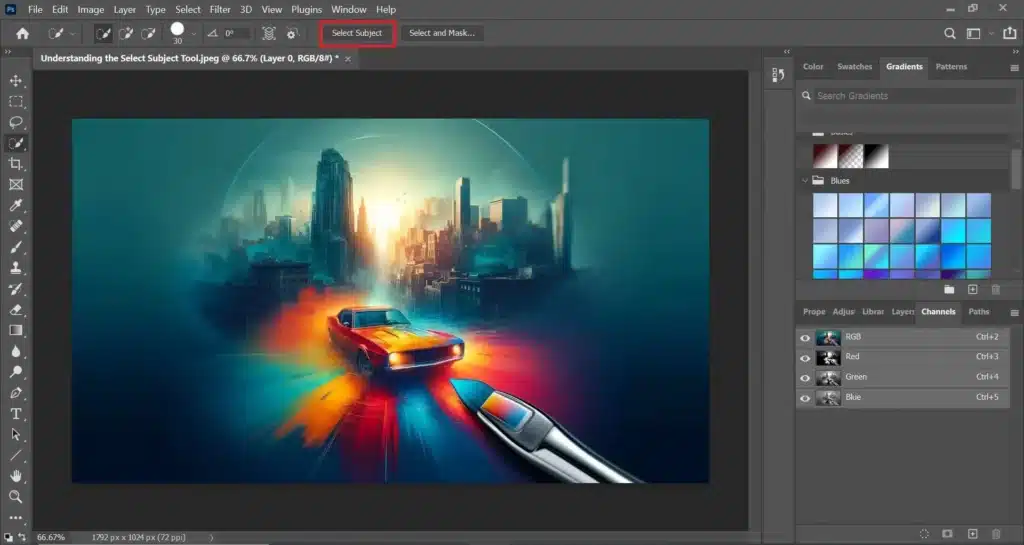
| Select Subject |
Uses AI to select the main subject in an image. |
Quick subject isolation. |
None |
Fast, convenient for well-defined subjects. |
AI can make errors, may miss parts of the subject. |
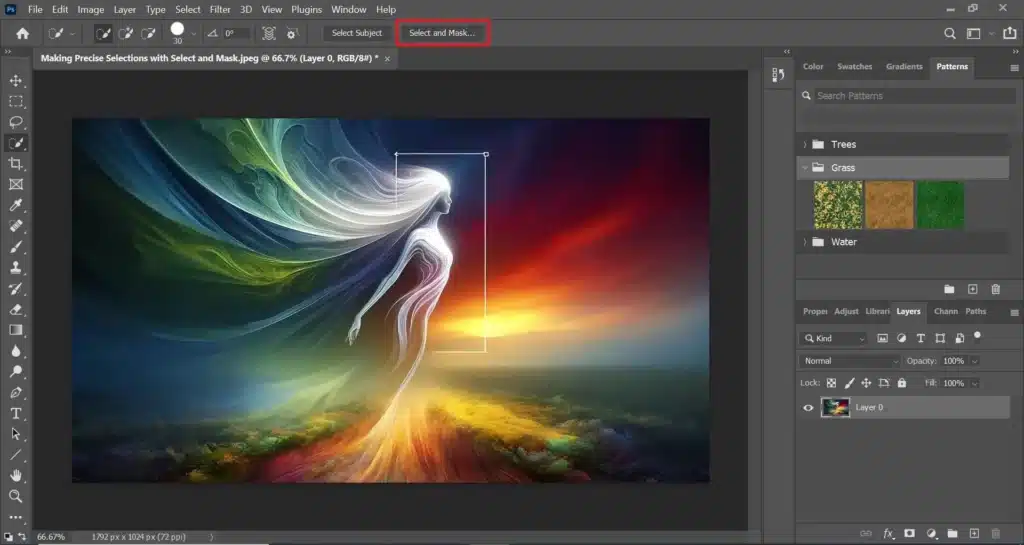
| Select and Mask Workspace |
Refines edges and adjusts selections. |
Perfecting selections. |
None |
Excellent for refining edges, multiple adjustment options. |
Requires practice to master. |
| Color Range |
Selects all instances of a specific color in an image. |
Color-based selections. |
None |
Powerful for color-specific edits, good for consistent colors. |
May select unintended areas, less useful for varied colors. |
| Focus Area |
Selects areas in sharp focus. |
Isolating focused subjects. |
None |
Ideal for depth-of-field effects, isolates subjects quickly. |
Not effective with uniformly focused or blurred images. |