How to Photograph Birds: Essential Tips for Best Bird Photography
How to Photograph Birds: Essential Tips for Best Bird Photography
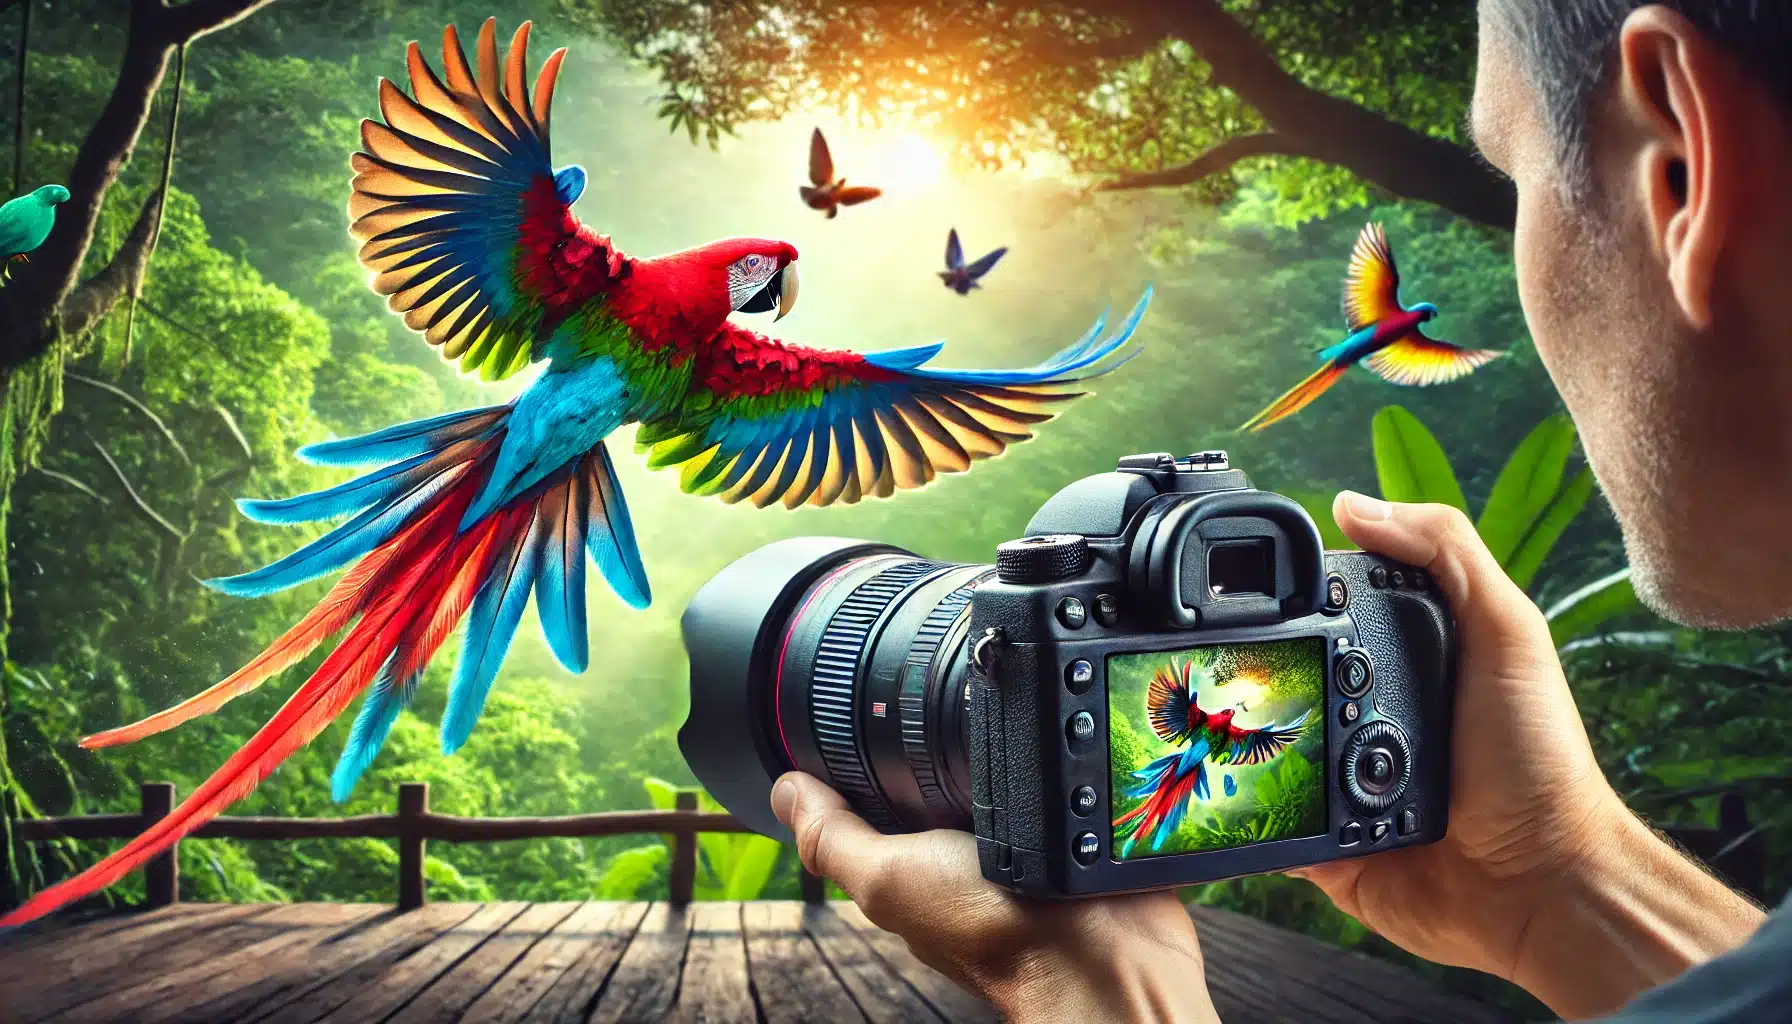
Introduction to Bird Photography
Avian photography, also known as bird photography, is a fascinating and rewarding hobby that combines a love for nature with the art of capturing stunning images. Whether you’re a beginner or an experienced photographer, understanding the basics of how to photograph birds is essential for creating beautiful and impactful photos. Bird photography requires patience, the right wildlife photography equipment, and a good understanding of bird behavior to capture those perfect moments. This bird photo guide will facilitate you get started with the fundamentals and improve your bird photography skills.
A real-life example of the challenges and rewards of bird photography can be seen in the work of John, a nature enthusiast who started photographing birds in his backyard. By setting up a simple bird feeder and spending time observing the birds, John was able to capture incredible images of various bird species. His dedication and patience paid off, and his photograph birds have been featured in local wildlife magazines. This example highlights how anyone with an interest in nature and Learn Photography can achieve impressive results with the right approach and persistence.
Table of Contents
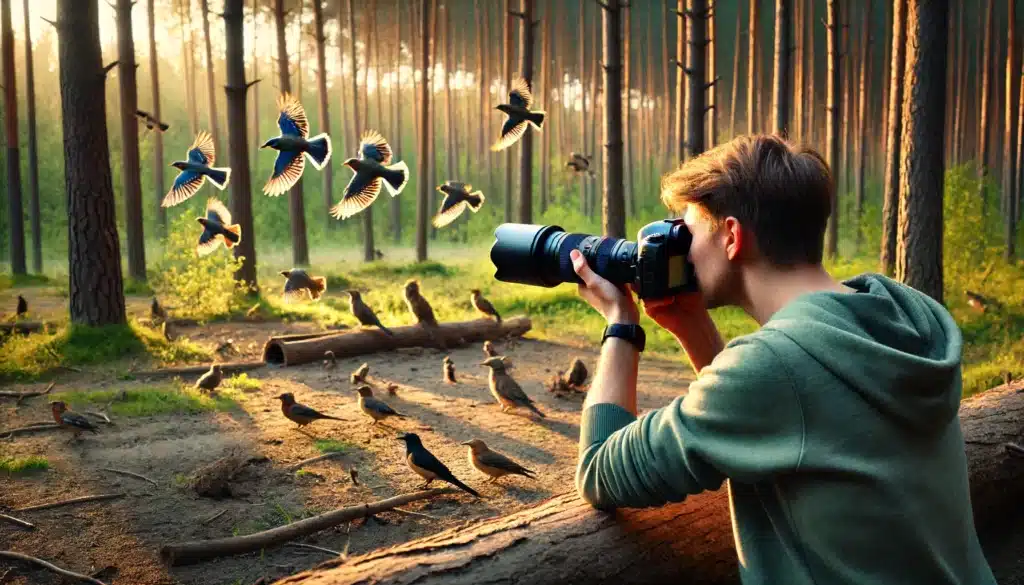
Understanding Bird Behavior
Understanding bird behavior is crucial for successful bird photography. Birds are often wary of humans, and knowing their habits can facilitate you get closer and capture better images. Observing how birds move, feed, and interact with their environment can provide valuable insights into when and where to photograph them. For example, using camera tethering can help keep your setup stable while you adjust your focus and wait for the perfect moment. Additionally, professional wildlife photography equipment like telephoto lenses and high-speed cameras are essential tools that can enhance your ability to take sharp, clear photos.
Strategies for Bird Photography
When engaging in birds photography, it’s important to be patient and observant. Birds have specific patterns and routines that, once understood, can be used to your advantage. For example:
Feeding Habits: Knowing where and when birds feed can facilitate you find the best locations for photography.
Flight Patterns: Understanding how birds take off, fly, and land can assist in capturing stunning in-flight shots.
Behavioral Cues: Birds often give signs before they fly away, such as looking around or becoming still. Recognizing these cues can facilitate you be ready to take the shot.
Incorporating a bird photography guide into your strategies for bird photography can enhance your results. For example, learning about different species’ behaviors can facilitate you predict their actions and position yourself for the best shots.
Key Points to Observe
Territorial Behavior: Some birds are territorial and will return to the same spots. Observing these patterns can facilitate you anticipate their movements.
Mating Rituals: During mating seasons, birds exhibit specific behaviors that can be fascinating to photograph.
Social Interactions: Birds often interact with each other in interesting ways, providing great opportunities for dynamic photos.
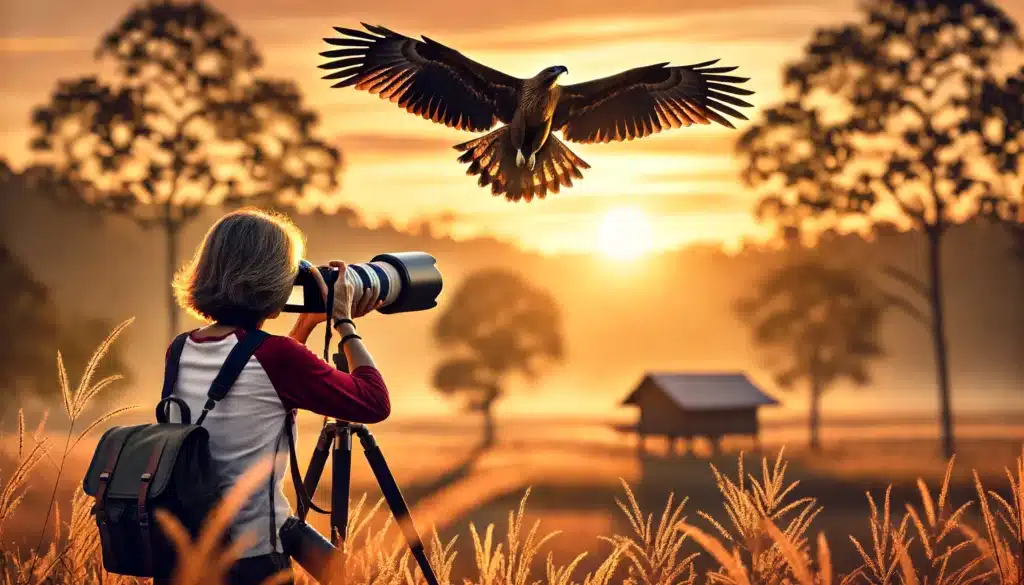
Capturing Birds in Flight
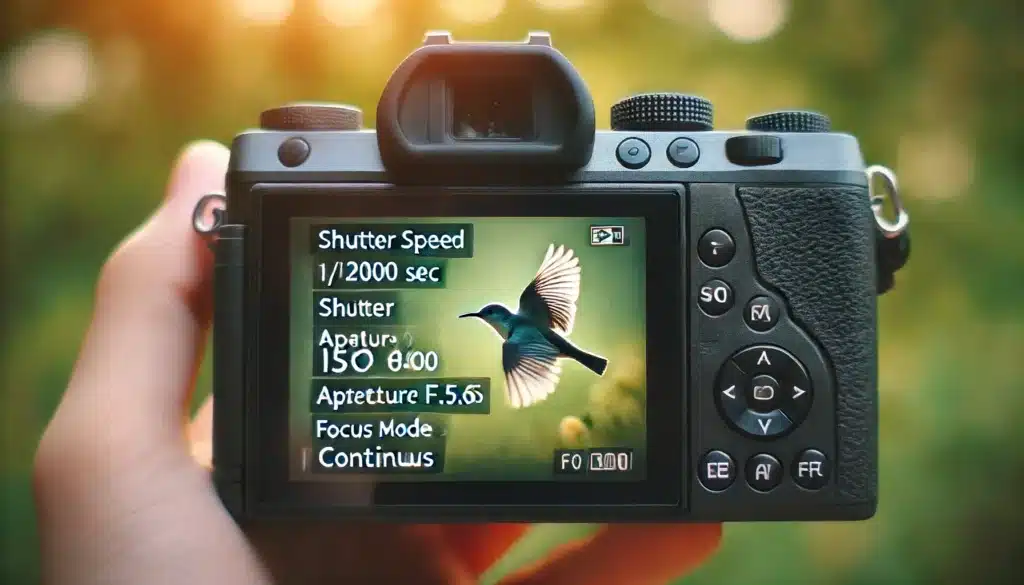
Capturing birds in motion is one of the most challenging and rewarding aspects of avian photography. Achieving excellent results requires a thorough understanding of your camera’s technical configurations. It’s essential to use a fast exposure time to freeze the bird’s movement. Balancing ISO sensitivity is also crucial to ensure sufficient lighting while minimizing noise. Additionally, you should adjust white balance to match the lighting conditions for accurate color reproduction.
Strategies for Bird Photography
When shooting birds in flight, preparation and knowledge of your equipment are key. Here are some essential formations and techniques to consider:
Shutter Speed: Use a fast shutter speed (e.g., 1/2000 sec) to freeze the action.
ISO: Adjust the ISO to ensure the sensor captures enough light without too much noise.
Focus Mode: Set your camera to continuous focus mode to track the moving bird.
Aperture: A wide aperture (e.g., f/5.6) helps blur the background, making the subject stand out.
In bird photography, the background and light play a significant role in the quality of your photos. A clean, uncluttered background helps to highlight the bird, making it the main focus of the frame. Early morning or late afternoon light is ideal, providing a soft, warm glow that enhances the bird’s colors and details.
Background: Ensure the background is clean and not distracting. Adjust your position or the camera angle to achieve this.
Light: Shoot during golden hours for the best light. Avoid harsh midday sunlight that can cause unwanted shadows and highlights.
Setting Up Your Shot
Properly align your shot is crucial for capturing birds in flight. Anticipate the bird’s movements and be ready to press the shutter button at the right moment. Using a burst mode can increase your chances of getting the perfect shot.
Location: Find a place where birds are active. Observe their behavior to predict their flight paths.
Preparation: Keep your camera configurations prearranged. Use a longer lens to get close-up shots without disturbing the birds.
Patience: Be patient and wait for the right moment to press the shutter button.
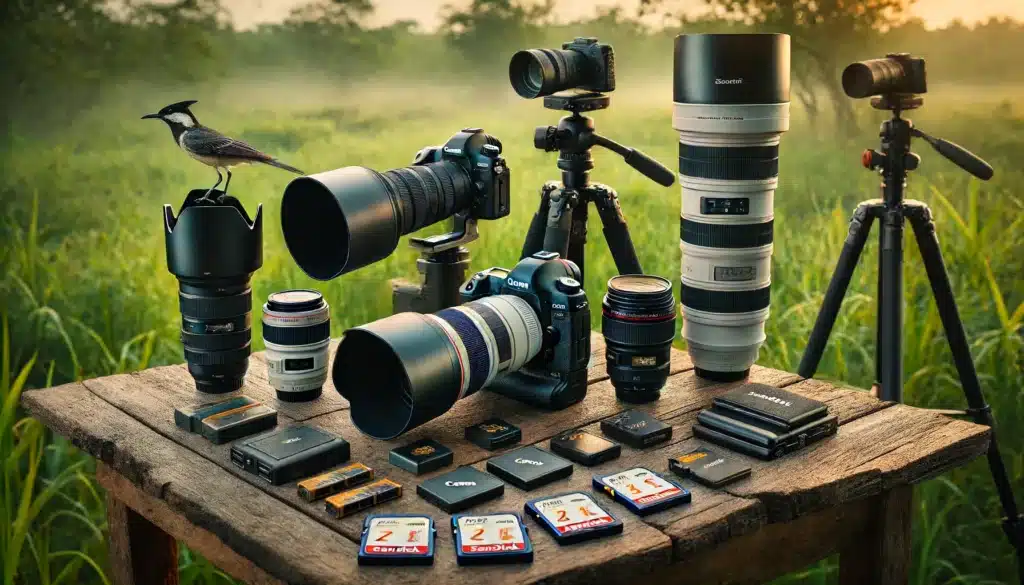
Essential Equipment for Bird Photography
To excel in bird photography, having the right equipment is crucial. This bird photo guide outlines the essential gear you need. The key items include a camera, a telephoto lens, a tripod, and accessories like memory cards and batteries. A quality camera with rapid autofocus and high burst rates is crucial for sharpening images of birds in motion.
Additional Gear and Software
Adobe Photoshop Lightroom: Essential for editing bird photos. Lightroom Classic provides comprehensive tools for managing and editing large photo libraries.
Lens Flare: A common effect in bird photography guide that can add artistic elements to photos. Use Lens Flare Photoshop for controlled enhancements.
Adobe Photoshop Training: Learning Adobe Photoshop through online courses or tutorials can greatly improve your photo editing skills. Lightroom and Photoshopare both crucial for a complete editing workflow. Consider taking a Lightroom course or Photoshop course to enhance your skills.
Accessories
Extra Batteries: Ensure you have spare batteries for long shooting sessions.
Photo Editing Course: Enroll in online courses to learn advanced editing techniques.
Using the right equipment and software, such as Adobe Lightroom Classic and Photoshop, can significantly enhance your bird photography. Understanding and implementing these bird photography techniques will facilitate you capture stunning images and improve your overall photography skills. For more detailed tutorials, you can refer to Lightroom and Photoshop online training or explore photoshop tutorials for specific techniques like Photoshop Light Effects.
Bird Photography Techniques
When considering bird photography techniques, your equipment plays a significant role. Here’s a breakdown of the essential gear and their features:
Equipment
Model
Key Features
Price Range
Camera
Nikon D500
Rapid autofocus, 10fps burst rate
$1,500
Telephoto Lens
Canon EF 100-400mm
Image stabilization, zoom range
$2,000
Tripod
Manfrotto MT055CXPRO4
Lightweight, sturdy
$350
Memory Card
SanDisk Extreme Pro 64GB
High speed, large capacity
$40
Camera Settings for Bird Photography
Proper parameters are essential for successful bird’s photography. Understanding and using the right configurations can enhance your bird photo guide and improve your overall results. Here are some key camera settings to consider:
Shutter Speed: Use a fast shutter speed (e.g., 1/2000 sec) to freeze the bird’s movement.
ISO: Set the ISO to ensure the sensor captures enough light without too much noise. An ISO of 800 is often a good starting point.
Aperture: Use a wide aperture (e.g., f/5.6) to achieve a shallow depth of field, isolating the bird from its surroundings.
Focus Mode: Continuous focus mode (AI Servo/AF-C) facilitates keep the bird sharp as it moves.
Exposure Compensation: Adjust exposure compensation to avoid overexposure or underexposure, especially when photographing birds with white feathers.
Bird Photography Settings
To make the most of your bird photography guide, here are some detailed configurations and examples:
Shutter speed and ISO are critical configurations in how to photograph birds. A fast shutter speed (e.g., 1/2000 sec) is essential to freeze motion, especially when dealing with fast-moving subjects. Adjusting the ISO helps manage light levels; a higher ISO setting allows for faster shutter speeds even in low light but may introduce noise.
In long exposure photography, you typically use slower shutter speeds to capture light trails or motion blur. However, for birds photography, the opposite is true. You want to freeze the bird’s movement, requiring a fast shutter speed.
Aperture and Depth of Field
Aperture controls the depth of field and the amount of light entering the camera. In birds photography, using a wide aperture (e.g., f/5.6) helps create a shallow depth of field, isolating the bird from its surroundings.
For landscape photography, a narrow aperture (e.g., f/16) is often used to keep everything in the frame sharp. In contrast, bird photography guide benefits from a wide aperture to blur the surroundings and make the bird stand out.
Focus Mode and Exposure Compensation
Using the continuous focus mode (AI Servo/AF-C) is crucial in birds photography. This mode tracks the bird as it moves, ensuring it remains in focus. Exposure compensation helps manage difficult lighting situations, such as when photographing birds with white feathers that can easily become overexposed.
When learning how to photograph sunsets, exposure compensation is also vital. It helps manage the bright light of the sunset, ensuring your photos capture the vibrant colors without being washed out. Manual Mode is a game-changer for photographers.
Common Mistakes and How to Avoid Them
Bird photography is a rewarding but challenging hobby. Avoiding common mistakes can help you improve your bird photo guide and achieve better results. Here are some frequent errors and how to avoid them.
Incorrect Camera Settings
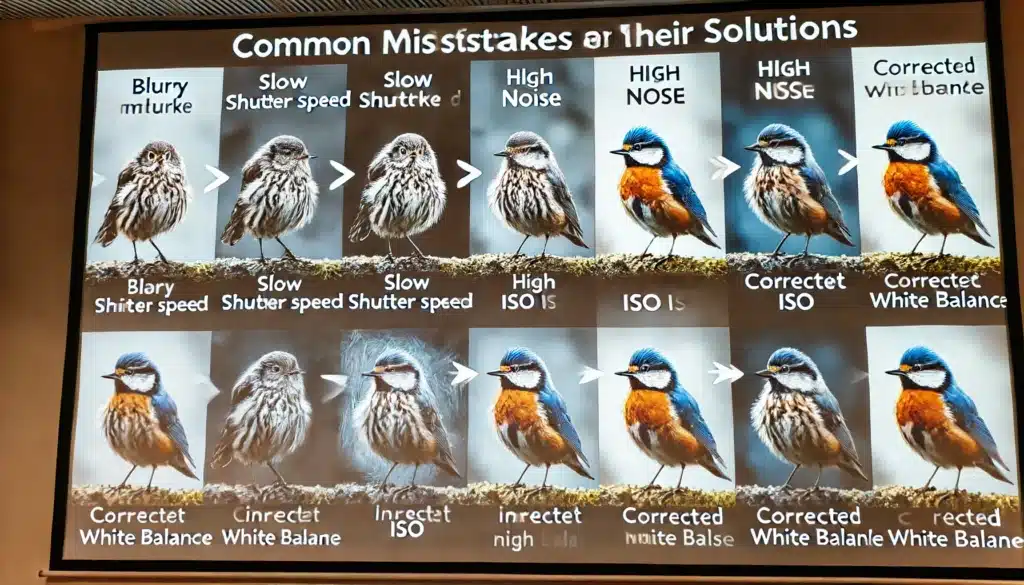
Many beginners struggle with choosing the right configurations for their digital cameras. Using a shutter speed of the camera that is too slow can result in blurry images. Adjust the shutter speed to at least 1/1000 sec to freeze the bird’s movement. ISO sensitivity is another critical factor; setting it too high can introduce noise, while too low can result in dark images.
Poor Composition
Photo focus and composition are vital in bird photography. Macro photography can be challenging due to the small depth of field. Ensure the bird is the main focus and avoid distractions in the background. Using the aperture on a camera to create a shallow depth of field can make the bird stand out more prominently.
Improper Use of File Formats
Choosing the wrong file format, such as using CR2 or JPEG or NEF or JPEG incorrectly, can affect image quality. JPEG files are more compressed, while CR2 and NEF retain more detail and are better for post-processing.
Ignoring White Balance
White balance in photography is crucial for accurate color reproduction. Incorrect white balance can result in unnatural colors. Adjust the white balance to match the lighting conditions, whether it’s daylight, cloudy, or artificial light.
Overlooking Light and Exposure
Poor management of light and exposure can ruin photos. Use bulb mode for long exposures and adjust the exposure time to capture the right amount of light. Good Photography lighting can also make a significant difference in photography by enhancing the subject. Knowing how to manage white balance and exposure is essential to learn How to photograph birds.
Common Mistake
Solution
Key Point
Example
Slow Shutter Speed
Adjust to 1/1000 sec
Freeze motion
Nikon D500
High ISO Sensitivity
Balance ISO levels
Reduce noise
Canon EOS 7D
Incorrect White Balance
Match lighting conditions
Accurate color reproduction
Sony A7III
Poor File Format Choice
Use RAW formats like CR2 or NEF
Better for post-processing
Olympus OM-D E-M1X
FAQs
What is the most proper way of taking bird photos?
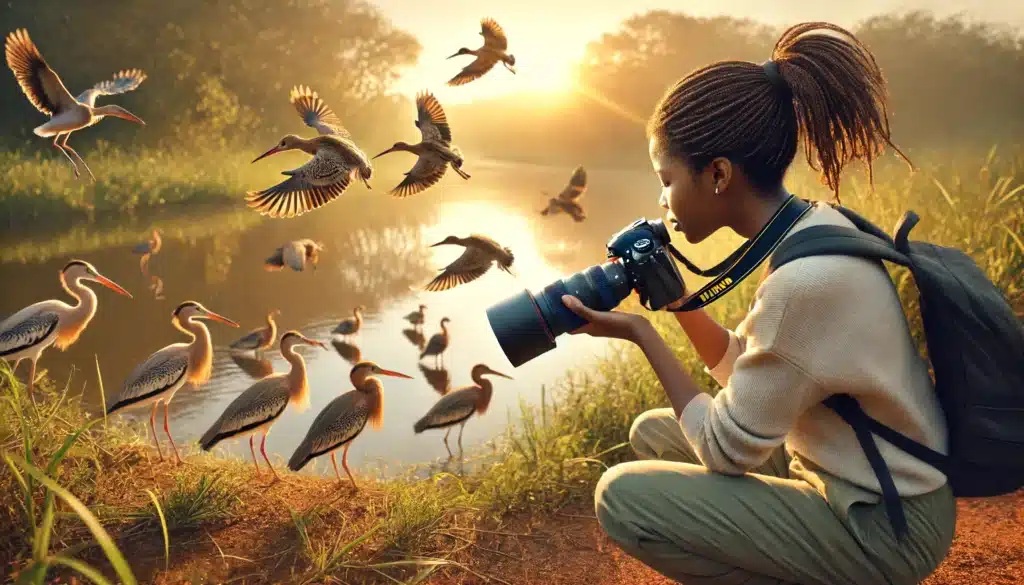
The most proper way to capture bird images involves a combination of preparation, understanding behavior, and using the right equipment. First, choose a location where they are active, such as a park or nature reserve. Early mornings and late afternoons are ideal times due to softer lighting conditions. As a photographer, knowing the habits of different species can significantly improve your chances of success.
How to take a picture of a bird?
To take a picture of a bird, start by selecting the right gear, such as a DSLR or mirrorless camera with a telephoto lens. Find a location where they are commonly seen and approach them quietly and slowly to avoid startling them. Use continuous autofocus to keep the bird sharp as it moves. Focus on the bird’s eye to create a compelling image.
What is the best setting for bird photography?
The best settings for bird photography guide depend on various factors, including lighting conditions and the behavior of the bird. Generally, you should use a fast exposure time (e.g., 1/1000 of a second or faster) to capture quick movements. Adjust the ISO sensitivity to ensure your sensor captures enough light without introducing too much noise.
Which camera is best for bird photography?
The best camera for capturing the photograph birds guide varies depending on your budget and experience level. Some top recommendations include:
Nikon D500: Known for its fast autofocus and 10 frames per second burst rate, making it excellent for capturing moving subjects.
Canon EOS 7D Mark II: Features a 65-point autofocus system and 10 frames per second burst shooting, ideal for action shots.
Sony A7 III: A mirrorless option with fast autofocus and excellent image quality, suitable for both beginners and professionals.
Olympus OM-D E-M1X: Offers robust build quality and advanced tracking autofocus, perfect for capturing birds in various conditions.
In my journey with bird photography guide, I remember my first successful shot of a bird in flight. I spent hours observing their behavior and adjusting my camera configurations, but the effort paid off when I captured a stunning image of a hawk soaring through the sky. This personal experience taught me the importance of patience, preparation, and understanding my equipment. Bird photography can be incredibly rewarding, and with the right techniques and dedication, anyone can achieve great results.
To further enhance your skills and take your bird photography to the next level, consider enrolling in our comprehensive online courses. Our Photoshop course provides in-depth training on editing techniques, while our Lightroom course focuses on photo management and enhancement. Additionally, investing in professional software like Adobe Photoshop and Adobe Lightroom can make a significant difference in your editing process, allowing you to create stunning, professional-quality photos. Join today our Photoshop course and Lightroom course to start your journey towards mastering bird photography.
If this article has helped you, then Like and Share it with your friends!
$2,061.00Original price was: $2,061.00.$1,061.00Current price is: $1,061.00. 27638
Download Your Free Guide Now!
Discover the secrets of photography with our printable guide! Master essential techniques like aperture, shutter speed, and ISO to create stunning images. Get your free printable PDF now and start turning your snapshots into masterpieces!