Types of Filters in Photoshop to Enhance your Images
Types of Filters in Photoshop to Enhance your Images
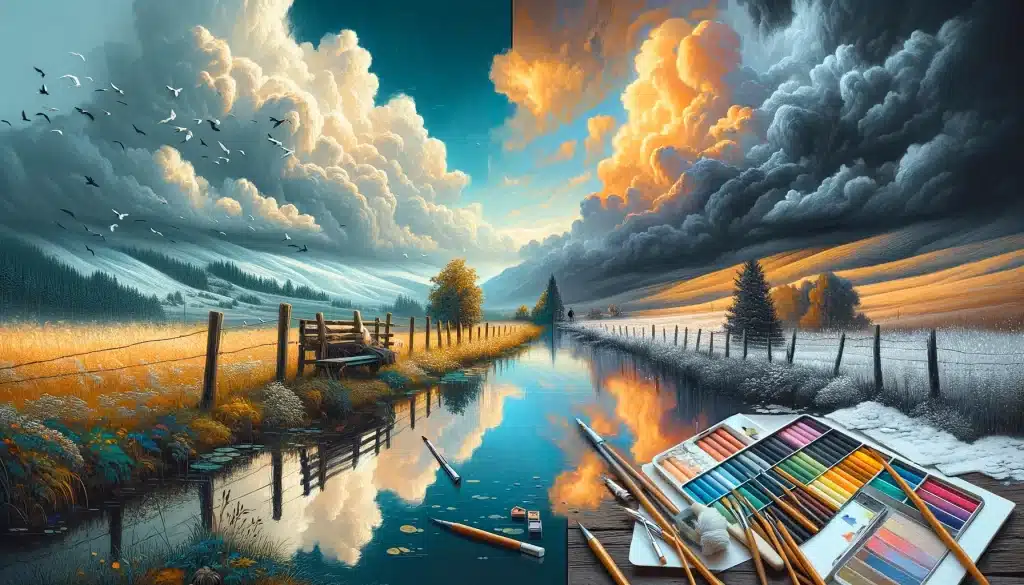
Diving into the world of Adobe Photoshop, we often marvel at the transformative power of filters. These filters are not just tools; they are gateways to creativity, allowing us to manipulate images in countless ways. From subtle color enhancements to dramatic blur effects, each filter in Photoshop offers a unique avenue to elevate our photo editing skills. The Types of Filters in Photoshop are as diverse as they are dynamic, providing an expansive toolkit for artists, photographers, and designers alike.
In this comprehensive guide, we will explore the myriad of filters available in Photoshop, understanding their functionalities and learning how they can be applied to our images effectively.
Blur filters, one of the most common types of filters in Photoshop, are essential tools that allow you to create a variety of visual effects, from subtle softening to dynamic motion effects. Here’s a deep dive into some of the most commonly used blur filters and how to utilize them effectively.
Gaussian Blur for a Natural Look
Usage: Gaussian Blur is versatile, ideal for softening images, reducing noise, and creating depth.
Effect: Produces a smooth, bell-curve-based blur, intensifying near the center and gently fading outwards.
Application: Apply it uniformly across an image or selectively to soften areas with too much detail or noise.
Field Blur for Focused Effects
Usage: Field Blur enables selective focus, allowing you to blur the background or foreground while keeping the focal point sharp.
Control: Add pins across your image to adjust the blur intensity at different points, creating a depth-of-field effect.
Lens Blur for Depth of Field
Usage: Lens Blur mimics the camera's depth of field, perfect for highlighting subjects by blurring the background or foreground.
Control: Utilize a depth map for precise control over blur distribution, affecting the perceived distance between foreground and background elements.
Motion Blur for Dynamic Movement
Usage: Simulates the effect of moving objects or a moving camera to add speed or action to your images.
Control: Adjust the direction and amount of blur to match the movement in your scene, enhancing the sense of speed.
Radial Blur for Centric Effects
Usage: Creates a circular or spiraling motion effect, ideal for emphasizing central motion or creating a vortex effect.
Control: Set the center point of the blur and adjust the amount and type (spin or zoom) to achieve the desired effect.
Shape Blur for Custom Patterns
Usage: Uses a custom shape to create a distinct, patterned blur effect, offering creative and unique blurring options.
Control: Choose from preset shapes or create a custom one to apply a non-uniform blur across your image.
Practical Tips for Applying Blur Filters
Isolate Areas: Use selection tools to isolate areas for blurring, ensuring the effect is applied precisely where needed.
Layer Masks: Incorporate layer masks to blend blurred areas seamlessly, maintaining natural transitions between blurred and sharp regions.
Smart Filters: Utilize Smart Filters with Smart Objects to apply blur effects non-destructively, allowing for flexible adjustments and revisions.
By understanding and experimenting with these types of filters in Photoshop, you can enhance your images’ visual appeal, direct viewer attention, and inject dynamism into your compositions. Each blur type offers a distinct way to modify image perception, from subtle background softening to creating pronounced motion effects. Utilizing these filters effectively can transform an ordinary image into a striking visual narrative.
Exploring Distort Filters in Photoshop
Photoshop’s distort filters offercreative ways to manipulate and transform images, providing unique and often surreal effects. They are often used to create unique effects in advertising, where making a product look more appealing or eye-catching is crucial. Photographers might use them to warp a background subtly to draw attention to the main subject, like in a fashion shoot. Graphic designers also use these filters to craft an imaginative file or to add special effects in movie posters, making characters or elements stand out in a surreal way in the gallery.
Redefining Images with Twirl and Spherize
Twirl Filter: This tool spirals your photo's pixels around a focal point, breathing dynamic motion into your work.
Spherize Filter: It wraps your photo around an invisible sphere, altering the pixel landscape to give an object a rounded form.
Custom Changes with Warp and Liquify
Warp Filter: A digital touch that bends and stretches your image in multiple directions for a free-form transformation.
Liquify Filter: Offers granular control to mold particular areas of your photo, perfect for sculpting detailed adjustments.
Mimicking Nature with Ripple and Wave Filters
Ripple Filter: Transforms still pixels to emulate the gentle undulation of water, adding a ripple effect to your photo's surface.
Wave Filter: For more complex patterns, it creates sinuous lines and heights, painting pixel waves across your canvas.
Unleashing Creativity with Filter Combinations
Trial different distort filters from the menu to find the perfect artistic expression for your image.
Layer multiple filters for intricate effects, broadening the narrative scope of your visual story.
Smart objects and layers will allow non-destructive applications, keeping your original work intact.
Distort filters in Photoshop serve as a digital palette, turning everyday images into imaginative masterpieces.
Mastering Render Filters for Creative Effects
Render filters in Photoshop are powerful tools that allow you to add complex visual elements and effects to your images, such as 3D shapes, cloud patterns, and simulated light reflections. These filters are essential for creating natural-looking elements and enhancing the overall appearance of your artwork.
They are used widely in the creation of digital paint art and photo editing to add realistic or fantastical elements to images. For instance, graphic designers often employ Render Filters to generate lifelike textures and atmospheric effects in game environments or architectural visualizations. By using layers smart blending options, artists can paint intricate scenes with a rich palette of colors. With a few clicks and key adjustments in the filter gallery, they can simulate natural phenomena like fog, fire, or starry skies, adding depth and dynamism to their compositions.
Generating Natural Elements with Clouds and Fibers
Clouds Filter: Produces a soft cloud pattern using random values between the foreground and background colors. Holding down Alt (Windows) or Option (Mac OS) while applying the filter can generate a more defined cloud pattern.
Fibers Filter: Creates a realistic woven fiber texture using the foreground and background colors, with controls for variance and strength, allowing for customization of the fiber's appearance.
Creating Light Effects with Lens Flare and Lighting Effects
Lens Flare Filter: Simulates the effect of light refracting inside a camera lens, producing a realistic lens flare that can enhance the lighting in a scene.
Lighting Effects Filter: Offers extensive options to create varied lighting scenarios in an image, with controls for light styles, types, and properties, enabling the creation of realistic or artistic lighting effects.
Utilize the render filters to create 3D objects and manipulate them in 3D space, providing a new dimension to your images.
Experiment with texture fills from grayscale files to produce 3D-like effects, enhancing the realism or artistic quality of your renderings.
By mastering these render filters, you can significantly enhance your creative projects, adding depth, texture, and realism to your images. These filters open up a vast array of possibilities for artistic expression and can transform ordinary images into extraordinary works of art.
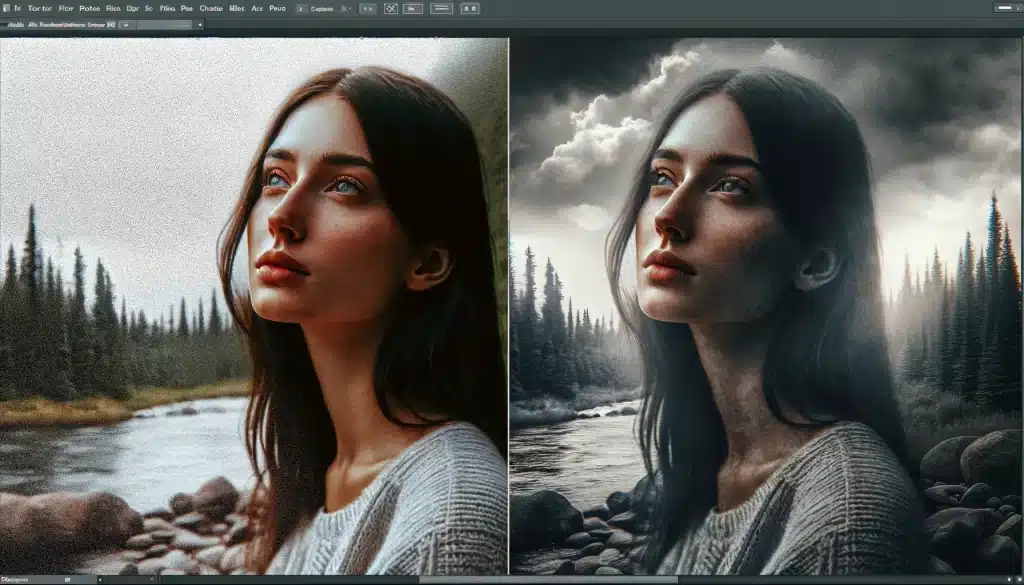
Types of Filters in Photoshop: Utilizing Noise Filters for Image Perfection
Photographers use these filters to make the picture look more organic. In the digital art realm, artists apply noise to layers, enhancing depth and realism in their artwork. They smartly blend these layers with the original, adjusting the pixels to achieve the desired effect. By using the gallery of Noise Filters, one can paint with colors and textures, adding complexity to the visuals.
With a simple click and the right keys, Noise Filters can be applied to create vintage or atmospheric effects in images, enhancing the overall composition.
The Basics of Noise Reduction
Noise in digital photography typically manifests as either luminance noise, which affects the lightness and darkness of the image, or color noise, which introduces unwanted speckles of color. Understanding these types can guide the noise reduction process, targeting the specific issues effectively.
Key Noise Reduction Filters
Reduce Noise Filter
Functionality: Directly targets both luminance and color noise, with options to adjust strength and preserve details.
Process: Accessible via the Filter menu, it provides basic and advanced modes for tailored noise reduction, including per-channel adjustments in advanced mode.
Surface Blur
Application: Softens image noise while maintaining edges, ideal for reducing noise without affecting sharp detail.
Usage: Found under the Blur submenu, it allows you to set the radius and threshold levels to control the extent of blurring and noise reduction.
Dust & Scratches
Purpose: Eliminates small imperfections like dust and scratches, often manifesting as noise.
Method: Adjust radius and threshold to balance between noise removal and detail preservation.
Median Filter
Usage: Reduces noise by averaging out the pixels, helpful in minimizing grainy textures without overly softening the image.
Advanced Techniques
For more sophisticated noise reduction, combining Photoshop’s native tools with advanced techniques and plugins yields the best results. Techniques like image stacking with smart objects and selective noise reduction using masks offer greater control and refinement.
External Plugins for Enhanced Noise Reduction
Third-party plugins like Topaz DeNoise AI, Noiseware, and Neat Image provide specialized noise reduction capabilities, often employing advanced algorithms and AI technologies to improve image quality beyond Photoshop’s native filters.
Tips for Applying Noise Filter
Start noise reduction early in the editing process, especially before applying sharpness adjustments, to avoid accentuating noise.
Use layer masks and selective adjustments to apply noise reduction where needed, preserving the natural texture and detail in less noisy areas.
Balance noise reduction strength and detail preservation to maintain image quality without over-smoothing.
By mastering the use of noise filters and combining them with smart editing techniques, you can greatly enhance the quality of your photos, achieving a perfect balance between noise reduction and detail preservation.
Artistic Filters: Transforming Images into Artworks
Artistic filters in Photoshop offer a diverse range of effects that can transform ordinary images into stunning artworks. These filters simulate different artistic styles, from painting and drawing to abstract and graphic effects.
Key Artistic Filters in Photoshop
Colored Pencil
Effect: Redraws the image using colored pencils, retaining important edges and giving a crosshatch appearance.
Customization: Control over pencil width, stroke pressure, and paper brightness for varied effects.
Cutout
Effect: Portrays the image as if made from cut-out pieces of colored paper, simplifying details and enhancing contrast.
Settings: Adjustable levels, edge simplicity, and edge fidelity to control the cut-out appearance.
Dry Brush
Effect: Simulates a dry brush painting, simplifying colors, strokes, and reducing detail for an artistic look.
Options: Set brush size, detail, and texture to achieve the desired effect.
Film Grain
Effect: Adds a uniform, grainy texture to the image, ideal for creating a vintage or classic photo look.
Adjustments: Grain amount, highlight area, and intensity can be tailored.
Fresco
Effect: Gives the image a coarse, painted appearance with rounded, hastily applied dabs of color.
Customization: Options for brush size, detail, and texture.
Neon Glow
Effect: Adds a glow effect using foreground, background, and specified glow colors, softening the image.
Settings: Glow size, brightness, and color can be adjusted for different glow effects.
Paint Daubs
Effect: Creates a painted look with pronounced brush strokes, varying in sharpness and size.
Controls: Brush size and sharpness, along with brush type, can be selected.
Palette Knife
Effect: Simulates a thinly painted canvas, revealing texture underneath and reducing image detail.
Adjustments: Stroke size, detail, and softness are adjustable.
Plastic Wrap
Effect: Gives the image a glossy, plastic-coated appearance, accentuating surface details.
Customization: Control over highlight strength, detail, and smoothness.
Watercolor
Effect: Transforms the image into a watercolor painting with medium brush strokes and saturated edges.
Options: Brush detail, shadow intensity, and texture can be adjusted for different watercolor effects.
Poster Edges
Effect: Simplifies the color palette and enhances edges, creating a bold, graphic look.
Settings: Edge thickness, intensity, and posterization level can be modified.
Creative Applications
These artistic filters can be used individually or combined to create unique effects. Experimentation is key to discovering the vast potential of these tools. By adjusting the settings within each filter, you can achieve a range of looks, from subtle enhancements to dramatic transformations. The possibilities are endless, allowing for personalized artistic expressions in your digital artwork.
Pixelate Filters: A Closer Look
Pixelate filters in Photoshop are excellent tools for creating abstract effects, mimicking retro pixel art, or obscuring sensitive details in an image for privacy. Here’s a closer examination of how to use these filters effectively.
These filters are often employed in graphic design to create mosaic effects or to give images a retro, pixelated look reminiscent of old video games. Photographers might use these filters to obscure a portion of a photo, such as blurring a face or license plate for privacy. In the digital art gallery, artists layer these pixel effects to paint a scene or object, giving it a unique, textured appearance. By adjusting the size of the pixels or the strokes used, they can control the extent of the pixelation in the desired area of the file, adding an abstract or stylized effect that can make the artwork stand out.
Additionally, these filters can simulate the effect of viewing images through a low-resolution camera, adding an artistic or nostalgic quality to the work.
Essential Pixelate Filters
Mosaic
Application: Converts the image into a series of squares or "pixels," simulating the look of early digital and video game graphics.
Adjustment: Cell size customization allows for varying the pixelation level, from subtle to pronounced.
Crystallize
Effect: Groups pixels into larger, crystal-like shapes, offering a more geometric form of pixelation.
Customization: Similar to Mosaic, you can adjust the cell size to control the extent of the effect.
Techniques and Considerations
Selective Pixelation: Use selection tools to isolate specific areas for pixelation, preserving clarity in other parts of the image.
Layering: Apply pixelation on a separate layer to adjust opacity and blending modes, giving more control over the final look.
Combining Effects: Pixelate filters can be combined with other Photoshop filters for unique outcomes. For instance, adding a blur effect after pixelation can soften the edges of the pixels, blending them more naturally into the rest of the image.
Creative Uses of Pixelation
Abstract Art: Create compelling abstract pieces by heavily pixelating images and adjusting color dynamics.
Backgrounds: Generate interesting backdrops for graphic design projects, where pixelation adds texture and visual interest.
Privacy: Pixelate faces or sensitive information in photos before sharing them online to maintain privacy while keeping the context intact.
Mastering Pixelation
Understanding the balance between pixel size and image detail is crucial. Larger pixel cells create a more abstract and less recognizable image, while smaller cells retain more original detail. Experimenting with different settings within the Pixelate filters will help you find the right balance for your project.
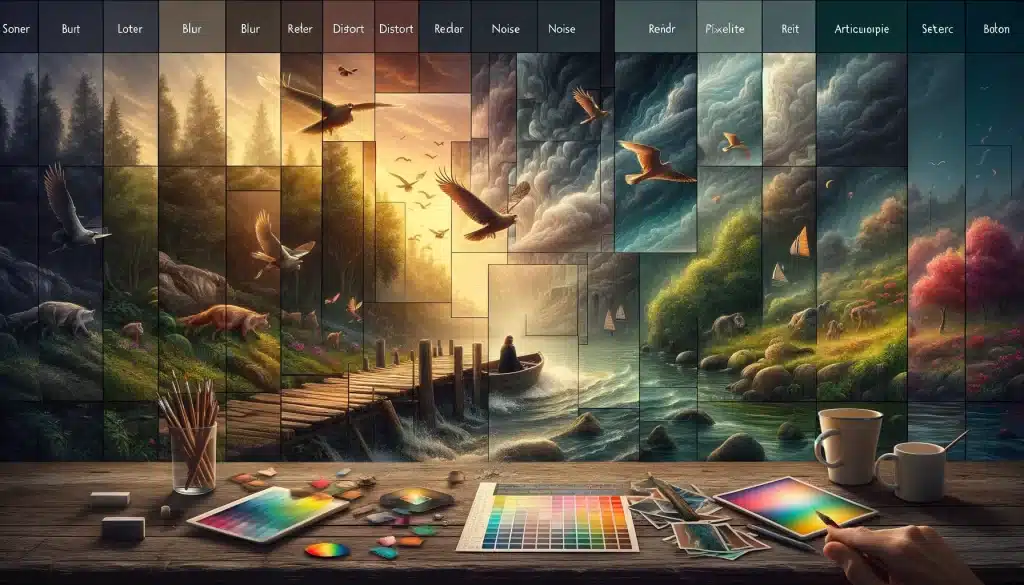
Navigating Different Types of Filters in Photoshop and Their Functionalities
In Photoshop, filters are vital tools for enhancing and transforming images. They are divided into various categories, each serving different creative needs.
Understanding Filter Effects
Filters manipulate color, light, and texture, adding mood or artistic flair. They range from simple color adjustments to complex effects like oil painting textures.
Categories of Filters
Color Filters: Modify hues and contrast to impact the image's mood.
Blur Filters: Soften or obscure parts of the image for depth or focus.
Distortion Filters: Alter image shape for creative effects.
Noise Filters: Add or reduce graininess, enhancing texture.
Artistic Filters: Transform photos into artwork with painterly effects.
Using Filters Effectively
For effective filter use, first click to open your image in Adobe Photoshop. Next, choose the filter that best suits your creative vision from the filter mode gallery. You will then adjust the filter’s individual settings to mold the effect to your preference. Layering techniques and the application of blending modes offer nuanced control, allowing the combination of multiple filters for richer outcomes.
Advanced Customization
For advanced customization, experiment by creating your own filters. This involves mixing different adjustments and effects found within adobe Photoshop’s rich preset libraries. Use adjustment layers and the range of blending modes to finely craft and hone your unique visual styles. Each click, choice, and mode adjustment you make will progressively refine your image towards the artistic intention you envision.
Experiment with various filters to understand their impact. Avoid overuse to maintain image integrity and focus on enhancing the photograph’s natural qualities.
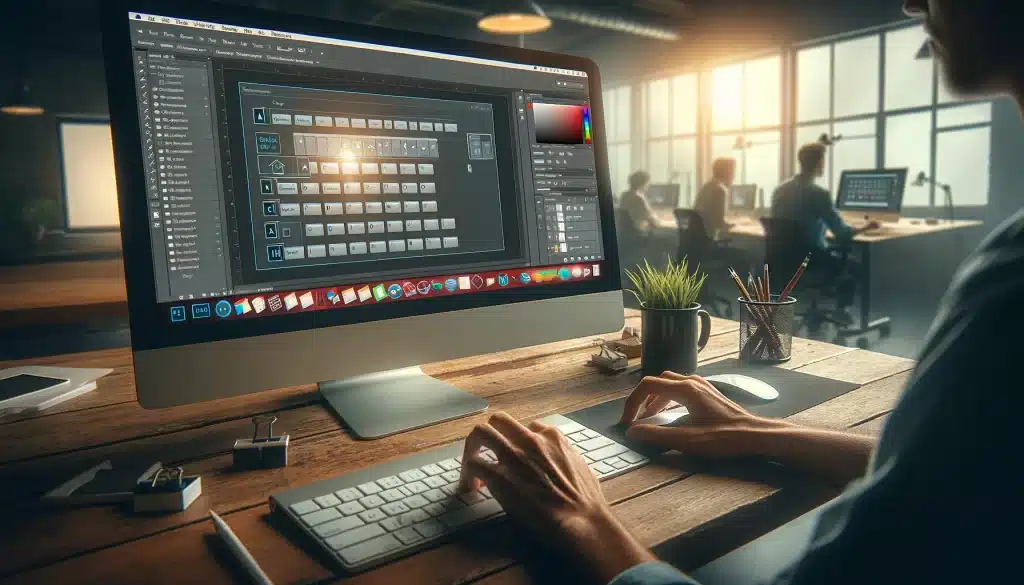
Harnessing Keyboard Shortcuts and Selection Techniques in Photoshop
Harnessing selection techniques and keyboard shortcuts in Photoshop is a skill set that can significantly expedite your creative process, allowing more time to focus on the finer details of your artistic work. By utilizing the right keys, you can navigate through the Photoshop menu with ease, select various layers, and paint with precision to bring your digital masterpieces to life.
Here’s how to leverage these functionalities in your workflow:
Quick Selection Adjustments:
To invert a selection, quickly press Command + Shift + I on a Mac or Control + Shift + I on Windows.
For deselection, the shortcut Command + D on a Mac or Control + D keys on Windows is your go-to command.
When you need to refine the edges of a selection, tapping Return (Mac) or Enter (Win) after making adjustments in the Refine Edge dialog box will apply the changes.
Mastering Selections Based on Color and Tone:
The Color Range feature is a potent tool when making selections based on color. Access it through the Select menu and use the eyedropper tool to click on the area of the image you wish to isolate. Adjust the Fuzziness slider for a more precise selection.
To focus on selections based on tonal range, set Select to Shadows, Midtones, or Highlights in your image, and adjust the Range slider for threshold values.
Working with the Quick Mask Mode:
Quick Mask mode is a convenient way to preview selections. Hit the Q key to toggle this mode on and off.
If you need to change the Quick Mask color for better visibility, double-click the Quick Mask icon in the Tools panel and choose a new color.
To view the mask in grayscale, tap the Tilde key (~).
Efficiently Moving and Managing Selections:
Nudge selections pixel by pixel using the Arrow keys or in 10-pixel increments with Shift + Arrow Keys.
To move a selection while drawing it, hold the Space key to reposition it as needed.
Customizing and Applying Filters via Keyboard:
Access the last filter used with Command F (Mac) or Ctrl F (Windows), and to open the last filter dialog box, use Command Option F (Mac) or Ctrl Alt F (Windows).
Pro Tip: Learning the different options of the dropdown menu in Photoshop, such as the dialog and text box, can efficiently improve your workflow.
Layer and Blend Mode Shortcuts:
Quickly cycle through blend modes using Shift + or Shift –.
Manage layers more efficiently with shortcuts like Command ] (Mac) or Ctrl ] (Windows) to move layers up, or Command [ (Mac) or Ctrl [ (Windows) to move them down.
Incorporating these techniques into your daily Photoshop usage will save time and expand your creative capabilities. Each keystroke is designed to streamline the editing process, ensuring that your focus remains on the creative aspect of your work. By building up muscle memory with these shortcuts, your workflow will become smoother and your efficiency will soar.
Photoshop offers numerous filters grouped into categories like Blur, Artistic, Distort, Noise, and Render, among others, accessible through the Filter panel.
Where are filters in Photoshop?
Filters in Photoshop are located in the Filter menu on the top panel. Select a filter category to access specific filters and apply them to your selections.
How many types of Photoshop are there?
Adobe offers different versions of Photoshop, including Photoshop CC for professionals, Photoshop Elements for beginners, and Photoshop Lightroom for photographers.
What is the use of layer and filter in Photoshop?
Layers in Photoshop allow for non-destructive editing, while filters alter the appearance of images or layers to achieve various visual effects, accessible through the Filter panel or using shortcut keys.
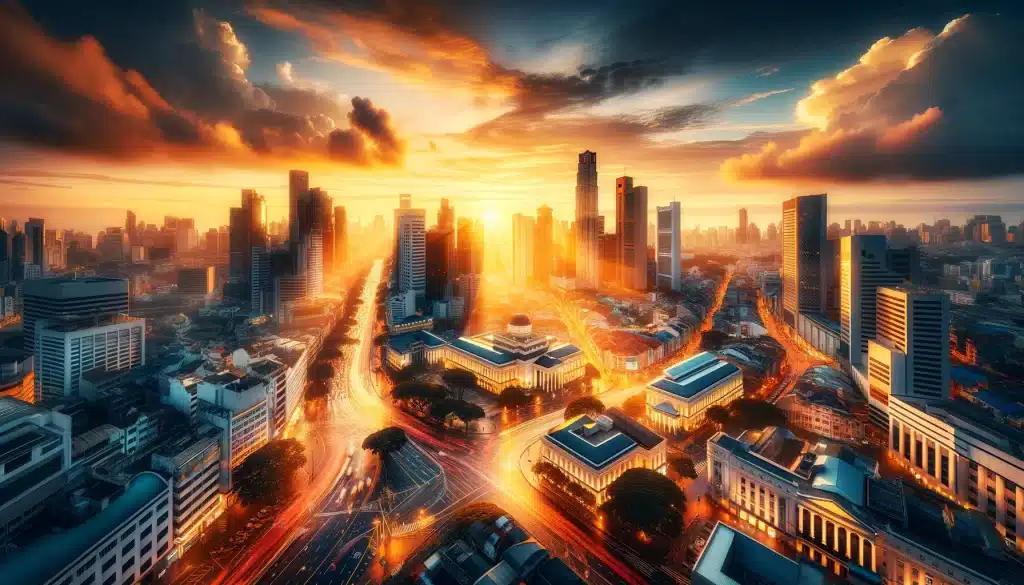
Concluding the Types of Filters in Photoshop
In my experience as a photographer and editor, mastering the Types of filters in Photoshop has been crucial for enhancing my work. From subtle adjustments using the Blur and Noise filters to dramatic transformations with Artistic and Pixelate filters, each type serves a unique purpose. I remember working on a landscape photo where I used a combination of Distort and Render filters to create a surreal atmosphere, which significantly improved the final piece. For those eager to dive deeper into the world of adobe Photoshop and Lightroom, exploring our comprehensive Photoshop course and Lightroom course can unlock endless creative possibilities.
I hope that you would have gained a great knowledge of all the required types of filters in Photoshop. Now is the time for them to be applied and enhance the look of any file in your gallery.
If the “Types of Filters in Photoshop” article has helped you, then Like and Share it with your friends!
Facebook
Twitter
LinkedIn
Pinterest
Have a nice photoshoot!
Read more about: Photo Editing with Lightroom and Photoshop
Discover the secrets of photography with our printable guide! Master essential techniques like aperture, shutter speed, and ISO to create stunning images. Get your free printable PDF now and start turning your snapshots into masterpieces!