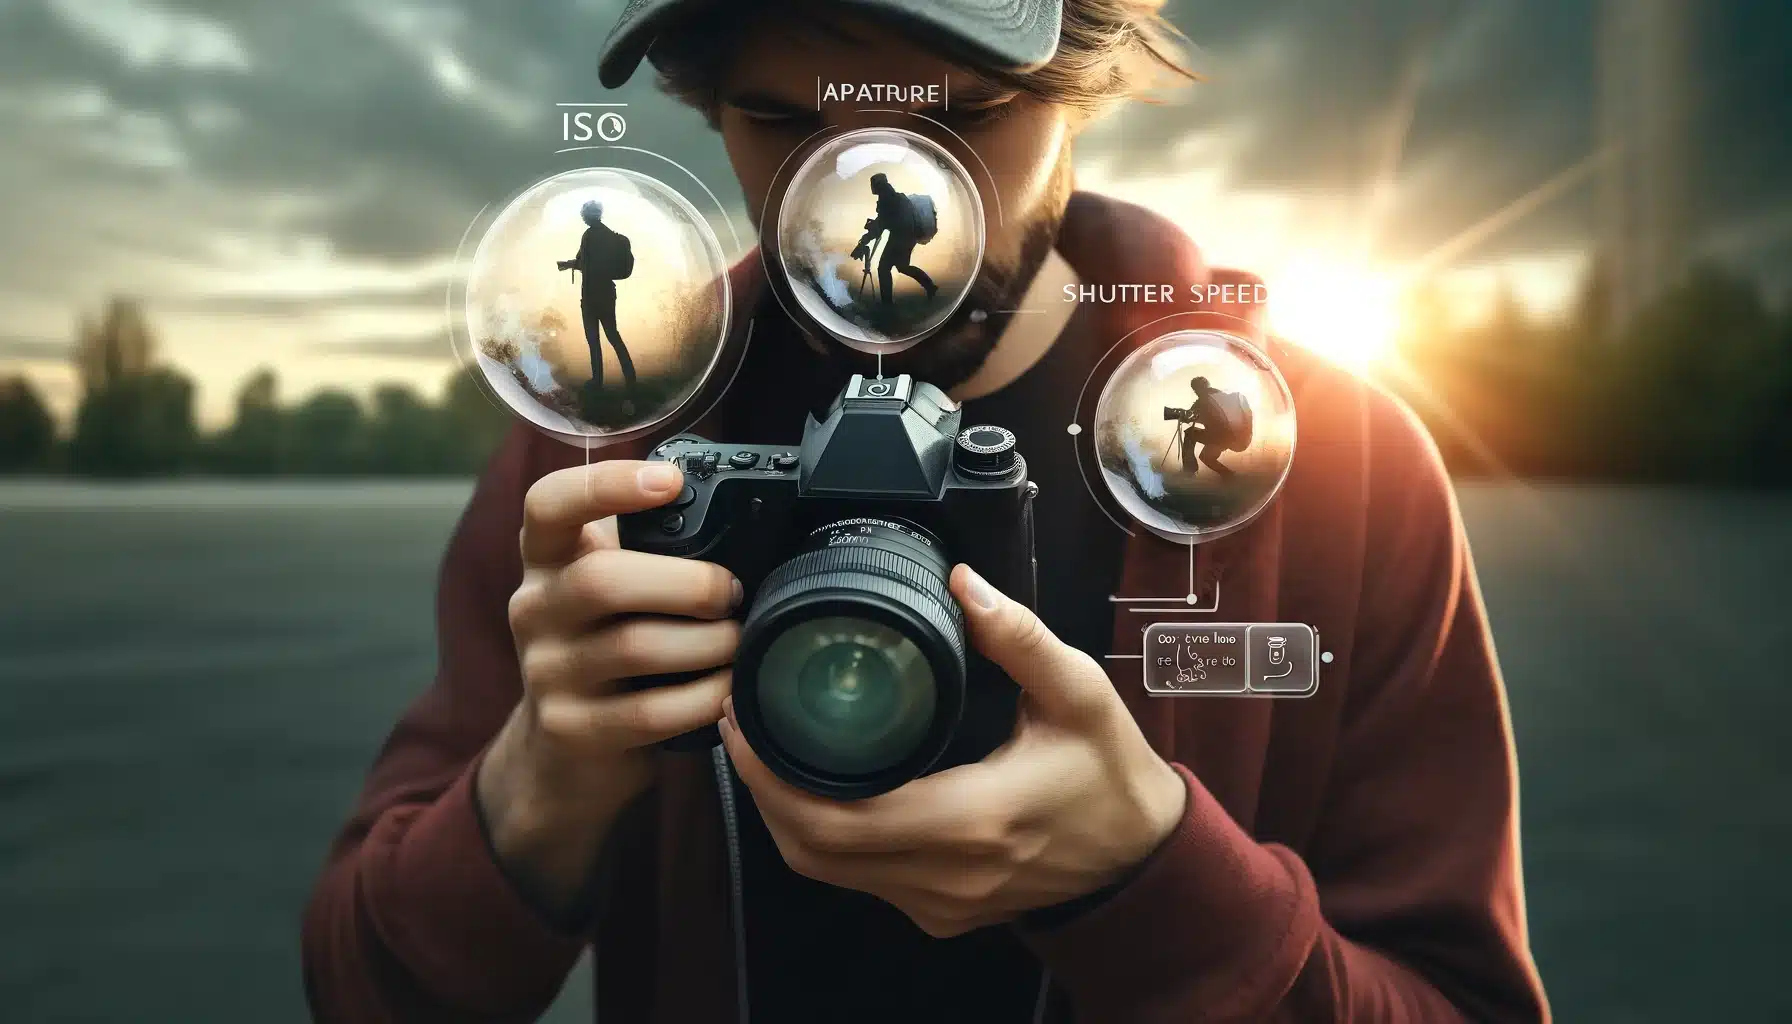
What is Exposure Triangle? - An Introduction
The exposure triangle forms the backbone of photographic mastery, encompassing three fundamental elements: aperture, ISO, and shutter speed. This trifecta determines the amount of light that enters the device, shaping the final picture’s brightness, clarity, and mood. It’s a cornerstone concept embraced by photographers of all levels, from novices exploring art to seasoned professionals refining their craft.
In this comprehensive photoshop guide, we explained the intricacies of the exposure triangle, demystifying its components and empowering you to harness its potential. If you’re a budding enthusiast eager to enhance your skills or an experienced photographer seeking to understand technical nuances, this article is your gateway to unlocking the artistry of precise exposure control.
Table of Contents
Importance of Understanding Exposure in Photography
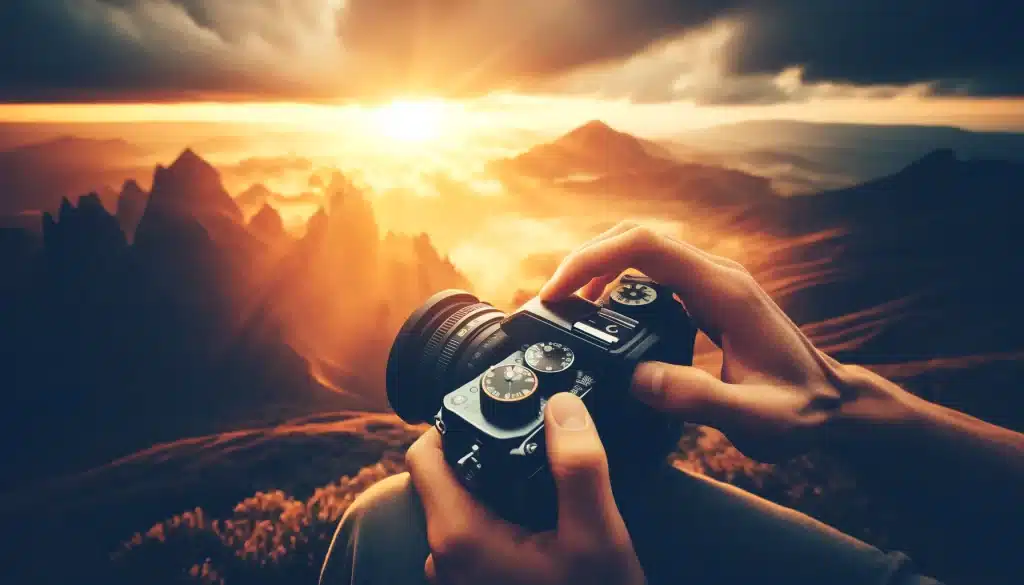
Understanding the significance of exposure triangle in camera lays the foundation for creating impactful and visually stunning photographs. We have explained components of the exposure triangle in camera and their role in shaping your photography exposure triangle. Wondering what is exposure triangle in photography? Let’s find out the answers.
Enhancing Visual Impact
Understanding the concept of the exposure triangle in photography is paramount for enhancing the visual impact of your pictures. Understand how aperture, and shutter rate interplay to control light, a photographer can achieve desired brightness levels, sharpness, and artistic effects. This knowledge allows you to shoot scenes with clarity and depth, ensuring that every detail contributes to the overall visual narrative.
Precision in Image Creation
Analyzing into what is exposure triangle in photography enables a photographer to exercise precise control over their picture creation process. Knowledge about exposure triangle in camera empowers them to adjust settings according to the lighting conditions, subject movement, and desired mood, resulting in professional-quality photographs. Whether freezing fast-paced action or creating long-exposure masterpieces, mastery of the exposure triangle ensures consistent, high-quality results.
Versatility Across Genres
The versatility of mastering what is exposure triangle in photography extends across various genres, from landscapes to self-portraits and action shots. It equips photographers with the tools to adapt and excel in diverse shooting scenarios, capturing moments with clarity and creativity.
Control Over Light
The exposure triangle grants a photographer precise control over how light interacts with their subjects, influencing factors like brightness, contrast, and overall mood. Exposure settings triangle allows for creative experimentation and the ability to take scenes with optimal clarity and expression.
Components of the Exposure Triangle in Camera
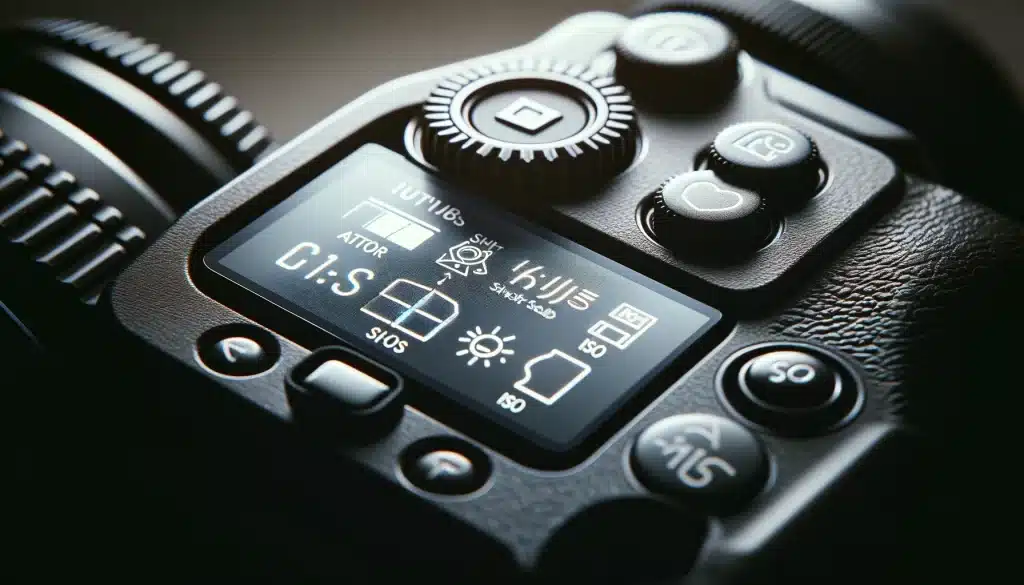
When we talk about What is Exposure Triangle in Photography, we will be diving into the trio that makes your pictures shine: aperture, shutter speed, and ISO. Let’s break them down further on exposure triangle in camera:
Pro Tip: Learn these shutter speed secrets for Lightroom editing to make the process even easier.
Aperture
An aperture in camera exposure triangle is like the pupil of your camera’s eye. A wider aperture (like f/2.8) lets in more light, making your photo brighter. It also creates a shallow depth of subject, perfect for portraits where the background shadows out, highlighting your subject. On the other hand, a narrower aperture (like f/11) reduces the amount of light, resulting in a darker appearance but with more photo focus, great for landscapes or group photos.
Shutter Speed
Now, let’s talk about shutter speed in exposure triangle in camera! Imagine your camera’s shutter as a blink. A fast shutter velocity (like 1/1000s) detains quick moments sharply, freezing action like a bird in flight. A slow shutter speed (like 1/30s) lets in more light and creates movement cloudiness, ideal for showing movement in a waterfall or car lights streaking at night.
ISO
This is your device’s warmth to light. A normal ISO mode (like 100) gives you crisp, clean imageries but requires lots of light. A high ISO mode (like 1600) makes your camera more susceptible, useful in dimly lit environments, but it cannot stops “noise” from your photos.
By understanding What is Exposure Triangle in Photography, you’re equipped to adjust these settings to suit different situations. For example, in bright sunlight, you might use a narrow aperture, fast shutter rate, and normal ISO mode. In a night time room, a wider aperture, slow shutter speed, and higher ISO can acquire details without too much image distortion or noise.
| Exposure Component | Function | Effect on Image | Best Use |
|---|---|---|---|
| Aperture | Controls light intake | Wider (e.g., f/2.8) – Brighter, shallow Depth of Field. | Portraits, subject isolation |
| Narrower (e.g., f/11) – Darker, greater DOF | Landscapes, group photos | ||
| Shutter Speed | Controls motion blur | Fast (e.g., 1/1000s) – Freeze action, sharp photographs | Sports, fast-moving subjects |
| Slow (e.g., 1/30s) – Motion blur, artistic effects | Waterfalls, night scenes | ||
| ISO | Controls sensitivity | Normal (e.g., ISO 100) – Clean images, requires light | Well-lit environments |
| High (e.g., ISO 1600) – More sensitive, prone to noise | Poor light situations |
How to Use the Exposure Triangle Effectively
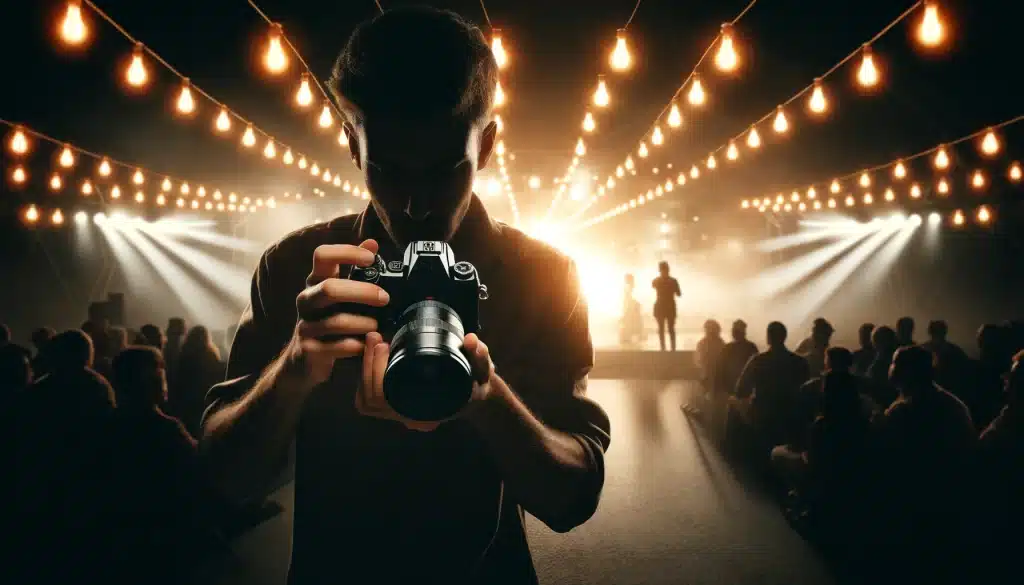
We’re diving into a powerful tool that allows you to create balanced and visually appealing photographs. Here’s a step-by-step guide on how to use the exposure triangle effectively:
Mastering the Art of Balanced Exposure in Photography
Step 1: Assess the Lighting— Before diving into adjusting your camera settings, take a moment to assess the lighting conditions of your scene. Is it well-lit with natural sunlight, or are you shooting in low-light conditions? Understanding the ambient light will guide your decisions when setting the exposure triangle.
Step 2: Choose Your Priority—Next, determine what aspect of your picture you want to prioritize. Are you aiming for a shallow depth of subject to hide out backgrounds and aim on your subject? Or perhaps you want to freeze fast-moving action with a high shutter speed? Understanding your priority will help you make informed decisions when adjusting the exposure triangle components.
Step 3: Set Aperture— The aperture setting controls the amount of light that enters your device. A wider aperture (represented by a lower f-number) allows more light in, ideal for creating a shallow depth of field effect. On the other hand, a narrower aperture (higher f-number) lets in less light but ensures more of your scene is in the focus, suitable for landscapes or group shots.
- For Blurred Backgrounds: Choose a wider aperture (less f-number like f/2.8) to let in more light and create a shallow depth of field.
- For Sharp Scenes: Opt for a narrower aperture (high f-number like f/11) for a well-focused image from foreground to background.
Step 4: Adjust Shutter Speed— Your shutter speed determines how long your device’s shutter remains open to trap light. A fast shutter speed (measured in fractions of a second like 1/500s) freezes motion, perfect for capturing fast-paced action without blur. Conversely, a slow shutter speed (like 1/30s) creates movement, adding a sense of movement to your photos.
- Freezing Motion: Use a fast shutter speed (like 1/500s) to capture fast-paced action with crispness.
- Motion Blur mode: Employ a slower shutter speed (around 1/30s) for a sense of movement in your photos.
Step 5: Determine ISO— The ISO setting determines your device’s sensitiveness to light. A lower ISO (such as value of 100) is suitable for well-lit environments, preserving image quality and minimizing interference. In contrast, you can change to a higher value (ranging from 800 to 1600 or higher) to increases brightness, allowing you to shoot in dim-light conditions but may introduce graininess or disturbance.
- Bright Scenes: Stick to a lesser value (like 100) for clear images with minimal disturbance.
- Dim Environments/Night time: Increase ISO (e.g., 800-1600) to boost warmth for well-exposed shots, mindful of potential graininess.
By following these steps and experimenting with the photographic exposure triangle settings, you can master the art of balanced exposure and shot stunning photographs that reflect your creative vision. Adjust the aperture on your lens to control how much light the lens lets in, enhancing the lens’s ability to capture sharp, well-lit images. By balancing shutter speed and ISO with your lens settings, you can master the exposure triangle for any lens you use.
Pro Tip: Learn how to utilize Photoshop actions for an even smoother workflow.
Practical Examples of Exposure Settings
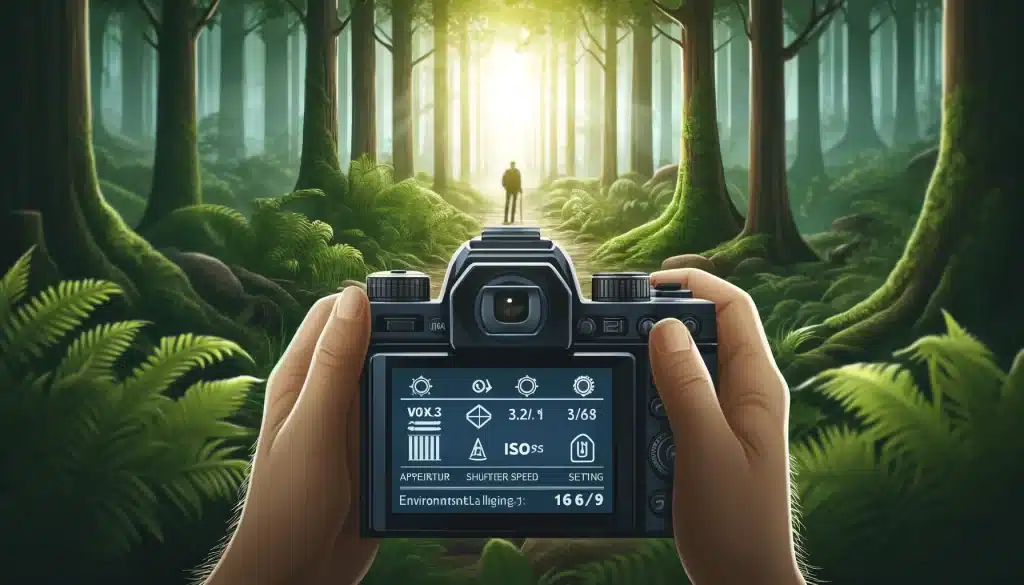
Let’s understand What is Exposure Triangle and Exposure Triangle in Camera translate into practical settings for various photography scenarios:
Scenario 1: Portrait Photography
In a bright outdoor setting, when you want the subject to stand out against a beautifully blurred background:
- Aperture: Use a wider one (represented by a less f-number like f/2.8) to create a shallow DOF, focusing attention on the subject while blurring distractions. For example, when capturing a portrait in a park, a wider one helps isolate the subject from the background, making them the focal point of the image.
- Shutter Speed: Opt for a moderate shutter speed (around 1/200s) to shot crisp details without blurring due to slight movements. For instance, during a portrait session, a moderate shutter speed ensures sharpness in facial features and clothing, enhancing overall image quality.
- ISO: Keep ISO low (e.g., ISO 100-200) to maintain image clarity and minimize interference, ensuring a clean and professional-looking portrait. For outdoor portraits, a lower ISO helps preserve details and colors, resulting in vibrant and natural-looking photographs.

Scenario 2: Landscape Photography
During the golden hour when natural landscapes are bathed in warm light:
- Aperture: Change to a narrower aperture (represented by a higher f-number like f/11) to maximize depth of field, capturing intricate details from foreground to background. For instance, when photographing a scenic vista at sunrise, a narrower aperture ensures sharpness in both the foreground elements like rocks and grass and distant mountains.
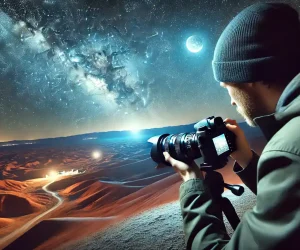
- Shutter Speed: Shutter speed is important in exposure triangle in camera! Use a tripod and slower shutter speed (e.g., 1/30s) to allow more light into the camera without introducing blur, ensuring sharpness throughout the landscape. In landscape photography, a slower shutter speed helps shot the soft movement of waterfalls or gently swaying trees, adding a sense of tranquility to the scene.
- ISO: Maintain a low to moderate ISO (e.g., 100-400) to preserve image quality and minimize digital noise, resulting in vibrant and detailed landscape photos. When photographing landscapes during the golden hour, a lower ISO maintains the rich colors and textures of the natural environment, enhancing the overall visual impact.
Scenario 3: Action Photography
In a fast-paced sports photography where you want to freeze dynamic moments:
- Aperture: Choose a moderate one (e.g., f/5.6) to balance DOF and light intake, ensuring clarity in both the subject and the surroundings. For capturing sports action, a moderate one allows for a sharp focus on the athlete while still maintaining some background context.
- Shutter Speed: Opt for a fast shutter speed (e.g., 1/1000s or higher) to freeze action and photograph decisive moments with precision, avoiding motion blur. When photographing sports, a fast shutter speed freezes the action of athletes in mid-action, showcasing their athleticism and intensity.
- ISO: Increase ISO (e.g., 400-800) to maintain proper exposure in quick-moving scenes, allowing for sharp photographs even in challenging lighting conditions. In sports photography, a higher ISO compensates for fast movements and varying lighting conditions, ensuring well-exposed photographs without sacrificing shutter speed.
| Scenario | Aperture | Shutter Speed | ISO | Main Objective |
|---|---|---|---|---|
| Portrait Photography | Wider (e.g., f/2.8) | Moderate (1/200s) | Low (e.g., ISO 100-200) | Subject standing out, blurred background |
| Landscape Photography | Narrower (e.g., f/11) | Slow (1/30s) | Limited to Moderate (e.g., ISO 100-400) | Maximize depth of field, photograph details in scenery |
| Action Photography | Moderate (e.g., f/5.6) | Fast (1/1000s or higher) | Increased (e.g., ISO 400-800) | Freeze dynamic moments, maintain sharpness in fast-paced scenes |

Frequently Asked Questions
Here’re some of the most asked questions on “what is Exposure Triangle in photography”:
What is the exposure triangle used for?
The exposure triangle is used in photography to control and balance three key elements: aperture, shutter speed, and ISO. By adjusting these exposure balance triangle, photographers can achieve proper exposure, sharpness, and creative effects in their photos.
What does exposure mean in photography?
Exposure in photography refers to the amount of light that reaches the camera’s sensor or film. Proper exposure ensures that the image is neither too bright (overexposed) nor too dark (underexposed), resulting in a well-exposed photograph with accurate colors and details.
What is exposure formula?
The exposure formula in photography is:
Exposure = Aperture × Shutter Speed × ISO × Lighting Conditions
This formula represents the factors that contribute to the overall exposure of an image. Adjusting any of these factors can impact the exposure of the photograph.
How do you control exposure triangles?
The exposure triangle consists of three main components: aperture, shutter speed, and ISO. By balancing these three elements, you can control the brightness of your photos, as well as aspects like depth of field and motion blur.
Conclusion
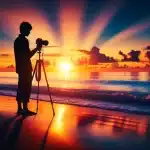
Mastering the exposure triangle in photography opens endless possibilities to photograph stunning images. Just like adjusting the knobs on a radio to find the perfect frequency, tweaking silt, shutter speed, and ISO creates a harmonious balance of light and shadows in our photographs. For instance, during a recent sunset photo shoot, I used a wider aperture to emphasize the warm hues of the sky, a fast shutter speed to freeze the waves’ mobility, and a moderate ISO to maintain clarity in the scene.
I highly recommend checking out our courses on mastering Photoshop and Lightroom. These courses provide step-by-step guidance, practical examples, and expert tips to help you elevate your photography skills. Don’t miss out on this opportunity to enhance your photography journey and create captivating photographs that tell your unique story!
Check out our free courses here: Photoshop Course and Lightroom Course.
Have a nice photoshoot!
Learn more about


