| Feature |
Daylight |
Artificial Light |
| Source |
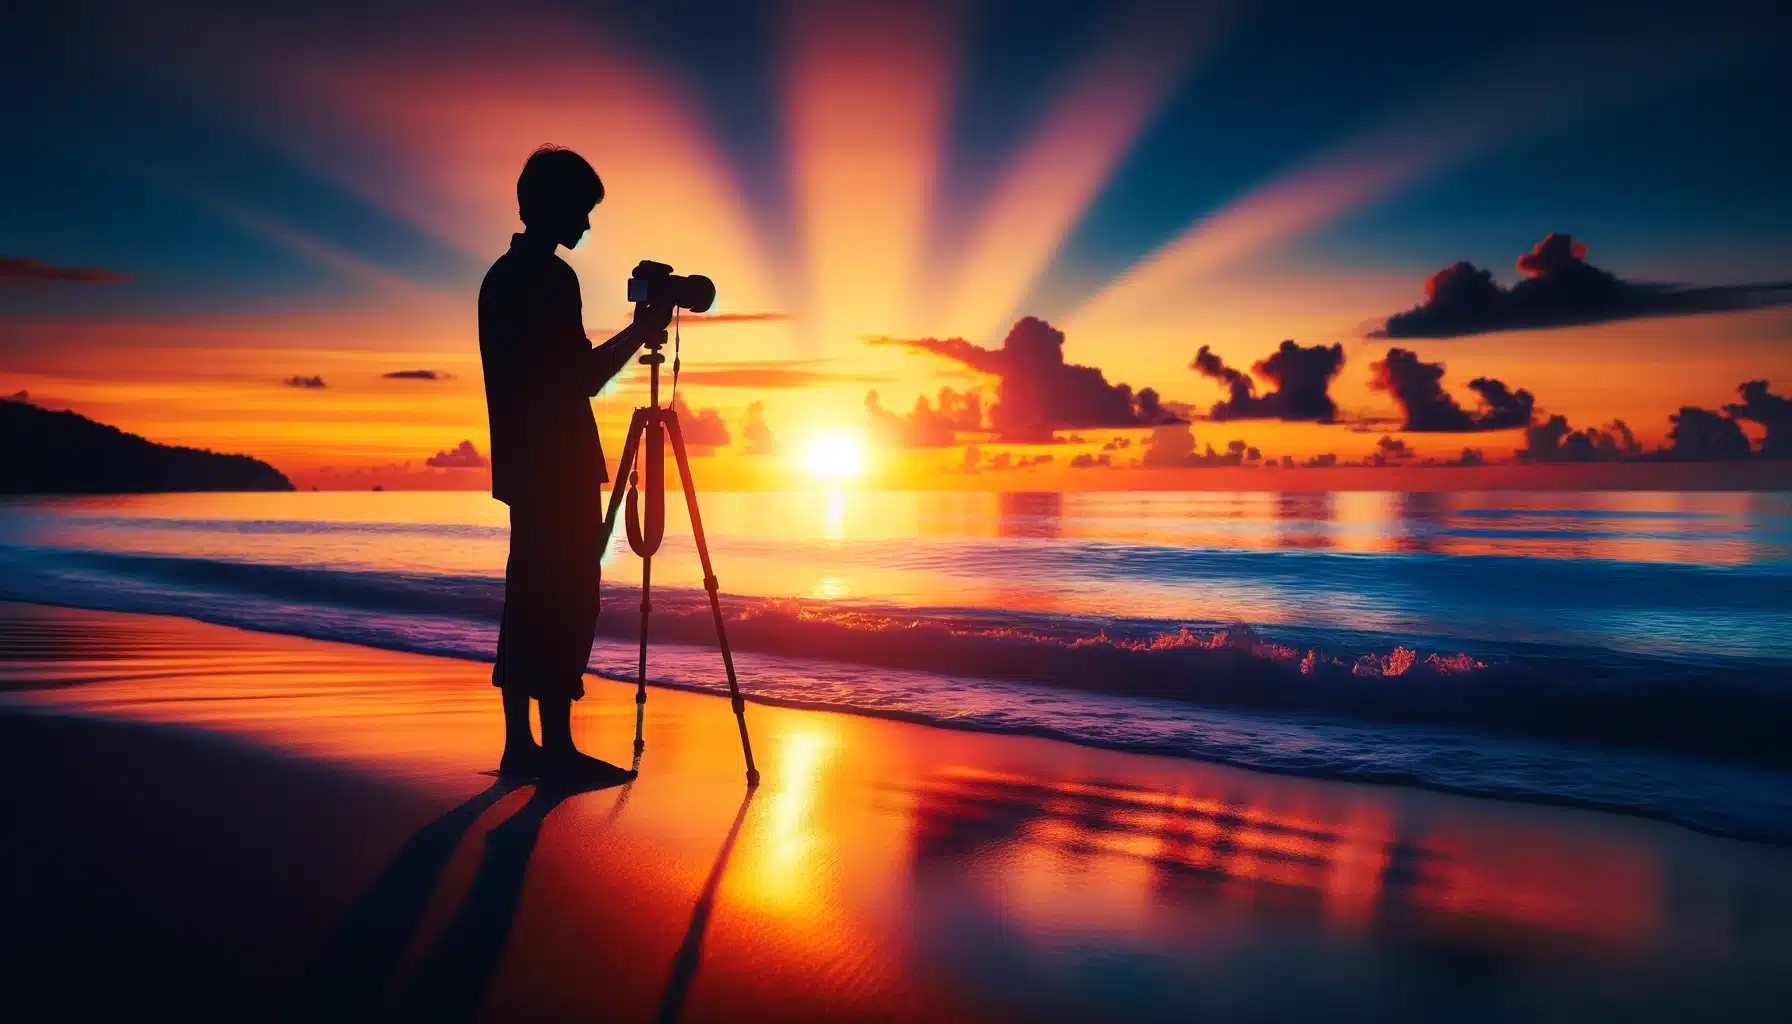
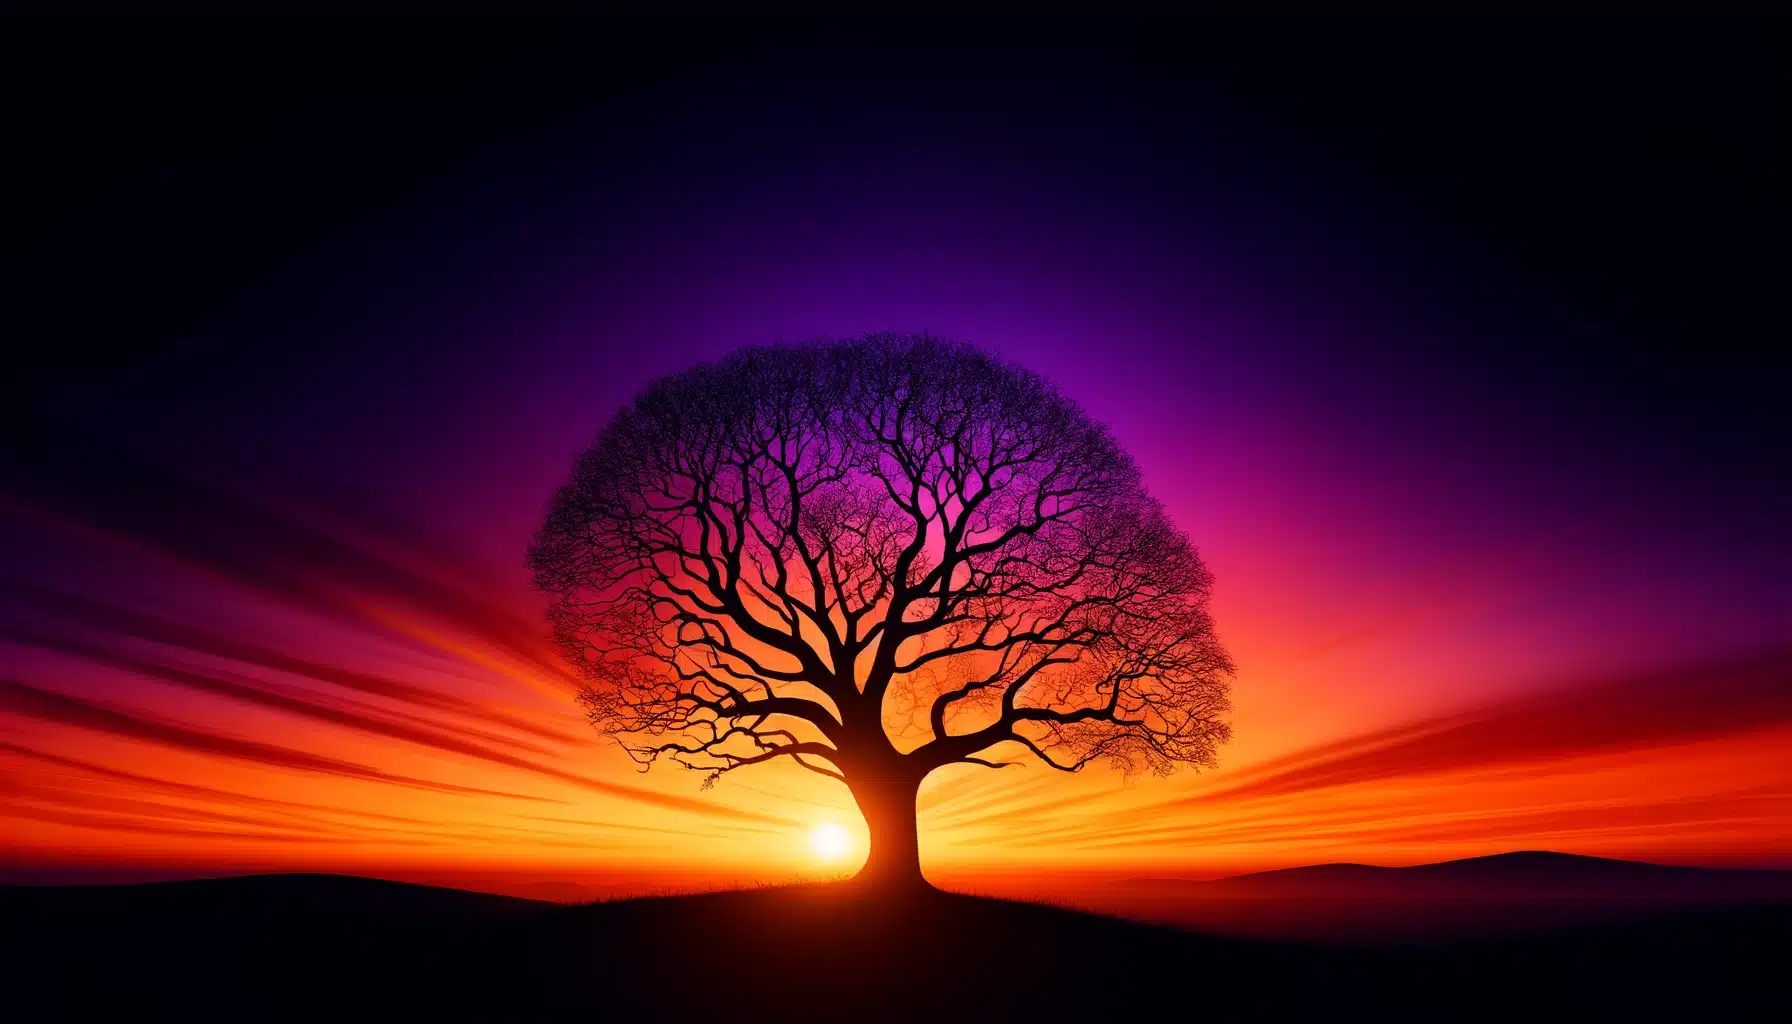
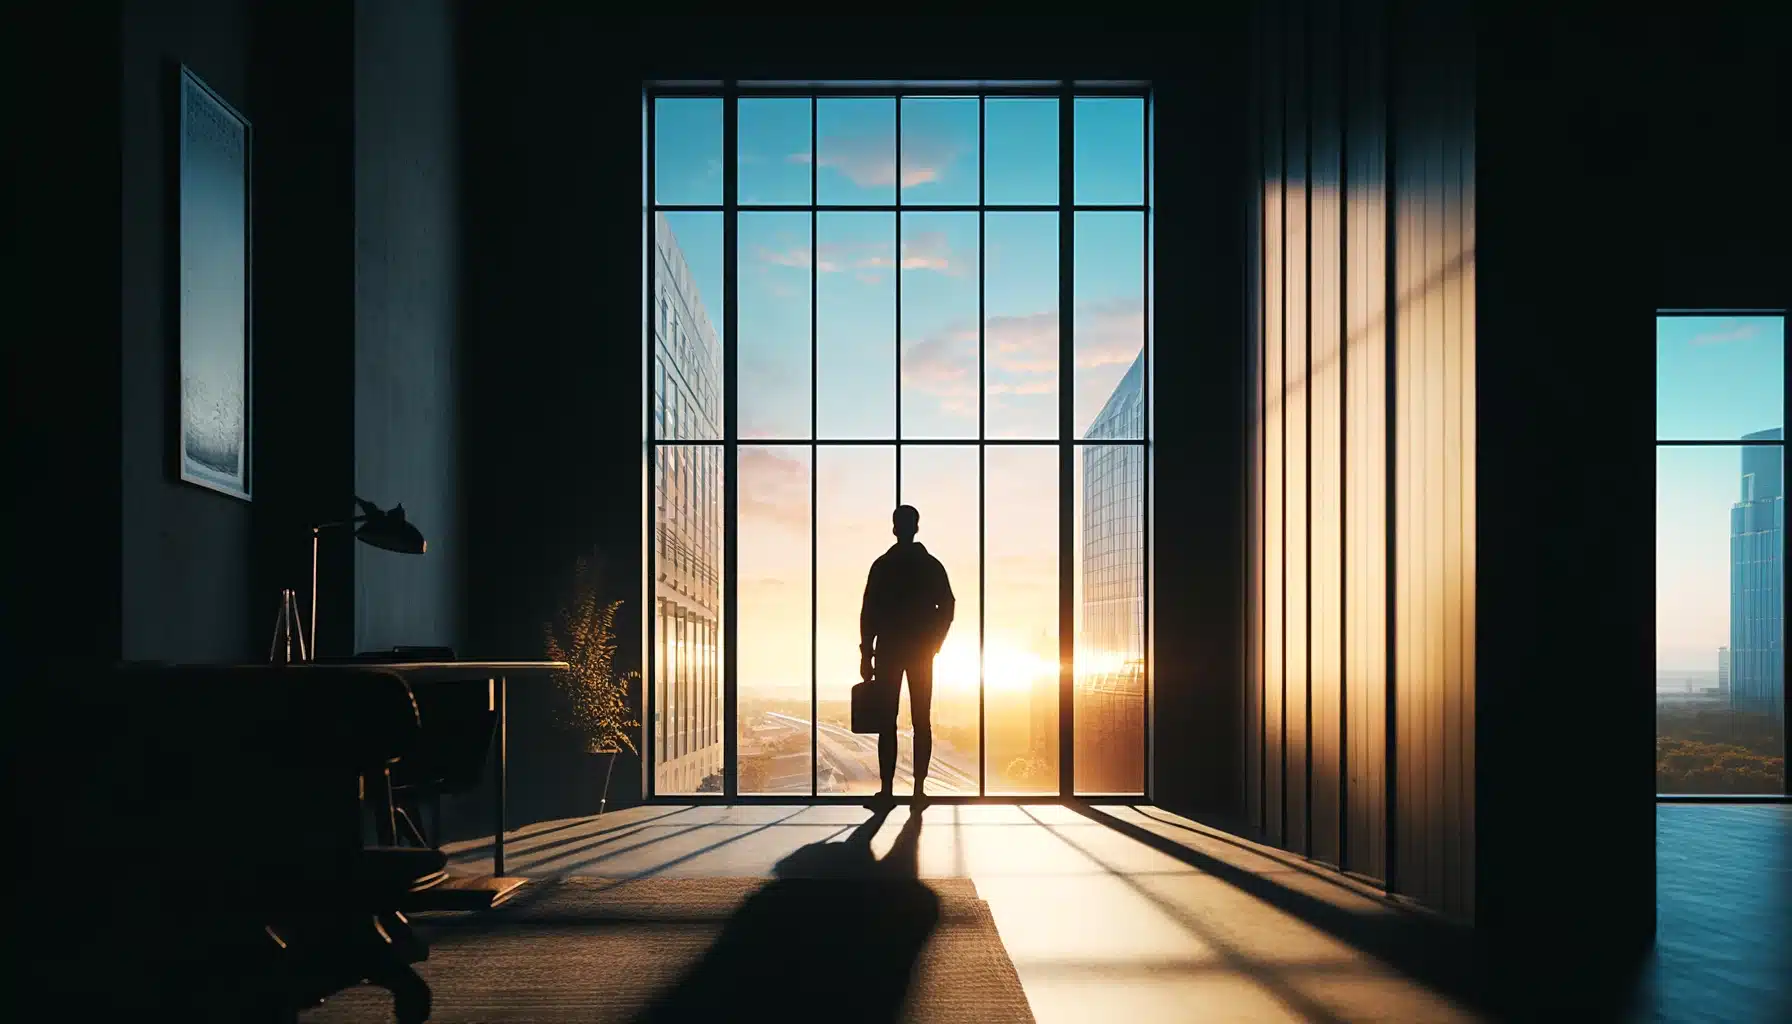
From the sun. |
From lamps, flashlights, or studio lights. |
| Availability |
Limited to specific times like sunrise or sunset. |
Always available, regardless of natural conditions. |
| Quality |
Soft and warm, ideal for natural shadows and silhouettes. |
Can be harsh or soft depending on the setup and modifiers used. |
| Consistency |
Varies throughout the day and with weather conditions. |
Consistent and controllable, good for repeated results. |
| Flexibility |
Requires the right timing and location to capture amazing shots. |
Can be used anywhere, offering greater flexibility in choosing the location and time. |
| Cost |
Free, as it uses natural light. |
May involve additional costs for equipment like lamps and modifiers. |
| Setup |
Simple, mainly involves choosing the right timing and direction. |
Requires planning and positioning of lights and modifiers to achieve desired effects. |