Introduction to How to Photograph Shiny Objects
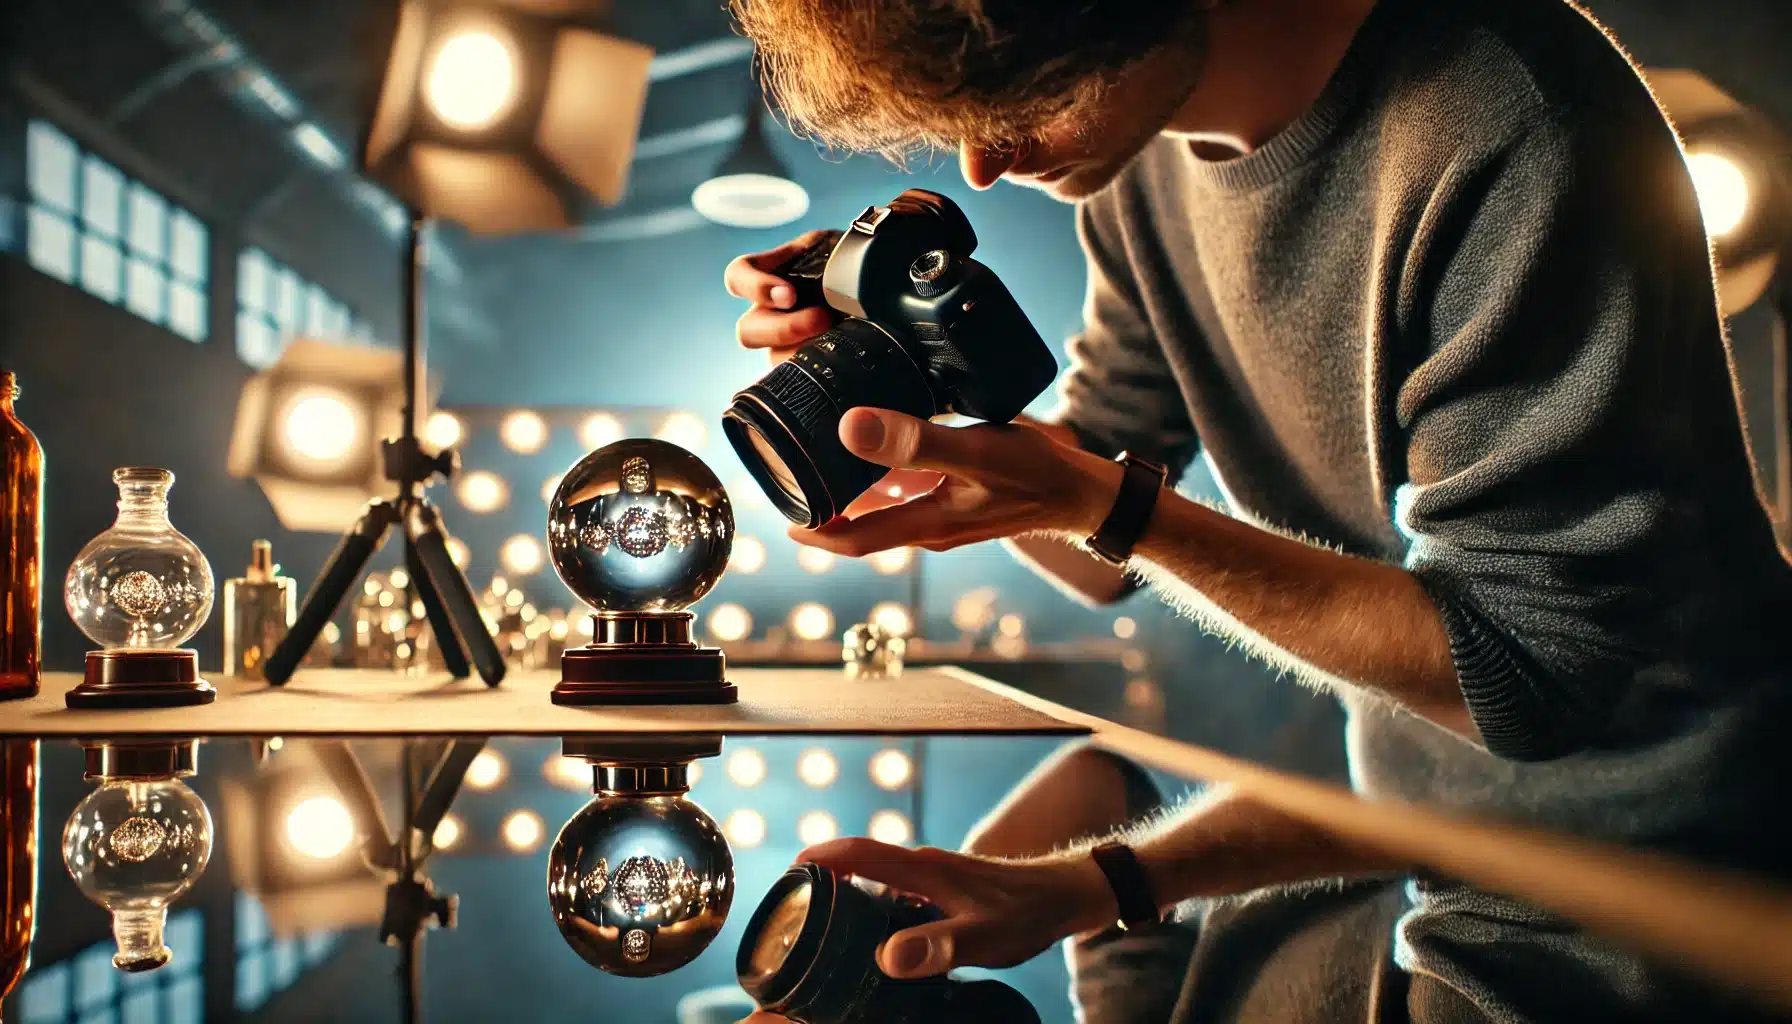
Photographers often face the challenge of how to photograph shiny objects. The reflective nature of these items can create glare and obscure details, making it difficult to capture a clear and appealing image. Imagine you’re tasked with photographing a beautifully polished antique silver teapot. The reflection from the surface can ruin an otherwise perfect shot. This guide will provide you with practical tips and techniques to master the art of shiny objects photography, ensuring your photographs are crisp, clear, and captivating.
Consider a scenario where you’re taking pictures of a luxury watch for an advertisement. The gleaming items with metallic surfaces and glass can reflect unwanted luminescence, creating bright spots that distract from the watch’s intricate details. By adjusting your lighting setup, using diffusers, and positioning the watch at the right angle, you can minimize glare and highlight its elegance.
Table of Contents
Importance of Taking Excellent Pictures While doing Shiny Objects Photography

Enhancing Product Appeal About How to Photograph Shiny Objects
Capturing high-quality photos of gleaming items significantly enhances their appeal. Glossy products, such as jewelry, electronics, and luxury items, rely heavily on visual aesthetics to attract customers. A well-photographed picture can highlight the product’s intricate details and polished finishes, making it more desirable to potential buyers. By effectively managing radiance, you can present these items in the best possible light, boosting their attractiveness and increasing the likelihood of a sale.
Building Professional Credibility About Shiny Objects Photography
For photographers, taking excellent pictures of reflective items is crucial for building professional credibility. High-quality photographs demonstrate your technical skill and attention to detail, essential traits for attracting high-end clients. When your portfolio showcases clear, crisp photographs of reflective items, it signals to potential clients that you are capable of handling challenging subjects. This can lead to more opportunities, higher rates, and a stronger reputation in the industry.
Reducing Post-Processing Time
Mastering the techniques to how to photograph shiny objects can significantly reduce the time spent on post-processing. If a photo is taken correctly, with minimal radiance and accurate exposure, less editing will be required to correct imperfections. This efficiency not only saves time but also preserves the natural look of the item, which can sometimes be lost with excessive retouching. By focusing on getting the shot right in-camera, you ensure a more authentic and professional result.
Increasing Customer Trust
For e-commerce businesses, high-quality photographs of gleaming items can increase customer trust. When customers see clear and professional photos, they are more likely to believe that the product is of high quality. This visual assurance can reduce return rates and increase customer satisfaction. Providing accurate and appealing photographs helps customers make informed purchasing decisions, fostering a sense of reliability and trust in your brand.
Enhancing Online Presence
Excellent photographs of gleaming items can greatly enhance your online presence. In the digital age, visuals are a key component of marketing and social media strategies. High-quality snaps are more likely to be shared, liked, and commented on, increasing your visibility and engagement online. This can lead to a broader reach, attracting new clients or customers who are drawn to the professional quality of your work. Engaging visuals can also improve your website’s SEO, as search engines favor content that includes high-quality photographs.
How to Photograph Shiny Objects - 5 Tips
1. Use Diffused Lighting
Using diffused lighting is crucial when taking pictures of glossy items. Diffusers such as softboxes, umbrellas, and diffusing paper can spread the luminescence evenly, reducing harsh radiance. By positioning the diffuser between your light source and the object, you develop a softer luminescence that wraps around the product, highlighting its details without creating bright spots.
2. Adjust Your Shooting Angle
The angle at which you shoot can significantly impact the amount of beam in your photos. Light reflects off surfaces at the same angle it hits them. By changing your shooting angle, you can reduce the direct reflection that causes glare. Experiment with different positions until you find an angle that minimizes sheen while still showcasing the product’s features.
3. Utilize Polarizing Filters
Polarizing filters are effective things for reducing luminescence from reflective finishes. These filters work by blocking specific wavelengths of luminescence, helping to eliminate shine from glass, water, and other things. Attach the filter to your lens and adjust it while looking through the viewfinder to find the optimal position where radiance is minimized.
4. Control the Environment
The surrounding environment plays a critical role in taking pictures of reflective items. Ensure there are no bright or reflective things nearby that can create unwanted luminescence. Using flags or gobos to block out unwanted luminescence sources can help manage reflections. Additionally, consider using a light tent for small items to check the lighting environment completely.
5. Important Table For Shiny Objects Photography
| Tip | Description | Benefits | Techniques Needed |
|---|---|---|---|
| Use Diffused Lighting | Spread light evenly to reduce harsh shine | Softer light, better detail visibility | Softboxes, umbrellas, diffusing paper |
| Adjust Shooting Angle | Change your shooting angle to minimize direct radiance | Reduced radiance, clearer photographs | Flexible shooting positions, tripod |
| Utilize Polarizing Filters | Block specific wavelengths of light to eliminate the reflection | Reduced shine on bright things | Polarizing filters |
Right Tools and Equipment for How to Photograph Shiny Objects
Sturdy Tripod
A sturdy tripod is essential for doing professional shiny objects photography. It stabilizes the camera, allowing for long exposures without motion blur, which is especially useful in low-light conditions. A good tripod also provides flexibility in positioning your camera at different angles to minimize reflections and glare.
Remote Shutter Release
Using a remote shutter release helps prevent camera shake when capturing photographs. This tool is particularly useful when you have your camera set on a tripod, ensuring that the pressing of the shutter button does not cause any unwanted movement. This leads to sharper photographs, especially when shooting at slower shutter speeds. Don’t forget to learn about one of our amazing article Smart object in PS.
Polarizing Filters
Polarizing filters are invaluable for reducing glare and shine from bright finishes. They work by blocking certain wavelengths of light, which helps to minimize radiance from glass, water, and other reflective things. By adjusting the filter, you can enhance the clarity and detail of your subject.
Light Diffusers
Diffusers such as softboxes, umbrellas, and diffusing paper spread luminescence evenly over the subject, reducing harsh shadows and glare. These utilities are critical when taking pictures of gleaming things, as they develop a softer luminescence that highlights the details without creating bright spots.
Reflectors
Reflectors are used to bounce luminescence back onto the subject, filling in shadows and balancing the overall lighting. They are especially useful for illuminating the side of the item that is not directly lit by your main luminescence source, ensuring an even exposure. Learn about object selection tool which is a vital skill every aspiring designer and editor should have.
Lens Hood
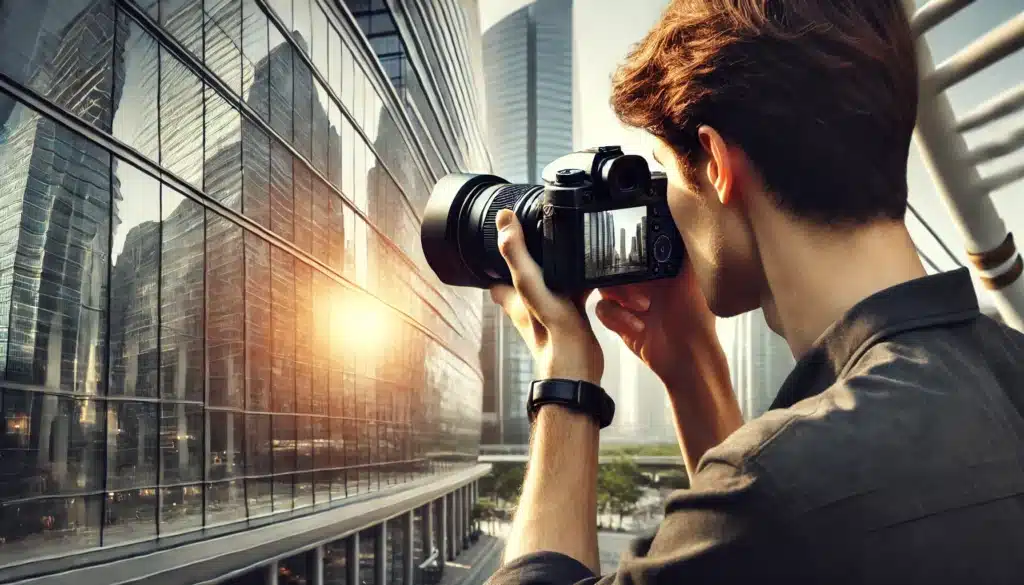
A lens hood helps to block stray luminescence from hitting the lens, reducing lens flare and improving contrast in your photographs . This is particularly important when taking pictures of glossy items outdoors, where sunlight can create unwanted reflections.
Light Tent
A light tent provides a controlled environment for taking pictures of small glossy items. The tent diffuses luminescence from all angles, minimizing harsh reflections and creating an even lighting setup. This tool is ideal for product photography, where consistent lighting is crucial. Try to dig out Smart Selection tool article, which will be helpful to you in enhancing select complex parts of an image with precision.
Black Background
Using a blackish background can help absorb unwanted glare and make glossy items stand out. This technique reduces the amount of light bouncing around the set, helping to highlight the object’s details more effectively.
Dulling Spray
Dulling spray is applied to reflective things to reduce glare by creating a matte finish. This spray is particularly useful for temporary applications where you need to take picture an item without its natural shine interfering with the image.
High-Quality Flash
A high-quality flash with adjustable power settings is crucial for controlling the amount of light hitting your subject. Using a flash with a diffuser can help soften the luminescence, reducing the intensity of the radiance. Positioning the flash correctly is key to achieving the desired lighting effect. .
How to Edit Shining Pictures in Photoshop
Step 1: Open Your Image
Open the image in Adobe Photoshop by selecting File > Open and choosing the desired photo from your files. Make sure it is in a high-resolution format for the best editing results.
Step 2: Duplicate the Layer
Duplicate the original layer to keep the original snap intact. This can be done by right-clicking on the layer in the Layers panel and selecting Duplicate Layer. Rename the new layer to “Edit”.
Step 3: Use the Healing Brush Tool
Select the Healing Brush Tool from the toolbar. Use this tool to correct small luminescence spots by sampling an area close to the glare and painting over it. This helps blend the affected area with the surrounding pixels. This tool allows you to remove object by blending them with the surrounding pixels, creating a seamless look. Hold the Alt key (Option key on Mac) and click on a clean area near the imperfection to set the source point. Then, paint over the unwanted reflections or blemishes.
Step 4: Apply the Clone Stamp Tool
For larger areas of glare, use the Clone Stamp Tool. Press Alt to sample an area near the glare, then carefully paint over the luminescence. Adjust the brush size as needed to match the area you are working on.
Step 5: Adjust Brightness and Contrast
Navigate to Image > Adjustments > Brightness/Contrast. Adjust the sliders to enhance the picture’s overall brightness and contrast, making sure not to overexpose the bright areas.
Step 6: Use the Dodge and Burn Tools
Select the Dodge and Burn Tool to lighten specific areas and darken them. Carefully apply these utilities to balance the highlights and shadows in the picture, enhancing details without adding more luminescence.
Step 7: Apply a Gaussian Blur
For areas with persistent bright spots, use the Gaussian Blur filter. Go to Filter > Blur > Gaussian Blur and apply a slight blur to the affected areas. This can help reduce the harshness of the bright spots.
Step 8: Final Touches with Adjustment Layers
Use Adjustment Layers for final color corrections. Select Layer > New Adjustment Layer and choose options like Levels, Curves, or Hue/Saturation to make precise adjustments to the overall picture.
Step 9: Save Your Edited Image
Once satisfied with the edits, save the picture by selecting File > Save As. Choose the appropriate file format and resolution for your needs. Mastering the Select Subject feature will be helpful to you while editing the image.
Quick Reference Table About How to Photograph Shiny Objects
| Tool/Feature | Purpose | Shortcut/Path |
|---|---|---|
| Healing Brush Tool | Correct small glare spots | J |
| Clone Stamp Tool | Paint over larger areas of luminescence | S |
| Brightness/Contrast | Adjust overall brightness and contrast | Image > Adjustments > Brightness/Contrast |
FAQs About How to Photograph Shiny Objects
How to do good shiny objects photography?
To take good pictures of glossy things, start by using diffused lighting to reduce glare. You can achieve this by using softboxes or umbrellas in your studio to spread the luminescence evenly over the object. Additionally, place the item at different angles to the lights to find the best position that minimizes unwanted highlights.
How to photograph sparkly objects?
Taking pictures of sparkly items requires careful controlling of luminescence to capture their sparkle without overexposing the image. Use multiple small luminescence sources positioned at various angles to create the desired sparkle effect. White boards can be placed around the metal to reflect luminescence and enhance the sparkle. In a studio, using diffusers on your lights can help soften the luminescence and avoid harsh reflections.
How to take a picture of a glossy photo without glare?
To take a picture of a glossy photo without luminescence, use a polarizing filter on your camera to minimize unwanted reflections. Position your lights at a 45-degree angle to the photo to avoid direct reflections. Place a white board around the photo to help evenly distribute the luminescence and reduce any harsh spots. Ensuring your studio lighting is diffused will help achieve a clear, glare-free picture.
How do you photograph gleaming objects?
When taking pictures of bright items, check the luminescence intensity to avoid overexposure. Use diffused lighting to spread luminescence evenly across the item, which can be done using softboxes or umbrellas in your studio. Place the item in a way that minimizes direct light from hitting it. This setup helps in capturing the details without creating harsh highlights.
Final Thoughts About How to Photograph Shiny Objects
In my journey as a photographer, mastering the art of shiny objects photography has been both challenging and rewarding. I remember working on a project where I had to take picture of a vintage metal watch. The reflections and glare were overwhelming at first, but by using diffused lighting and adjusting my angles, I was able to capture the watch’s intricate details beautifully. This experience taught me the importance of having the right tools and techniques, such as using white boards and polarizing filters, to achieve stunning results.
If you’re eager to improve your photography skills, especially when dealing with tricky subjects like gleaming items, I highly recommend our comprehensive courses. Our Photoshop Course and Lightroom Course offer in-depth tutorials and practical tips to help you enhance your images like a pro. Sign up today and take your photography to the next level!
Have a nice photoshoot!
Learn more about Photo Editing with Lightroom and Photoshop:


