As an expert photographer, I know how transformative a well-crafted vignette can be for a photo. It can turn an ordinary shot into a captivating image by subtly drawing attention to the subject. Whether you’re a professional or a hobbyist, mastering the art of customizing vignette in photoshop is an invaluable skill.
In this guide, we’ll explore different methods to create vignettes, from basic techniques to advanced adjustments. By the end, you’ll have the knowledge to enhance your images with beautiful vignettes, making your photos more impactful and visually appealing.
Table of Contents
Why Use Vignettes in Photography?
Using this in photography can significantly enhance the visual appeal and focus of your images. Here are several reasons why vignetting is a powerful tool for photographers:
Enhancing Focus and Attention
Draws the Eye to the Subject: Vignettes naturally guide the viewer's eye towards the center of the image where the main subject is typically located. This effect generates a focal point, ensuring the viewer's attention is directed precisely where the photographer intends.
Reduces Distractions: By darkening the edges of a photo, it help to minimize distractions from the background or peripheral elements, allowing the subject to stand out more prominently.
Adding Artistic Flair
Produces a Vintage or Retro Look: Vignetting is often associated with vintage photography due to its prevalence inolder camera lenses. This effect can add a nostalgic or timeless quality to images, which is particularly effective in portrait and street photography.
Enhances Mood and Atmosphere: It can add depth and mood to a photograph. A subtle vignette can give a soft, romantic feel, while a more pronounced vignette can form a dramatic, intense atmosphere.
Understanding the purpose of vignettes can greatly improve your photography by enhancing depth, focus, and a professional touch to your images. Experimenting with different levels of vignetting can help you find the perfect balance for each shot. Remember, the key is subtlety; even a slight vignette can make a significant impact without overpowering the image.
Basic Methods to Create a Vignette in Photoshop
Making a vignette in Photoshop is a powerful way to enhance the focus and aesthetic of your photos. Here are some basic methods to construct vignettes, each offering different levels of control and customization:
– Limited customization – Less control over specific areas
Levels Adjustment Layer
– Detailed control over intensity – Precise placement and shape control
– Requires knowledge of adjustment layers – More steps involved
Solid Color Adjustment Layer
– Highly customizable – Allows use of various colors – Creative flexibility
– More complex – Requires manual masking and feathering
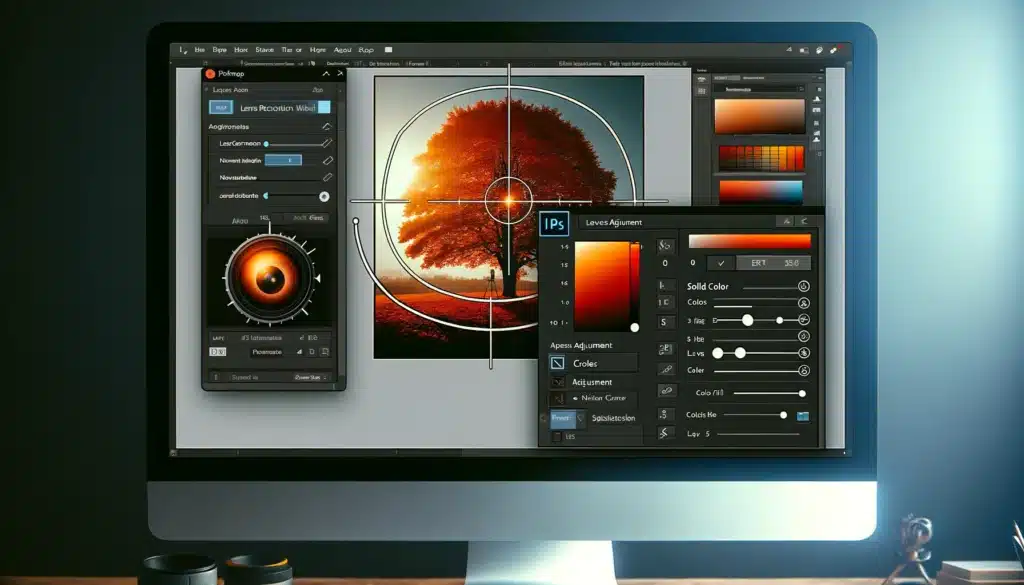
Method 1: Using the Lens Correction Filter
This is one of the simplest ways to add a vignette to your images in photoshop.
Open the Image: Start by opening the photo you want to edit in Photoshop.
Convert to Smart Object (Optional): Convert your layer to a Smart Object to preserve the original image.
Access glass Amendment: Go to filter > Lens Correction.
Adjust Vignette Settings: In the eyepiece modification window, select the "Custom" tab. Use the Amount and Midpoint sliders under the Vignette section to adjust the vignette effect to your liking.
Apply Changes: Click OK to apply the vignette effect
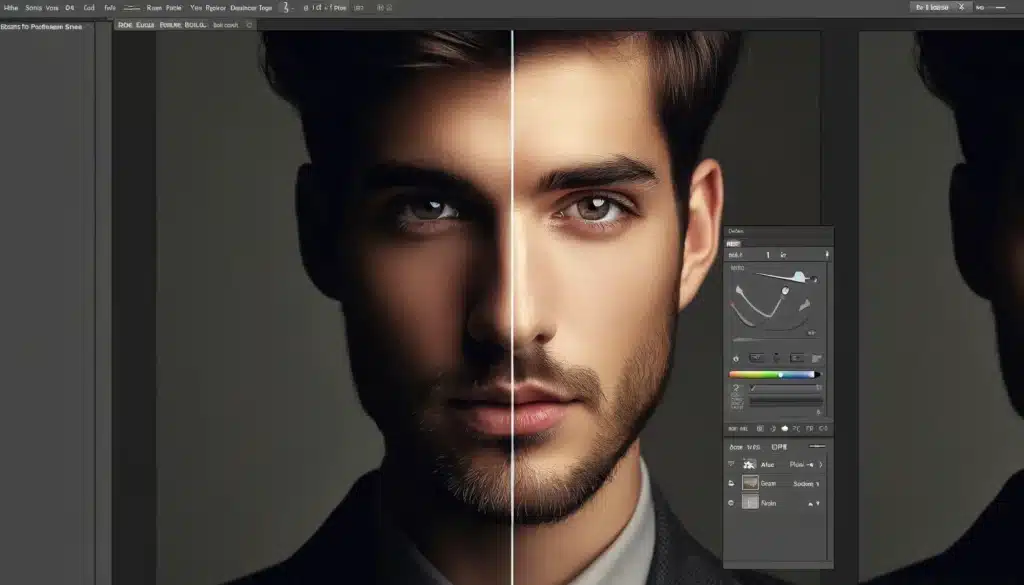
Method 2: Using a Levels Adjustment Layer
Using a Levels Amendment Layer gives you more control over the intensity and placement of the vignette.
Create a Levels Layer: Click on the "build new fill" icon at the bottom of the layers panel and select Levels.
Adjust Levels: In the Levels panel, drag the grey triangle to the right to darken the image.
Mask the Effect: Select the layer mask thumbnail of the Levels layer. Use a large, soft brush set to black and paint over the central area of your picture to remove the darkening effect from the center, generating a vignette effect.
Fine-Tune: You can adjust the intensity and shape of the vignette by modifying the Levels layer and the mask as needed.
Method 3: Using a Solid Color Adjustment Layer
This process allows for forming vignettes in various colors and shapes, providing more creative flexibility.
Form Solid Color Layer: Click on the "Create new fill or fix layer" icon and select Solid Color. Choose black (or any desired color) in the Color Picker.
Change Blending Mode: Set the blending mode to Multiply and adjust the opacity to achieve the desired effect.
Mask and Feather: Use the Elliptical Marquee Tool to draw a selection around the center of your image. Invert the selection (Ctrl+Shift+I), and add a feather(Select > Modify > Feather) to soften the edges. Paint over the mask to refine the vignette effect.
By mastering these basic strategies, you can add depth, focus, and a professional touch to your images using snapshot in Photoshop and Lightroom. Consistent practice with these techniques will also help you develop a more intuitive understanding of how to enhance your photos effectively.
Use the Amount and Midpoint sliders under the Vignette section.
Click OK to apply.
How do you get the vignette effect?
You can achieve the vignette effect either during shooting or in post-processing:
During Shooting: Use aperture or a crystal hood to naturally darken the edges of the snap.
Post-Processing: Use software like Photoshop or Lightroom. In Photoshop, use the optic repair tool or invent a gradient fill layer.
What is the shortcut for vignette in Photoshop?
Photoshop does not have a direct keyboard shortcut specifically for including a vignette. However, you can quickly access the lens Adjustment tool by pressing Ctrl+Shift+R, then navigating to the Custom tab to apply the cameo effect. Alternatively, you can create a vignette using the Levels Adjustment Layer or the Solid Color Adjustment Layer, both of which provide more control and customization options. Experimenting with these methods can help you find the one that best suits your editing style.
What does vignette do to an image?
A vignette darkens or lightens the edges of an image, drawing the viewer’s attention toward the center. This effect can enhance the focus on the main subject, add depth, and originate a mood or atmosphere in the snap. It can also help to minimize distractions around the edges, making the central subject more prominent. Additionally, vignettes can lend a professional and polished look to your photographs, enhancing their overall aesthetic appeal.
Conclusion
Producing a vignette in Adobe Photoshop has enhanced my photo editing, integrating professionalism and focus. I used it on a portrait with a busy background, applying a subtle vignette with the Lens modification tool to emphasize my friend’s face and reduce distractions. This simple change turned an ordinary photo into a standout piece.
To enhance your skills and achieve great results, join our comprehensive photoshop and lightroom courses. Suitable for beginners and those refining techniques, our courses offer in-depth tutorials and practical examples. Enroll our Photoshop Course & Lightroom Course to take your photo editing to the next level.
If this article has helped you, then Like and Share it with your friends!
Facebook
Twitter
LinkedIn
Pinterest
Have a nice photoshoot!
Read more about: Photo Editing with Lightroom and Photoshop
$2,061.00Original price was: $2,061.00.$1,061.00Current price is: $1,061.00. 27635
Download Your Free Guide Now!
Discover the secrets of photography with our printable guide! Master essential techniques like aperture, shutter speed, and ISO to create stunning images. Get your free printable PDF now and start turning your snapshots into masterpieces!