How to Resize Layers in Photoshop: A Complete Guide
How to Resize Layers in Photoshop: A Complete Guide
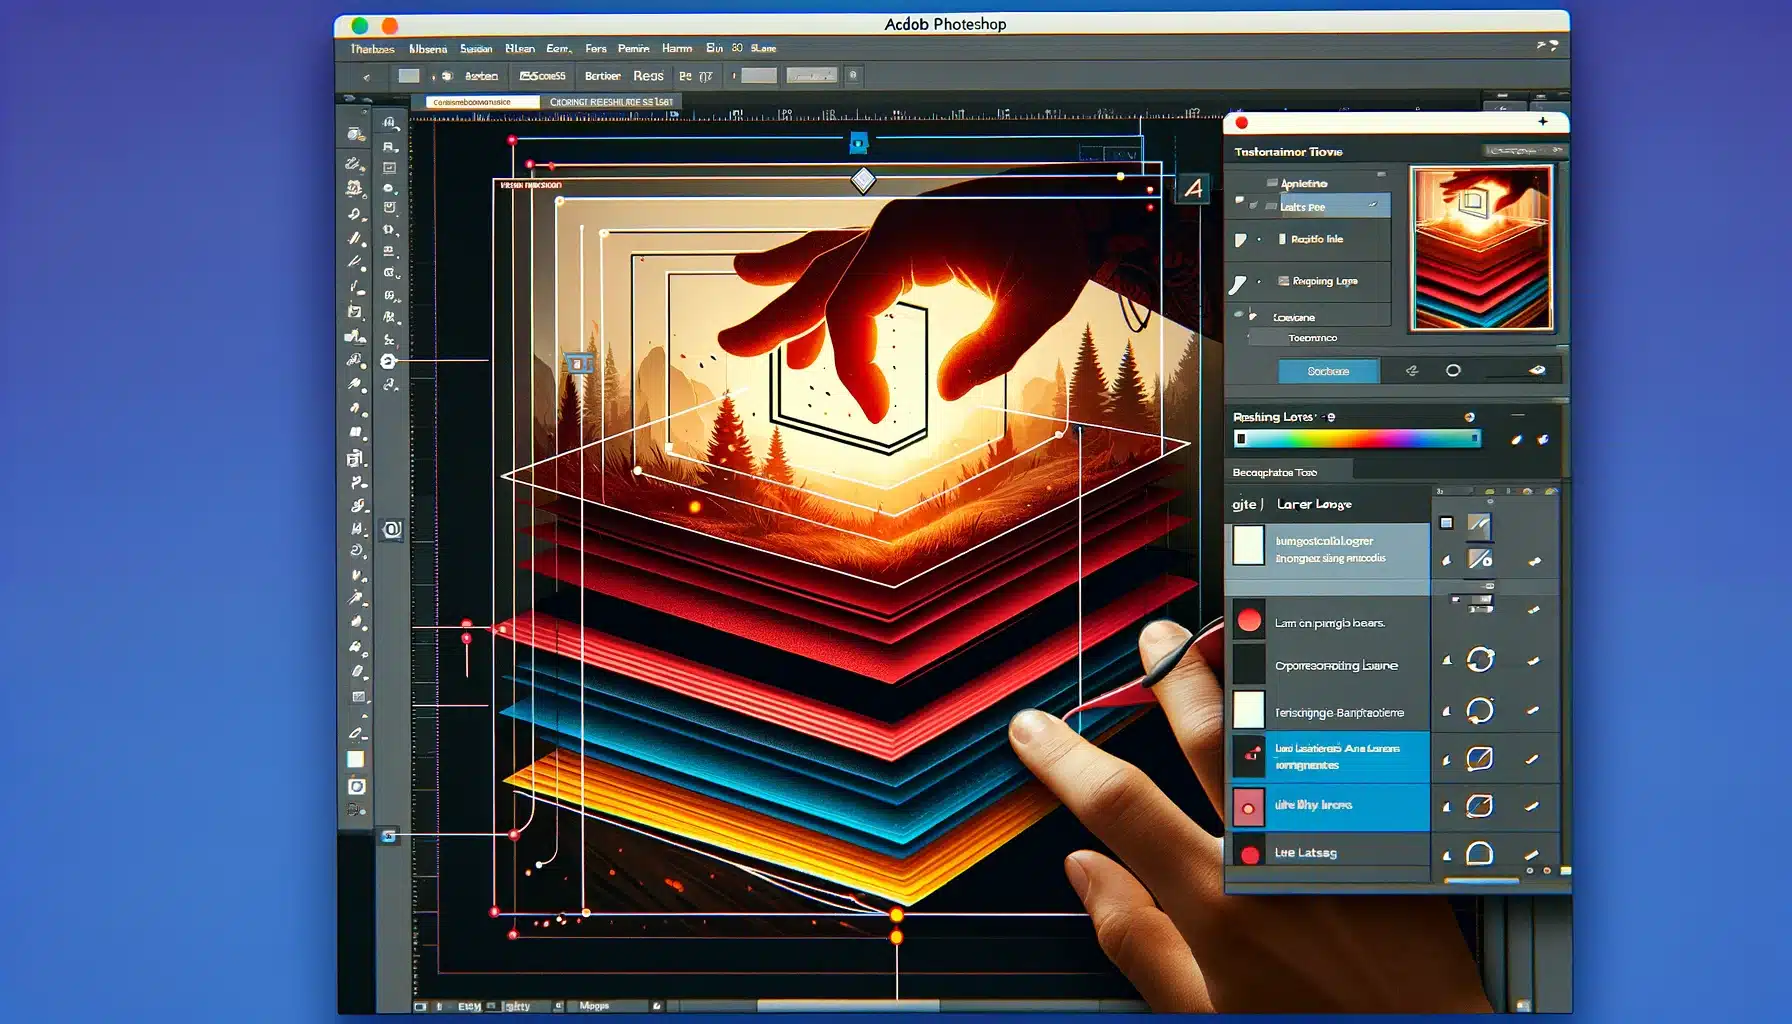
Introduction to Photoshop Layer resizing
Resizing layers in Photoshop is like adjusting the pieces of a puzzle to make sure they all fit perfectly together on your canvas. Whether you’re working on a complex shape or just tweaking a photo, mastering how to resize layers in Photoshop is crucial. This skill not only involves simple size adjustments but also ensures precision in Photoshop layer resizing, enhancing your overall project excellence.
In this guide, we’ll walk you through the essential stages and techniques for resizing layers in Photoshop. You’ll learn everything from basic adjustments to more advanced strategies in Adobe Photoshop, including how to handle multiple levels at once and how to solve common issues that might arise. Stick with us, and you’ll be changing dimensions like a pro in no time!
Table of Contents
Understanding Layer Functionality
Before diving into the process, it’s essential to understand what layers are in Adobe Photoshop. Layers allow designers and portrait photographers to work on individual elements of an image without affecting other parts. This non-destructive photo editing method enhances flexibility and creativity in digital projects.
Key Concepts in Photoshop Layer Resizing
Photoshop layer resizing involves several key measures that ensure precision and maintain the excellence of the content. By understanding the equipment and preferences available in Photoshop, users can effectively scale layers, regulate their composition, and refine the visual aesthetics of their projects.
Effective Strategies to Resize Layers in Photoshop
To resize layers in Photoshop efficiently, it’s important to use the right techniques and shortcuts. For instance, using the Free Transform (Ctrl+T or Cmd+T) allows for quick adjustments, while holding the Shiftkey helps maintain the layer’s aspect ratio, ensuring that the alteration does not distort the original image.
Pro Tip: Learn different shortcuts such as the new layer shortcut to be ready for any problems you might have.
By integrating these approaches for modifying layer size in Photoshop, users can achieve a seamless workflow, enhancing their productivity and the quality of their digital compositions. Wondering how to resize layers in Photoshop? This foundational knowledge is crucial for anyone looking to excel in digital arts and graphic modeling, making the ability to resize layers in Photoshop a critical skill set.
How to Resize Layers in Photoshop [Step-by-Step Guide]
Begin by opening your project and navigating to the “Layers” panel. If the panel isn’t immediately visible, you can move it by selecting Window > Layers from the bar. This is your starting point for any layer adjustments.
To start the process, choose the layer you wish to modify. You can activate the feature by either using the keyboard shortcut Ctrl+T (Cmd+T for Mac) or by choosing Edit > Free Transform.
2. Detailed Instructions for Adjusting Layer Dimensions in Photoshop
Once you have activated the Transform, you’ll notice a bounding box around the selected layer. This is your main interface.
Pick the Transform Option:Batch Edit by pressing Ctrl+T (Cmd+T for Mac), which brings up the Free Transform option.
Maintain Proportionality: It’s crucial to maintain the aspect ratio to avoid distortion. Hold down the Shift key while dragging the corners or using crop to ensure the layer changes proportionally.
Save the Changes: After making the adjustments, apply the modifications and save to PC or cloud.
3. Enhancing Layer Resizing with Additional Techniques
Moving beyond basic modifications, let’s explore additional techniques that can enhance your control and efficiency.
Using the Mouse: Simply snap and pull the corners or edges of the bounding box to manually alter the dimensions of the layer. This method gives you a tactile feel for the adjustment process.
Aspect Ratio Lock: In the latest versions of Photoshop, the aspect ratio can be locked automatically to maintain crop factor. If you need to unlock it, simply get on the link icon between the width and height fields on the options bar.
Additional Tips for Photoshop Layer Rescaling Techniques
Apart from the method mentioned above, here’re some additional techniques for Resizing Photoshop Layers:
Resize Layers in Photoshop: Utilizing Keyboard Shortcuts
Keyboard shortcuts can significantly streamline your workflow, especially when dealing with repetitive tasks.
Shortcuts
Functions
Alt (Option on Mac) and Drag
This shortcut allows you to alter the layer dimensions from its center, offering a balanced scale adjustment.
Ctrl (Cmd) + 0 (for Windows)
Use this to fit and roate canvas to your screen on Windows, which can be particularly helpful when working with large pictures or detailed adjustments.
Visual Aids and Grids for Accurate Adjustments
To ensure your altered layers align perfectly with other elements of your outline, incorporating visual aids like rulers, guides, and grids can be extremely beneficial.
Activate these from the View menu to set precise markers for size adjustments. They are invaluable for maintaining alignment and proportion across your layout.
Practical Examples of Layer Resizing in Action
To solidify your understanding, let’s apply these dimension alteration techniques to a practical scenario, such as adjusting the badges to fit within a website header or do the art photography in style.
Utilizing the techniques described above, go for the logos or badges layer, apply the Transform tool, and amend the proportions while keeping an eye on the aspect ratio. Use guides to ensure the logo is perfectly centered and maintains even margins with other elements of the header. This hands-on approach helps cement the concepts and demonstrates the utility of each method in real-world applications.
Proportional Adjustment Without Distortion
To fully grasp the concept of proportional size change and ensure that your imageries always look their best, let’s break down the process and explore some practical applications.
Understanding Proportional Resizing in Photoshop
Proportional resizing is essential when you want to amend the dimensions of a layer without altering its original shape or appearance. It ensures that your images remain natural and balanced, avoiding any awkward stretching or squishing.
It means adjusting the dimensions while keeping the layer’s width and height in the same ratio as before. Without proportional resizing, your photos or color graphics could end up looking distorted, like stretching a square into a rectangle. Be aware that it’s crucial for maintaining the visual integrity and color of your images.
Detailed Instructions to Ensure Proportional Resizing
Proportional change is straightforward if you follow these simple actions. They are designed to help you easily adjust layers while maintaining the original proportions of the image. Let’s explore how to resize layers in Photoshop proportionally:
1. Choose the Layer: First, snap on the layer you need to change the proportions from the Layers panel.
2. Activate Transform: Press Ctrl+T (Cmd+T for Mac) to bring up the handles around the selected layer.
3. Hold the Shift Key: As you pull the corners of the bounding box to alter dimensions of the layer, hold down the Shift key. This key action preserves the aspect ratio of your layer.
4. Correct the Size: Carefully move the corners until the layer reaches the desired size. You can watch the changes in real time to ensure accuracy.
5. Save the Changes: Once you’re satisfied with the new proportions, apply the changes.
Quick Tip: Always start by selecting the correct layer to ensure you are adjusting the right element of your design.
This approach to Photoshop layer resizing is crucial for graphic designers who also love HDR photography. Using the described resize layers techniques in Photoshop, you can ensure the quality and balance of the original image, making your proposals more professional and visually appealing.
To effectively manage multiple layers in your projects, let’s explore both the foundational actions and advanced techniques that will streamline your workflow and maintain the visual integrity of your designs.
1. How to Manage Multiple Layers
Working on larger projects often involves dealing with multiple layers that need to be altered simultaneously. This technique is crucial when you want to ensure consistency across various elements of your design, such as maintaining the same scaling across all graphics in a flyer or web layout.
2. Process for Altering Multiple Layers
Managing and altering size for multiple layers efficiently can streamline your workflow and enhance the overall aesthetics of your project. Here’s how to deal with Photoshop Layer resizing:
1. Create Multiple Layers: Start by selecting the first layer in your Layers panel that you wish to alter. Then, hold down the Shift key and click on additional layers you want to include in the transformation.
2. Alter Together: Click and tow any of the corner handles of the bounding cube. To maintain proportions, hold the Shift key while dragging.
3. Apply Changes: After adjusting to the desired size, confirm and add the same steps to all selected layers. Save the changes to PC or cloud.
Tip: If layers need to be resized by the same percentage, use the top toolbar to write the exact scaling percentages in the Width and Stature fields, ensuring precise adjustments.
Common Issues and Solutions in Scaling Layers in Photoshop
Resizing layers in Photoshop can sometimes lead to excellence issues that compromise the professional appearance of your designs. Below are some typical challenges such as motion blur, pixelation, grainy photos and image distortion that you may face during Photoshop Layer resizing, along with direct solutions to address them efficiently.
Challenges
Solutions
Motion Blurred Images
Convert to Smart Object. Apply Sharpen filter to enhance details if necessary.
Distorted Shapes & Text
Use the ‘Maintain Aspect Ratio’ feature (linked chain icon) and use shape tool to preserve original shape.
Pixelation
Start with a high-resolution image. Use Smart Objects. Recreate or replace if too low.
FAQs on How to Resize Layers in Photoshop
Let’s explore the most asked questions and answers on “how to resize layers in Photoshop”.
How do I change the size of layers in Photoshop?
To change the size of a layer, select the layer from the Layers panel. Now tap on Ctrl+T (Cmd+T for Mac) to bring up the Transform tool. Drag the corners or sides of the bounding cube, and tap Enter (Return on Mac) to apply. This is how you can easily change the size of layers in PS.
How do you resize layers?
To resize a layer in Photoshop, click on the desired layer in the Layers panel. Initiate the Free Transform tools using Ctrl+T (Cmd+T for Mac). Adjust the size by dragging the bounding cube edges and finalize the adjustment. Press Enter (or Return on Mac) to confirm the changes
How do I resize a layer proportionally in Photoshop?
Resizing a layer proportionally involves selecting the layer. Now activate the Transform tool with Ctrl+T (Cmd+T for Mac). Drag the corners while holding the Shift key to maintain the aspect ratio.
How to resize a layer in Photoshop without stretching?
To resize a layer in Photoshop without stretching, select the layer, use Ctrl+T (Cmd+T for Mac) to activate Free Transform, and drag the corner handles. Since Photoshop, proportionate alteration is automatic, otherwise hold the Shift key while adjusting.
Conclusion
As we wrap up this guide on how to resize layers in Photoshop, I want to share a quick personal story. Recently, I was working on a digital collage for a friend’s birthday. By using the techniques we discussed, especially how to resize layers in Photoshop, I could perfectly fit all the photos without losing any excellence. It made the gift special and visually stunning!
If you’re eager to dive deeper and master these skills, check out our comprehensive Photoshop and Lightroom courses. These lessons are packed with tips and tricks that will elevate your photo editing to a professional level.
Discover the secrets of photography with our printable guide! Master essential techniques like aperture, shutter speed, and ISO to create stunning images. Get your free printable PDF now and start turning your snapshots into masterpieces!