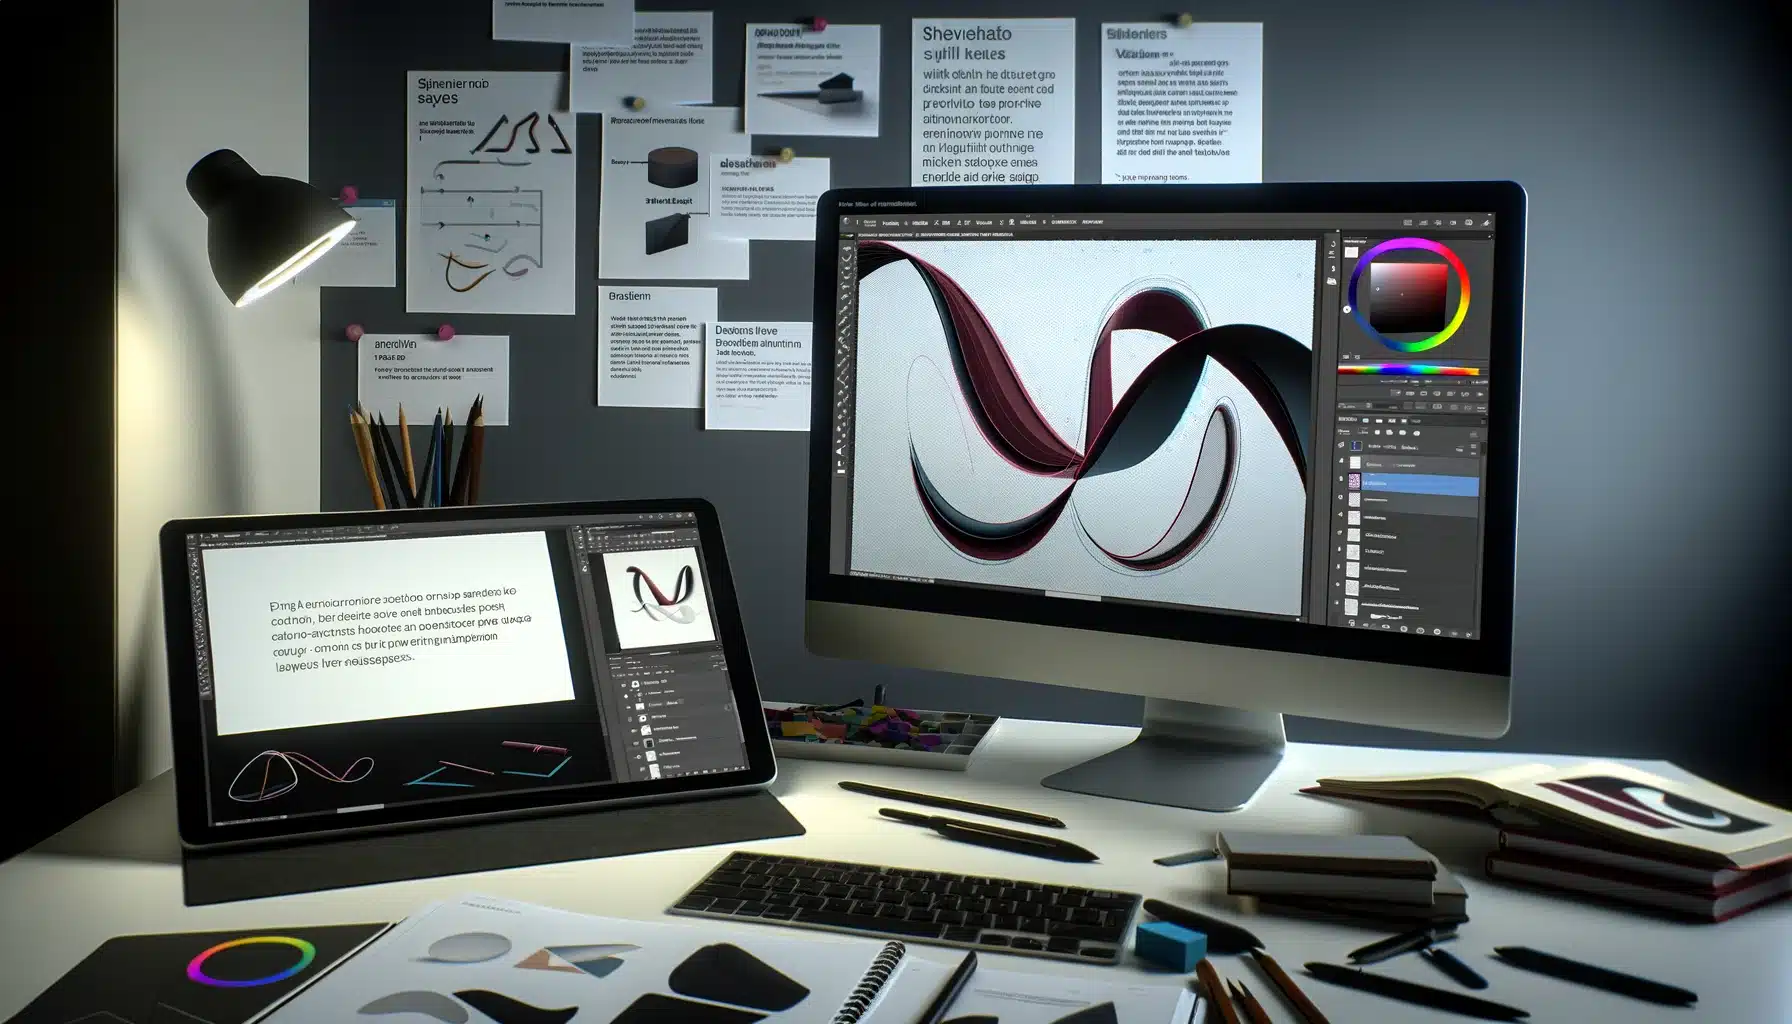
A key tool for digital design is to master adding shapes in Photoshop which gives you plenty of options to enhance your creative projects in a fun and easy way.
For example here are some inspirations that provides insight into effectively using this feature that will significantly boost your image’s overall aesthetic appeal.
You can create custom shapes with just a click, modify their color according to the theme you’re working on or select from pre-existing shape templates for convenience.
This article will equip you to confidently navigate each step ( drawing shapes or creating custom ones ) and unleash your creative potential.
Table of Contents
What is Shape Creation in Photoshop ?
The goal is to refine your skills, to allow you to design with precision and flair.
Introduction to Adding Shapes in Photoshop
- Navigate to the shape tools via the toolbar or click 'U.'
- Choose from Rectangle, Ellipse, Polygon, Line, or Custom Shape Tools.
- Click and drag on your canvas to draw the desired shape.
- Adjust properties such as fill and stroke to style your shape.
Consider using the Refine Edges feature to fine-tune your shapes for a more dynamic composition.
This tool, found under the Select and Mask workspace, allows for meticulous edge adjustments, such as providing a polished look to your designs.
Starting with Basic Shapes
Basic shapes serve as the foundation for crafting visually compelling and intricate designs. These fundamental forms—squares, circles, rectangles, and polygons—are the primary tools in a designer’s arsenal, allowing for the creation of complex visuals from simple beginnings. To embark on this creative journey, start with the Rectangle Tool, which is perfect for drawing square or rectangular shapes.
Through these foundational steps, you’ll develop the skills to transform basic rectangles into intricate designs that captivate and communicate.
- First, select the Rectangle Tool for square or rectangular shapes.
- Then, use the Ellipse Tool for circular or oval elements.
- Lastly, with the Polygon Tool, you can create multi-sided shapes; adjust the sides count in the options view.
- For lines and arrows, the Line Tool is your go-to.
Remember to apply layer styles, such as the text layer through the text box, for depth and texture.
Experiment with gradients, shadows, and borders to bring your shapes to life. The How to Resize Layers in Photoshop tutorial offers excellent guidance for resizing and transforming your project.
Accessing the Shape Tool
Accessing the Shape Tool is straightforward:
- Locate the Shape Tool in the toolbar or click 'U.'
- Right-click to reveal all the shape options.
- Select your desired shape tool to begin.
Customize your ideas using the options view, where you can set specific dimensions, choose a fill color, or add a stroke.
Moreover, for a deeper dive into Photoshop’s capabilities, Learn Photoshop: Essential Skills for Creative Excellence is a valuable resource for expanding your creative toolkit. If you dont know which software is better for utilizing shapes check out article Photoshop vs Lightroom: A Comprehensive Guide to Choosing the Right Photo Editing Software
| Tool | Step | Description |
|---|---|---|
| Rectangle Tool | 1. Click on the canvas | Specify the exact dimensions. |
| 2. Hold Shift while dragging | Maintain the aspect ratio. | |
| 3. Use the Properties Panel | Round corners for a softer look. | |
| Elipse Tool | 1. Click and drag | Draw circles or ovals. |
| 2. Hold Shift | Create a perfect circle. | |
| 3. Adjust the stroke width | Choose a bold or subtle outline. | |
| Polygon Tool | 1. Click on the canvas | Set the number of sides. |
| 2. Use the “Star” checkbox | Create a star shape in the options bar. | |
| 3. Adjust the “Indent Sides by” | Create complex star shapes. | |
| Custom Shape Tool | 1. Choose preset shapes | Unlock a world of possibilities. |
| 2. Import vector shapes | For unique designs. | |
| 3. Combine shapes | Use the Path Operations in the options bar. |
Rectangle Tool
- Left-click on the canvas to specify the exact dimensions.
- Hold Shift while dragging to maintain the aspect ratio.
- Select your desired shape tool to begin.
Ellipse Tool
- Draw circles or ovals by clicking and dragging.
- Hold Shift to create a perfect circle.
- Adjust the stroke width for a bold or subtle outline.
Polygon Tool
- Click on the canvas to set the number of sides.
- Use the "Star" checkbox to create a star shape in the options view.
- Adjust the "Indent Sides By" slider to create complex star shapes.
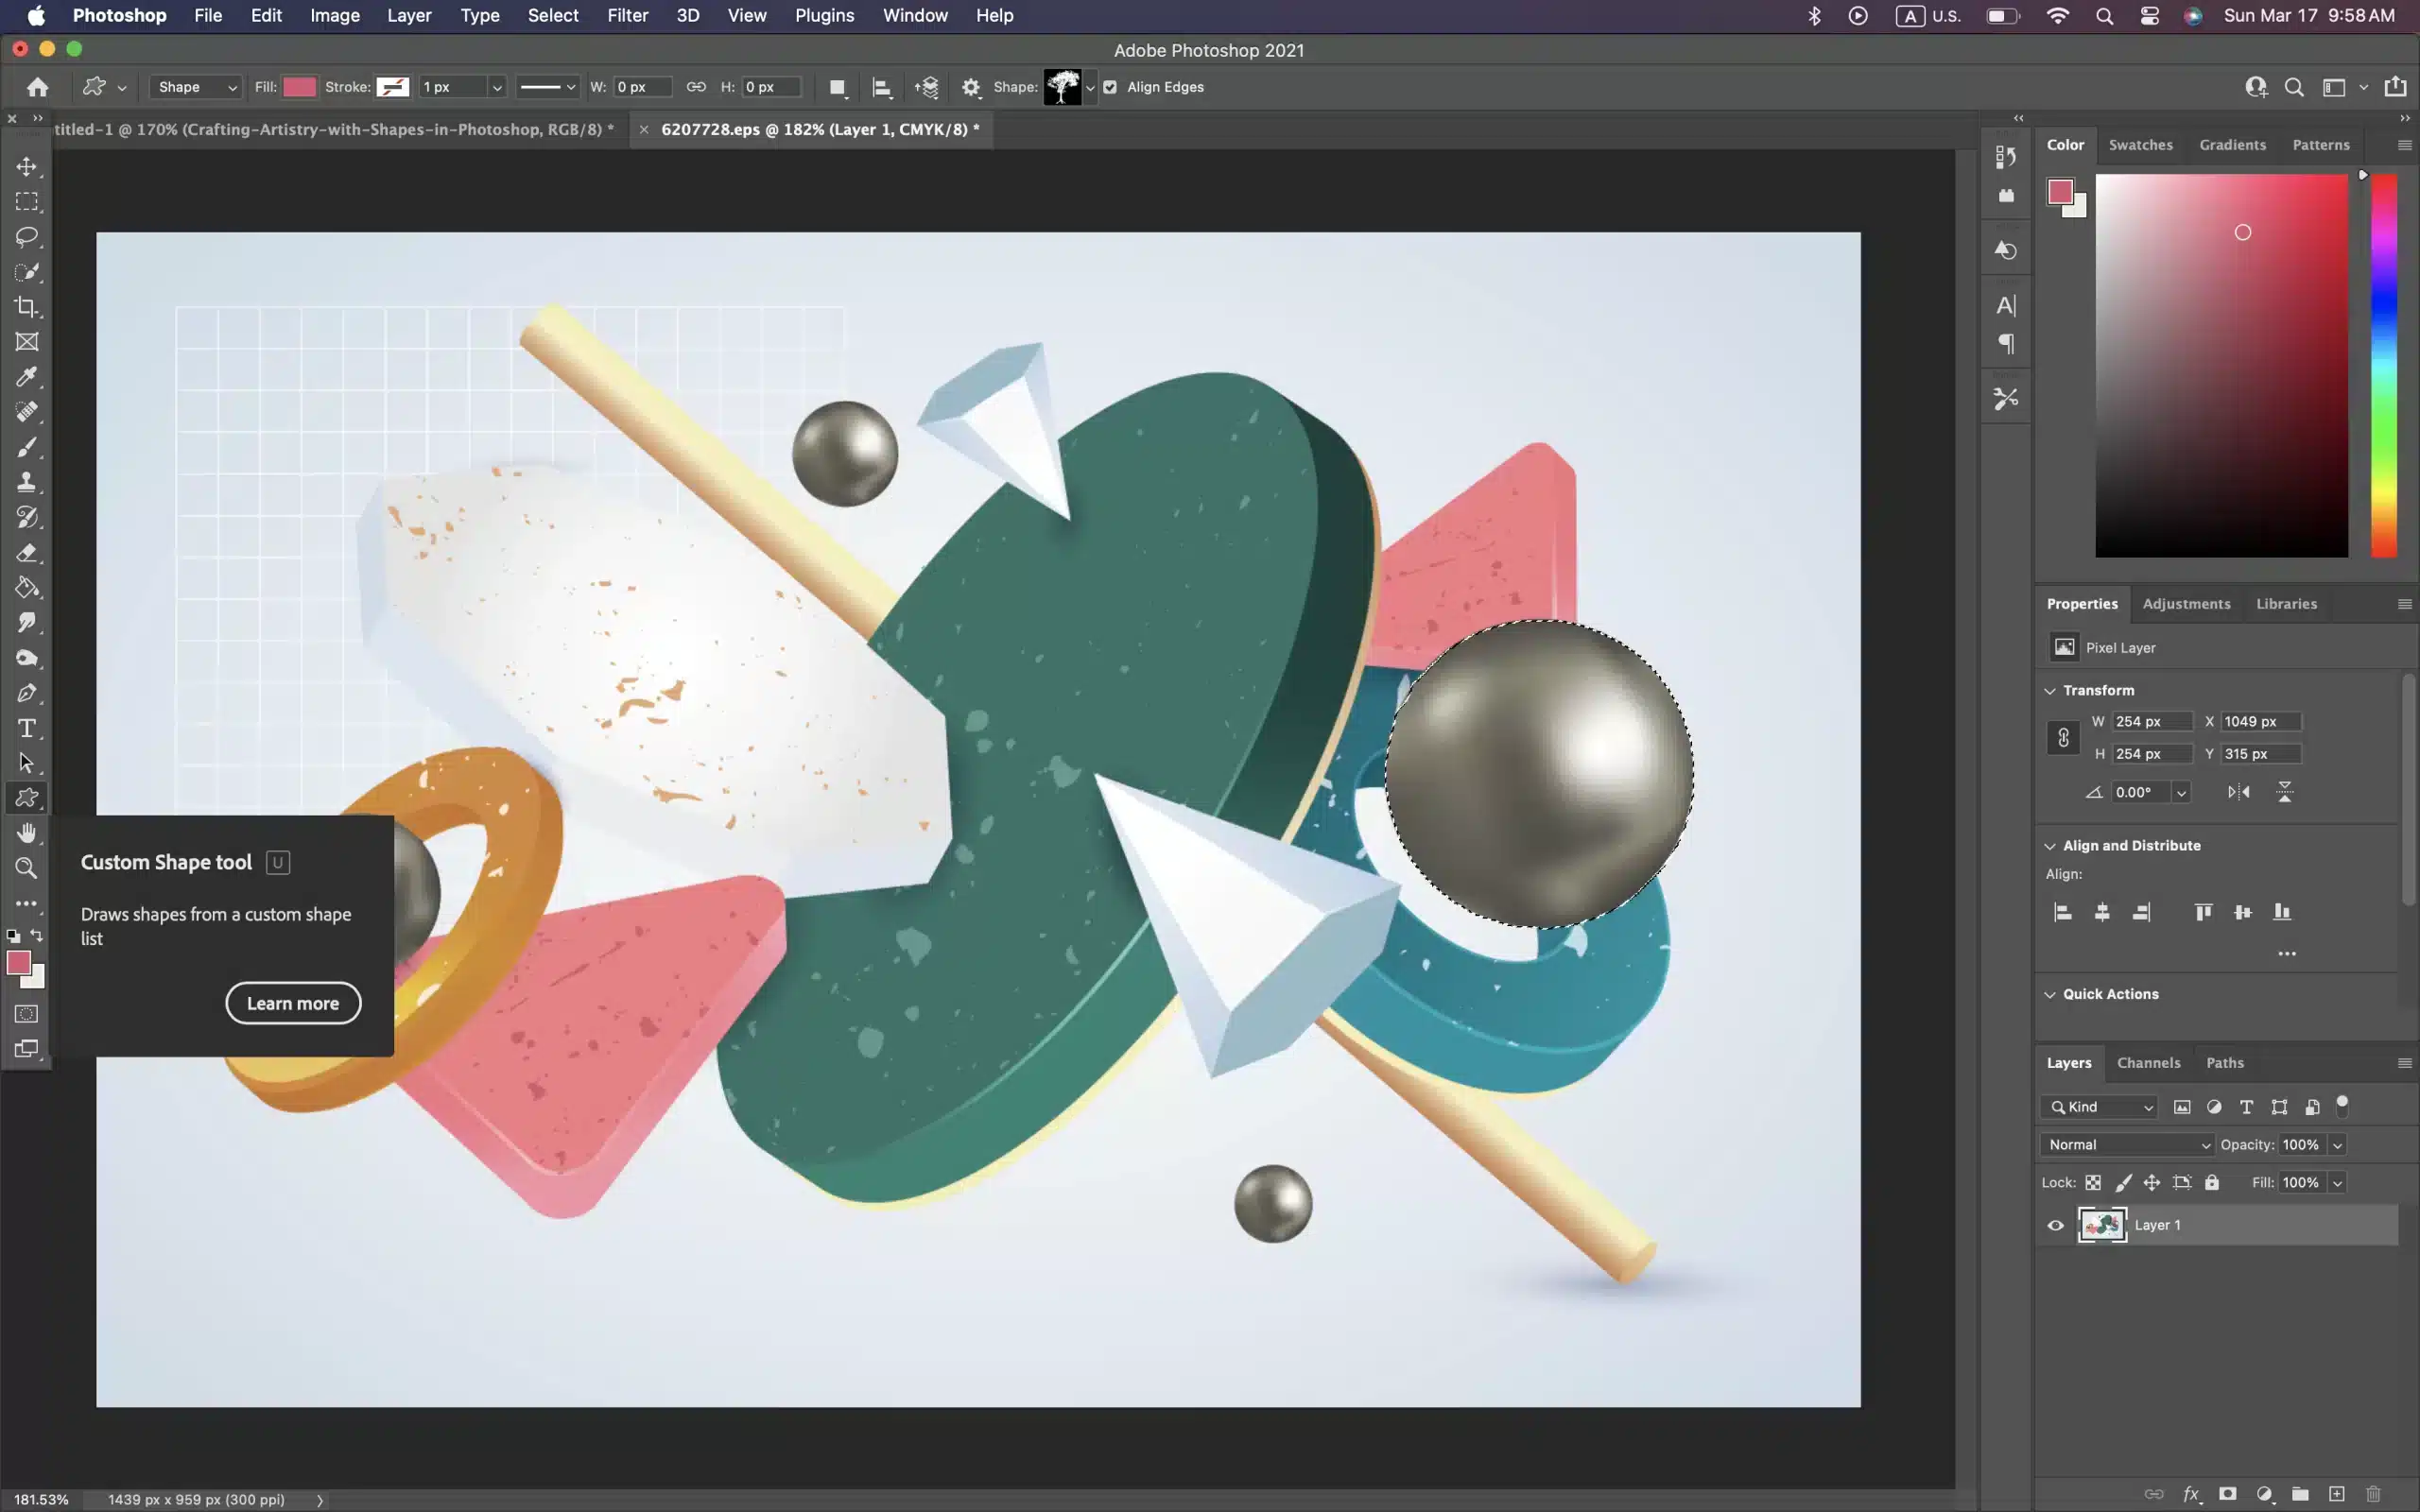
Custom Shape Tool
- First, choose from a wide range of preset shapes.
- Then, import your vector shapes for unique designs.
- Lastly, combine shapes using the Path Operations in the options bar.
Incorporating these tools into your workflow can elevate your design process, allowing you to craft visually striking graphics easily.
As you continue to explore the myriad of tools Photoshop offers, comparing Photoshop vs Illustrator can give you insights into which software best suits your creative needs.
Customizing Shapes in Photoshop for Your Projects
We have transitioned from the basics of shape creation in Adobe Photoshop to the finer points of customization.
Tailoring shapes to fit your project’s aesthetic and functional requirements can transform a good design into a great one. Let’s explore how to refine your idea further.
Modifying Dimensions
To modify the dimensions of a shape in Photoshop, you’ll want to ensure precision and proportionality. Here’s how you can achieve this:
For those also interested in enhancing their workflow in Adobe’s other powerful photo editing tool, it’s worthwhile to check out these essential Lightroom shortcuts. They can significantly speed up your photo editing process.
- Begin by selecting the shape using the Direct Selection Tool from the toolbar.
- Once the shape is selected, a bounding box appears around it.
- To maintain the aspect ratio, hold the Shift key while dragging the corner handles of the bounding box.
- For precise adjustments, use the Properties Panel to input exact dimensions.
- Remember, to apply changes uniformly across the shape, link the width and height fields in the panel.
Suggest placing an image here showing the Properties Panel with dimension fields highlighted.
Applying Shape Layer Styles
- Right-click on the shape layer in the Layers Panel and select Blending Options.
- Experiment with styles like Drop Shadow, Bevel & Emboss, or Stroke to add dimension.
- Customize each style using the provided settings, adjusting size, opacity, and color to fit your design.
- To save time on future projects, save your style by clicking the 'New Style' button and giving it a name.
Incorporating these techniques into your workflow will elevate the visual impact of your shapes. For further refinement, consider the Refine Edges in Photoshop tutorial for edge perfection.
Adobe Photoshop New Features provides a wealth of knowledge for those looking to expand their Photoshop skill set.
Advanced Shape Manipulation Techniques to Add Shapes in Photoshop
Building upon the basics of creation and customization in Adobe Photoshop, we now focus on more advanced techniques that can transform your design work.
These methods allow for intricate designs that take your projects to a new level of professionalism and creativity
Combining and Adding Shapes in Photoshop for Complex Designs
Combining multiple simple shapes to create complex designs is a powerful technique in Photoshop. Here’s how you can do it:
- First, begin by selecting the shapes you want to combine using the 'Selection' tool.
- Experiment with styles like Drop Shadow, Bevel & Emboss, or Stroke to add dimension.
- Choose from the available options: 'Combine Shapes,' 'Subtract Front Shape,' 'Intersect Shape Areas,' or 'Exclude Overlapping Shapes' to blend your shapes as desired.
- Lastly, use the 'Direct Selection' tool to refine the combined shape dragging points to adjust angles and curves.
This method can yield a variety of unique designs, from abstract patterns to intricate icons. Remember to experiment with layering and blending modes for added depth and texture.
For those keen on mastering selection techniques, delving into selection tools in Photoshop can offer deeper insights into efficiently selecting various elements within your projects.
Utilizing Paths for Precision when working with Shapes
Paths are an integral part of creating precise and scalable shapes in Photoshop. To utilize paths effectively:
- Use the 'Pen' tool to draw a custom path that outlines the desired shape.
- With the path completed, right-click and select 'Make Selection' to convert the path into a shape layer.
- To modify an existing path, use the 'Add Anchor Point' tool to include new points or the 'Delete Anchor Point' tool to simplify the design.
- The 'Convert Point’ tool allows for the adjustment of anchor points from straight lines to curves, offering meticulous control over the shape's outline.
Efficient Workflow with Shape Layers
Making an efficient workflow with layers in Adobe Photoshop means going beyond just knowing how to add various forms to your project.
It involves understanding how to manage these elements to enhance productivity and maintain your design’s flexibility.
Let’s explore advanced techniques to streamline your design process, emphasizing the utility of the pen tool for precision, the importance of reading up-to-date article for continuous learning, the need to follow industry best practices for efficiency, the ability to find innovative solutions for complex design challenges, the skill to copy and adapt existing shapes for rapid prototyping, and the open to test beta features to stay ahead in the technological curve.
These components are crucial in shaping a workflow that is not only effective but also continuously evolving with the landscape of digital design tools.
Managing Layer Visibility
Control the visibility of your layers to focus on specific aspects of your design:
- First, toggle the eye icon in the Layers panel to hide or show layers.
- Then, use the 'Alt' (Windows) or 'Option' (Mac) and click the eye icon to solo a layer.
- Lastly, link layer visibility to streamline showing and hiding related forms.
Mastering visibility management will speed up your editing workflow and help you compare design variations effortlessly.
For those aiming to refine their editing techniques further, exploring the Content Aware Fill in Photoshop offers valuable insights into seamlessly blending and correcting your images.
Merging and Grouping Shapes
- Select multiple layers and click 'Ctrl + E' (Windows) or 'Cmd + E' (Mac) to merge them.
- You can group related forms by selecting them and pressing 'Ctrl + G' (Windows) or 'Cmd + G' (Mac).
- Use clipping masks to change multiple forms within a group without altering their individual properties.
By merging and grouping, you maintain a clean workspace, making navigating and manipulating your design more accessible.
To further enhance your skills, consider exploring the essential skills for creative excellence in Photoshop.
This will give you a robust foundation to build upon as you work with these layers and other design elements.
Creative Uses of Custom Shapes

Expanding your toolkit in Adobe Photoshop involves more than just knowing the basics. It’s about pushing the boundaries of your creativity with the tools at hand.
When used innovatively, custom shapes can transform a bland project into a standout piece.Utilize the pen tool to craft intricate custom shapes that add depth and character to your designs.
Engage with articles that provide advanced tips and creative ideas for using shapes more effectively.Copy techniques from leading designers to see how they leverage custom for maximum impact.
Experiment with beta versions of Photoshop to get early access to the latest shape tools and features.Be open to exploring new trends and integrating them into your use of custom , ensuring your designs stay fresh and relevant.
Lastly, consider the votes of the design community by participating in forums or social media platforms where fellow designers share their work and preferences for using them in Photoshop, allowing you to gauge the popularity of certain techniques or styles.
Incorporating Custom Shapes
Think of custom shapes as the spices in your design pantry. Just as the proper seasoning can elevate a dish, custom shapes can bring a new dimension to your work.
To incorporate these elements:
- First, begin by exploring the vast library of shapes available in Photoshop or sourcing from reputable online repositories.
- Then, experiment with blending modes to integrate shapes seamlessly into your project, developing intricate overlays or subtle background elements.
- Lastly, use the 'Direct Selection' tool to tweak anchor points and refine the shape's contours to perfectly fit your design.
Designing with Symmetry
Symmetry isn’t just aesthetically pleasing; it’s a powerful design principle that can impart a sense of order and balance.
If you want to learn more about balance in photography, check out our guide on White Balance in Photography.
Here’s how to harness symmetry with custom shapes:
- Use the 'New Guide Layout' feature to create a symmetrical template before you begin designing.
- Position your custom shapes relative to these guides, ensuring each element mirrors your canvas's other side.
- Consider using the Flip Horizontal or Flip Vertical commands to create mirrored versions of your shapes for a cohesive design.
Designing with symmetry can be as simple as making a central focal point with symmetrical shapes radiating outwards or as complex as constructing an intricate pattern that demands attention.
Exploring Shape Libraries
Beyond the default shapes in Photoshop, a world of custom shape libraries is waiting for your technologies. To explore these:
- Look for shape libraries online that cater to your specific design needs, whether it's for digital icons, natural elements, or abstract forms.
- Import these libraries into Photoshop by accessing the 'Preset Manager' from the 'Edit' menu.
- Organize your new shapes into custom folders within the 'Shapes' panel for easy access during any project.
Animating Custom Shapes
Static JPG images can only say so much. Adding motion to custom shapes can infuse life into your designs. For animation:
- First, utilize the 'Timeline' panel to create frame-by-frame animations or smooth transitions.
- Then, animate shapes' position, scale, and rotation to create dynamic sequences.
- Lastly, consider exporting your animations as GIFs for web use, video files, or raw files for more complex projects.
As you master the art of animation, the next progression involves integrating these animated elements into larger multimedia projects.
Imagine enhancing interactive web experiences or mobile applications where your animated shapes react to user interactions, such as hovering, clicking, or swiping.
This level of interactivity not only captivates the audience but also significantly improves user engagement and experience.
Furthermore, venturing into the realm of augmented reality (AR) and virtual reality (VR) opens up even more possibilities.
In these spaces, your animated shapes can transcend traditional boundaries, offering viewers an immersive experience that interacts with the three-dimensional world. The skills you develop in animating shapes lay the groundwork for these advanced applications, where motion and user interaction blend to create truly innovative and memorable experience.
Adding Shapes in Photoshop for Web and Print

We have transitioned from the basics of shape creation and customization in Adobe Photoshop to the practical applications of these elements.
Specifically, we’ll explore how to optimize shapes for various mediums, ensuring they maintain quality and effectiveness across different platforms.
Exporting Shapes in Photoshop for Web Use
Focus on file format and size to ensure shapes are optimized for web use.
When ready to export your shape, go to the ‘File’ and select ‘Export.’ Here, you can choose ‘Save for Web (Legacy),’ which gives you various format options, like PNG, JPEG, or SVG.
PNG is often preferred for its transparency support, which is ideal for web graphics.
- Choose the 'PNG-24' preset for a balance of quality and file size.
- If your shape has a simple color palette, 'PNG-8' may suffice, resulting in a smaller file size.
- Consider the SVG format for intricate designs, which maintains scalability without losing quality.
Check the ‘Transparency’ box if your shape requires a blurred background.
Use the ‘Image Size’ options to adjust the dimensions, ensuring the shape fits well within the website layout while keeping the file size manageable.
Preparing for Printing
When preparing shapes for print, the focus shifts to resolution and color accuracy.
Start by ensuring your Photoshop document is set to a high resolution, typically 300 DPI. You can adjust this in the ‘Image’ under ‘Image Size’.
Next, consider the color mode. For printing, switch from RGB to CMYK by selecting ‘Image’ > ‘Mode’ > ‘CMYK Color.’ This aligns your colors with print standards.
- Verify the resolution is set to 300 DPI for clear print quality.
- Convert your colors to CMYK to avoid unexpected shifts in color when printed.
- You can use the 'Proof Colors' option under the 'View' to simulate how colors will appear in print.
Ensuring Resolution Compatibility
Whether you’re working with web or print, it’s critical to ensure your shapes are compatible with the intended resolution.
Lower resolutions, often around 72 DPI, are acceptable for the web to balance quality with load times. As mentioned, higher resolutions are necessary for print.
- Keep your shapes at or near 72 DPI for web graphics to optimize load times.
- For print, use 300 DPI or higher to prevent pixelation or blurriness.
- Always preview your shapes at the actual size to check for quality before exporting.
It’s essential to anticipate the medium in which your shape will appear and prepare it accordingly. This foresight can save time and ensure your designs look sharp wherever they are displayed.
Mastering Shape Fills in Photoshop

Exploring Photoshop’s depths reveals a myriad of ways to infuse life into shapes. Mastering the art of filling shapes can transform a bland outline into a vibrant piece of art.
Let’s advance your skills by uncovering lesser-known techniques and tips.
Introduction to Filling Shapes
Filling shapes in Photoshop goes beyond the simple act of color application; it’s about giving substance to your creative vision.
First, begin by selecting your desired shape, then navigate to the ‘Fill’ option.
Here, you have the choice to infuse your shape with solid colors, gradients, or even patterns that align with your project’s theme.
- Experiment with opacity to give your fills a translucent effect.
- Use the 'Blending Options' to create dynamic interactions between the shape and its background.
- Consider the context of your design when selecting fill types – certain projects may benefit from subtler textures or vibrant gradients.
Using Solid Colors
- First, select your shape layer.
- Then, click on the 'Fill' option in the toolbar.
- Lastly, choose a color from the palette or input a specific hex code for precision.
Remember to consider the color harmony and remove an object within your overall design, ensuring your filled shape complements other elements on your canvas.
Integrating Patterns
- First, select your shape layer.
- Then, click on 'Fill' and choose 'Pattern' from the dropdown.
- Lastly, browse through the available patterns or import your own for a unique touch.
Using the Paint Bucket Tool
- First, select the Paint Bucket tool from the toolbar or press 'G.'
- Then, set the foreground color to your desired fill.
- Lastly, click inside the shape to apply the color.
Customizing with the Paint Bucket
- First, adjust the 'Tolerance' setting to control the fill range.
- Then, toggle 'Anti-alias' to smooth out the edges of your fill.
- Lastly, use 'Contiguous' to fill only areas sharing common borders.
Applying Gradient Fills
- First, select your shape layer.
- Then, choose the 'Gradient Tool' or press 'G.'
- Lastly, click and drag across the shape to define the gradient's direction and length.
Frequently Asked Questions
How do I add multiple shapes in Photoshop?
- Select the Shape Tool: Choose the Rectangle, Ellipse, Polygon, Line, or Custom Shape Tool from the Tools panel.
- Create Your First Shape: Click and drag on your canvas to draw your first shape. Hold the Shift key while dragging to maintain perfect proportions or the Alt (Option on Mac) key to draw from the center.
- Add More Shapes: To add another shape, simply choose your desired Shape tool again and click and drag on the canvas. If you want these shapes to be on the same layer, make sure the “Combine Shapes” option is selected in the options bar at the top. This option merges shapes drawn subsequently into a single shape layer.
- Adjust Color and Style: Before drawing each shape, you can set the fill and stroke options in the Options bar to customize the appearance of your shapes.
How do you add a shape to an existing layer in Photoshop?
To add a shape to an existing shape layer in Photoshop, follow these steps:
Select the Shape Layer: In the Layers panel, click to select the layer where you want to add the new shape.
Choose a Shape Tool: From the Tools panel, select your desired Shape tool.
Draw the Shape: Click and drag on the canvas to add your new shape. Make sure the “Combine Shapes” option is selected in the options bar. This ensures that the new shape merges with the existing shapes on the selected layer.
How do I add shape properties in Photoshop?
Shape properties in Photoshop can be adjusted through the Properties panel, which allows you to modify fill, stroke, and other properties of a shape layer. Here’s how:
- Select the Shape Layer: Click to select the shape layer you want to modify in the Layers panel.
- Open the Properties Panel: Go to Window > Properties to open the Properties panel.

Conclusion
As we wrap up our exploration of shape creation and customization in Adobe Photoshop, I reflect on my personal journey with this powerful tool.
These tutorials are tailored to empower you, whether you’re refining your expertise or embarking on a new creative journey.
So, don’t hesitate, enhance your design prowess and join us today at the Photoshop Course and Lightroom Course to unlock your full creative potential!
Read more about Photoshop:


Ensuring Resolution Compatibility


Course

Light Effect Photoshop


Lightroom Course 2026

Adobe Photoshop Course 2026


