Introduction
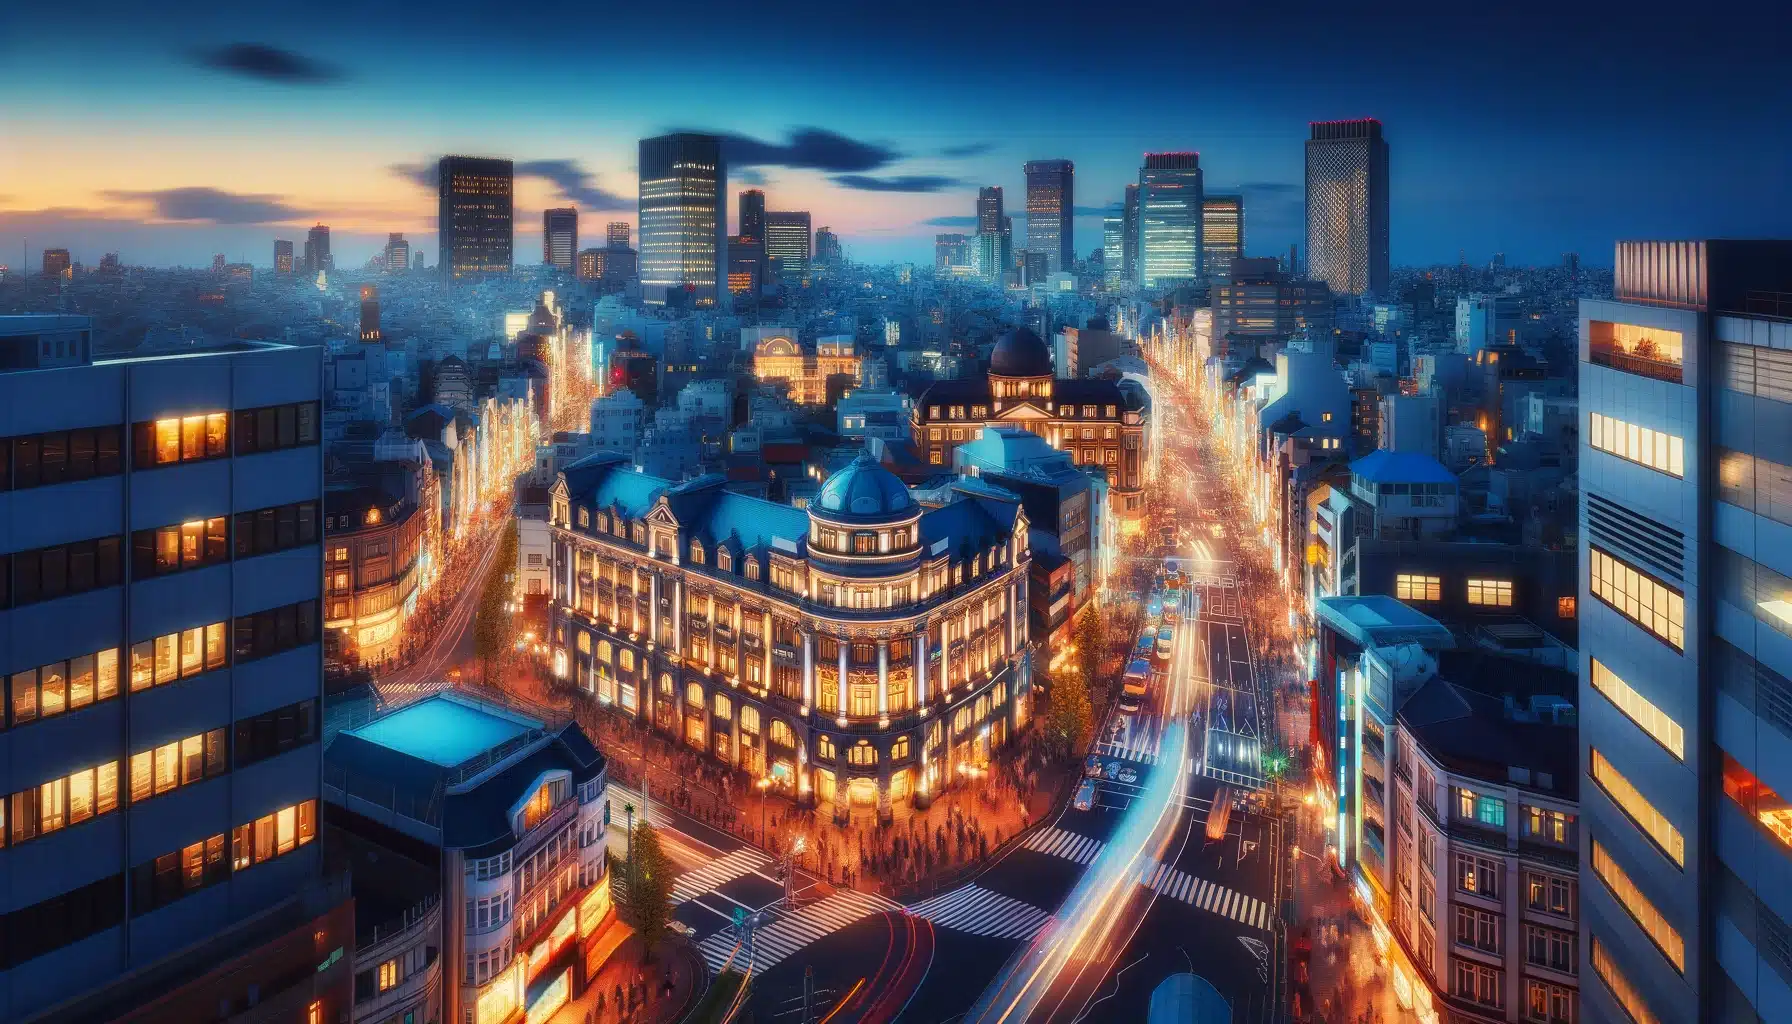
Urban landscape photography is all about capturing the beauty of cities and their surroundings. It shows how nature and buildings mix, creating stunning views. Using the right techniques, photographers can create amazing photos that tell a story of city life. Whether it’s tall buildings, busy streets, or quiet parks, urban landscape photography brings these scenes to life. Tips for urban landscape photography help you take better photos of these unique cityscapes.
In this article, we will explore key tips and techniques for capturing striking urban landscapes. You’ll learn about camera settings, lighting, and composition. We will also cover what equipment works best and how to improve your photos. By the end, you’ll be ready to take stunning urban landscape photos that stand out!
Table of Contents
Essential Gear for Urban Landscape Photographers
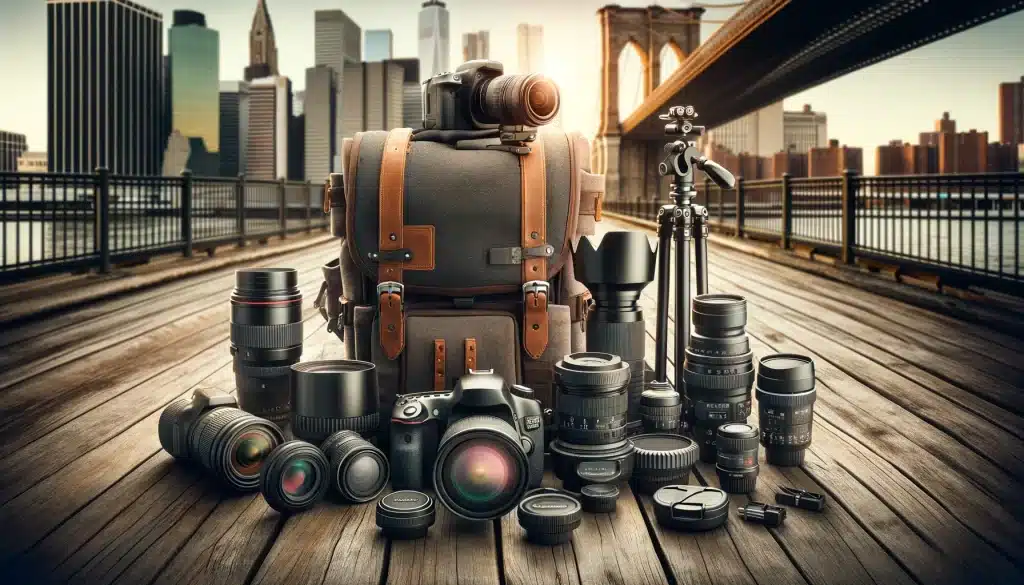
To capture urban landscapes effectively, using the right gear is essential. Whether you are shooting cityscapes, architecture, or street photos, your camera and equipment will make a big difference in the image quality. Here, we will cover the most important gear you need for urban landscape photography, explaining how each item helps you achieve sharp focus and stunning results.
The Right Camera
When it comes to cameras, mirrorless cameras are becoming the go-to choice for many urban landscape photographers. They are lighter than traditional DSLRs and offer high-quality images. A mirrorless camera is perfect for shooting in low light or when using a long exposure.
Different Lenses
There are a variety of lenses for landscape photography. Wide angle lenses are ideal for capturing tall buildings and the vastness of a large city. A zoom lens works well for focusing on specific architectural details or shooting from afar. For close-up street scenes, a 35mm or 50mm lens is a great option. These lenses help capture the human element and the little details that make your photos more personal.
Tripods and Stabilizers
A tripod is a must-have, especially for night photography or exposure photography. Using a tripod ensures your camera stays steady, resulting in sharp photos. Even with image stabilization built into your camera or lens, a tripod can help prevent any blur caused by camera shake.
Filters and Accessories
Filters are great tools for enhancing your urban landscape images. A neutral density filter allows you to take long exposures even during the day, by controlling the light that reaches your camera. This is especially helpful for capturing moving objects. Don’t forget to carry extra batteries, memory cards, and a cleaning kit to ensure your gear is ready for any urban environment.
Comparison of Camera Lenses for Urban Landscape Photography
Selecting the right lens is crucial for capturing the essence of urban landscapes. Each type of lens offers a unique perspective, allowing you to emphasize different aspects of the city. Below is a comparison table that highlights the best lenses for urban photography and how they can help you bring out different features of the city’s architecture, people, and scenes.
| Lens Type | Best Use | Strengths | Example Scene |
|---|---|---|---|
| Wide-Angle Lenses | Capturing large cityscapes (14mm – 35mm) | Great for fitting lots into the frame Ideal for tall buildings and streets | Skyline views or street views with leading line Photographing a whole block or crowded scene |
| Standard Lenses | Everyday urban shooting (35mm – 70mm) | Versatile, captures natural perspectives Works well for both portraits and wide shots | Street scenes with interesting people and movement Daily life scenes with people in the foreground |
| Telephoto Lenses | Focusing on specific details (70mm – 200mm) | Great for isolating subjects, zooms in on distant objects Compresses space, brings background closer | Close-ups of old buildings or zooming in on intricate details Capturing interesting objects far away |
| Prime Lenses | High-quality, fixed focal length (Fixed focal lengths: 35mm, 50mm) | Superior image quality and sharpness Lightweight and great for low-light conditions | Perfect for crisp, close-up street portraits Night shots or low-light daily life scenes |
Creative Composition Tips for Urban Landscape Photography
Creating a strong composition is key to stunning urban landscape photography. Whether you’re capturing huge buildings or the hustle of urban life, good composition can turn an ordinary scene into an interesting image. In this section, we’ll explore some creative composition tips to help you frame your shots and add depth to your urban landscape images.
Leading Lines to Guide the Viewer
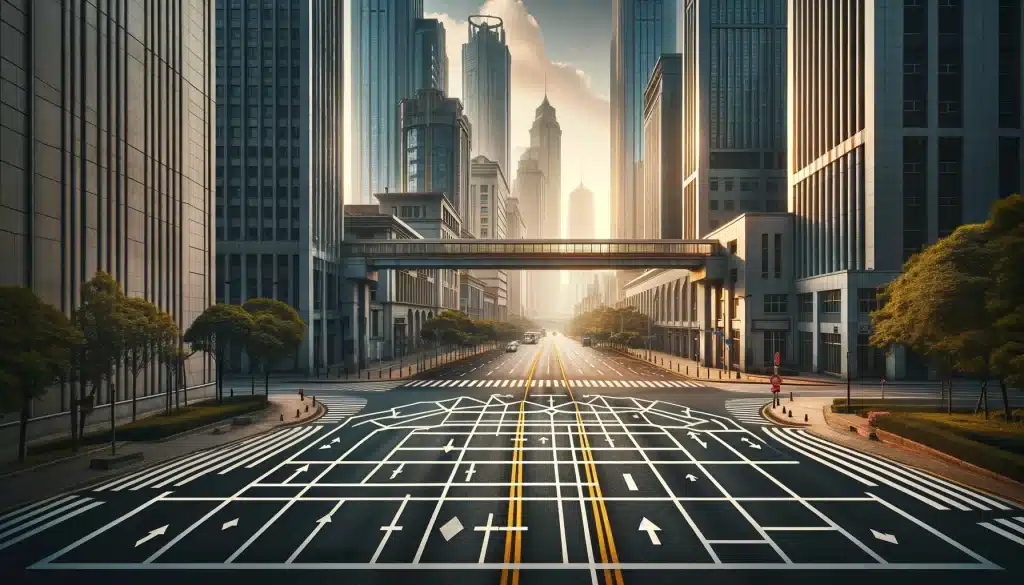
Leading lines are natural or man-made lines that guide the viewer’s eye through the photograph. Streets, buildings, and sidewalks create these lines that direct attention to the main subject, adding depth to the scene. This is a powerful tool for urban landscape photographers to make the city’s architecture come alive.
Framing with Foreground Elements
Using foreground elements helps create layers in your photos, making them more dynamic. For example, a photo of old buildings framed by an observation deck or tree branches can create a contrast between the natural elements and the urban setting. This technique works well when you want to add interest without cluttering the photograph.
Working with Negative Space
Negative space is the empty or less busy part of the photograph that surrounds the subject. In urban environments, you can use open skies or empty streets as negative space to highlight your subject. For example, shooting during early morning when streets are empty can allow you to use open space creatively.
Experiment with Different Angles
Explore different angles to add variety to your photos. Shoot from the ground up to capture the towering presence of buildings and streets, giving the viewer a sense of being surrounded by the urban sprawl. Alternatively, capture the scene from high vantage points like a rooftop or observation deck. This gives a bird’s-eye view that highlights the city’s layout and architecture.
Play with Reflections
Look for reflections in shop windows or puddles after rain to add an artistic touch. Reflections create symmetry and double the visual interest, making your urban landscape images more dynamic and engaging. For example, after a rainy day, capturing a reflection of the city skyline in a puddle can create a surreal, dreamlike scene. The mirrored view of people walking through the streets or traffic lights bouncing off wet surfaces can make even ordinary scenes feel artistic.
Using Lights and Shadows for Stunning Urban Landscape Photography
Lighting and shadows play a huge role in urban landscape photography. They help highlight certain features of the city and create dramatic contrasts. When used well, light and shadows can add depth, mood, and interest to a photo. Whether you’re capturing a city’s architecture, people, or street scenes, understanding how to work with light and shadows is key to creating beautiful images. Let’s explore the best techniques for using light and shadows to enhance your photos.
Shooting During the Golden Hour
The golden hour, right after sunrise and before sunset, is ideal for capturing good photos in urban settings. During this time, the light is soft, warm, and flattering. It highlights both the subject and the surrounding without creating harsh shadows. For example, if you’re photographing an old part of the city, the golden hour can make the textures come to life with gentle, glowing light. This time of day is perfect for street photography.
Night Photography and Long Exposures
When night falls, cities come alive with lights, creating fantastic opportunities for long exposure photography. Using a slower shutter speed, you can capture the movement of cars, creating mesmerizing light trails on busy streets. This adds a dynamic element to your pictures, contrasting the stillness of buildings and the movement of traffic. For example, a long exposure of a busy intersection during rush hour at night can show streaks of light, enhancing the energy of the scene. Remember to use a tripod to keep your camera steady during long exposures, especially in low-light conditions.
Working with Shadows in Harsh Light
Bright, midday sunlight can cast harsh shadows that might seem difficult to work with, but shadows can add depth and mystery to your photos. By framing your subject with shadowed areas, you can make the main subject stand out. Look for shadows created by buildings, trees, or other structures to enhance contrast and create beautiful images. Shadows are especially useful when you’re trying to capture the gritty side of urban settings, making the details pop and adding a sense of drama.
Capturing City Life: Street Photography and Urban Portraits
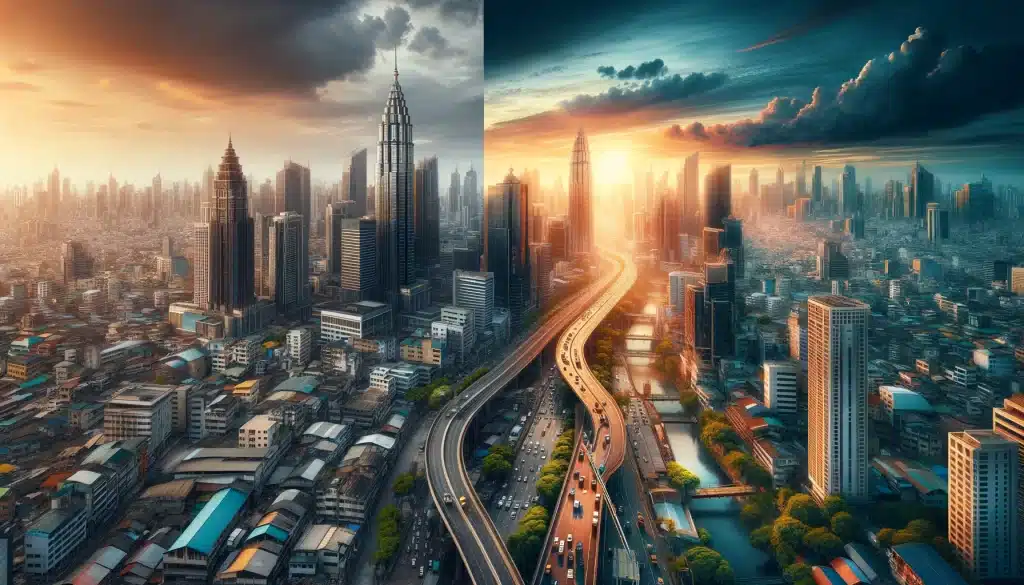
Street photography and city portraits focus on capturing the everyday moments and emotions of people in urban environments. Unlike natural landscapes or architecture, these types of photos highlight the human side of the city.
Capturing Candid Moments
Street photography is all about capturing candid moments that tell a story. It’s spontaneous and relies on the photographer’s ability to find and freeze interesting moments as they unfold. The streets are always full of life—people walking, talking, or going about their day. To capture these moments, you need to be patient and observant. For instance, a photo of someone reading a newspaper on a busy sidewalk can say a lot about the rhythm of city life.
Capturing Rush Hour Energy in Street Photography
Rush hour presents an excellent opportunity for street photography because it’s when cities are most alive. The energy can create interesting images full of movement and life. To capture the essence of rush hour, use a fast shutter speed to freeze the action or try a long exposure to show blurred figures or lights from vehicles. For example, photographing a crowded crosswalk with people moving in all directions can highlight the fast pace of city life.
Choosing the Right Lens and Settings
For street portraits, lens choice is crucial. A wide-angle lens helps capture more of the environment around your subject, while a 50mm lens is ideal for focusing on the person and creating soft, blurred backgrounds. Keep your shutter speed fast to freeze movement and avoid blurry shots, especially in busy areas. A narrow aperture can ensure both the subject and the background are sharp, creating detailed shots.
Long Exposure Techniques for Amazing Cityscapes
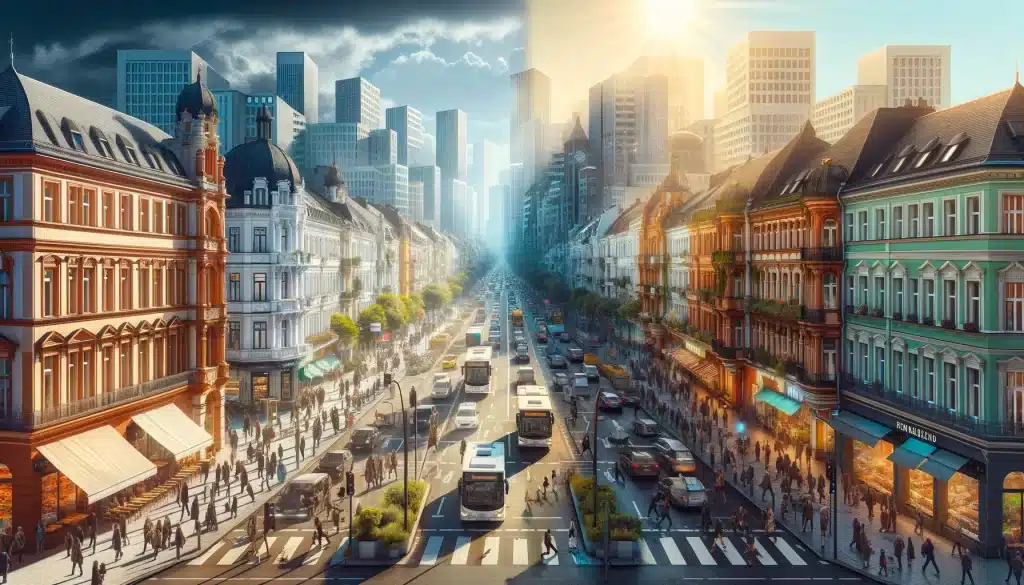
Shooting urban landscapes at night opens up a new world of creativity. The city lights, bustling streets, and glowing signs all offer endless possibilities. One of the best ways to capture the energy of a city after dark is by using long exposure techniques. This allows you to show motion, such as the trails of headlights or the blur of people walking by. In this section, we’ll explore how to experiment with long exposure and get the most out of your nighttime urban photography.
Creating Light Trails in Urban Landscapes
Light trails are one of the most exciting effects you can capture with long exposure. To achieve this, set up your camera on a tripod, and use a slow shutter speed. As cars pass by, their headlights will create streams of light that add motion to your photo. Using a narrow aperture and lower ISO helps keep the photograph crisp, while the long exposure creates those beautiful trails.
Nighttime Photography in Mega Cities
In large, bustling cities, the overwhelming scale of the skyline can make for breathtaking nighttime shots. Cities like New York, Hong Kong, or Tokyo, with their glowing skyscrapers and endless streets, offer the perfect playground for long exposure photography. Find a high point, such as a rooftop and capture the twinkling city lights and the moving traffic below. A wide-angle lens is ideal for capturing the grandeur of mega cities, while a zoom lens can help you focus on specific people or busy intersections.
Balancing Shadows and Highlights
Nighttime photography is all about balancing the deep shadows and bright highlights. This can create a dramatic contrast that adds depth to your photos. For example, when photographing buildings lit by streetlights, the shadows can help frame the structure and draw attention to its details. Use the contrast between dark and light to guide the viewer’s eye through the photo. Experimenting with different focal lengths can also help you capture unique perspectives on daily life in the city after dark.
Best Camera Settings for City Landscape Photography
When it comes to capturing cityscapes, choosing the right camera settings is crucial for producing high-quality photographs. These settings can vary depending on the scene and the type of image you want to create. Different conditions, like bad weather or different seasons, can require adjusting your settings. For example, on a cloudy day, using a higher ISO helps capture enough light, while on sunny days, a lower ISO keeps the photograph sharp. Below is a comparison table that breaks down the different settings and how they affect your photos.
| Setting | Best Use | Impact on Photo | Example Scene |
|---|---|---|---|
| Aperture | Narrow (f/8 – f/16) Wide (f/2.8 – f/5.6) | Ensures more of the image is in focus, great for cityscapes Blurs background, great for portraits | City skyline with multiple buildings Capturing people on busy streets |
| Shutter Speed | Fast (1/250s and above) Slow (1/10s – 30s) | Freezes motion, useful for crowded shots Blurs motion for artistic effect, ideal for light trails | People walking or cars moving Traffic moving at night |
| ISO | Low (100-400) High (800 and above) | Reduces noise, best for bright conditions like golden hour Increases sensitivity to light, but adds grain | Morning or sunset scenes Night scenes or bad weather |
| Focal Length | Wide (14mm – 35mm) Telephoto (50mm – 100mm) | Captures a broad scene, perfect for an urban landscape Focuses on details, ideal for specific architectural features | Tall or wide views Old buildings or close-up shots |
The Creative Power of Color vs. Black & White in Urban Photography
In urban photography, both color and black & white offer different ways to tell a visual story. Choosing one over the other depends on how you want to express the mood and atmosphere of the scene. Color helps to capture the energy and vibrancy of the city, making bright tones pop. On the other hand, black & white photography emphasizes structure, light, and shadows, bringing out the shapes and textures lost in a colorful photograph. Let’s explore how they each contribute to the creative process in city photography.
Vibrant Colors for Energy
Color can bring life to a landscape, making interesting people, buildings, and street scenes stand out. Bright colors, like neon signs or colorful graffiti, can capture the energy and chaos of a busy city street. For instance, a person wearing a bright coat walking past a dull, gray street scene can create a strong contrast, making the subject pop. Using the best light—such as during the golden hour—can make colors even more vivid.
Black & White for Drama and Focus
Black & white photography removes the distraction of color and shifts focus to the shapes, textures, and shadows of the urban environment. It works especially well when photographing cities with lots of contrasting straight lines and architectural features. For instance, a black & white shot of a modern skyscraper can emphasize the boldness of its design It’s a favorite technique for street photographers who want to capture candid moments in a timeless, artistic way.
When to Choose Black & White Over Color
The decision to shoot in black & white versus color often depends on the story you want to tell. If you’re photographing a vibrant, energetic market or colorful graffiti, color might be the best choice to showcase the lively atmosphere. But if you’re focusing on texture, form, or the grit of urban life, black & white can add a layer of timelessness and depth to the image.
Post-Processing Tips to Enhance Urban Landscape Photograhy
After shooting urban landscapes, post-processing is the final step to bring your photos to life. Tools like Photoshop and Lightroom offer powerful editing capabilities that allow you to enhance colors, adjust contrast, and emphasize the details that make cityscapes so unique. Whether you’re highlighting bold leading lines or toning down harsh shadows post-processing can take your photos to the next level. Let’s break down some key tips for editing landscape photos effectively.
Enhancing Color and Contrast
In urban photography, adjusting color and contrast can significantly enhance your images. Using Adobe Lightroom, you can boost vibrancy and saturation to make colors more striking, especially during times when the lighting creates soft tones or muted colors. Photoshop offers precise color correction, ideal for highlighting vivid details like neon signs or graffiti. This is especially useful when capturing gorgeous views of city streets during different times of the day.
Correcting Lines and Perspective
In cities, you’re often photographing tall structures and buildings with straight lines. But these can sometimes appear distorted depending on the angle. Post-processing tools like Lightroom offer perspective correction features that straighten the lines, ensuring the architecture looks natural and not warped. For example, if you’ve shot the tallest building in your city, correcting the perspective will help the structure appear upright and balanced.
Sharpening and Clarity for Details
When working with street photographs or detailed architectural shots, sharpening and clarity are essential. Lightroom’s clarity tool helps to bring out the finer textures in buildings and streets. It’s particularly useful for emphasizing patterns, bricks, or intricate details. However, avoid over-sharpening, as it can make images appear unnatural.
Removing Unwanted Elements
When photographing busy cities, it’s common to capture unwanted objects like stray people, cars, or distracting items. Using Photoshop, you can easily remove these elements to clean up your image. For instance, if there’s an object or person interrupting the flow of leading lines, the clone tool or healing brush can remove it seamlessly.
FAQs: Key Tips for Urban Landscape Photography
When it comes to urban landscape photography, there are several techniques and principles that can elevate your work. Below, we answer some of the most common questions about urban landscape photography to guide you.
How to photograph urban landscape?
To photograph an urban landscape, find interesting spots in the city. You can capture wide views from observation decks or focus on close-up details of streets and buildings. Use a mix of angles or reflections in windows or puddles to add more depth. Using a wide-angle lens can help you fit more into the frame, while zoom lenses are great for focusing on smaller details. It’s a good practice to shoot urban landscapes at different times of the day for varied lighting.
What are the 4 essentials to a landscape photo?
There are four important things to remember when taking a natural landscape photo: composition, light, focus, and depth. Composition is how you arrange the elements in the frame. Good light can make your photos more interesting, especially during sunrise or sunset. Keep your key elements in focus to make sure the image is clear. Adding depth, like placing objects in the foreground, gives your photograph dimension.
What is urban landscape photography?
Urban landscape photography is the art of capturing city scenes and structures. It focuses on things like buildings, streets, and city life, unlike natural landscape photography which focuses on nature. This type of photography shows the interaction between people and the places they live. Whether you are photographing a busy street or a quiet alley, an urban landscape reveals the beauty of cities.
How can I make my landscape photography more interesting?
To make your landscape photography more exciting, experiment with new angles and different times of day. Capture reflections in water or glass to add depth to your images. Including people or activity can bring energy to your shots. Try night or street photography for dramatic effects.
Conclusion
I remember my first time trying to shoot urban landscapes—I was standing on a busy street, unsure how to capture it. By trying lighting, composition and other tips for urban landscape photography, I found my way. Now, I often seek out reflections and details that add depth to my images.
If you want to improve your skills in urban landscape photography, I highly recommend checking out our courses. Our Photoshop Course and Lightroom Course will guide you step by step, helping you edit and enhance your cityscape photos with professional techniques. Start today and take your photography to the next level!
Have a nice photoshoot!
Learn more about Photography Techniques

