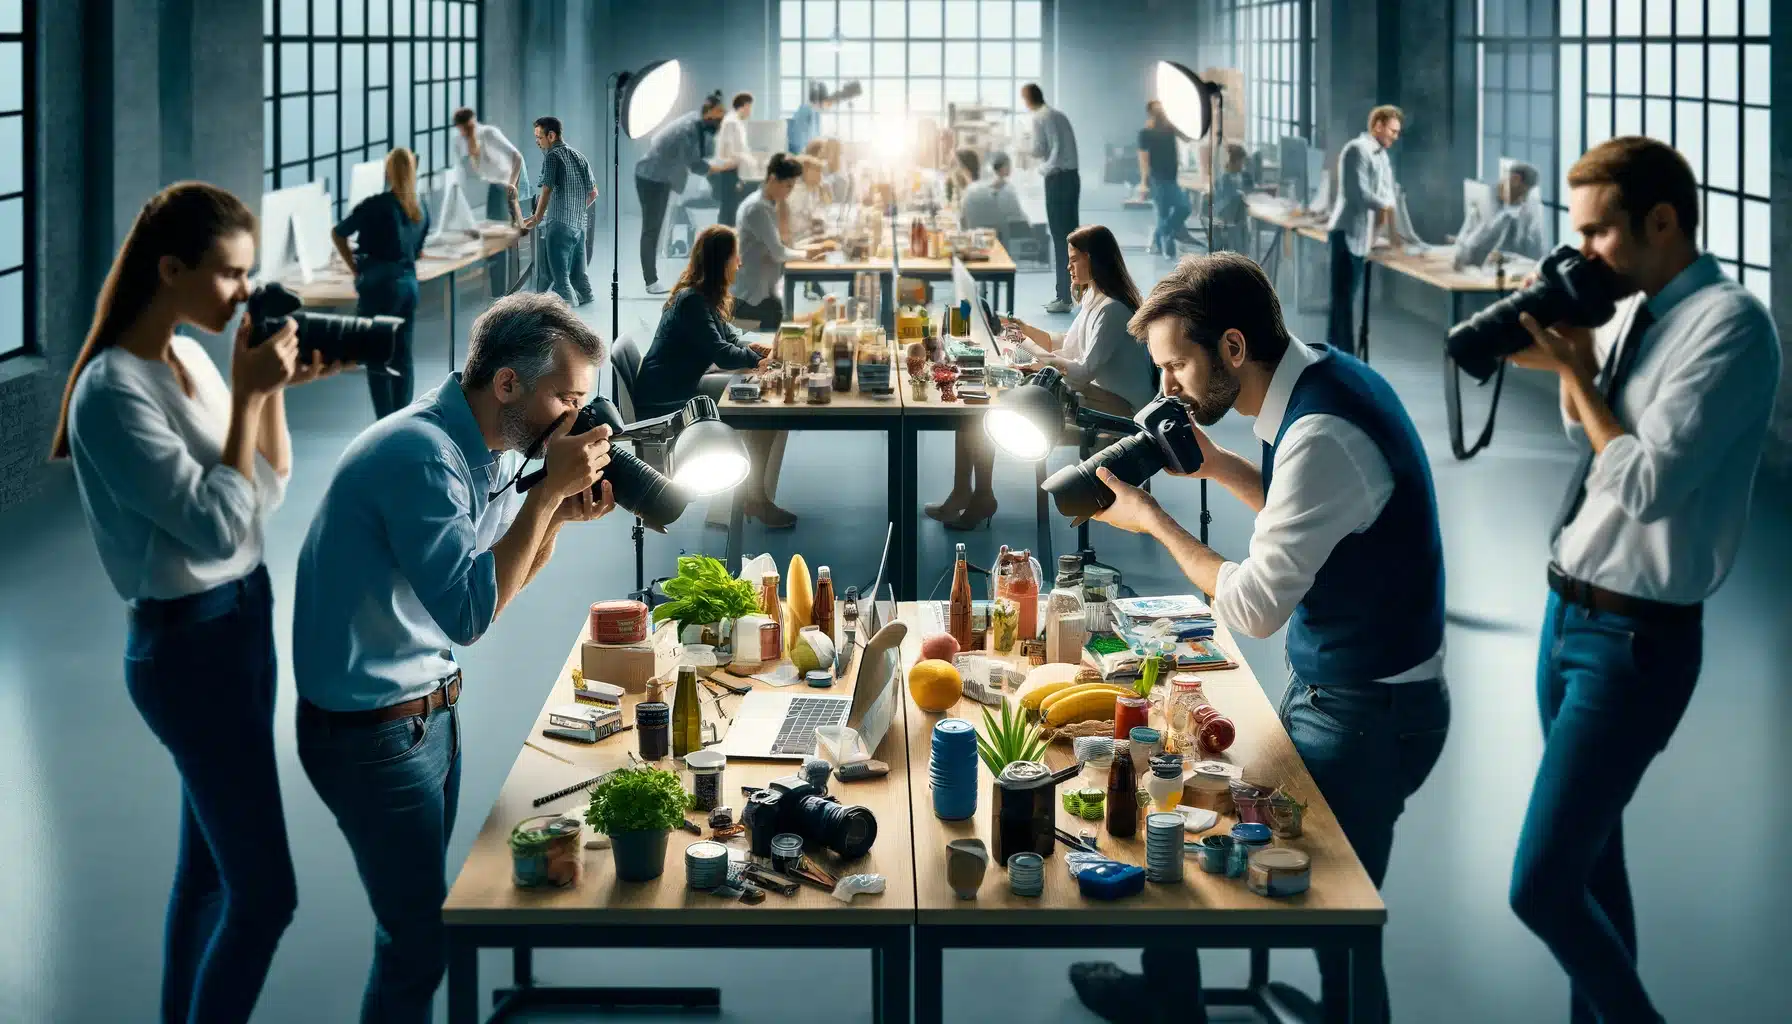
Introduction to Essential Tips for Product Photography
Welcome to the fascinating world of product photography, a realm where creativity meets commerce, crafting visual narratives that entice and engage. This introduction is not just about the ‘what’ and ‘how’ but also the ‘why’ of capturing images that do more than just showcase a product. They tell its story, highlight its value, and ignite desire.
In this world, every detail matters—from the gleam of light on a surface to the shadow that defines shape. Photography is not merely about taking pictures. It’s about crafting a vision, setting a scene, and telling a tale that makes each product a hero in its own right. So, let’s dive into the article on product photography tips. Unlock the secrets to 360 product photography or a normal one, that not only looks good but also sells.
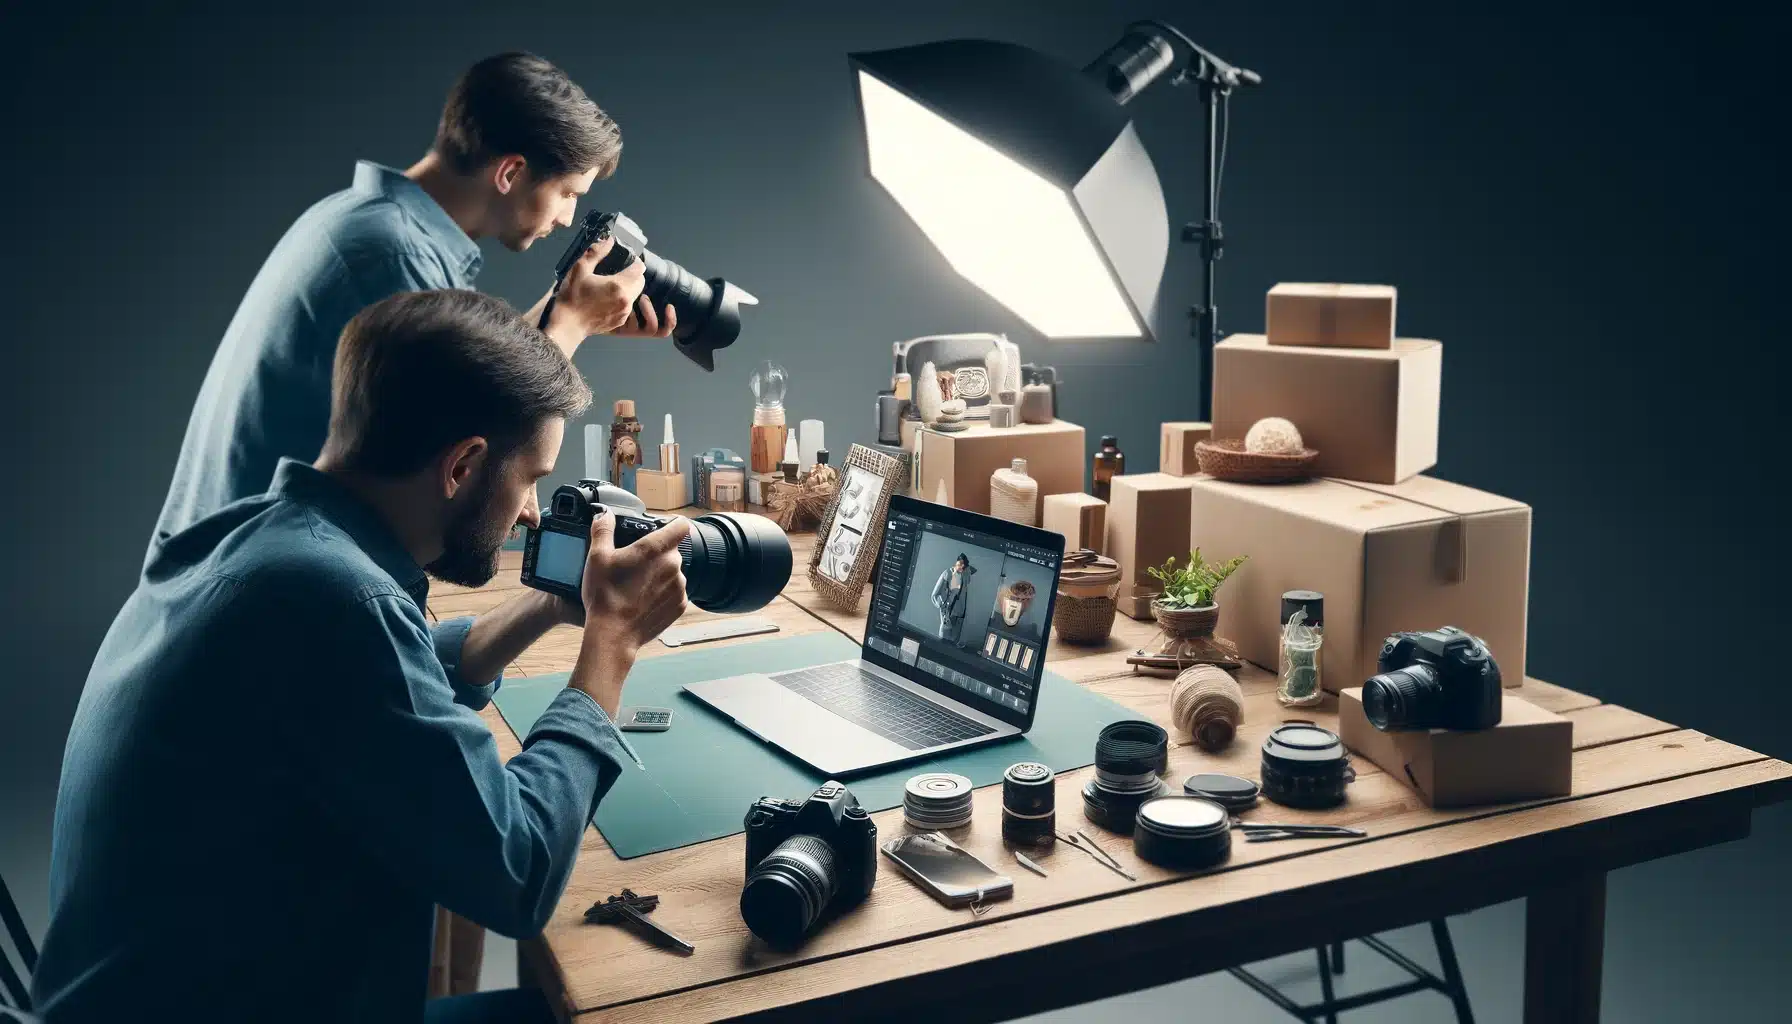
Table of Contents
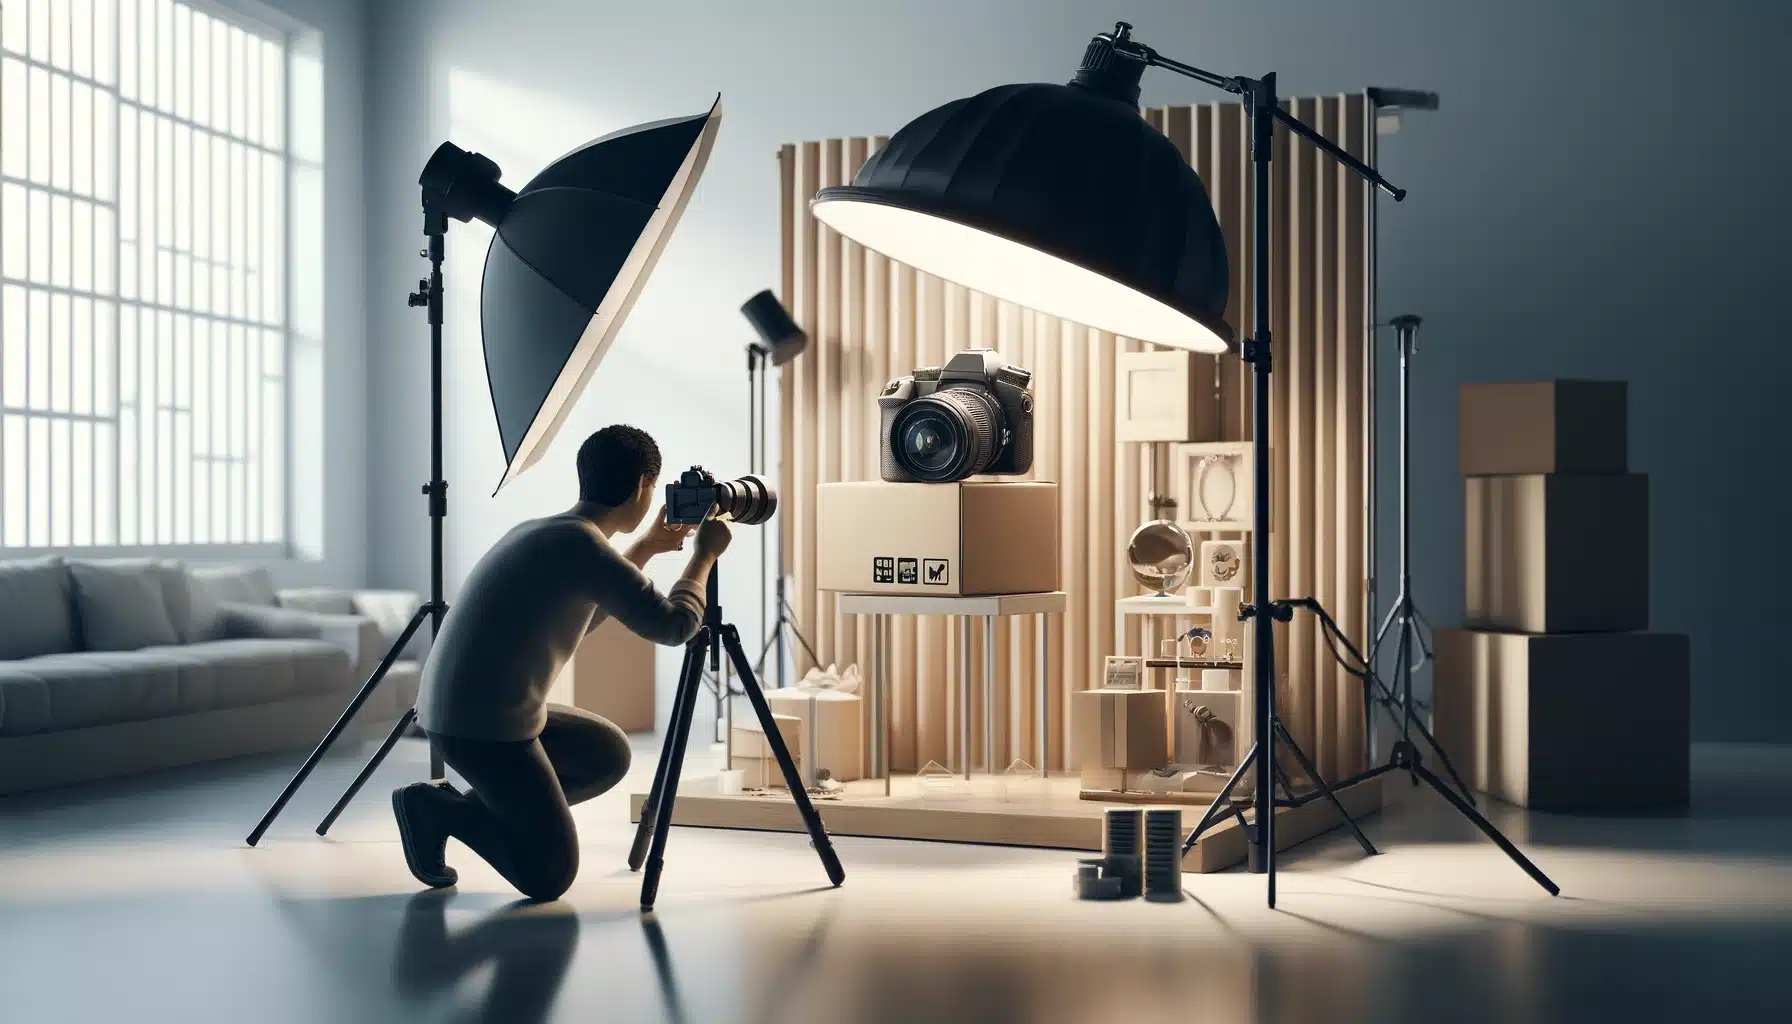
Essential Equipment for Product Photography
1. Camera and Lens
The journey into insights for catalogue photography begins with the right camera and lens. A DSLR or mirrorless camera with manual control features is ideal. For lenses, a macro lens can capture detailed close-ups of small products, while a standard 50mm lens is versatile for larger items. This equipment is crucial for implementing effective product photography tips.
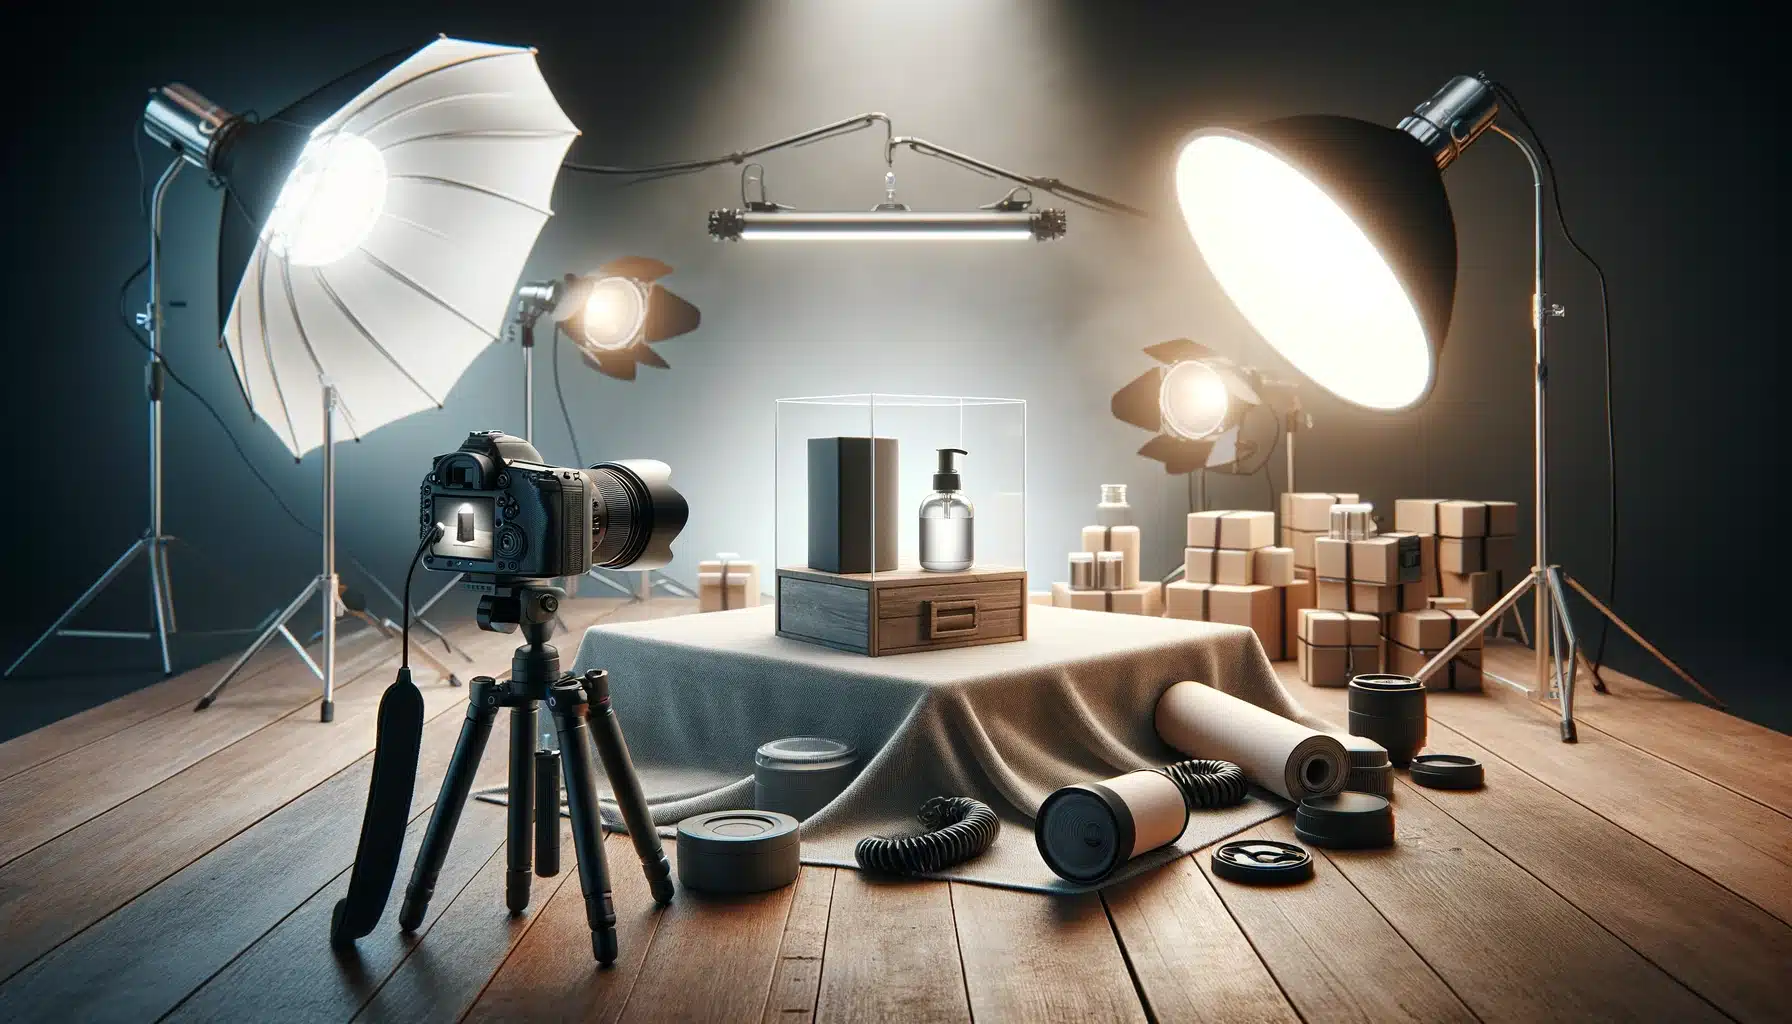
2. Lighting: Illuminate Your Subject
Good lighting is key to making your products look their best. Start with a basic two-light setup to eliminate shadows and highlight the product’s features. Softboxes or umbrella lights can provide soft, even lighting. Remember, proper lighting is one of the top product photography tips for achieving professional results.
3. Tripod: Stability for Sharpness
A sturdy tripod ensures sharp, clear images by preventing camera shake. This stability is especially important for achieving consistent quality in product imaging. Our recommendations for product imaging always include using a tripod to maintain consistency in your shots.
4. Backdrops: Set the Scene
A variety of backdrops can dramatically change the look and feel of your product photos. White backdrops are a classic choice for a clean, simple look, while colored or textured backdrops can add interest and context to your images. Applying these product photography tips can elevate the appeal of your products.
5. Reflectors and Diffusers: Control Your Light
Reflectors can bounce light back onto the product, reducing shadows and highlighting details. Diffusers soften the light, creating a more flattering look for your products. Both tools are essential for refining the lighting in your product photography. It is one of the great tips for product photography.
Lighting Techniques in Product Photography

Types of Lighting in Product Photography
- Natural Lighting: Utilizes sunlight to create a soft and natural look for product images. It's ideal for products that are used outdoors or in natural settings. The key here is to use the available light to create a realistic and relatable image of the product.
- Artificial Lighting: Involves studio lights, flash, and other artificial sources to illuminate the product. This type of lighting provides control over the intensity, direction, and color of the light. It allows consistent and precise product images.
Key Lighting Techniques
- Softbox Lighting and Umbrella Lighting: A softbox diffuses the light, creating a broad, even light source. It is perfect for reducing harsh shadows and highlighting the details of the product. It's a fundamental technique in product photography tips to achieve a soft and uniform look. Umbrella Lighting is similar to softbox lighting but with a wider spread, umbrella lighting softens and diffuses light over a larger area.
- Ring Lights: Provide even, direct light around the lens and are excellent for highlighting small details. They are particularly popular in Strategies for merchandise imaging for smaller products like jewelry or cosmetics. It is an integral part of photography.
Advanced Lighting Setups
- Three-Point Lighting: Consists of a key light, fill light, and backlight. This setup creates depth and dimension in product images, making the product awesome by defining its contours and textures. The key light is the main light source, the fill light balances the shadows created by the key light.
- High-Key and Low-Key Lighting: High-key lighting uses lots of light to reduce shadows and create a bright, upbeat picture. In contrast, low-key lighting creates dramatic contrasts and shadows for a moodier, more intense effect. The backlight separates the product from the background.
Choosing the Right Background for Product Photos

The Impact of Background on Product Imagery
Selecting the appropriate background is crucial for producing high-quality product photos. It can either enhance the product’s features or distract from them. A key tip for product photography is to choose a background that complements the product. The right background can significantly affect the perception and appeal of your product in catalogue images.
Solid Color Backgrounds
Solid backgrounds, particularly white or neutral tones, are a staple in product photography. They are effective for highlighting the product without any distractions, providing a clean and simple look. This is especially beneficial for online stores and catalogues, where the consistency of product photos is essential. White or light grey backgrounds can help create a uniform look for all products.
Textured or Contextual Backgrounds
While solid backgrounds are universally applicable, textured or contextual backgrounds can add depth and story to your product photos. For example, a wooden texture might be perfect for eco-friendly products, enhancing the natural aspect of the items.
Similarly, placing a product in a contextual setting, like a kitchen appliance can provide—consumers with a better understanding of the product’s scale. It uses a technique often highlighted in tips for product photography.
Reflective and Transparent Backgrounds
For products that benefit from a high-end, luxurious feel, reflective surfaces like glass or polished metal can add an elegant touch. Transparent backgrounds, achieved through editing, can be particularly useful for integrating product photos into various marketing materials. It allows for greater flexibility in design layouts.
| Background Type | Usage |
|---|---|
| Textured | Lifestyle, artisan products |
| Contextual/Themed | Marketing campaigns, brand storytelling |
| Neutral Tones | Clothing, general retail |
| Vibrant Colors | Children’s products, festive merchandise |
| Natural Settings | Outdoor gear, gardening tools |
| Industrial/Urban | Automotive parts, machinery |
| Bokeh | Jewelry, watches, luxury goods |
Lens Selection for High-Quality Product Images
1. Essential Lens Features
Choosing the right lens is crucial for capturing clear product images. A wide aperture (like f/2.8) allows more light and is ideal for indoor shoots. Balance this with a low ISO to reduce noise in your photos. The 50mm lens is versatile, perfect for general product retail photography on a table setup, while a macro lens captures detailed close-ups essential for showcasing textures.
2. Aperture and Shutter Speed
The aperture not only affects the amount of light entering the lens but also the depth of field. A narrower aperture (higher f-number) ensures the whole product is in focus, vital for detailed product images. Shutter speed controls motion capture; a faster speed will freeze the action, crucial for avoiding blur in your shots. Keep these settings in mind to maintain clarity and detail in every photo.
3. Overcoming Challenges
Lens flare and blur can detract from the quality of your product images. To prevent lens flare, position the light source correctly and use a lens hood. A tripod can also stabilize your camera, ensuring sharp product images every time. Using a lens hood can also help block out unwanted light.
4. Fitting Lens to ECommerce
The lens choice should match the type of products being photographed. In e-commerce, clear, detailed product images are essential for attracting customers. The Advice for eCommerce Photography emphasizes using a lens that enhances the product’s features, making it appealing and accurate in the online business realm.
Best Lenses For Products Photography

| Lens Model | Focal Length | Aperture | Features |
|---|---|---|---|
| Canon EF STM | 50mm | f/1.8 | Budget-friendly, good for beginners, decent close focusing |
| Sigma Art | 24-105mm | f/4 | Wide focal length range, consistent exposure, and depth of field control |
| Nikon Z VR | 24-200mm | f/4-6.3 | Wide range, built-in image stabilization, versatile for different types of shots |
| Sony FE G OSS | 24-105mm | f/4 | Wide-angle to medium telephoto, optical image stabilization, great for Sony cameras |
| Canon EF Macro USM | 180mm | f/3.5 | Excellent for close-up product photography, sharp images |
| Nikon Z MC VR S | 105mm | f/2.8 | Macro lens, 1:1 magnification, built-in VR for sharper handheld shots |
Editing Tips for Product Photography

The Basics of Photo Enhancement
Editing is a critical step in turning good product photos into great ones. A photographer must focus on color correction, exposure adjustments, and sharpening details to make the product stand out. Especially in low-light conditions, enhancing brightness and contrast can significantly improve the quality of the shot.
Focus on Details
For product photos, every detail counts. The photographer should zoom in and remove any imperfections, like dust or scratches, to ensure the product photos look flawless. This careful attention to detail aligns with the guidelines for commercial photography, emphasizing the importance of presenting products in their best possible light.
Lifestyle and Context
Adding a lifestyle element to product photos can make them more relatable to potential customers. A photographer capturing a product in use, in a real-life scenario, adds depth to the shot, making it easier for customers to imagine the product in their own lives. This lifestyle approach can turn product photos into a powerful tool for storytelling and brand building.
The Art of Retouching
Retouching is an art that goes beyond basic editing. It involves enhancing textures and colors to make product photos pop. In this phase, the photographer must carefully balance the elements to maintain the natural look of the shot—while highlighting the product’s best features. The best tool for this is Adobe Lightroom and Adobe Photoshop.
Preparing for the Online Store
Finally, optimizing product photos for your online store is crucial. They should be resized and formatted appropriately to ensure fast loading times and compatibility across devices. High-quality, well-edited product photos greatly contribute to the visual appeal of an online store, encouraging customers to explore and purchase.
Advanced Product Photography Tips from Experts
Following are the advanced tips for product photography for professionals.
1. Mastering Natural Light
Capturing natural light is a cornerstone in creating quality product photos. Experts stress the importance of timing your shoot to utilize the golden hours, ensuring a free, natural glow on the products. This approach not only enhances the shot but also imbues it with an authentic feel, crucial for product photography.
2. Detail-Oriented Focus
In tip for product photography, every detail matters. As a photographer, you need to focus intently on the product to ensure every shot captures its essence. High-quality images require a keen eye, and making sure each shot is perfect will reflect the best aspects of the product. Don’t compromise on the details; they can make or break your shot.
3. Creative Composition and Shooting
Creating compelling compositions in your shots is essential. Don’t just aim for the standard; strive to create visuals that tell a story. A photographer should focus on innovative angles and settings that will showcase the product in the best light, enhancing the overall impact of the product photos.
4. Post-Production Perfection
After the shoot, refining your shots in post-production is key to achieving the best quality. Don’t overlook the power of editing to transform good images into great ones. Photographers should invest time in adjusting the focus, color balance, and sharpness to ensure each product photo is free of flaws and visually striking. It is one of the best tips for product photography.
Frequently Asked Questions
Q: What background color should I choose for my product photos?
A: Neutral colors like white or gray are versatile and make the product stand out, making them great for various online store platforms.
Q: How important is the setup in product photography?
A: A well-thought-out setup ensures that the product is the focal point and is presented in the best possible way, adhering to tips for product photography.
Q: Can editing improve the quality of product photos?
A: Yes, effective editing can transform a good shoot into a great one. It allows you to adjust exposure, color balance, and sharpness, and remove any unwanted elements.
Q: What makes a product photo look professional?
A: A professional product photo is characterized by clear focus, good lighting, and a background that doesn’t distract from the product. The setup should be planned to highlight the product’s features, and editing should be used to refine the image for the store.
Q: What are the two most crucial tips for product photography?
A: Backdrops and reflectors are the two main crucial tips for product photography that can make your photos look at the next level.
Conclusion
In my experience, the right setup and editing have transformed my shoots, like when adjusting lighting improved a product’s color accuracy. This personal insight aligns with the tips for product photography, underscoring the significance of meticulous setup and post-processing.
To delve deeper into these skills, I recommend our Photoshop Course and Lightroom Course. They provide essential knowledge and product photography tips to elevate your power.
Have a nice photoshoot!


Course

Light Effect Photoshop


Lightroom Course 2024

Adobe Photoshop Course

Photo Editing Course
Get the latest version of Photoshop & Lightroom