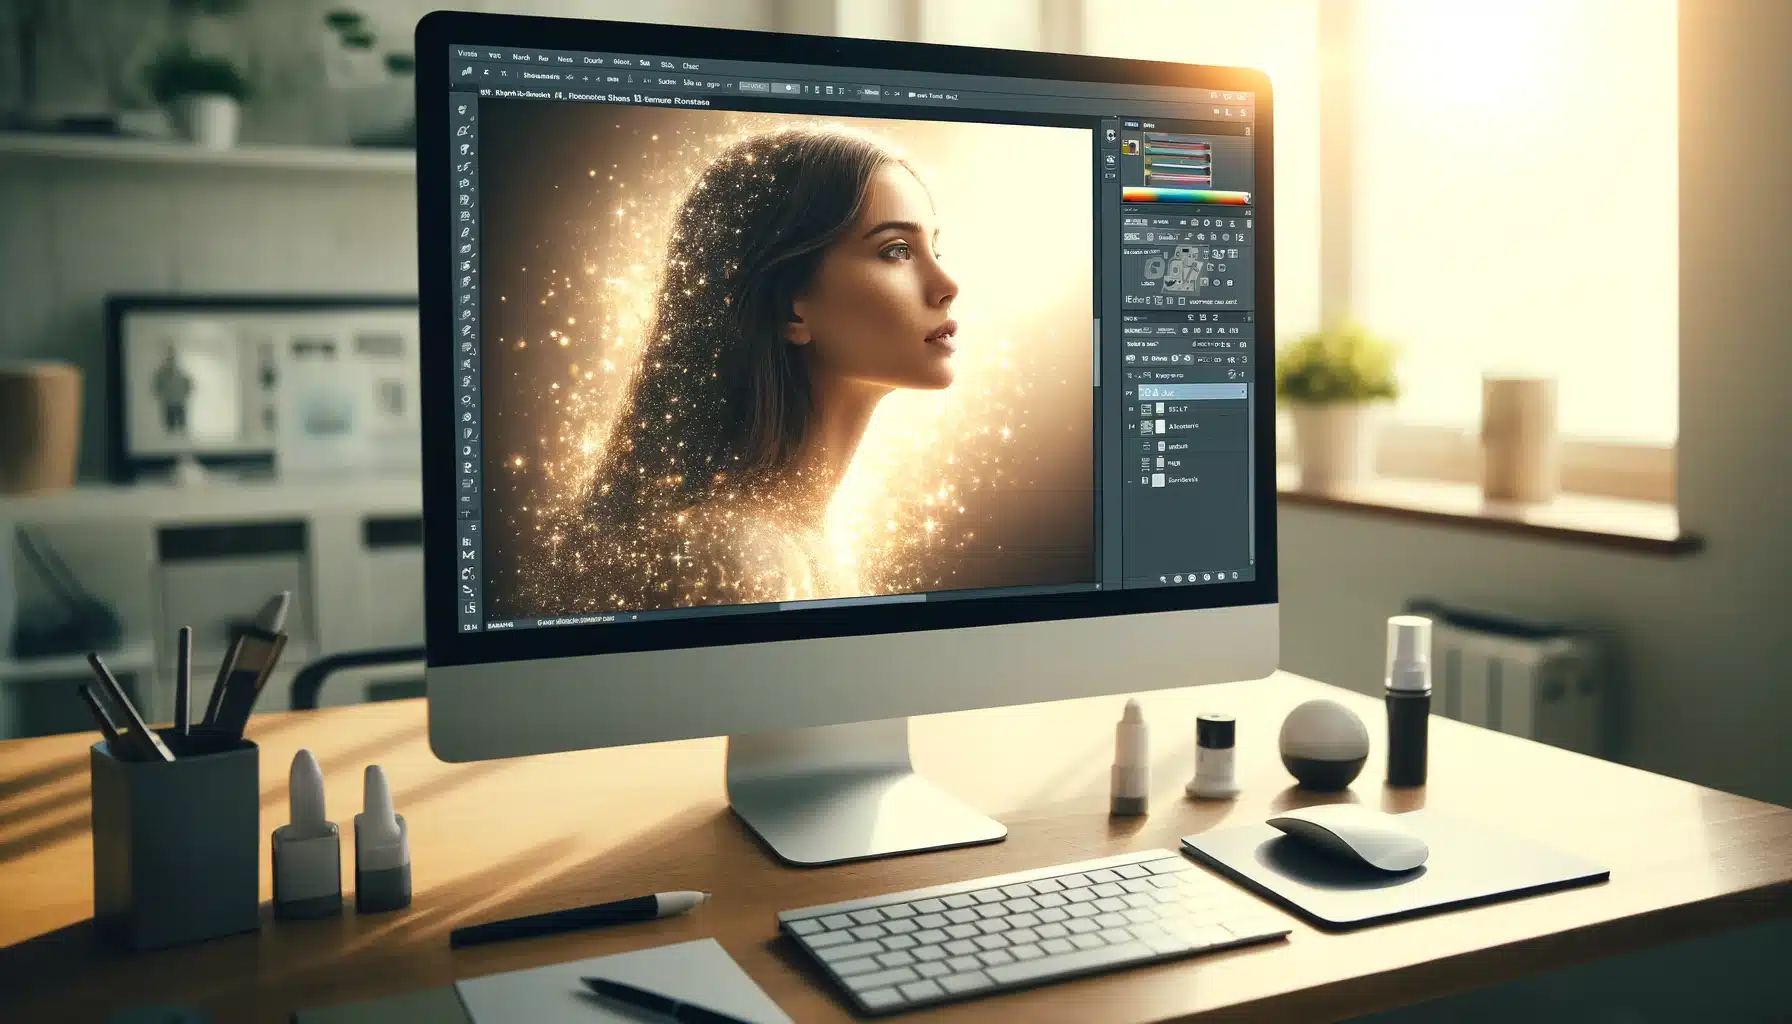
As an expert photographer, I’m excited to share how you can add magical shimmer effects to your photos. This tutorial will guide you through creating dazzling sparkle effects in photoshop. Whether you want to add a touch of magic to a portrait, highlight details in a landscape photography, or experiment with creative effects, this guide has got you covered. By mastering these techniques, you’ll be able to transform your images with beautiful glittering effects. Dive in to learn how to make your lenses sparkle with brilliance.
Table of Contents
How to Create a Sparkle Brush in Photoshop
| Step | Description | Purpose | Tools/Options Involved |
|---|---|---|---|
| Open a New Document | Start Photoshop and initiate a new document. | Provides a clean workspace. | File > New, specify dimensions, background content as white. |
| Create Sparkle Shape | Select the drawing instrument from the toolbar or press B. | Forms the base for the sparkle shape. | Select round, hard option from presets, adjust size, place dots. |
| Add Glow Effect | Apply Gaussian Blur via Filter > Blur > Gaussian Blur to merge the blurred layer with the original dots. | Adds a soft glow around the dots, mimicking a sparkle. | Filter > Blur > Gaussian Blur, adjust radius, merge layers. |
| Define Brush Preset | Use the Rectangular Marquee Tool to select the area containing the sparkles. | Saves the sparkle design as a reusable preset. | Edit > Define Brush Preset, name the preset. |
| Adjust Brush Settings | Access the Brush Settings panel via Window > Brush Settings. Transfer: Opacity Jitter to 50%. | Customizes the behavior of the new brush for natural-looking sparkles. | Window > Brush Settings, adjust Shape Dynamics, Scattering, Transfer settings. |
This step-by-step guide will walk you through the process of making your own sparkle brush. With clear instructions and helpful tips, you’ll be able to create dazzling, custom sparkle effects that bring your designs to life. Whether you’re a beginner or an experienced designer, this guide will help you add a touch of magic to your artwork.
Step-by-Step Guide to Creating a Sparkle Brush
1. Open a New Document
- Open Photoshop and generate a new document. Go to the File menu and select New.
- Set the dimensions to 500 x 500 pixels, and ensure the background contents are set to White.
2. Create Sparkle Shape
- Select the Brush Tool from the toolbar or press B on your keyboard.
- Choose a round, hard brush from the Brush Presets.
- Set its size to around 20-30 pixels.
- Click a few times randomly in the document to make a cluster of dots. These will form the base of your glimmer effect.
3. Add Glow Effect
- Duplicate the layer with your dots by dragging it to the New Layer icon in the Layers panel.
- Go to Filter > Blur > Gaussian Blur and apply a slight Blur to the duplicated layer to compose a glow effect or soft glow effect.
- Merge these layer with the original dots by selecting both sheets, right-clicking, and choosing Merge Layers.
4. Define Brush Preset
- Use the Rectangular Marquee Tool to select the area containing your sparkles.
- Go to Edit > Define Brush Preset.
- In the dialog box that appears, name your new brush and click OK.
5. Adjust Brush Settings
- Open the Brush Settings panel by selecting Window > Brush Settings.
- Adjust the Configuration : Shape Dynamics - Size Jitter(100%), Angle Jitter(100%); Scattering - Scatter(1000%), Count(1); Transfer - Opacity Jitter(50%).These settings will ensure your applicator creates a random, natural-looking shimmer effect when used.
Tips for Using Your Sparkle Brush
- Add a New Layer: Always add sparkles on a new layer so you can adjust them without affecting your original picture.
- Experiment with Colors: Set your foreground color to white for a classic sparkle effect, but don’t hesitate to experiment with other colors for different effects, such as simulating light glinting off a camera lens or even adding new text effects to your project.
- Vary Brush Size: Use the [and] keys to quickly change the applicator size while painting, allowing for varied sparkle sizes.
By following these tips, you can create and use a custom sparkle bristle in Photoshop, adding a magical touch to any photo or digital artwork.
Enhancing Sparkle Effects with Additional Photoshop Tools
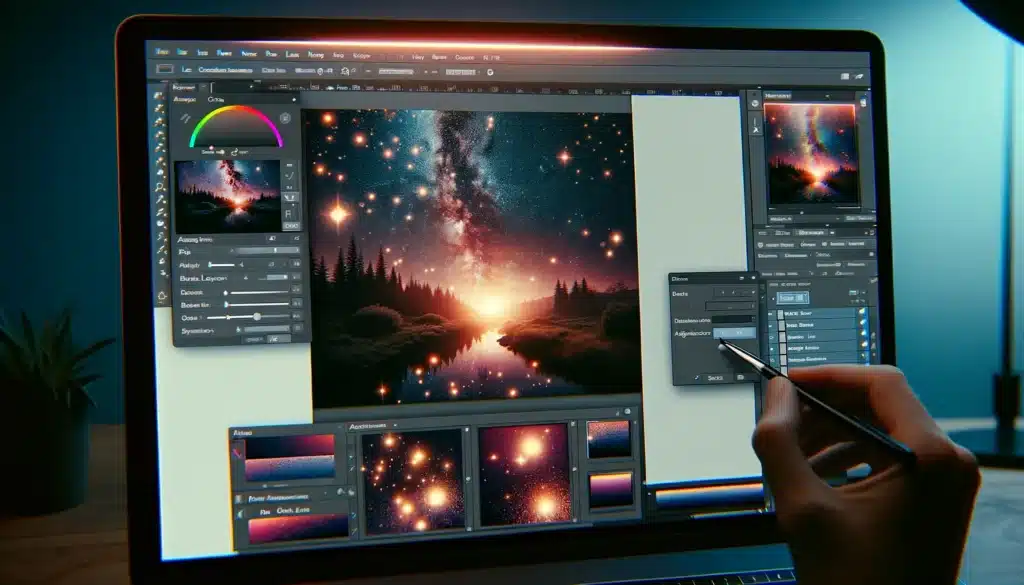
Here’s how you can enhance your sparkle effects using some of Photoshop’s powerful features. By utilizing these tools, you can add depth, dimension, and a touch of magic to your designs. Elevate your artwork with these techniques to create stunning, eye-catching effects.
Using Adjustment Layers for Enhanced Contrast and Color
Levels Adjustment
- Create a Levels Adjustment Layer: This helps to control the brightness and contrast of the radiance without affecting the entire image. Go to Image > Adjustments > Levels or press Ctrl + L (Windows) / Command + L (Mac).
- Adjust the Sliders: Move the black, gray, and white sliders to adjust the shadows, midtones, and highlights. This will make the sparkles stand out more by their contrast against the background.
Curves Adjustment
- Access Curves: Go to Image > Adjustments > Curves or press Ctrl + M (Windows) / Command + M (Mac).
- Manipulate the Curve: Click and drag the curve to adjust different tonal ranges of your image. This can help to brighten the radiance and add depth by adjusting the contrast between the sparkles and the visual.
Enhancing with Photoshop Actions
Sparkle Actions
- Download Sparkle Actions: Many professional sparkle actions are available for free or purchase. These Photoshop actions automate the process of adding sparkles, making it quicker and easier.
- Apply the Action: Load the action into Photoshop and play it on your picture. Most actions allow you to customize the intensity and placement of the sparkles.
- Customize the Effect: After applying the action, you can further customize the layers and effects to better fit your image.
Using Gradient Maps for Color Enhancement
- Create a Gradient Map: Go to Layer > New Adjustment Layer > Gradient Map.
- Select a Gradient: Choose a gradient that complements the colors in your image. Adjust the opacity to blend it naturally.
- Blend Mode: Experiment with different blend modes like Soft Light or Overlay to enhance the colors and make the sparkles more vibrant.
By incorporating these additional Photoshop tools, you can significantly enhance the sparkle effects in your images, making them more captivating. Experiment with different photoshop settings and techniques to achieve the perfect look for your design.
Frequently Asked Questions: Sparkle Photoshop

How to get a sparkle effect in Photoshop?
- Start by creating a new document with a transparent background.
- Use a small, hard round tool to place a few dots randomly on the canvas.
- Duplicate the dots and apply Gaussian Blur to the duplicated layer to create a glowing effect.
- Merge the layers and define the selection as a new preset by going to Edit > Define Brush Preset.
- Select your custom sparkle tool and apply it to your photo. Adjust size and opacity as needed.
Is there a sparkle brush in Photoshop?
Photoshop does not come with a built-in sparkle brush, but you can easily create one using the Brush Settings panel. By customizing a standard brush with adjustments to scatter, shape dynamics, and texture settings, you can achieve a sparkle effect. This allows you to add a glittery or sparkling touch to your designs without needing a pre-made tool.
How to make shining effect in Photoshop?
To create a stunning shining effect in Photoshop, follow these steps:
- Start by duplicating the main subject in your photo.
- Apply an Outer Glow style to the duplicated layer by going to Layer Style > Outer Glow. Adjust the size and opacity to your liking.
- Use Gaussian Blur to soften the glow and make it look more natural.
- Use levels or Curves adjustments to increase contrast and make the shine more prominent.
How to make a star effect in Photoshop?
- Start by using the Custom Shape tool to draw star shapes. Photoshop has a star shape available in its default custom shapes.
- Apply Outer Glow or Inner Glow styles to the star shapes to add brightness.
- Duplicate the stars and use the Transform tool to resize and rotate them for a natural look.
- Reduce the opacity of some stars to add depth and variety.
Conclusion: Sparkle Photoshop
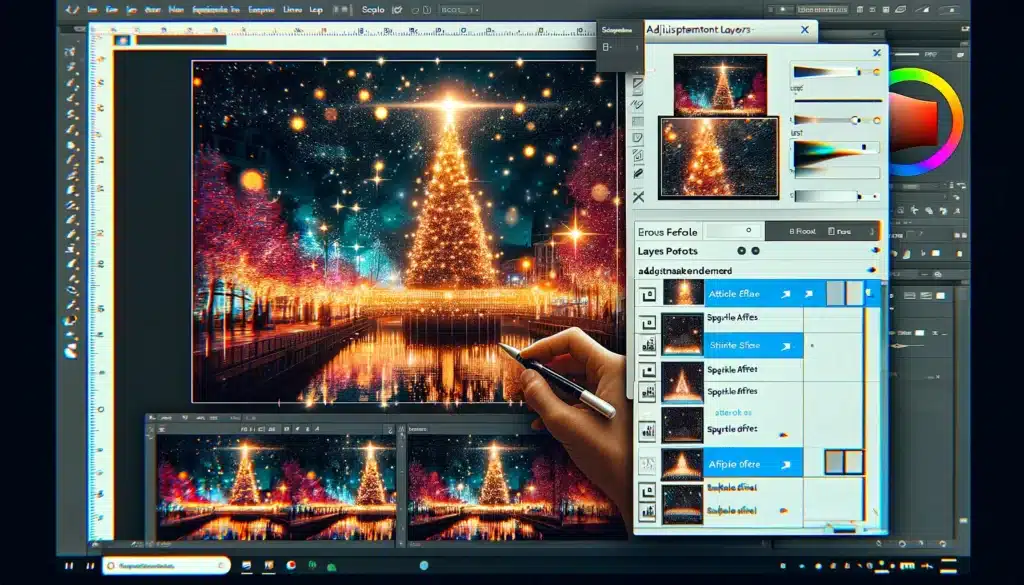
Adding sparkle effects in adobe Photoshop can transform your digital projects. I recall the first time I applied a sparkle effect to a holiday photo; it added a magical, festive touch that made the photo a family favorite. Using the techniques discussed here, you can achieve similarly stunning results.
For those eager to delve deeper and master these skills, I highly recommend enrolling in our comprehensive Photoshop course and Lightroom course. Join us today and start your journey towards becoming a Photoshop and Lightroom expert!
If this article has helped you, then Like and Share it with your friends!
Have a nice photoshoot!
Read more about: Photo Editing with Lightroom and Photoshop


