Introduction on How to Use Selective Color in Photoshop
Selective Color is a powerful tool that lets you change or adjust specific colours in your photographs. This means you can make reds brighter, blues darker, or even change a yellowish shirt to green. Using this tool, you can make your images look exactly how you want. Learning how to use Selective Color in Photoshop can greatly improve your photo editing skills.
Fortunately, this article is a complete guide to Photoshop selective color. You will learn what it is, why it is useful, and also guide you through each step to apply it to your pictures. Let’s dive in and read till the end to explore common questions and helpful tips.
Table of Contents
What is Selective Color in Photoshop?
Selective Color in Photoshop is a feature that allows you to tweak specific hues in your pictures. This means you can enhance one hue without affecting the others. It’s especially useful for targeted enhancements or corrections.
For instance, if the cloud in your picture appears too gray, you can select the grays and modify the settings to make the clouds look whiter and brighter. This is very useful for photographers and designers who want to achieve precise color effects and improve the overall look of their pictures.
How Selective Color Works?
It works by letting you pick a primary color in your image, like red, yellow, green, cyan, blue, magenta, white, neutral (gray), or black. Once you choose a color, you can adjust the amount of Cyan, Magenta, and Black (known as CMYK) in that color.
To use it, you need to put an adjustment layer. This layer lets you make changes that you can easily undo or modify later, which is helpful if you want to experiment with different looks. In the Color panel, you choose the colour you want to alter from a drop-down menu. Then, you use sliders to adjust the levels of Cyan, Magenta, Yellow, and Black in that color. As you move the bars, you can see the edits in your image in real-time.
Advantages of Using Photoshop's Selective Color Tool
Selective Color in Photoshop offers many advantages for enhancing your images. This feature allows you to make specific alternations to colors without affecting the entire picture. This is very helpful for improving the look and feel of your pictures.
1. Precise Adjustments
Color selection lets you make very specific corrections to individual colors in your image. For example, you can brighten a blue sky without changing the green trees or someone’s skin tone. This precision helps create a balanced and visually appealing image.
2. Enhanced Creative Control
Using colour selection gives you more creative freedom over your images. You can transform specific colors to include unique effects. For instance, you can change a green dress to a purple one, giving the image a completely different look. This is useful for designers who want to experiment with different color schemes.
3. Improved Color Correction
It is excellent for correcting color issues in your images. If the colors do not look right, you can fix them only in the areas that need correction. For instance, if someone’s skin looks too red in a photo, you can select the reds and customize the sliders to make the skin look more smooth and natural. This is important in portrait photography, where accurate skin tones are crucial.
4. Better Quality Images
With this feature, you can enhance the overall quality of your pictures. Adjusting specific colors can make your pictures look more vibrant and professional. For example, in landscape photography, you can make the green grass look richer and the blue sky more striking. This results in pictures that are more appealing to the viewer.
5. Increased Viewer Engagement
By making certain colors stand out, you can draw attention to specific parts of your image. This can make your pictures more interesting and engaging. Viewers are more likely to notice and appreciate the details in your pictures.
How to Use Selective Color in Photoshop – A Step-by-Step Tutorial
Learning how to use Selective Color in Photoshop can significantly improve your refinement skills. This guide walks you through each step to make specific color changes in your photographs. Whether you are using a computer or an iPad, these steps can help you achieve the best results.
- Open Your Picture: Begin by opening Adobe Photoshop software. Go to the File menu at the top and select Open. Navigate to the picture file you want to edit on your computer or tablet and click Open. Now your picture appears on the workspace ready for the next step.
- Add a New Layer: On the right side of your screen, find the Layers section. At the bottom, there is an icon that looks like a half-filled circle. Tap this icon and select Selective Color from the list of options. This action adds a new layer on top of your picture, which is important because it lets you make edits without changing the original picture.
- Choose the Color to Edit: In the its settings, a drop-down menu lists different hues such as greens, blues, and neutrals. Select the hue you want to modify. For example, if you want to make the sky look more vibrant, choose blues. This tells the software which part of the picture you want to work on.
- Modify the Color Levels: Now that you have picked a hue, you will see four adjustment bars: Cyan, Magenta, Yellowish, and Black. These bars help you modify the amount of each color. For instance, to make a blue sky more vivid, you might increase Cyan and decrease Yellow. As you move these bars, you can see the edits happening in your picture. Keep adjusting until you are happy with the result.
- Use a Layer Mask: To ensure that the changes only affect certain areas of your picture, use a layer mask. In the Layers section, click on the icon that looks like a rectangle with a circle inside. This adds a mask to your Selective Color layer. Choose the Brush from the toolbar and paint over the areas where you want the hue modifications to apply. Painting with black hides the modifications, and painting with white shows them. This allows you to be precise with your edits.
- Review and Save: Look over your edited picture to make sure it appears the way you want. If you need to make more edits, go back and modify the settings bars again. Once you are satisfied with your work, go to the File menu and select Save As. Choose a new name, JPEG or raw file format, and the files location to save your edited picture.
How to Use Selective Color in Photoshop Using Keyboard Shortcuts
Knowing keyboard shortcuts can make learning how to use Selective Color in Photoshop much faster. Using these, you can quickly access and modify different features of this tool. Here is a table of shortcuts that can help you work more efficiently.
| Function | Shortcut (Windows) | Shortcut (Mac/ipad) |
|---|---|---|
| Open Selective Color Adjustment | Alt + I, A, S | Option + I, A, S |
| New Layer Mask | Alt-press Add Layer Mask button | Option-press Add Layer Mask button |
| Brush Tool | B | B |
| Switch Foreground/Background Color | X | X |
| Default Foreground/Background Color | D | D |
| Increase Brush Size | ] | ] |
| Decrease Brush Size | [ | [ |
| Save File | Ctrl + S | Command + S |
| Open File | Ctrl + O | Command + O |
Tips and Tricks on How to Use Selective Color in Photoshop for Best Results
Using the color selections feature effectively can transform your pictures, making them vibrant and visually stunning. Here are some detailed tips to help you maximize the potential of this powerful tool.
Understanding Your Picture
Before making any edits, take a good look at your picture. Understand what parts you want to enhance or modify. Knowing your picture well helps you make better decisions on which hues to tweak. For example, if you are working with a landscape, decide if you want to make the sky bluer or the grass greener. This clear understanding guides your choices and leads to better results.
Using Layer Masks
Layer masks are very helpful when using this feature. They let you apply changes to specific parts of your picture without affecting the whole section. For instance, if you only want to brighten the blue of a dress but not the entire picture, a layer mask can help you do that. Paint over the section you want to change, using black to hide and white to reveal the correction. This technique allows for precise edits and helps you achieve a polished look.
Adjusting the Opacity
Sometimes, the changes made with color selection might be too strong. Adjusting the opacity of the layer can help blend the changes smoothly with the rest of the picture. Lowering the opacity can make the modifications less intense and more natural-looking. This technique is particularly useful when fine-tuning the final look.
Combining with Other Features
This versatile feature works well with other features in the software. For example, you can use the Curves feature to adjust the brightness and contrast before fine-tuning hues with Selective Color. This combination can make your pictures look more vibrant and balanced. Using multiple features together gives you more control and helps you achieve professional results.
Using Presets for Consistency
Presets can save you time and ensure consistency, especially when working on multiple pictures. If you find a setting that works well for one picture, save it as a preset. You can then apply this preset to other pictures, ensuring they all have a similar look. This is particularly useful for projects like a photo series or a web gallery where a consistent style is important.
Checking Your Work
Always check your work as you go. Zoom in and out to see how the changes look from different perspectives. This helps you spot any areas that need more work. Also, take breaks and look at your picture with fresh eyes. Sometimes, stepping away for a while can help you see things you missed before. This careful checking ensures you catch any mistakes and make necessary corrections.
Real-World Examples of Selective Color Usage
Color feature can be used in various fields to enhance pictures. This table shows different examples of how it is applied in real-world situations.
| Example | Description | Benefit |
|---|---|---|
| Wedding Photography | Highlighting the bride’s dress while keeping the rest of the photo in black and white. | Draws attention to the bride, making her the focal point of the picture. |
| Landscape Photography | Making the sky more vivid while keeping the rest of the scene natural. | Enhances the beauty of the landscape, making it more appealing. |
| Product Photography | Emphasizing the color of a product against a neutral background. | Makes the product stand out, attracting more attention from viewers. |
| Portrait Photography | Retouching skin tones while preserving the natural look of the picture. | Ensures the subject looks natural and appealing. |
| Fashion Photography | Changing the color of a dress to match the theme of the shoot. | Provides creative flexibility and aligns with the desired aesthetic. |
Advanced Techniques for Selective Color in Photoshop
Selective Color is a powerful feature that can be used in advanced ways to produce stunning effects in your pictures. By mastering these techniques, you can produce professional-quality results.
Integrating with Blend Modes
One advanced technique involves combining Selective Color with blend modes. Blend modes allow you to alter how the colors interact with each other. For example, you can use the Multiply blend mode to darken certain hues or the Screen blend mode to lighten them. By experimenting with different blend modes, you can achieve unique and creative effects that include depth and dimension to your pictures.
Working with Gradient Maps
Gradient Maps are another advanced feature that works well with Selective Color. A Gradient Map applies a gradient based on the tones of your picture. By using Selective Color first to tweak specific hues, and then applying a Gradient Map, you can craft rich, artistic looks. For instance, you might use colour selections to enhance the blues and greens in a landscape, then apply a Gradient Map to give the entire picture a warm, golden tone. This combination can make your pictures look like they were taken at sunset, even if they were not.
Creating Dramatic Effects
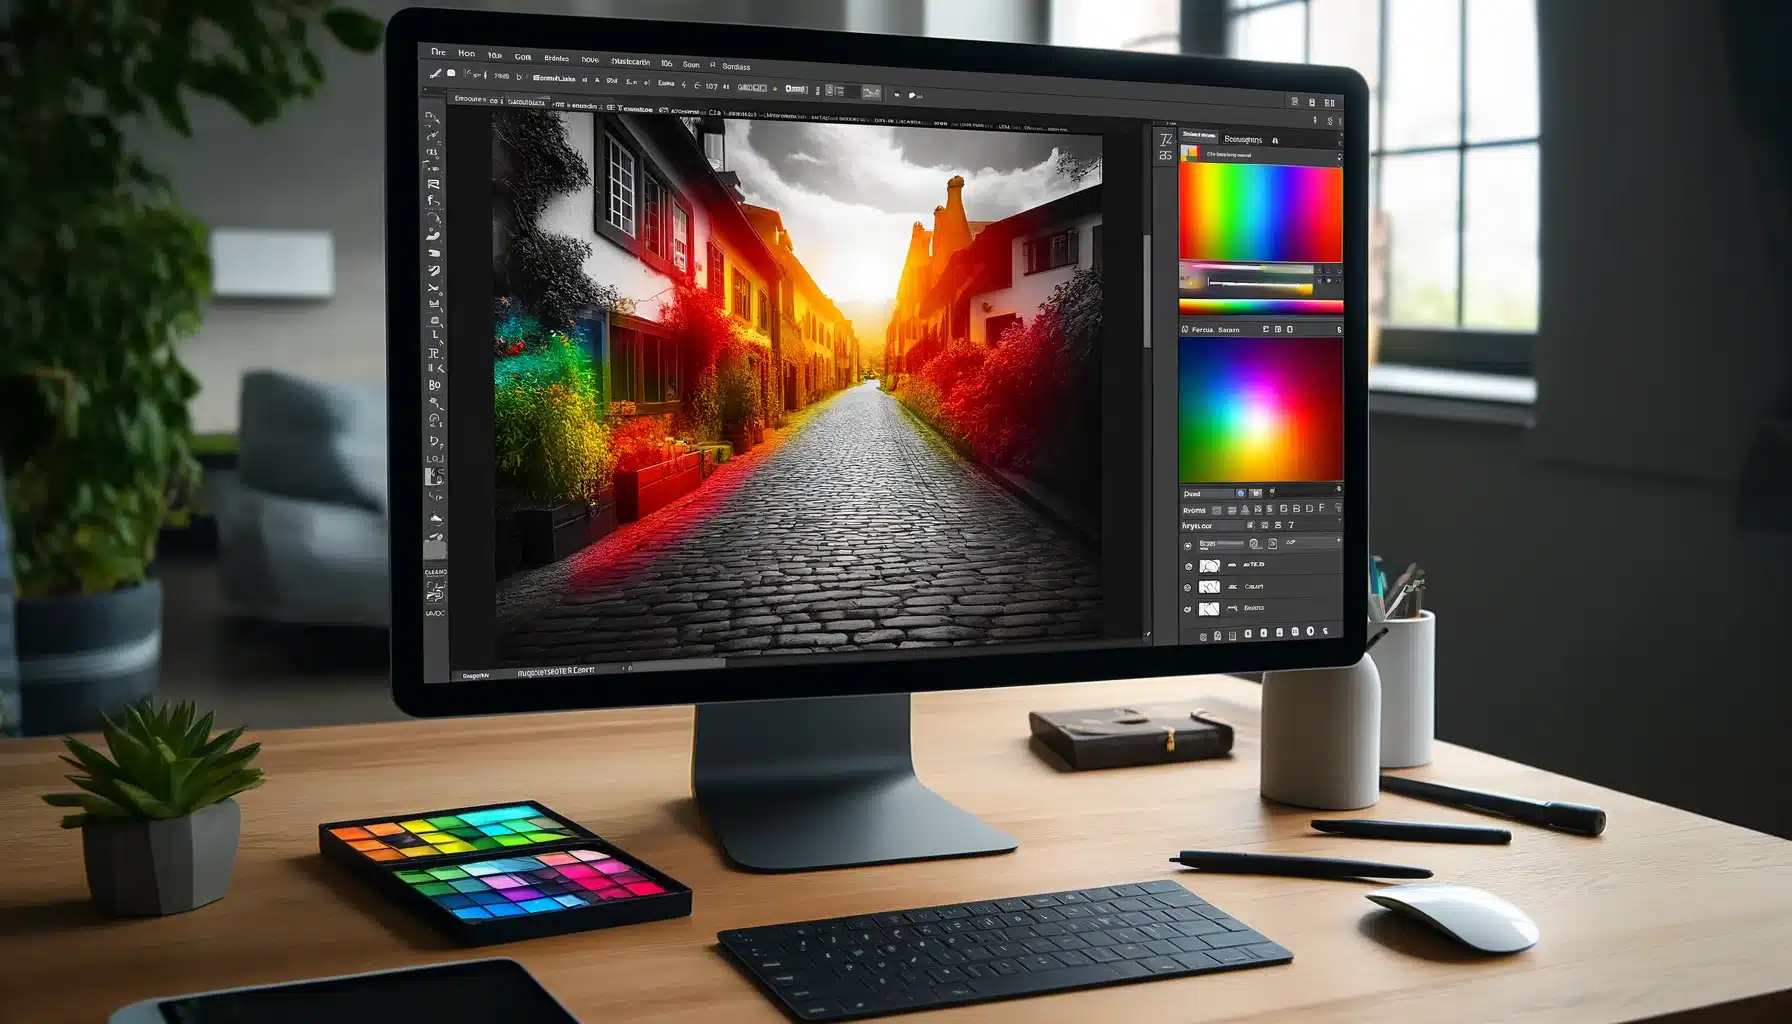
Selective Color can also be used to create dramatic, high-contrast effects. For example, you can desaturate the entire picture except for one color, making that color pop. This is a popular technique in creative photography and advertising, as it draws the viewer’s attention to a specific part of the picture. By specifically enhancing or reducing saturation, you can produce a striking visual impact.
Leveraging Adobe Lightroom
Adobe Lightroom offers tools like the HSL (Hue, Saturation, and Luminance) panel, which allows for selective hue adjustments. By learning how to use these features in both Lightroom and Photoshop software, you can streamline your workflow and achieve consistent results across different platforms.
Selective Color vs. Other Color Adjustment Tools in Adobe Photoshop
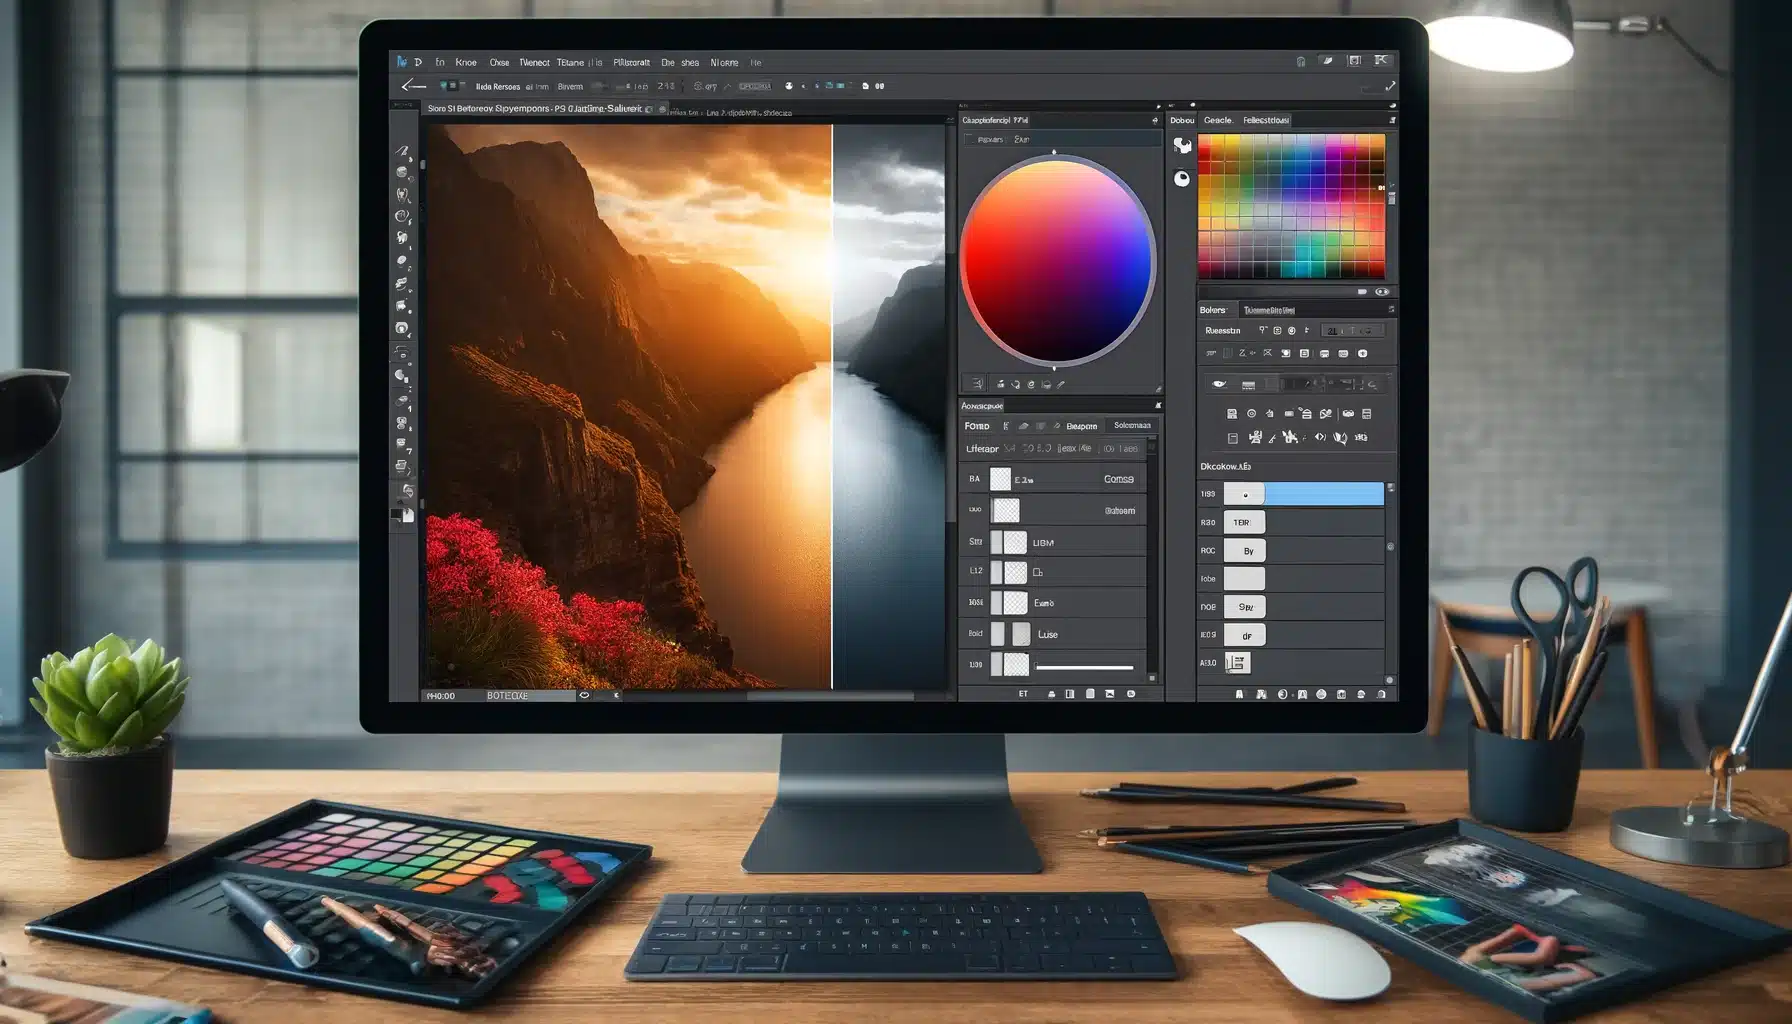
Selective Color is one of many features available in Adobe Photoshop for modifying hues in your pictures. Comparing to other options can help you choose the right one for your needs. Below is a table highlighting the key differences between different adjustment tools.
| Feature | Selective Color | Hue/Saturation | Color Balance |
|---|---|---|---|
| Purpose | Modify specific hues without affecting others | Adjust overall hue, saturation, and lightness | Alter color balance for shadows, midtones, and highlights |
| Precision | High precision, affects only chosen hues | Less precise, affects all hues equally | Medium precision, focuses on tones |
| Ease of Use | Moderate, requires understanding of colour levels | Easy, simple slider for hue, saturation, and lightness | Easy, simple slider for shadows, midtones, and highlights |
| Creative Control | Allows for very detailed hue modification | Great for quick overall enhancement | Good for correcting color casts |
| Common Uses | Fine-tuning specific colours for detailed photo enhancement | Quick overall tone adjustments | Correcting colour casts in different parts of the picture |
Troubleshooting Common Issues with Selective Color
Using Selective Color in Adobe’s software can sometimes lead to unexpected problems. Knowing how to troubleshoot these issues can save time and frustration. Below are some common problems and their solutions to help you achieve the best results.
1. Colors Look Unnatural
One common issue is that the hues in your picture might look unnatural after making modifications. This can happen if the changes are too drastic. For example, if you make the sky too blue, it might look fake. To fix this, make smaller changes and use the opacity settings to blend the edits smoothly.
2. Affecting Unwanted Areas
Sometimes, changes made with Selective Color can affect parts of the picture you did not intend to alter. This often happens when the hue you are altering is present in multiple areas of the picture. For example, enhancing the blue in the sky might also change the blue in a person’s shirt. To solve this, use layer masks to target only the specific parts you want to adjust.
3. Difficulty in Selecting Specific Colours
Selecting the exact hue you want to modify can sometimes be challenging, especially if the picture has a variety of similar hues. For instance, if you want to enhance the green of the grass but not the green in the trees, it might be tricky. Using the color range selection tool can help you isolate specific hues more accurately. Additionally, zooming in on the picture can give you a closer look and better control over your edits.
4. Adjustments Not Visible
Another common problem is when the changes you make are not visible on the picture. This can happen if the adjustment layer is not active or if it is below other layers that hide the corrections. Ensure that your adjustment layer is on top and active.

Frequently Asked Questions on How to Use Selective Color in Photoshop
Mastering how to use Selective Color in Photoshop significantly enhances your ability to edit photos with precision and creativity. Below, we answer common questions to help you get the most out of this amazing feature.
How do I use a specific color in Photoshop?
To use a specific color, first, open your picture in the software. Then, use the color picker in the toolbar, that looks like an eyedropper. Click on the part of the picture that has the color you want to use. The selected color now appears in the color box at the bottom of the toolbar. You can then use this color with the brush, text, or any other feature that applies color.
How do I use the color Selection tool in Photoshop?
To use this feature, import your picture. Go to the Select menu at the top and choose Color Range. A dialog box appears. Click on the part of the picture that has the color you want to select. You can adjust the fuzziness to increase or decrease the colors selected. Once you are happy with the selection, tap on OK. This selects all areas in the picture with the chosen color.
How to isolate one color in Photoshop?
To isolate one color in Photoshop, open your picture in the software. Fine-tune the selections by altering its Fuzziness. Once done, go to the Edit menu and choose Copy. Then make a new file and paste the selection. This new file will contain only the isolated color from your original picture.
How do I color only a selected area in Photoshop?
To color only a selected point, first, use a selection feature like the Lasso or Marquee to select the part of the picture you want to colour. Then, pick the brush tool from the toolbar. Choose the tone you want to apply from the color picker. Now, paint over the chosen area.
Conclusion
Discovering how to use Selective Color in Photoshop has improved my photo enhancement a lot. I remember working on a picture with a dull sky. By using Selective Color, I made the blues brighter, making the clouds look dramatic and the whole picture lively. This feature can truly transform your photographs.
If you want to learn more and improve your editing skills, check out our courses. We offer a detailed Photoshop course and an in-depth Lightroom course. These courses teach you everything you need to know to make stunning photographs.
Have a nice photoshoot!
Learn more about Photo Editing with Lightroom and Photoshop:
Course
Light Effect Photoshop
Lightroom Course 2024
Adobe Photoshop Course
Photo Editing Course
Get the latest version of Photoshop & Lightroom


