How to Smooth Skin in Photoshop for Perfect Portraits
How to Smooth Skin in Photoshop for Perfect Portraits
Introduction
Skin smoothing means making the skin in photos look soft and clear, without any spots or wrinkles. It’s like using a digital magic wand to make everyone look their best in pictures. When you learn how to smooth skin in Photoshop, you can fix small skin issues and give a fresh, clean look to your photos.
In this article, we’re going to talk about the methods and tools used for this purpose, catering to both beginners and advanced users. We’ll start with easy tutorial that anyone can try, like using simple techniques. Then, we’ll show you some cool tricks for making the skin look even better, like a pro.
Table of Contents
Fundamental Techniques for Smooth Skin in Photoshop
When it comes to enhancing portraits, this is a fundamental skill that can drastically improve the final look of your images. It’s not just about removing wrinkles or blemishes; it’s about creating a balanced, pleasing appearance that still looks realistic. Below mentioned are a few basic techniques in this regard:
Mastering Blur for Softening Skin
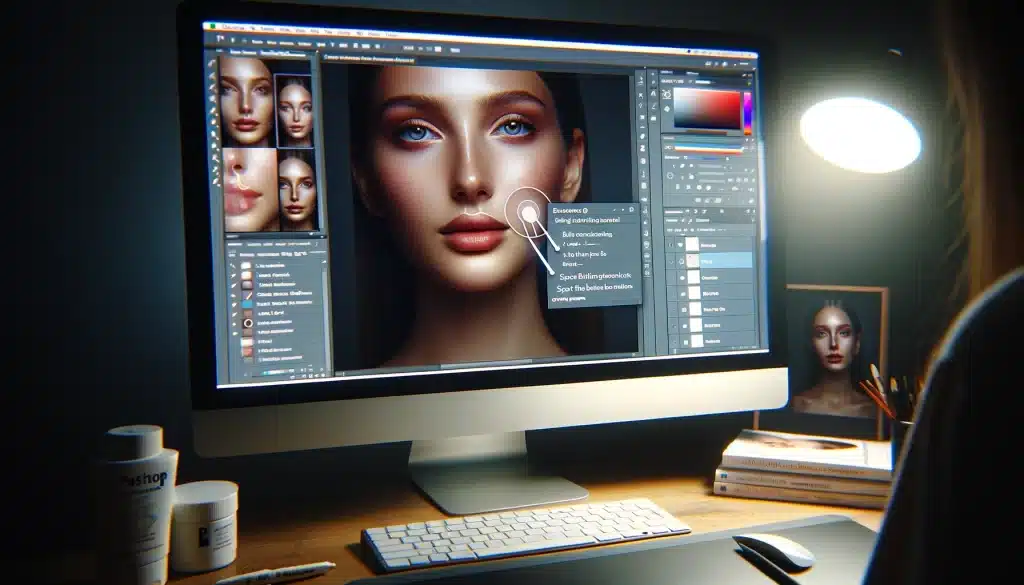
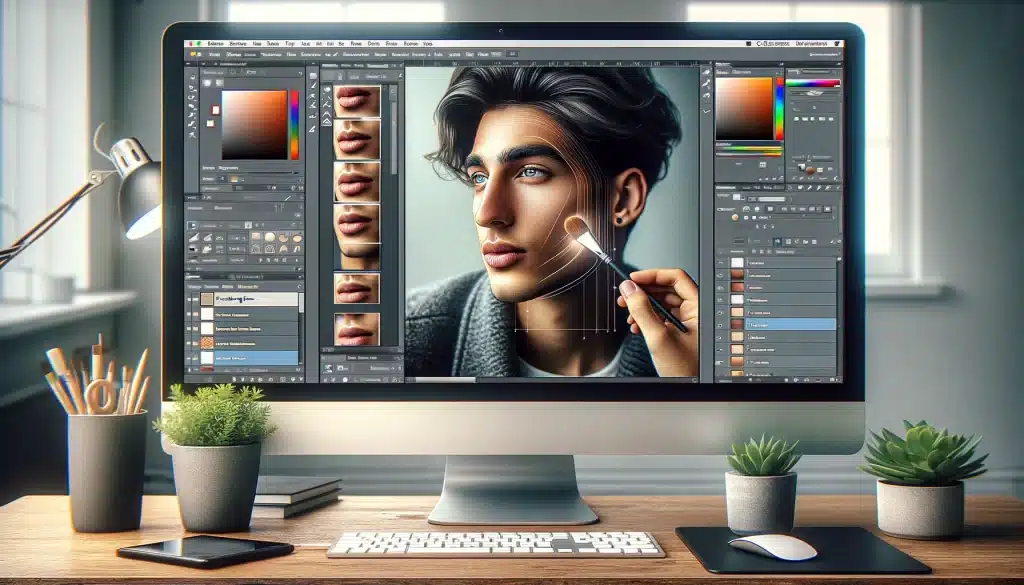
The Blur tool in PS is your go-to for quick and straightforward skin softening. It helps in gently blurring out imperfections, giving the skin a flawless finish. To use this effectively, you need to select it from the menu bar, often represented by an icon resembling a water droplet. Once selected, adjust the tool’s strength, ideally setting it to 100% to ensure a noticeable effect. Then, carefully apply it over the section of the skin you wish to improve.
Utilizing the Spot Healing Brush for Precision
For more targeted corrections, the Spot Healing Brush is indispensable. It’s designed to eliminate blemishes in Photoshop and small imperfections with precision. To use it, you simply select it from the tool panel, adjust its size, and then click where you wish to correct. Analyze the surrounding skin surface and shade, then mask the blemish away as if it was never there. This method is especially useful for addressing isolated spots or uneven skin coloring, ensuring that the process enhances the subject’s real beauty without erasing their unique features.
Advanced Methods for Detailed Skin Retouching
When you’re ready to dive deeper into this, advanced techniques offer precise control and professional results. These methods are perfect for achieving a flawless look while keeping the original smoothness of the skin. Take a look at these advanced-level methods for Skin Retouching in Photoshop.
Fine-tuning with Frequency Separation
Frequency separation is a powerful technique that separates the grain and tint of the skin onto different layers. This allows for detailed retouching without losing the feel of the skin.
Create two duplicate layers: One with high frequency and the other with low frequency.
Smooth the color layer: Use the Gaussian blur on the low frequency layer to even out variations and create a uniform skin pigmentation.
Combine carefully: Merge the layers while maintaining the balance between detail and smoothness.
The High Pass filter, commonly used for sharpening, can also be instrumental for this purpose. It helps to highlight the edges in the image, which can then be inverted to focus on the specific skin areas.
Apply the High Pass filter: Set a radius that accentuates the important details but not the skin’s minor flaws.
Invert the filter effect: This step reverses the focus from the edges to the smoother skin parts.
Adjust blending modes: Change the layer’s blending mode to blend the rough pixels back into the skin, often using modes like Soft Light or Overlay to achieve a subtle enhancement.
How to Smooth Skin in Photoshop: Tips and Tricks
Here are some expanded tips and creative techniques to elevate your skin retouching skills.
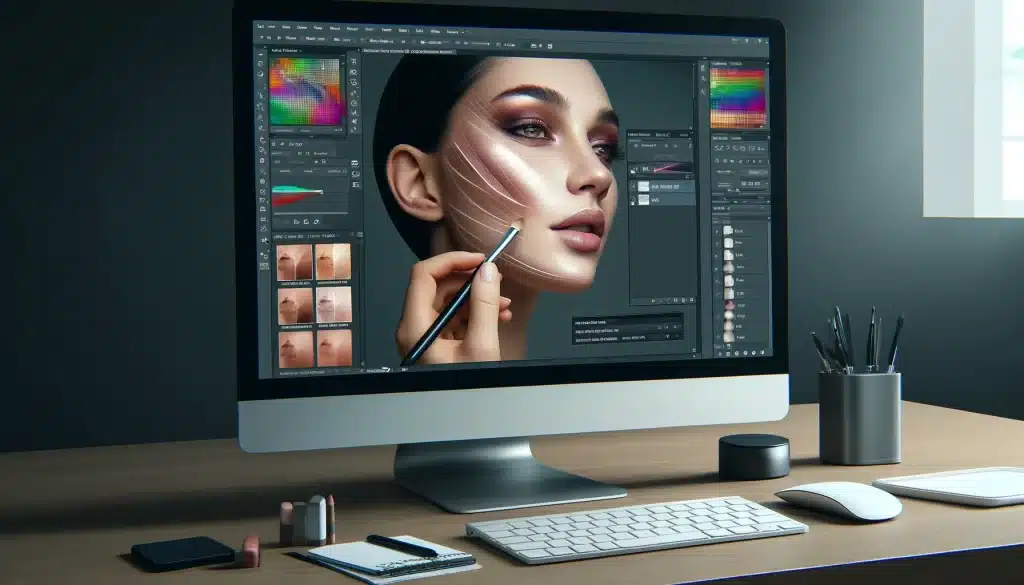
Pay Attention to Small Details
In making skin look great in photos, the key is to notice every little thing. You need to make sure the skin still looks real and authentic by tailoring your technique to the specific needs of each area. Use the Spot Healing Brush to fix little spots and the Clone Stamp to make sure everything blends in well. This way, the skin in your photo will look flawless and real, matching the rest of the picture perfectly.
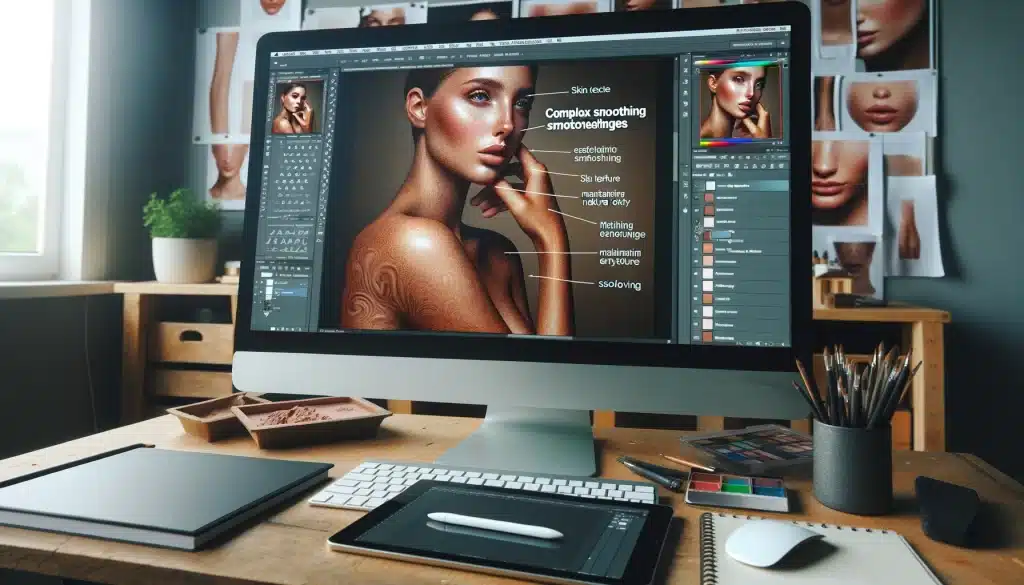
Make Skin Look Good but Real
Being really good at fixing skin in pictures means people can’t tell you changed anything. The skin should look fresh and organic, not like it was changed on a computer. To do this right, you add changes in layers and play with how strong each change is. Try using different blending options and how see-through each layer is to make the fixes blend in well. Always look back at the original picture to make sure your changes are just right.
Keep Getting Better with Photoshop Techniques for Flawless Skin
Getting better at making skin look good in photos is a journey that never ends. You need to keep practicing and learning all the time. Try working on pictures with different kinds of skin and under different lights to learn more. Also, keep up with the newest Photoshop features and ask people what they think about your work to get new ideas. This will help you stay good at what you do and find new ways to make your pictures look great.
Enhance Features with Dodge and Burn
Besides just making skin fresh, using dodge and burn is important to make faces look more alive. These tools let you brighten (dodge) or darken (burn) parts of the picture. This way, you can show off the face’s usual shapes and shadows, making it look more real while keeping the skin’s raw look and feel.
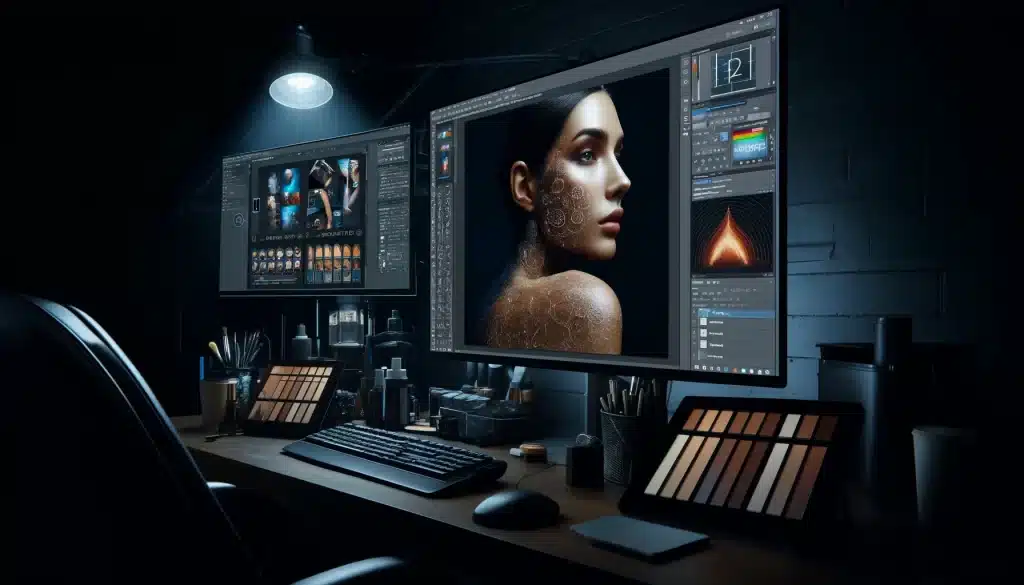
Smooth skin with Texture Grafting
When fixing parts of a photo where the skin is really damaged or looks uneven, you can take good skin from another part of the same photo, or even from a different picture. This trick is called texture grafting. It helps make the skin look the same and nice all over the picture.
Keep the Colors Right for Achieving Perfect Skin in Photoshop
Making sure the skin tone looks the same all over the picture is really important for a good-looking photo. Use tools to change the color and brightness to make sure the skin looks real and the same everywhere.
Skin smoothing can be achieved through various methods, each with its own strengths and suitable for different types of projects. To help understand how these techniques differ and which one might be best for your needs, let’s compare them in a detailed table.
Technique
Detail Level
Control Level
Skill Required
Time Consumption
Ideal Use Case
Basic Blur Method
Low
Low
Beginner
Quick
Quick touch-ups, softening overall skin surface
Spot Healing Brush
Medium
Medium
Intermediate
Moderate
Targeted corrections on blemishes and minor imperfections
Frequency Separation
High
High
Advanced
Time-consuming
Professional retouching
High Pass Filter
High
High
Advanced
Moderate
Detailed skin smoothing, retaining sharpness and detail
Neural Filters
Varies
Medium
Beginner-Intermediate
Quick
Automated options, variable results based on AI interpretation
Overcoming Challenges in Skin Smoothing Edits
Skin smoothing skill can sometimes present challenges, especially when striving for a balance between natural smoothness and flawless aesthetics. For this reason, understanding these challenges and their life-saving solutions helps you learn how to smooth skin in Photoshop efficiently. Below is a table that outlines common challenges faced during skin smoothing edits and offers solutions to overcome them.
Challenge
Solution
Maintaining Natural Texture
Use frequency separation to edit it and color separately.
Avoiding Over-Editing
Apply edits on separate layers and adjust opacity for subtlety.
Color Mismatch
Employ tone correction to ensure uniformity across the image.
Time Constraints
Opt for Neural Filters for quicker, AI-assisted fixing.
Complexion Variations
Adjust brush size and settings to cater to different skin areas.
FAQs on How to Smooth Skin in Photoshop
How do you smooth a texture in Photoshop?
To fix a texture in PS, first, select the area you want to smooth using a selection tool like the lasso or brush tool. Then, go to the “Filter” menu, choose “Blur,” and select a blur option such as “Gaussian Blur” or “Surface Blur.” Adjust the settings to your liking, previewing the effect until you achieve the desired level of smoothness.
How to make your skin smooth?
Start by opening your image and duplicating the background layer. Then, use the “Spot Healing Brush” or “Clone Stamp Tool” to remove any blemishes or imperfections. Next, apply a “Gaussian Blur” filter to the duplicate layer to soften the skin surface. Finally, reduce the opacity of the duplicate layer to blend the effect with the original image for a natural-looking smoothness.
How do you make skin fresh in Photoshop?
In PS, making skin look fresh means making it bright and colorful. You open your photo in and make the it brighter with the ‘Brightness/Contrast’ option. Then, use ‘Vibrance‘ to make the colors look good but still real.
Can you smooth an image in Photoshop?
Start with choosing the photo you want to fix. Use the Healing Brush tool to remove spots. Click on clear skin first, then apply it over the spots to blend them in. This will help a lot in this regard.
Can you smooth skin in Photoshop without losing texture?
Yes, you can smooth skin in Photoshop without losing the skin’s real feel. Techniques like frequency separation allow softening skin texture in Photoshop while keeping it looking real. This way, the skin doesn’t look unnatural and plastic.
Conclusion
Wrapping up our journey on how to smooth skin in PS, it’s like recalling my first steps into photo editing. I remember smoothing a friend’s portrait photo; it was a delightful surprise to see the transformation, from a regular snapshot to a magazine-worthy image. This experience sparked my passion for photo retouching, leading me to explore deeper into the world of Photoshop.
For those eager to master this skill and more, dive into our comprehensive Photoshop course and Lightroom course. They’re tailored to guide you through every step, ensuring you gain the skills to produce stunning, professional-quality images. Start your journey today and unlock the full potential of your creativity!
Happy editing.
If this article has helped you, then Like and Share it with your friends!
Discover the secrets of photography with our printable guide! Master essential techniques like aperture, shutter speed, and ISO to create stunning images. Get your free printable PDF now and start turning your snapshots into masterpieces!